So excited to find out the project I did last week for Sweet Sassy Diva wreath challenge was highlighted in the Cricut Chirp this week. Here is the link if you missed it. This week at Sweet Sassy Diva we were asked to make a Halloween treat goody bag or gift of some kind. Well here is my treat box. I love making these boxes and have made them for all sorts of occasions. They are perfect to fit with candy or other goodies. I often fill them with goodies from the $1 bins or stores.
So here is the finished product.
Please stop by and leave a comment at SSD's blog. I would really appreciate it.
Directions:
You start out with a 12 x 12 piece of good cardstock.
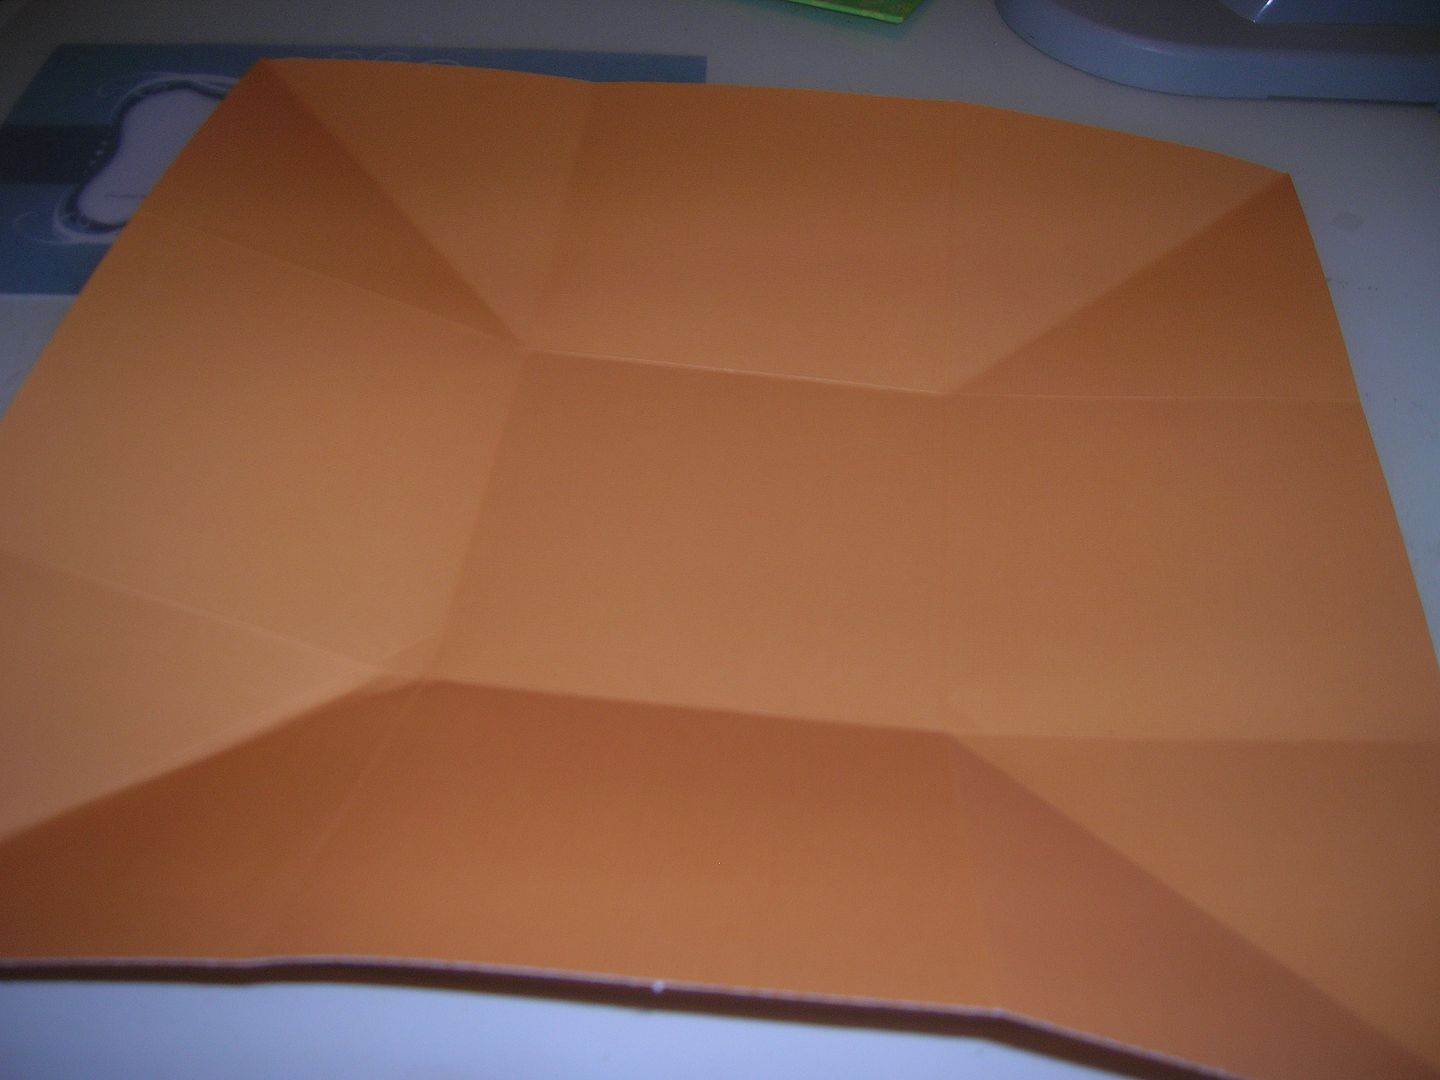
You then score or fold at 4 inches and 8 inches both ways so you end up with 9 squares. Make good creases with a bone folder or ruler and then open up.
Next score each corner at a diagonal to the center square corners. See picture. Make a good crease on these corners. First I fold them out and then in so they have good crease.
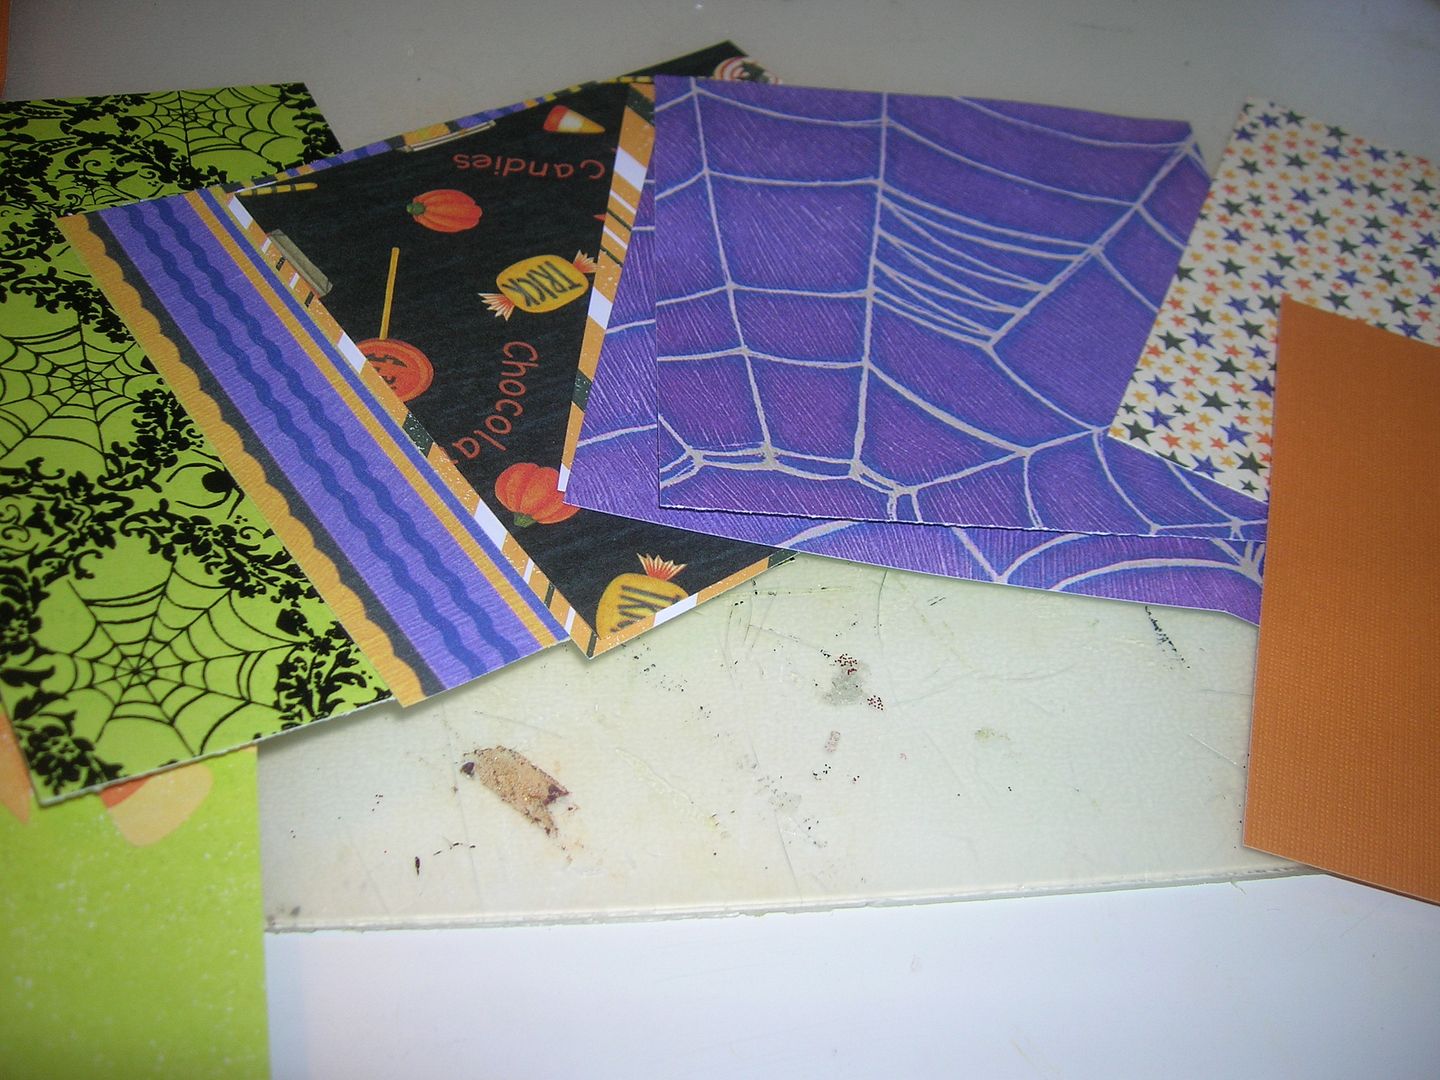
Next you cut 18 square at 3.75 x 3.75. I used scraps from other Halloween projects but you can also use paper and make a pattern. It's up to you.
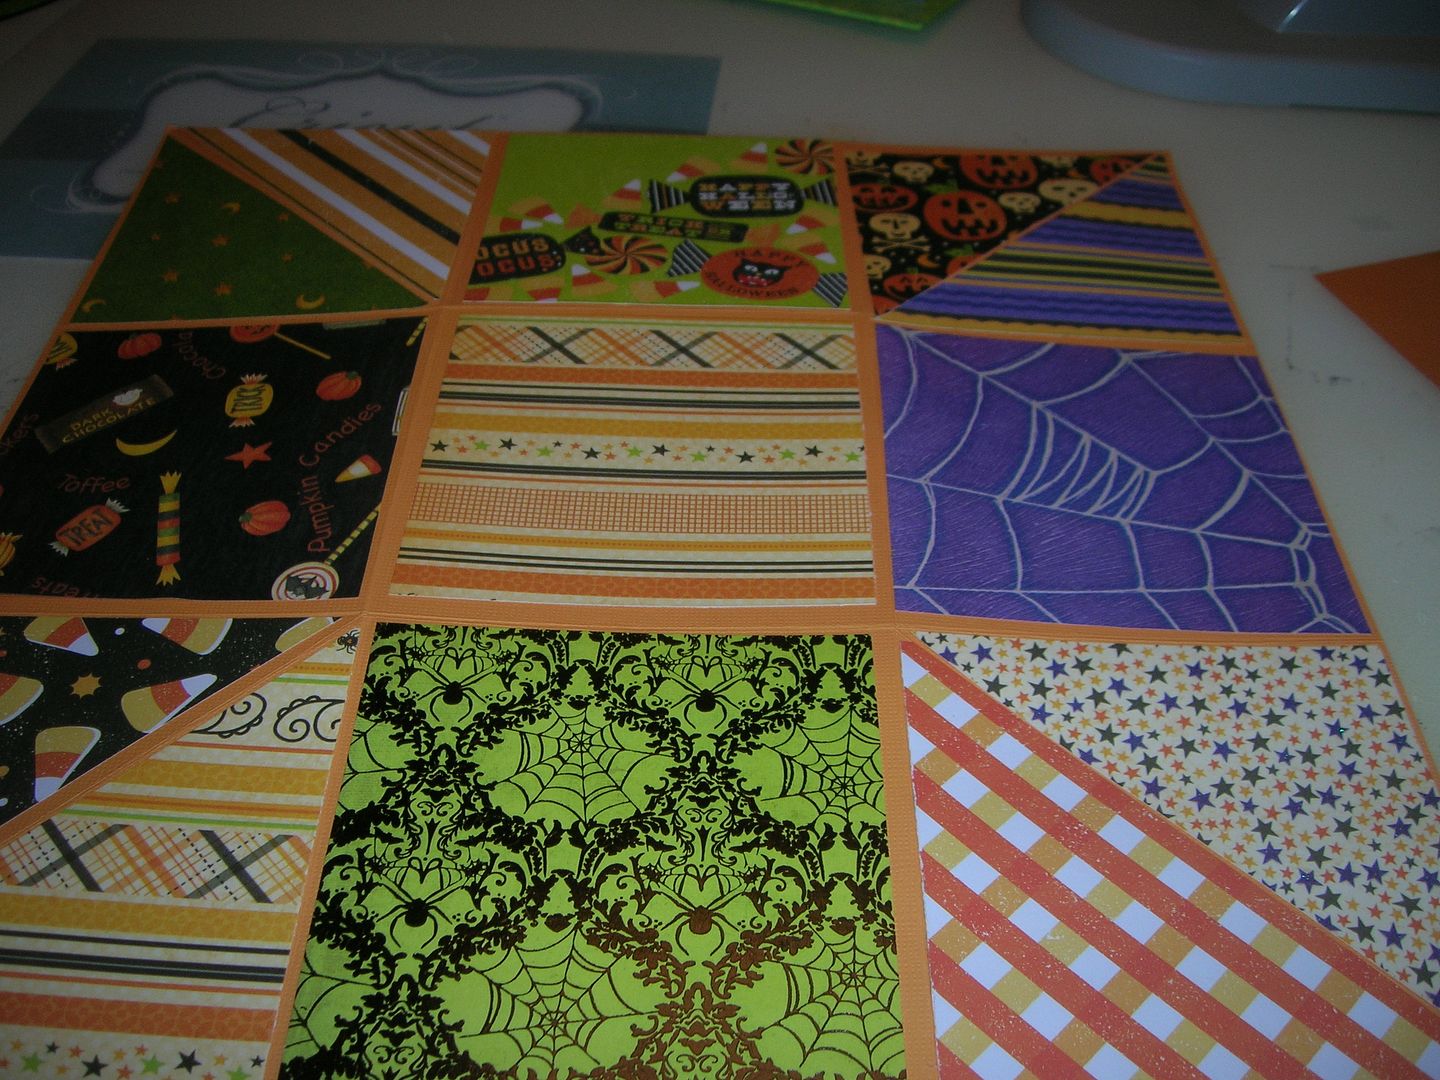
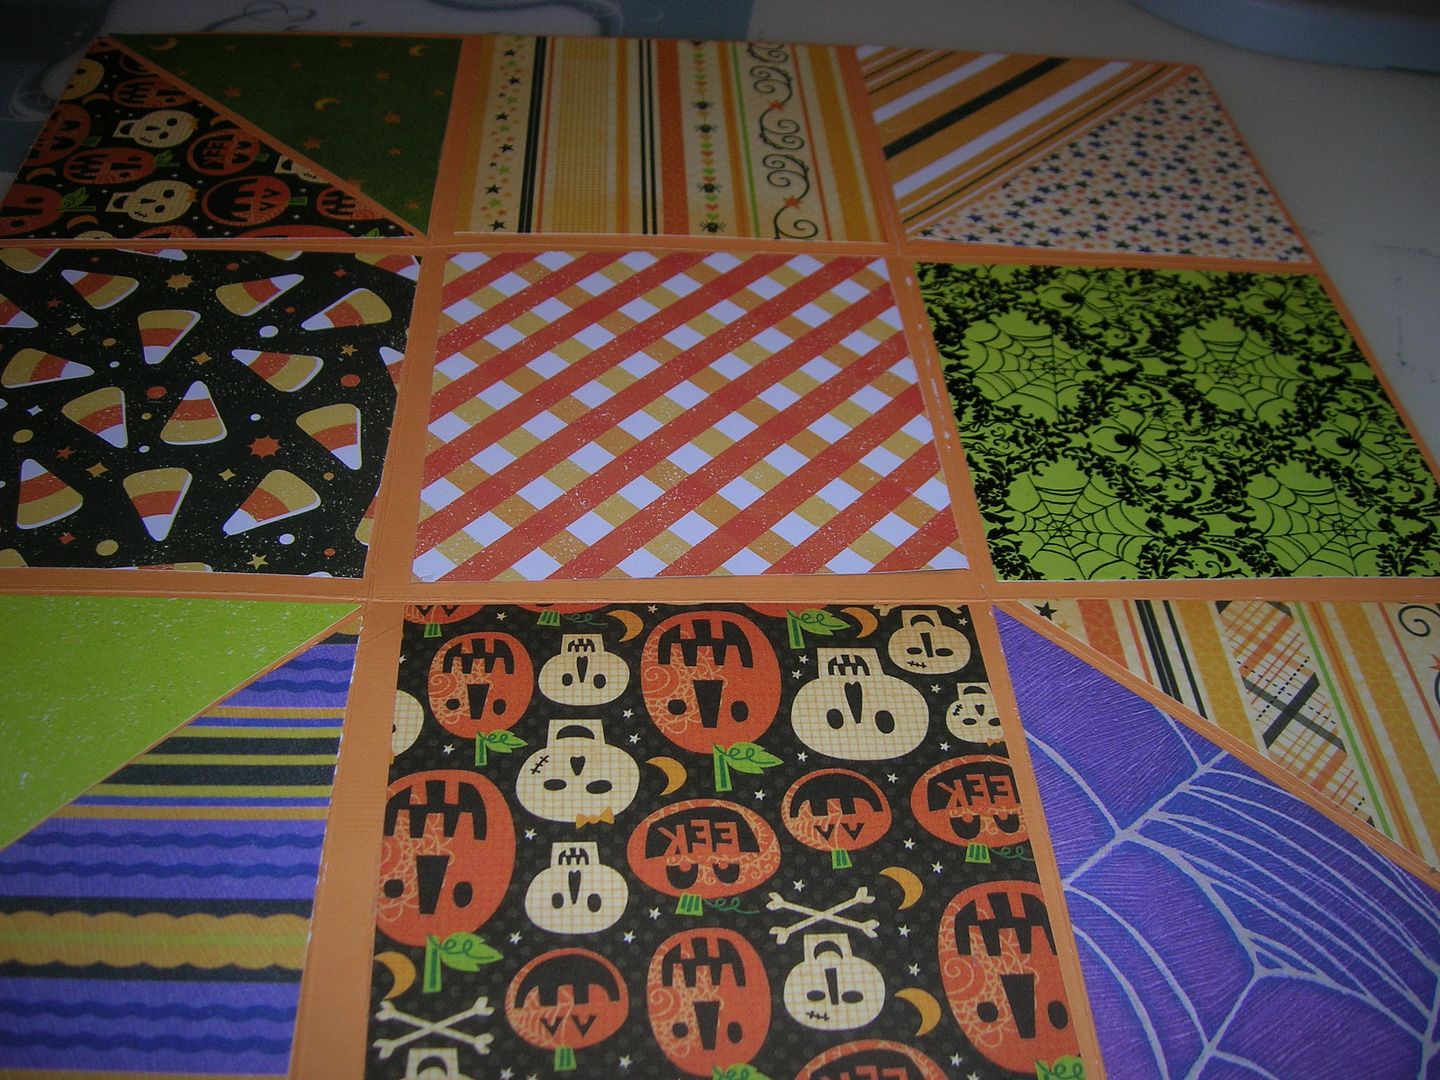
Five of the squares you will glue to squares on one side. Four squares you will cut diagonally in 1/2 to do corners. keep paper from overlapping fold lines.
Turn over and do the same on the other side.
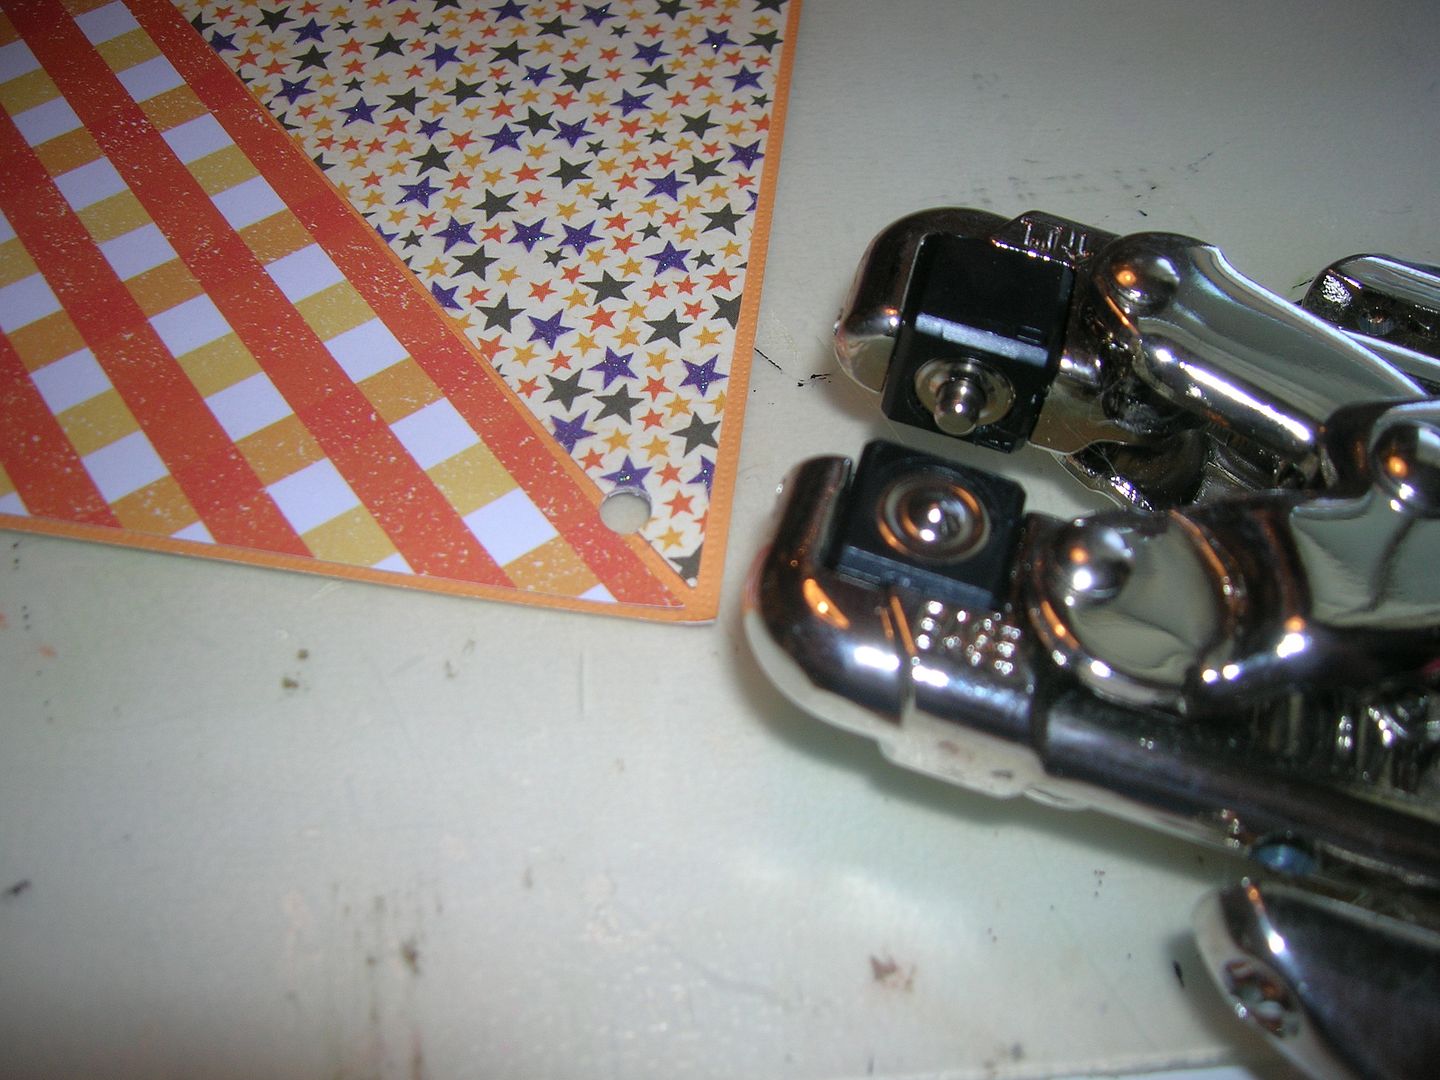
Now you are ready to punch a hole at each corner. Do not punch to close to edge as it will tear. I used my Crop a dile but you can also use a regular punch.
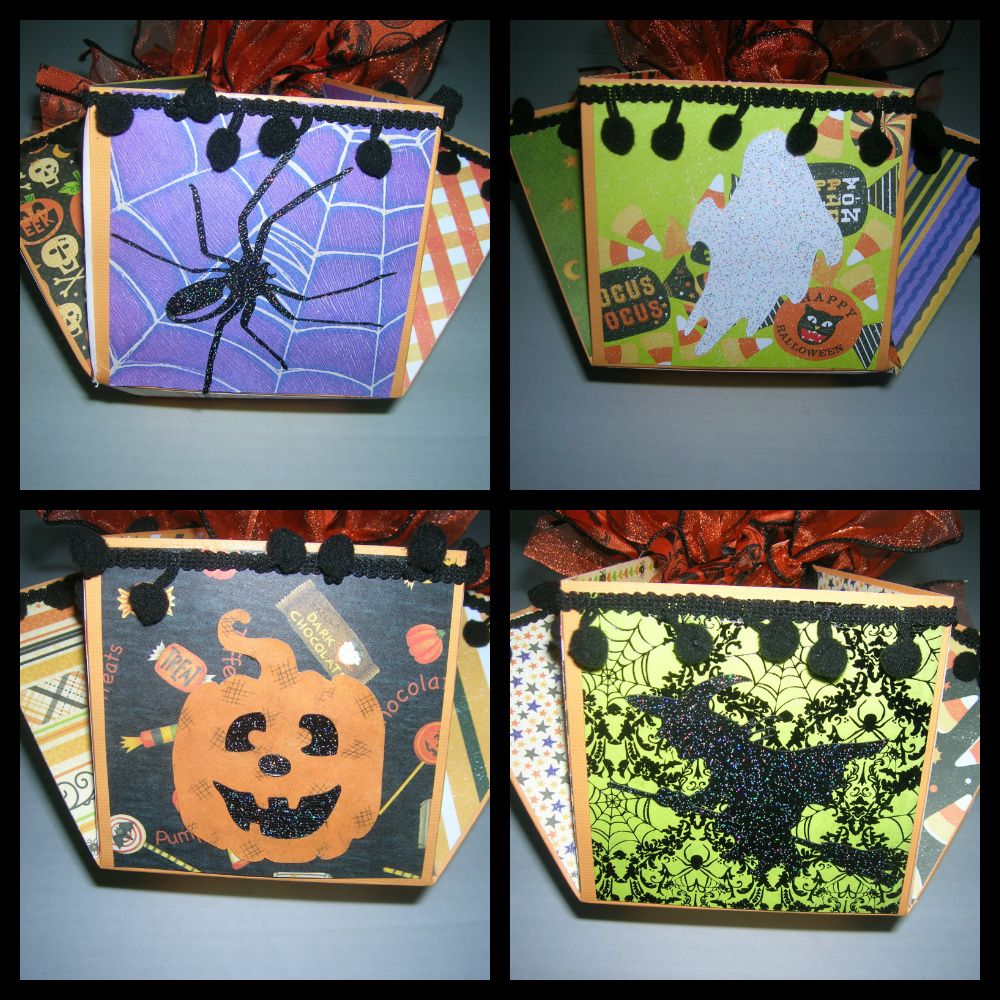
You are now ready to decorate the side if you wish with die cuts, ribbon, etc. I used a pumpkin from Pumpkin Carvings cut at 3 inches. The witch 2.75, the ghost 3 inches and the spider 3 inches were cut from Happy Hauntings. I also used some trim to decorate around the edges. Make sure you put trim on outside top and face diecuts down towards center square.
For this next step take thin ribbon and thread through the holes and tie. I leave about 3 inches between each hole when I pull it together. Tie a knot and trim.
Here are the four sides of the box.
The last step is to add ribbon. Wired ribbon works the best but I have used regular ribbon. I cut each piece to 9 inches and tied a single knot. There are three pieces on each side. If you use wired ribbon you can then fluff it up. The wired ribbon I used is from the Dollar Tree.
I am also entering this in the More than Favors-"treats"challenge and the Frosted Designs Fancy trims challenge.
I love followers and comments.





This comment has been removed by the author.
ReplyDeleteI love what you have done, it's gorgeous, I made Christmas ones of these, but I didn't do all the different papers like you have...I'm impressed.
ReplyDeleteThank you for joining us at Frosted Designs. I hope that you enjoyed the challenge
Amanda
fantastic! how you used different patterned papers for every folds.
ReplyDeleteLuanne
http://craftersreference.blogspot.com/
WoW! Such an awesome idea! Thanks so much for joining us for a challenge over at Frosted Designs.
ReplyDeleteGreat treat box Suzanne. I like the pom-pom ribbon, very cute. CONGRATS on making the chirp!
ReplyDeleteThose pom-poms are so cute!! This trim really jazzes up the treat box! I hope to see you create with us again at Frosted Designs!
ReplyDeleteI absolutely LOVE this. It turned out great. Thanks for the tutorial. Thanks for playing with us this week at Frosted Designs.
ReplyDelete