Just Kitting Studio Items for Sale

Showing posts with label George. Show all posts

Tuesday, December 13, 2011

Sweet Sassy Diva Holiday Decor Advent Calendar from a muffin tin

So hard to believe its only two weeks until Christmas.  This week at Sweet Sassy Diva we were asked to make a Christmas decor project.  I decided to make an advent calendar with a muffin tin.   I saw one at the Scrapbook Expo  and really liked this idea but thought heck I will make my own.  
Well for once I actually did.  
Here is the completed Advent Calendar made using a 24 hole muffin tin.  I changed the direction of my project several times so I will let you know that as I go along.  
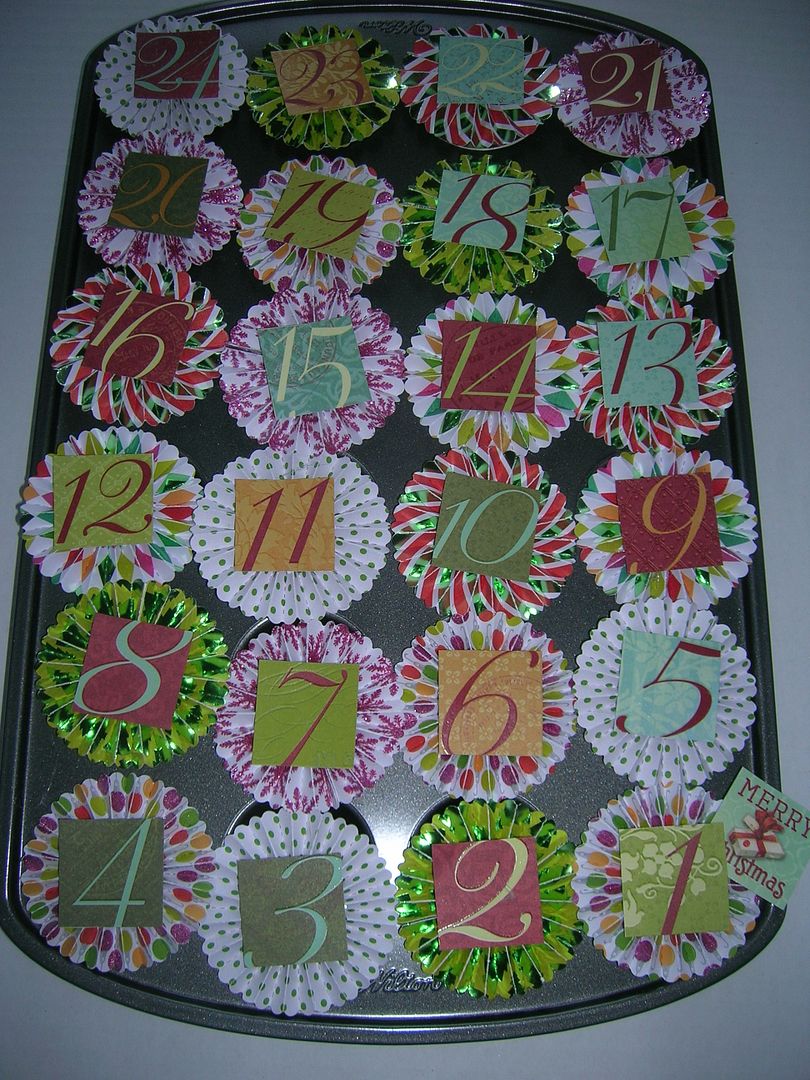
To start you need the 24 hole mini muffin pan.  I got mine at the local grocery for $10.  They have also had them at M's and J's (Wilton).  
Next I cut 24 circles using George at 2 1/4 inch out of thin magnet sheets I got at local stationary store in a package.  I then covered each with a 2 1/4 inch paper circle. I used scraps and glued with Tacky Glue.  I then put books on top of them to make sure they stayed flat.   
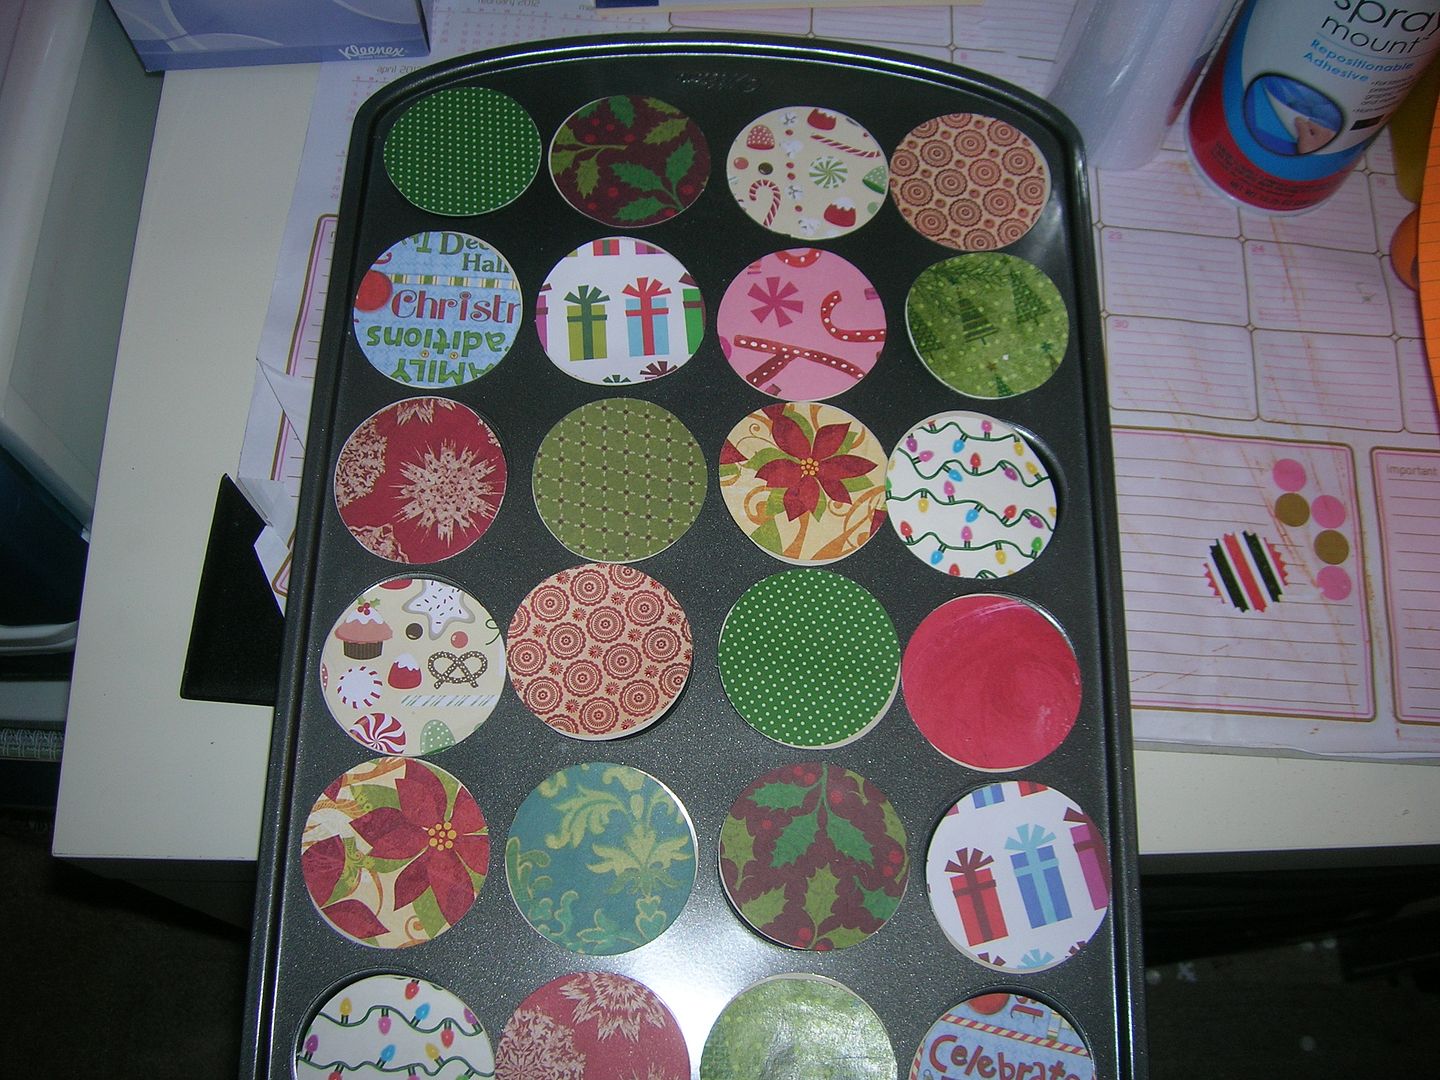
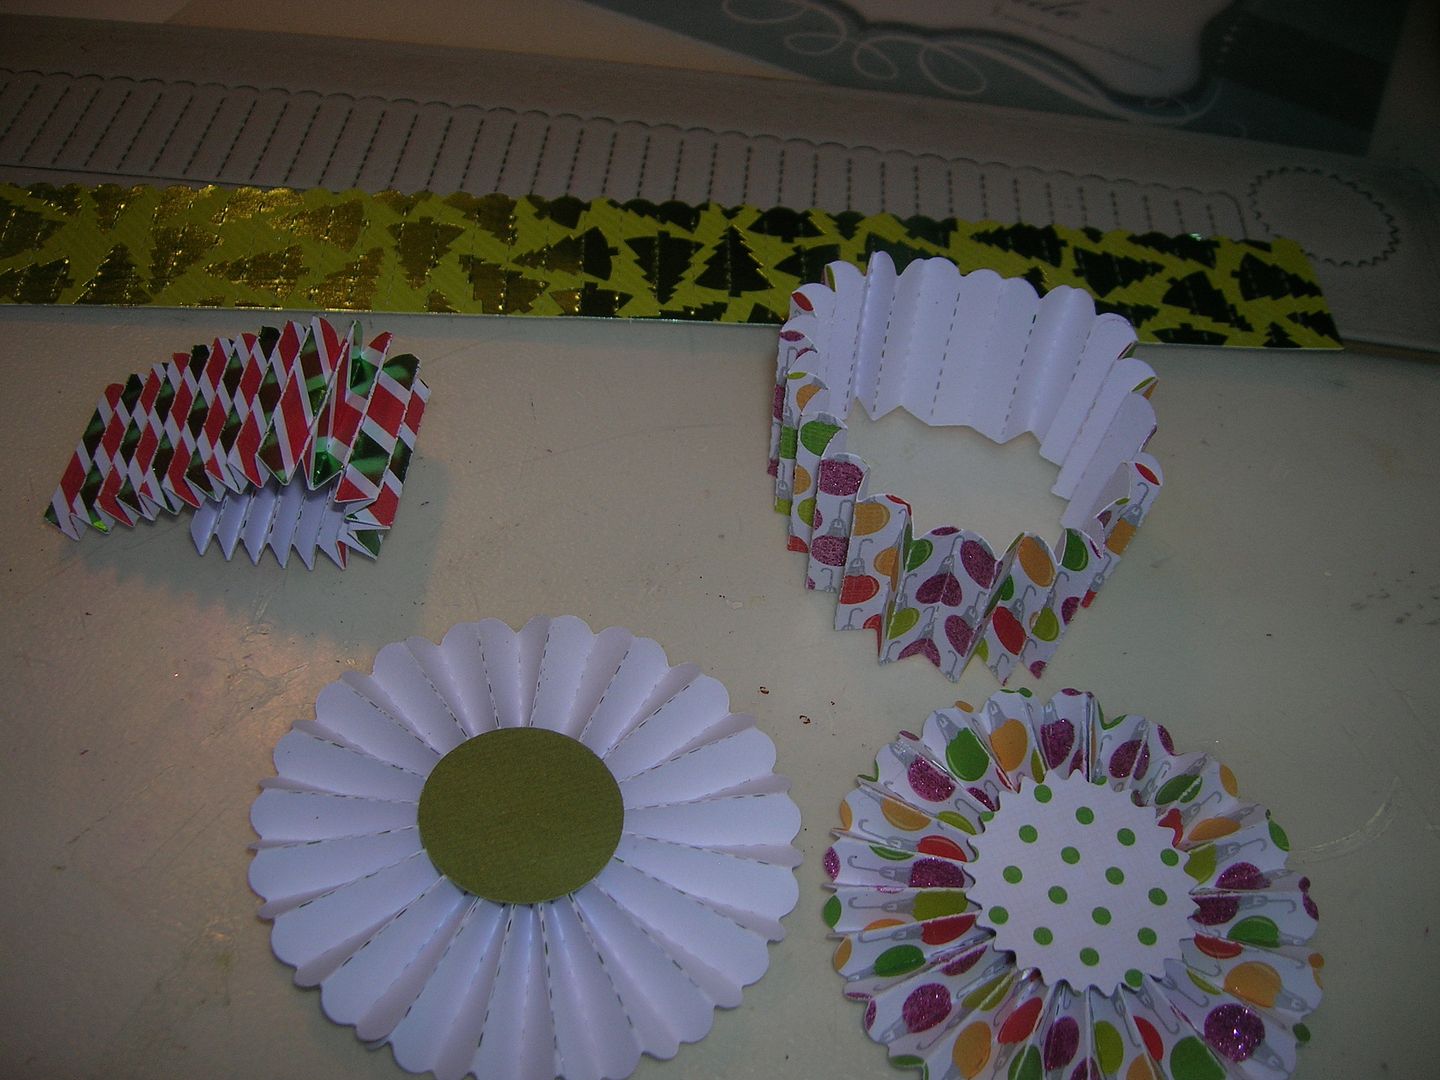
Now you can decorate the magnetic circles how you wish.  I was going to make diecuts but decided to make Rosettes using my Tim Holtz Die maker to give added dimension.  ( 1st idea change)
I was going to cut out numbers but found this sheet in a stack of Christmas paper I had.  (2nd change)
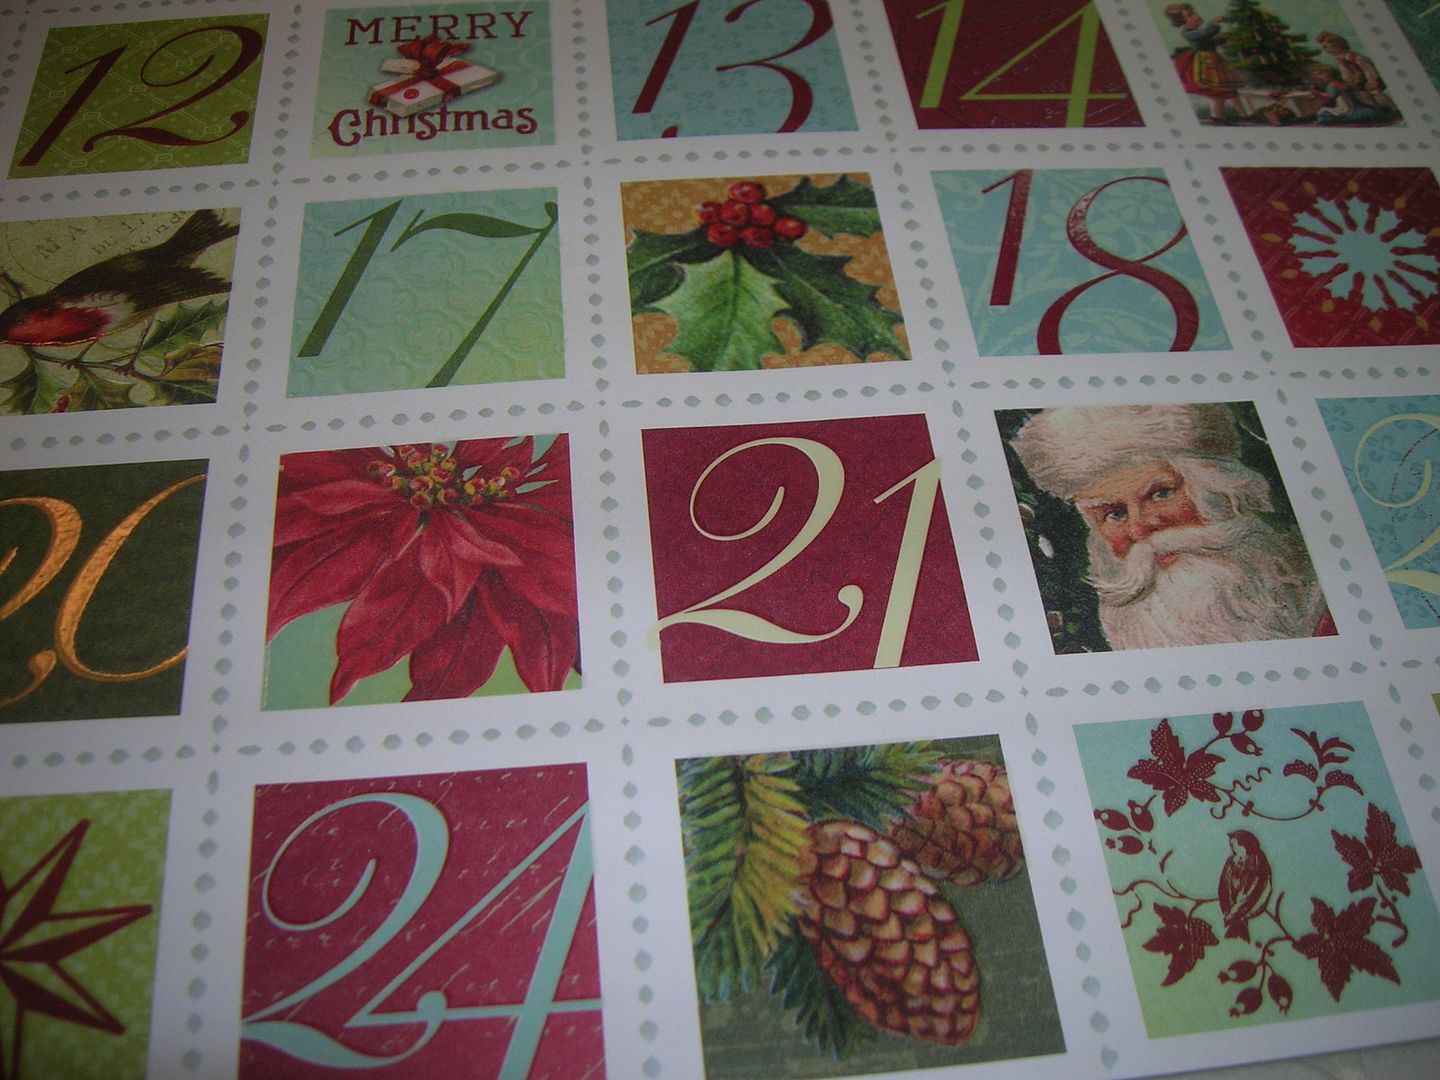
There was all these cute little holiday pics left on the paper so I decided to cut them out with a circle punch and glue them to bottom of pan.  (Change 3)
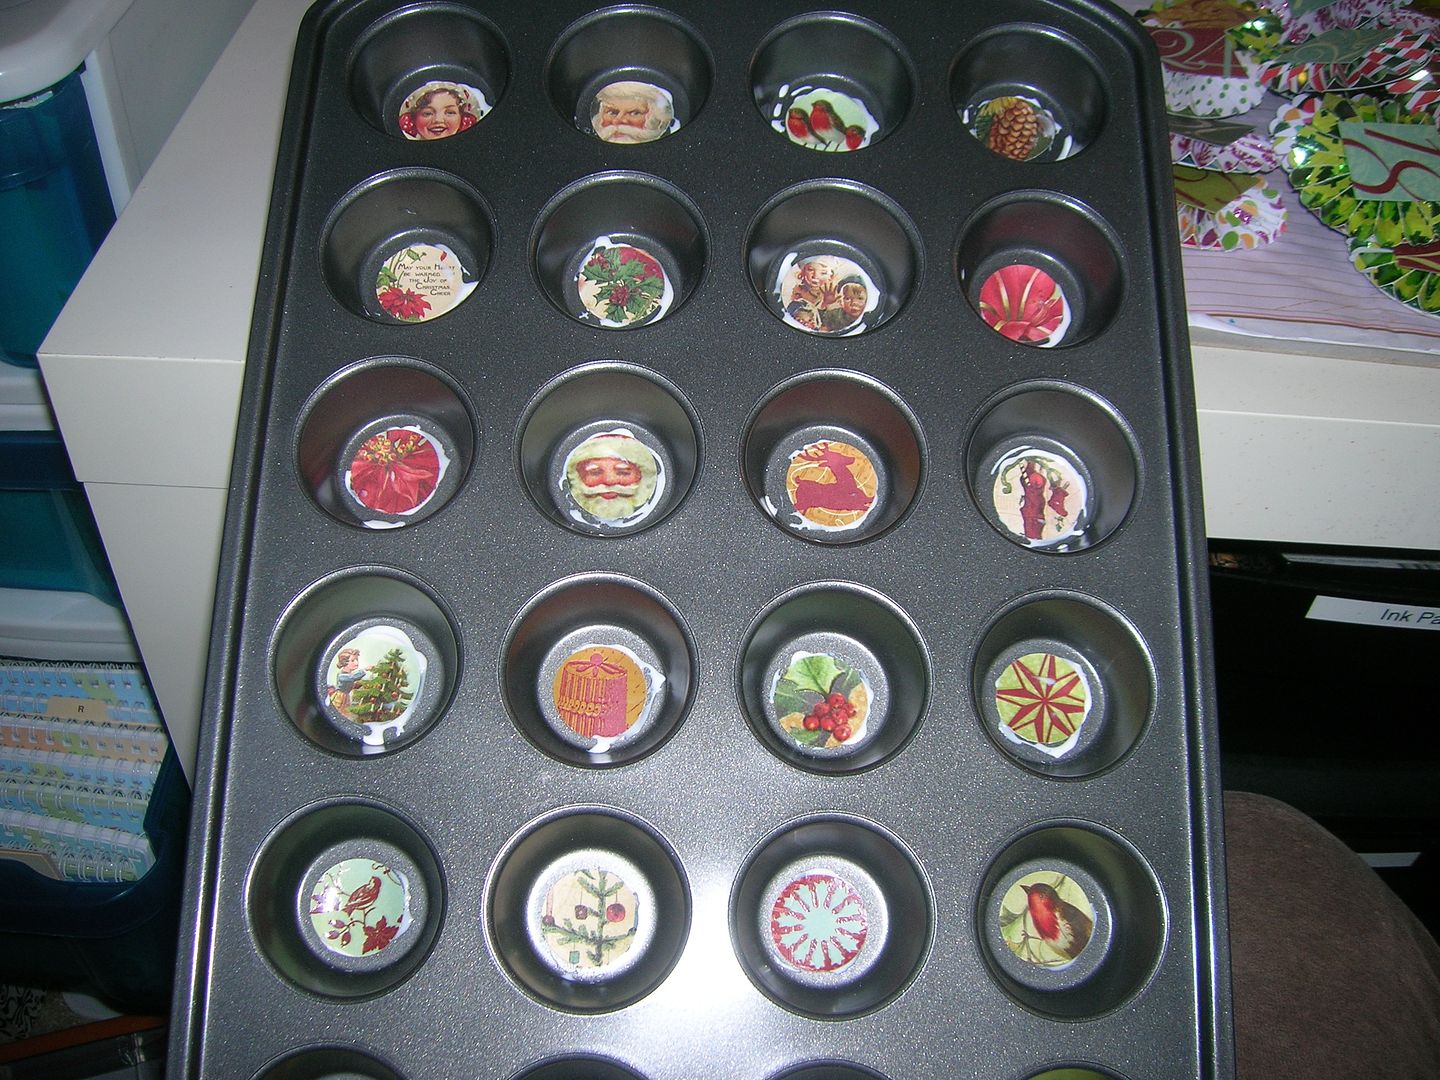
Closeup
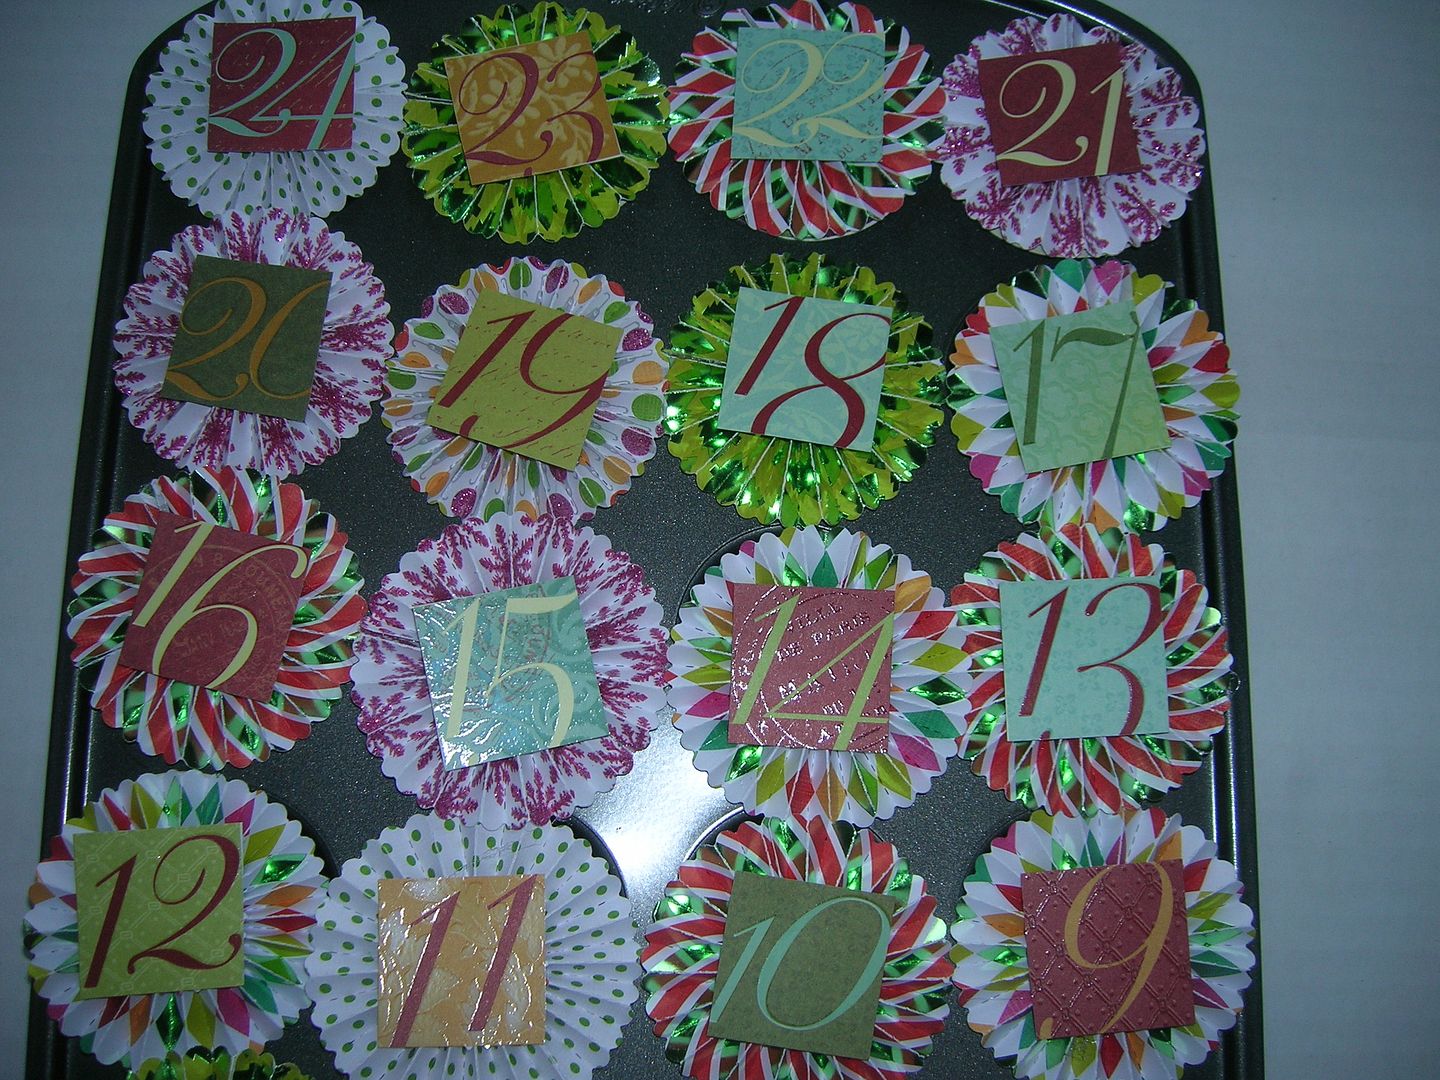
The last one has Merry Christmas glued to side and underneath says Night before Christmas.  
So I made a lot of changes but am happy with my finished project.  
With the muffin tin you can place a candy, gum or tiny toy underneath the magnet.
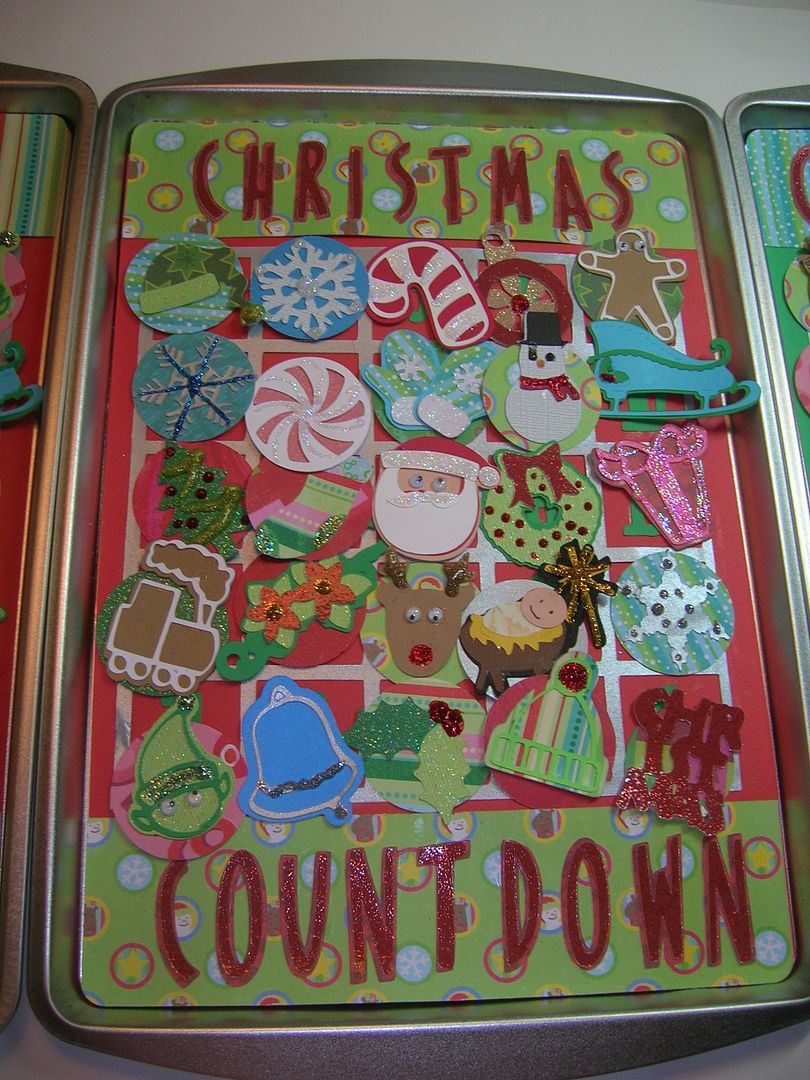
Last year I made Advent Calendars using cookies sheets which were $1 at the Dollar Store.  
Here is the finished product with a variety of Cricut cuts.  For this one we kept candy in a jar and they selected piece they wanted each day.  
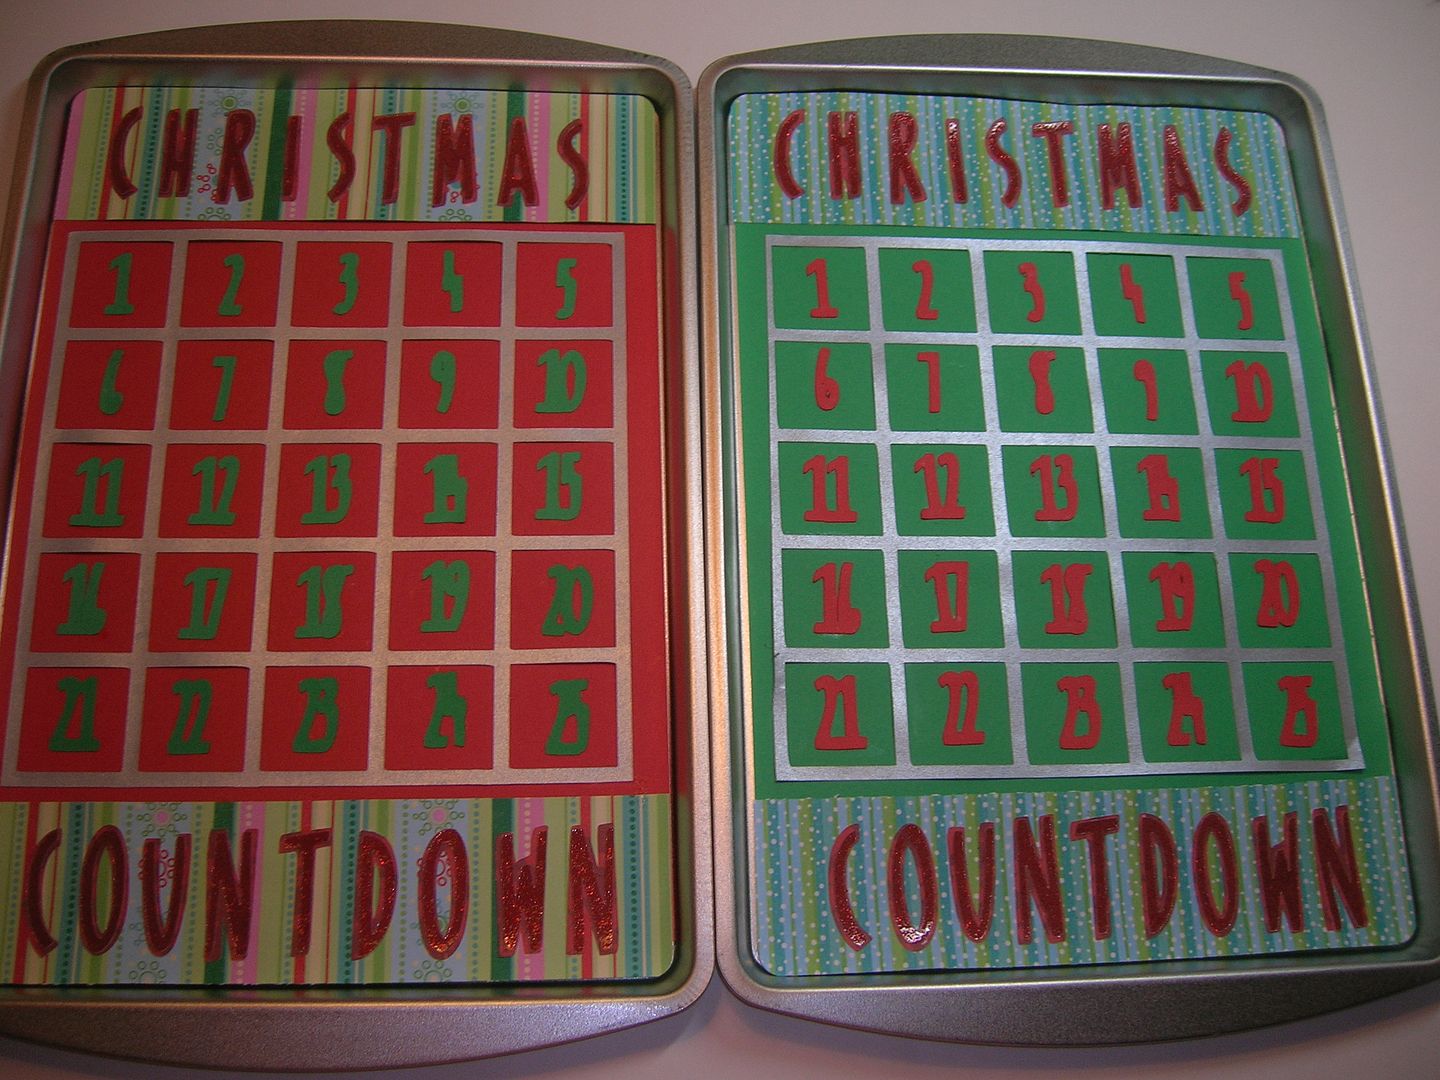
Here is what they looked like underneath.  
Hope you enjoyed this tutorial.  Would love to read your comments and also invite you to come back each day and see what all the Design Team members have to share.  Happy craftin and Happy Holidays.  
Come by and see me at Cricutcraftingrammy
Entering in challenge Shes a Sassy Lady

Wednesday, October 12, 2011

Two birthday cards and a Halloween shaker card

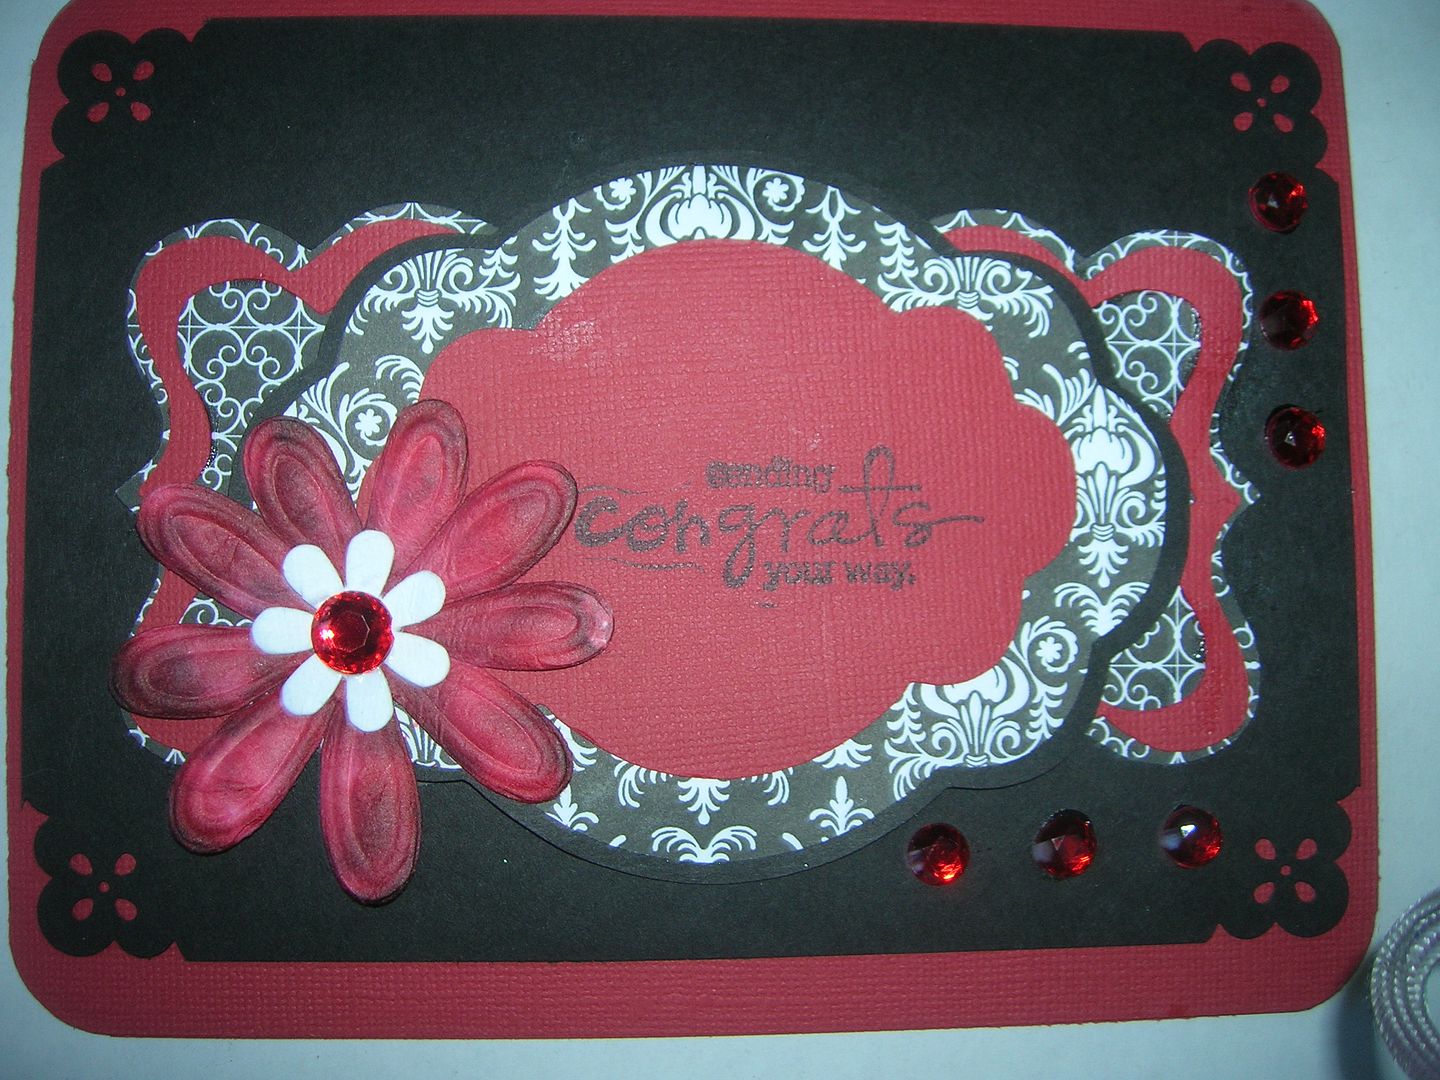
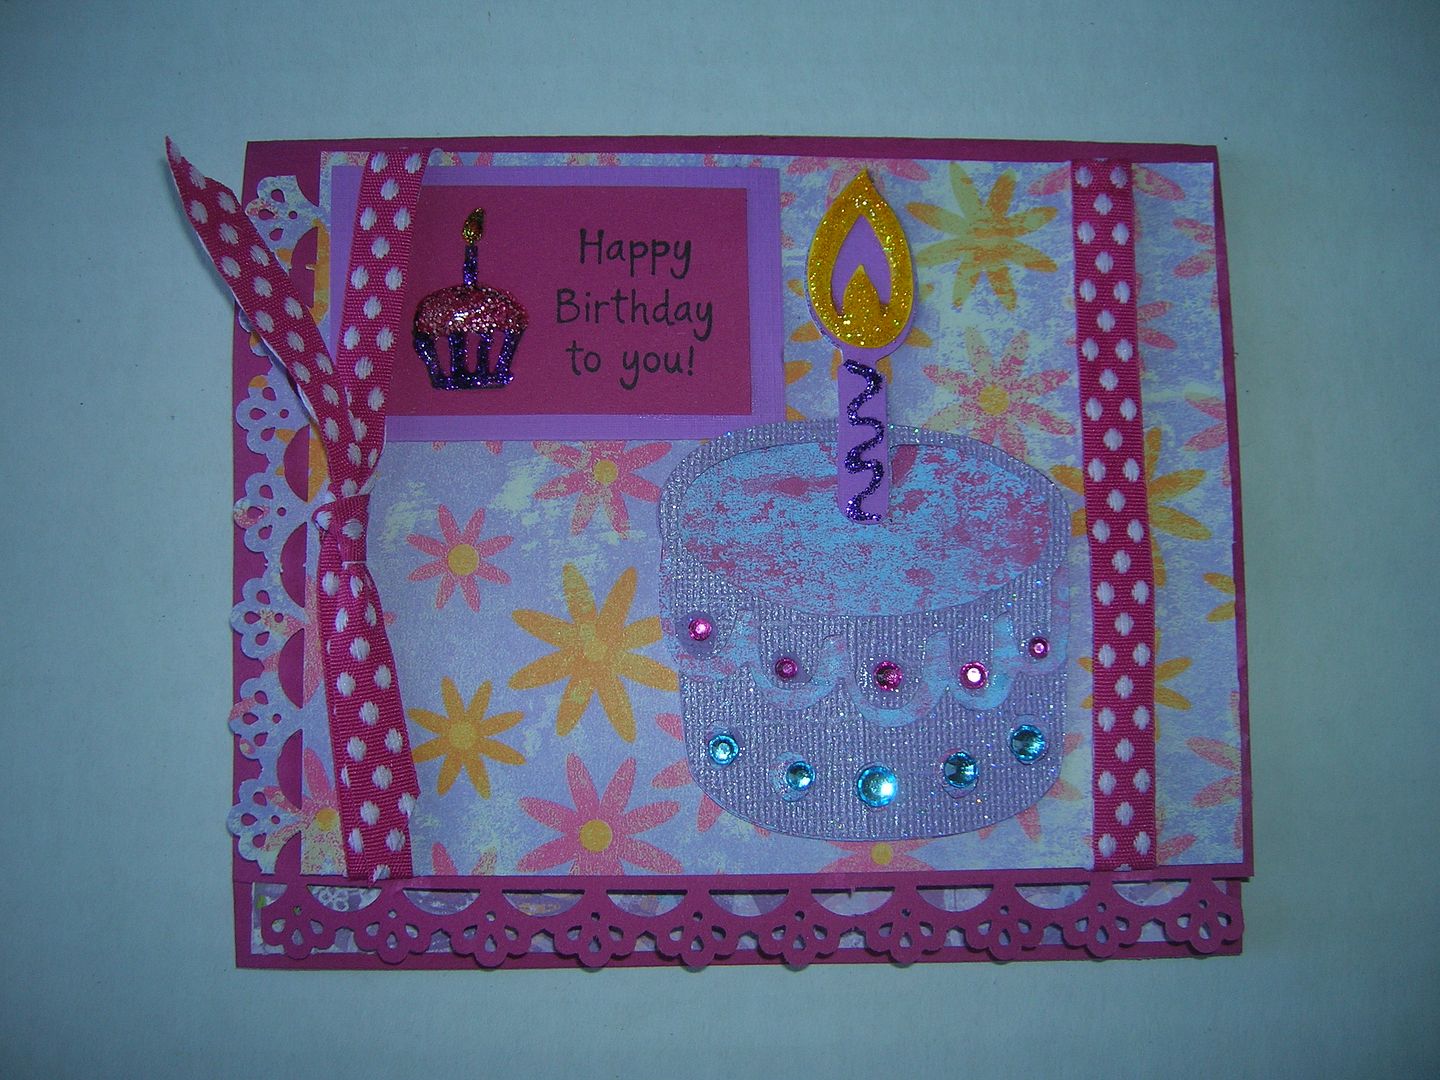
I promised to make birthday cards for a group I belong to this year so I decided to make birthday cards I for several challenges.  Both are  5 x 7 cards.  
I am entering the first one  in the Frosted Designs sketch challenge and the 
Celebrate the Occasion challenge which was to use red, white and black
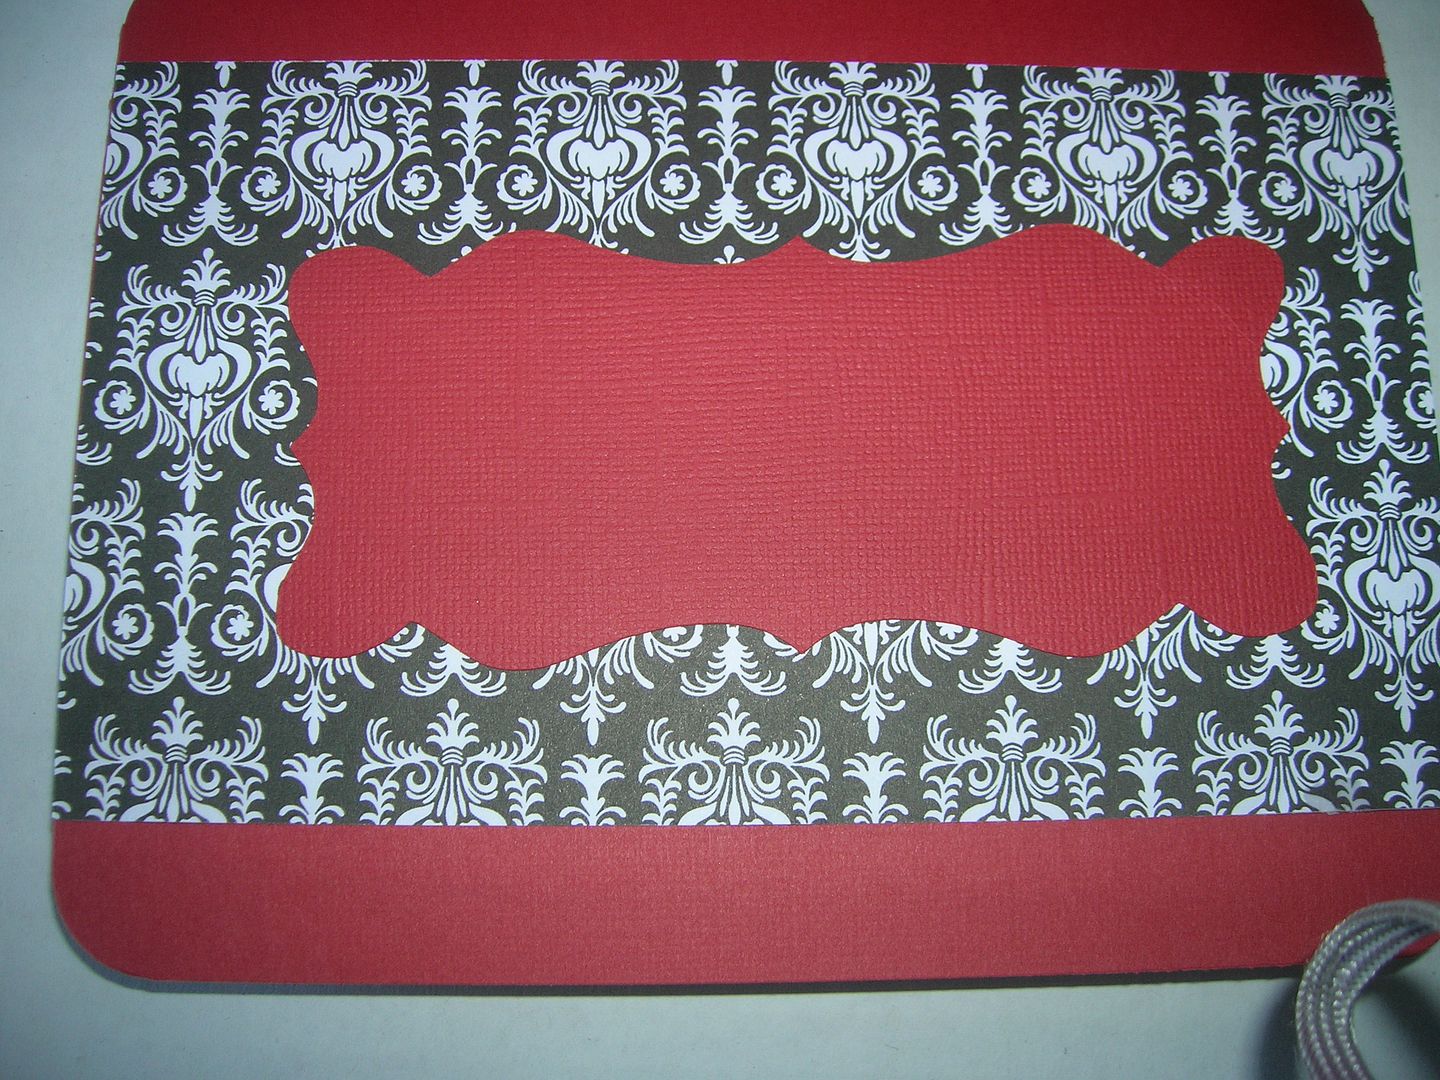
The cuts are from  Sophisticated page 65 and page 62.  
I then took the extra red piece to use for my inside.  
This birthday card is for the Die Cuttin Divas challenge which was to use any kind of dessert and the Cooking with Cricut challenge to use cake, cupcake, or teddybear. I used the cake from Just a Note and a Martha Stewart punch.  
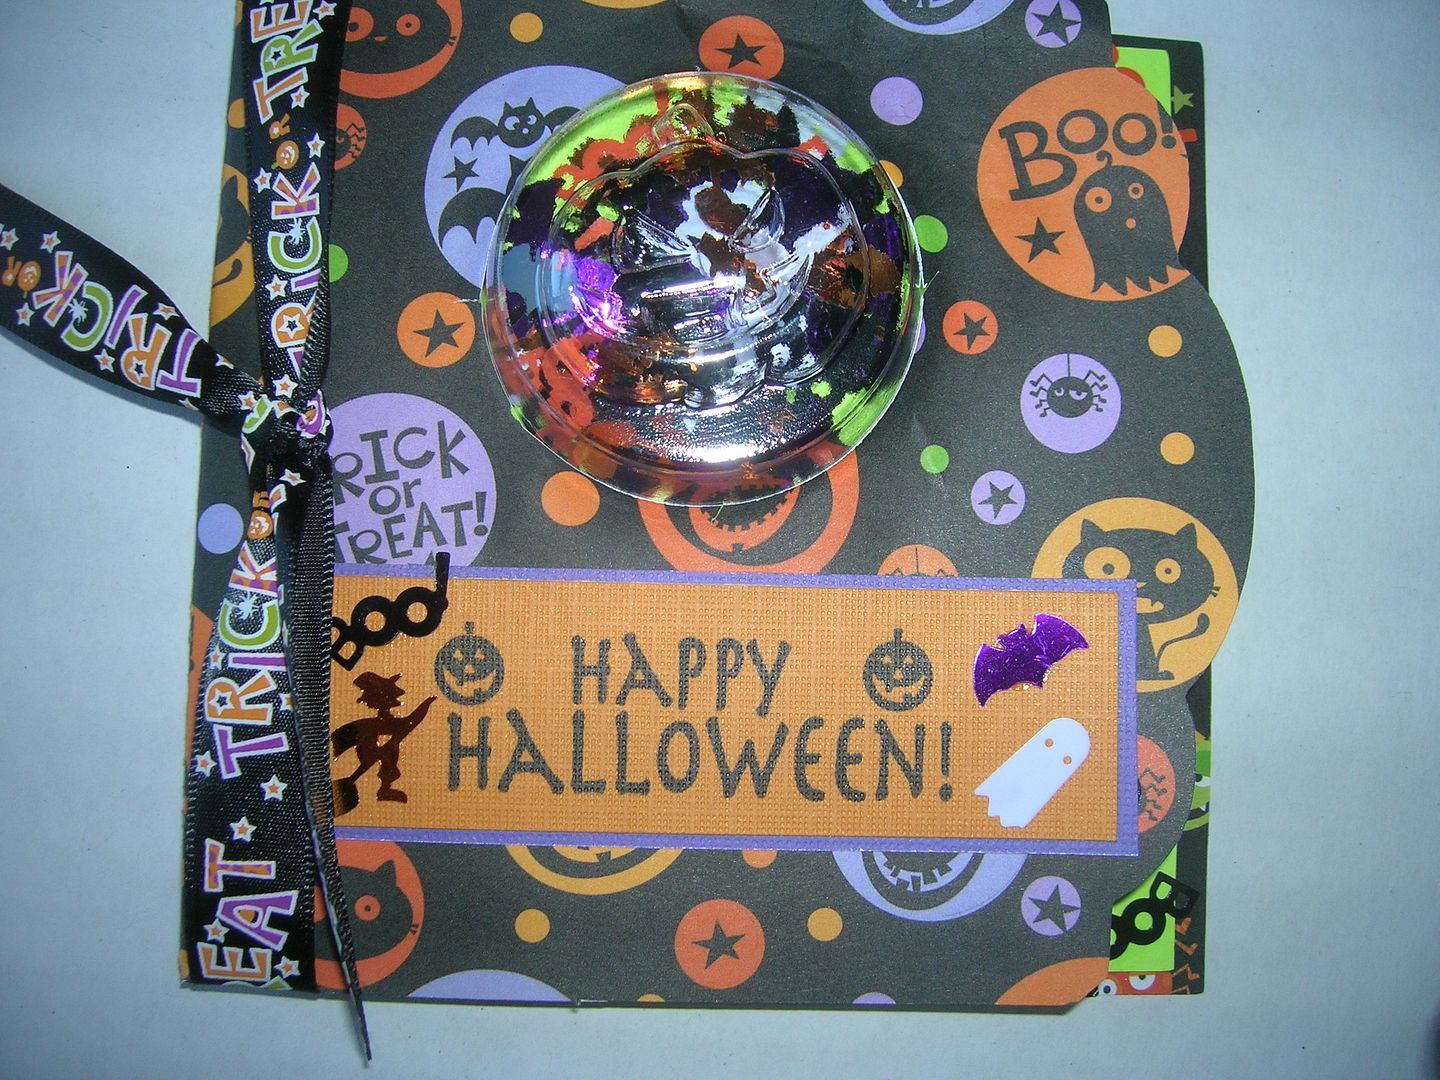
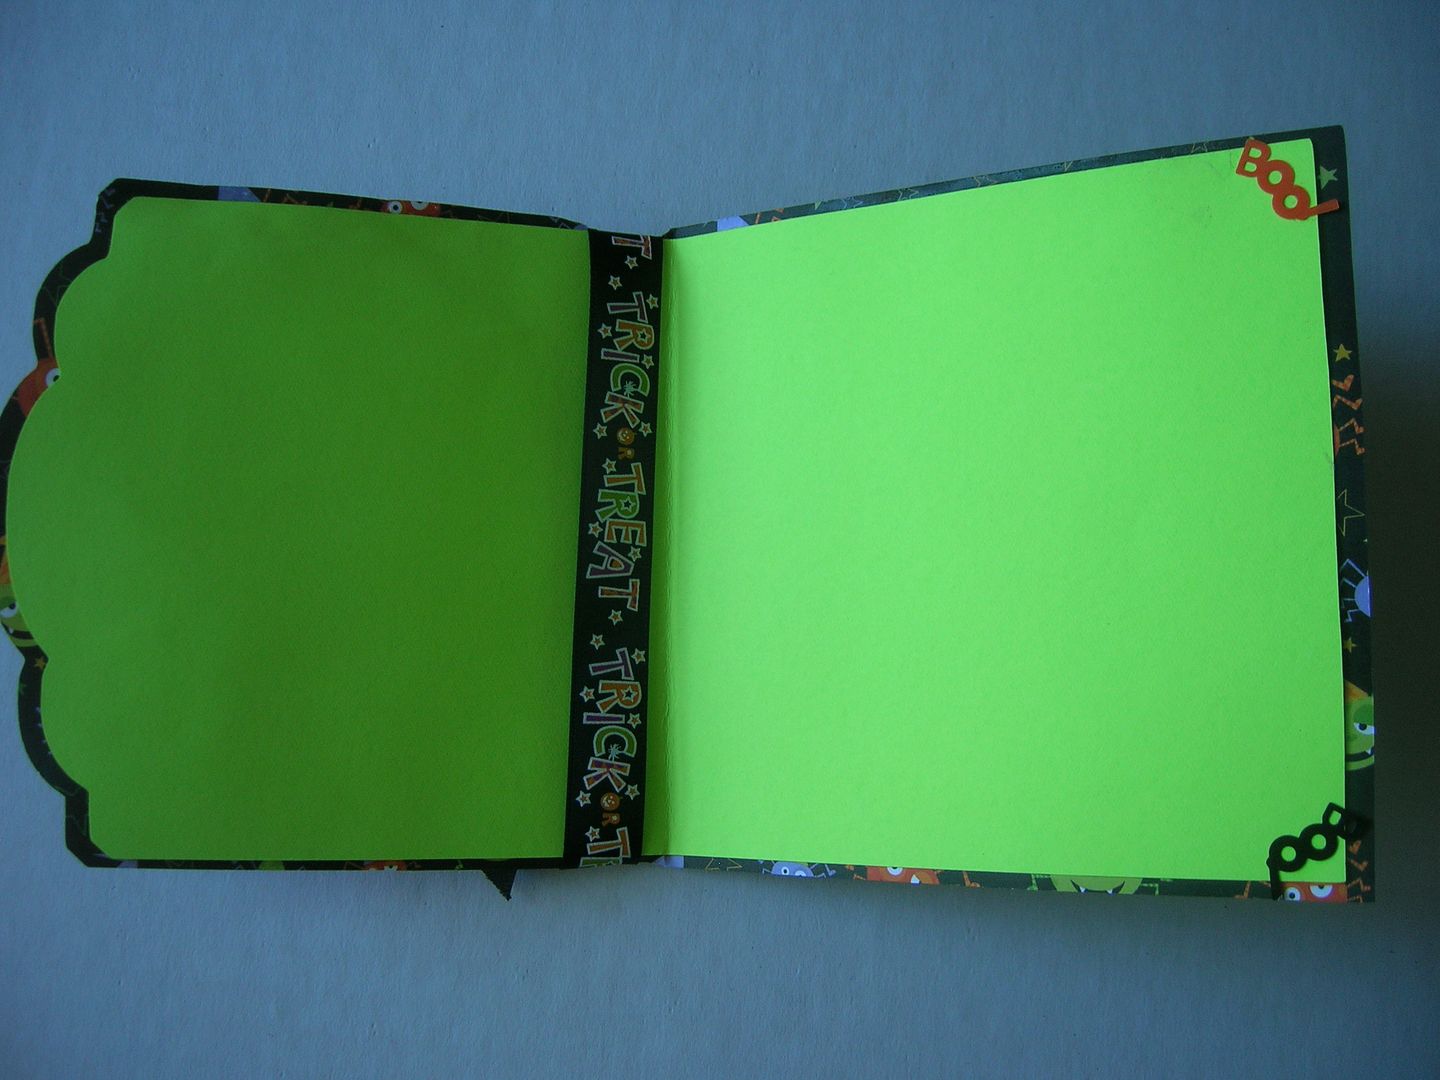
The Halloween I made for the My Craft Spot challenge which was to use black, orange, purple and green. By using my Gypsy I selected a card from Sentimentals and cut it at 5 inches  and  cut a 2.25 circle from the center front using a circle from George.  The plastic cup is a Wilton oreo cookie candy mold which I got on sale at Joanns.  You get 8 cups per tray.  I taped the cup into the front.  I then cut a liner at 4.75 inches and covered the cup.  My cup is filled with Halloween confetti but you could also use candy.  I added ribbon and a stamp sentiment.  I also glued some of the confetti on the sentiment piece.   

Saturday, October 8, 2011

What I Love About Halloween Blog Hop October 8th Day 2


Welcome to the What I Love About Fall/Halloween  Blog Hop.  This hop is scheduled from Oct. 7 at 8:00 am through Oct.8 at 11:00 pm(cental time).
If you just happened to come to this blog, you can start at the beginning with Lisa Peters-http://handmadewithlove-lisa.blogspot.com/.  If you just came fromMandie http://mandiesscrappin.blogspot.com/, then you are in the right spot


We're so excited to be doing this hop and we have a fabulous lineup with some very talented ladies.  There will be lots of fun projects, along with some great blog candy, and a great grand prize for this hop.

The hop is a 2 day hop so you will have plenty of time to make it through the whole hop lineup twice.  Check out each blog and see what blog candy you can win at the individual stops.  Please come back both days to see great projects.

Here is the complete lineup:

Suzanne http:cricutcraftingrammy.blogspot.com/ You are here.  
Jearise http://lorbysworld.blogspot.com/Next and last stop.

                                                                                                   
To be eligible for the grand prize, you must visit each blog and leave a comment. You also MUST visit my blog and leave a comment on my blog for the day and also become a follower at "Scrapping With Lisa" and my facebook page:http://www.facebook.com/pages/Scrapping-with-Lisa/130882060268842.  Please let me know if you don't do facebook and I won't count that against you for the blog candy.  Now for the blog candy, I bet you are wondering what it could be.   It will be a grab bag full of goodies.

For the blog candy for my blog please leave a comment and become a follower.  I have three days of Halloween blog hops this month- October 7 and 8th and another hop on October 15th.  I will take all the comments for these three days and choose a winner by random.org on the 16th of October.  Come back all three days and make a comment and you will have three chances to win.  The winner will receive a $10 gift card from their choice of either Michaels or Joanns.  

Thanks for those of you who left comments yesterday.  If you missed the hop there is still time to hop through day 1.  
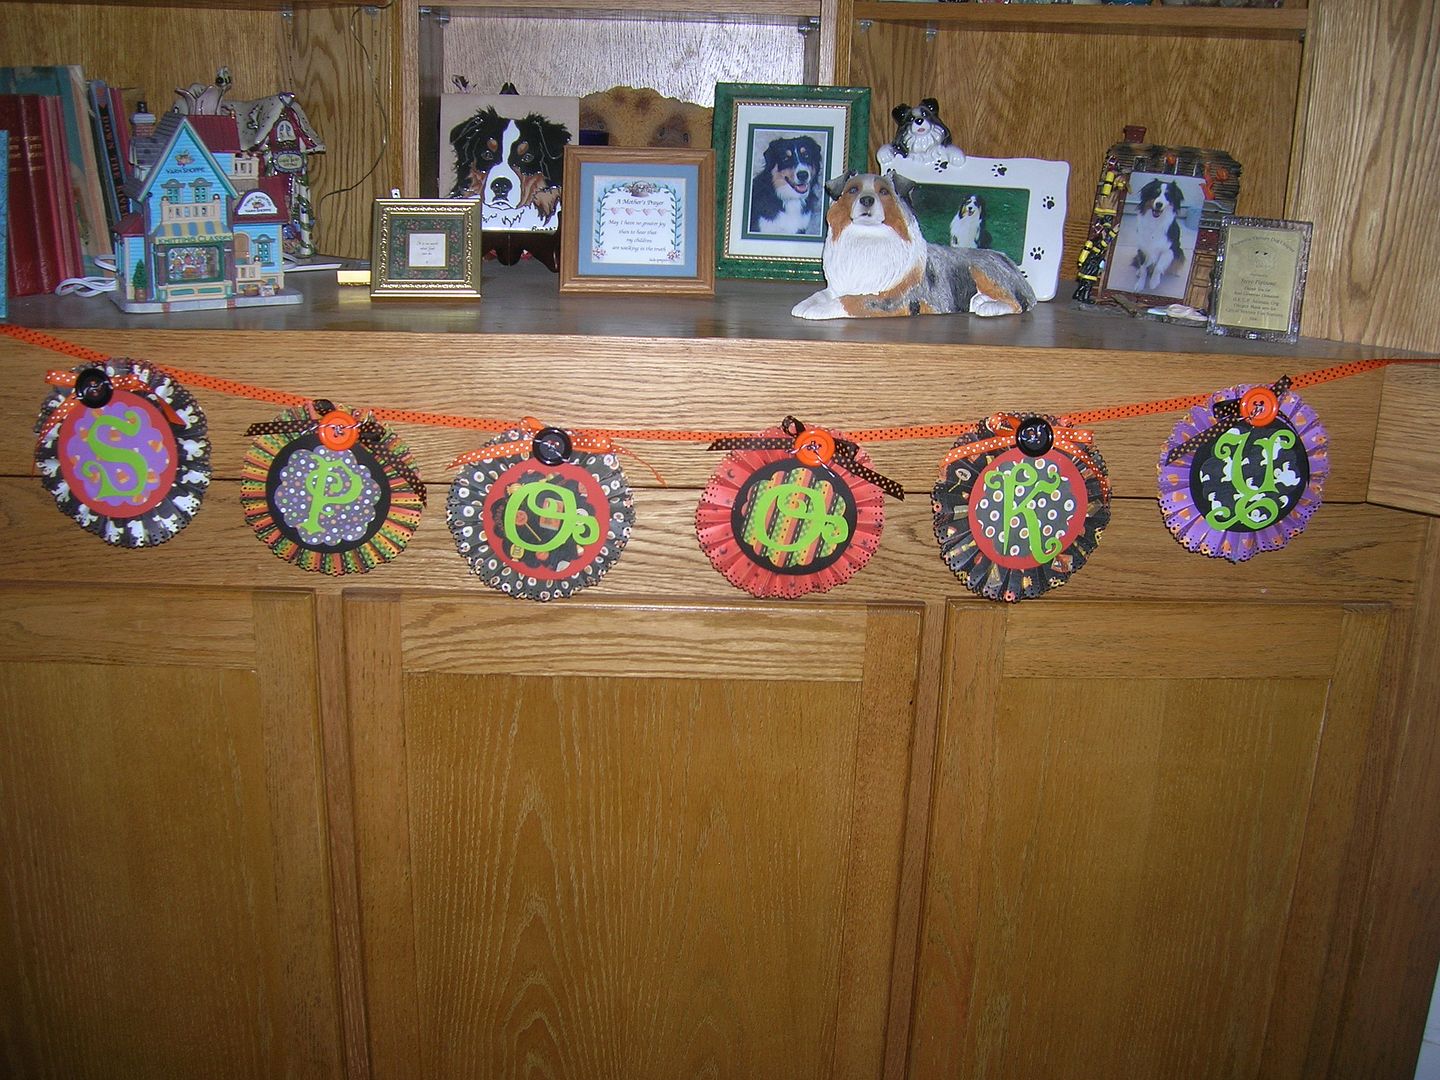
The second thing I like about Halloween is decorating my house.  Here are the directions for a Halloween banner I made recently.  

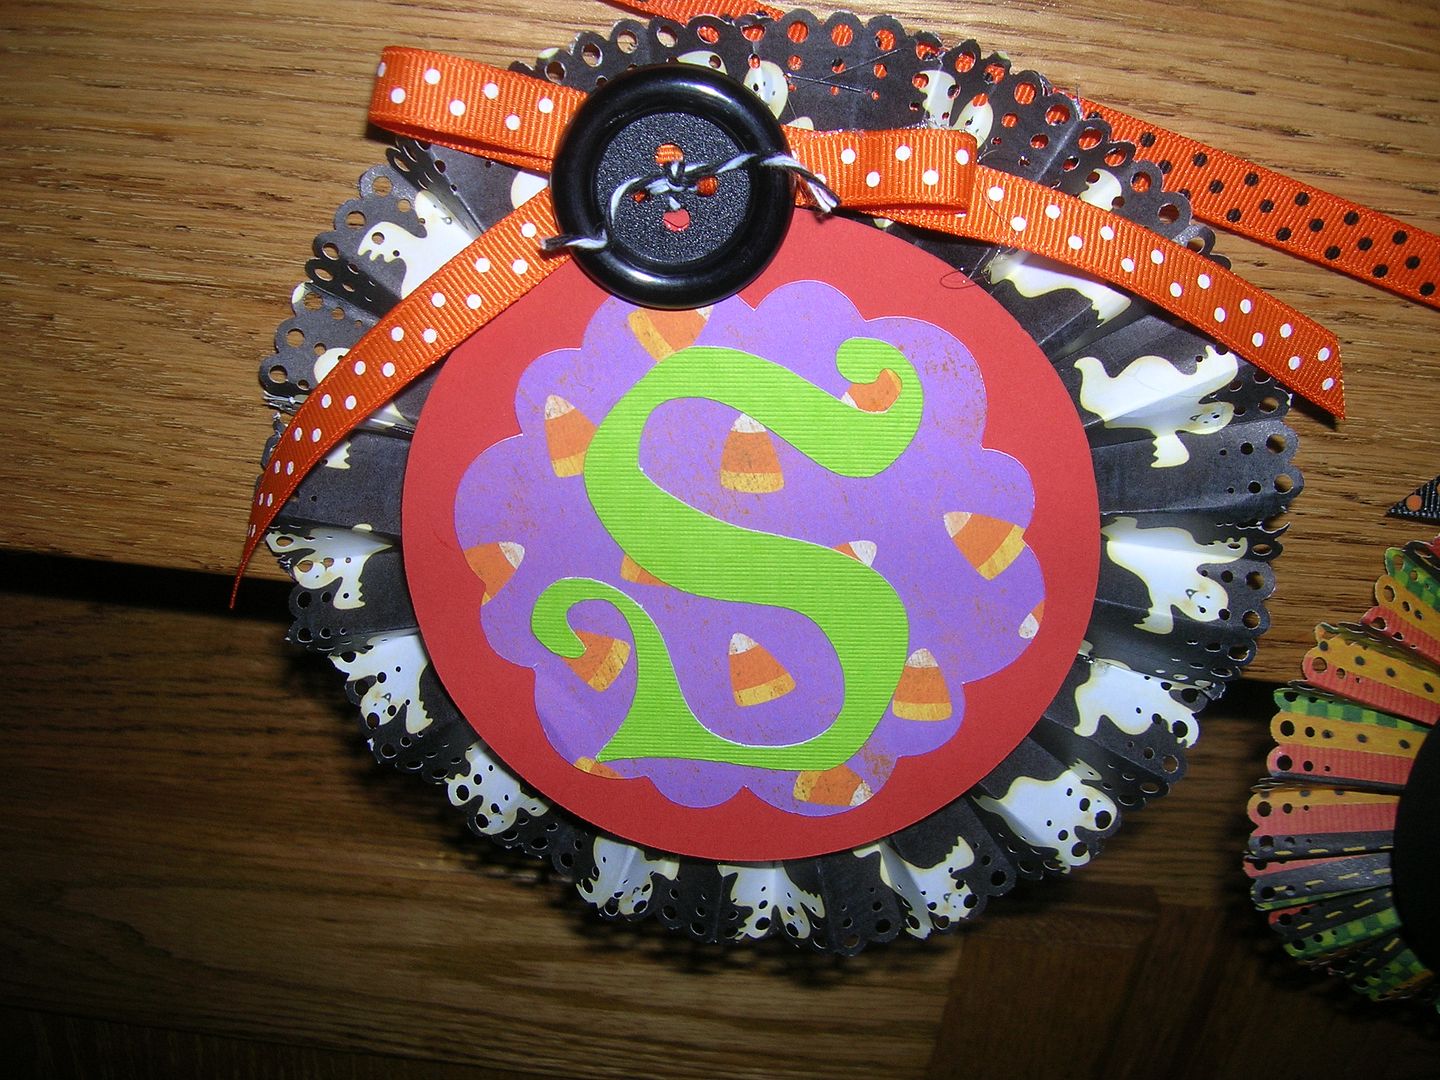
Directions for Rosette Spooky Banner using Happy Hauntings, Lacey Labels and George 


If you love Halloween decorating come back tomorrow to see the 
Halloween wreath I will be sharing.  


Your next and last stop is Jearise http://lorbysworld.blogspot.com/

Have a great day and please come back to visit me on my blog again.  Happy craftin!


Friday, September 30, 2011

Operation Write Home- World Cardmaking Day


Click on Beginning of Hop to reach the linkz tool to see the other cards in the hop.  

I am delighted to participate in the Operation Write Home  World Cardmaking  Day Blog Hop.  The mission of this organization is to support out troops armed forces by s ending blank handmade greeting cards to write home on, as well as cards of gratitude to encourage them.
I have participated with another group Cards for Soldiers that also does the same thing.  This is a great way to share the love with the men and women serving our country.  Plus it is a lot of fun to make different cards and a great way to keep your scrap pile from taking over your craft space.
One reason this is near and dear to my heart is I was a military wife for 7 years.  I know how much the men and women who serve in the Armed Forces and their families give up serving their country.  It is a big sacrifice and we need to be thankful for all they do.

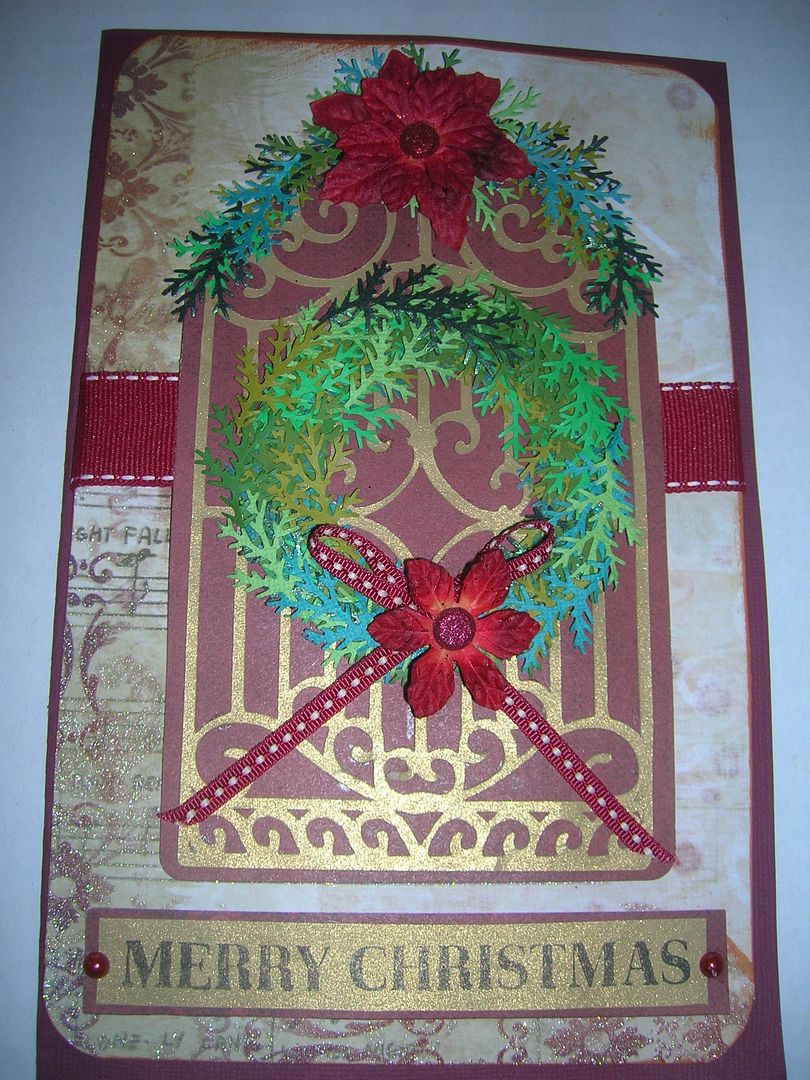
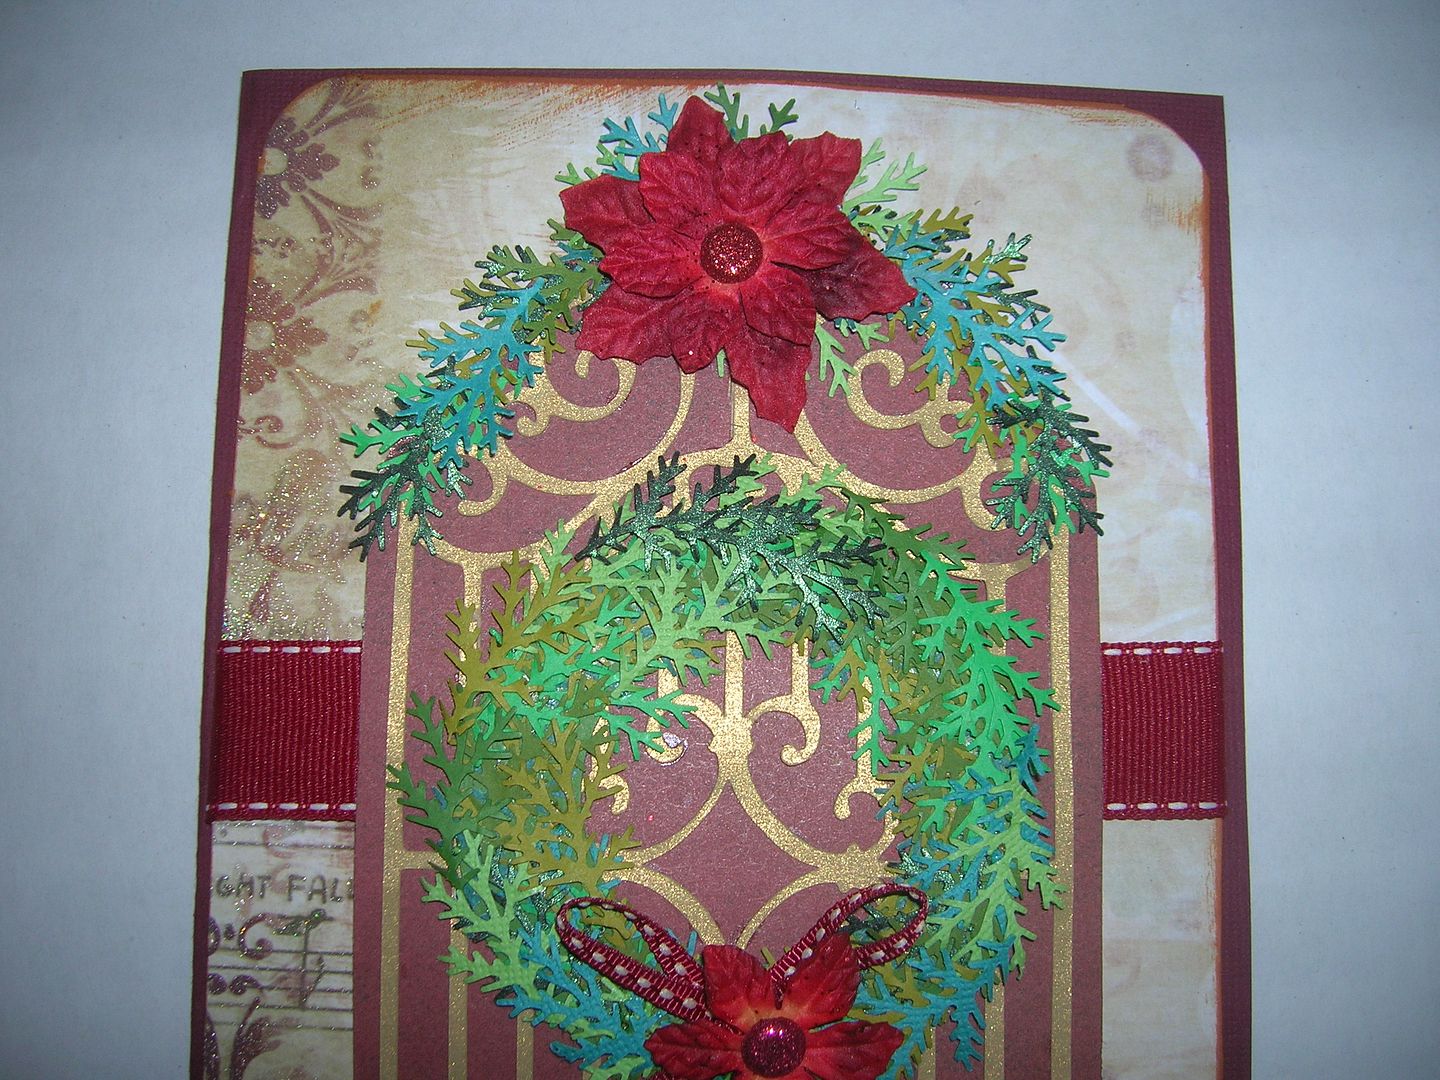
This is my card for today.  It is 5 x 7 card.  I cut the gate and gate shadow at 6 inches from the Cricut cart Ornamental Iron.  I then cut a 3 inch circle from George with a 1 1/2 inch circle  in the center.  To form the wreath and garland I punched 6 different green scraps with the Martha Stewart Branch Punch.   Using different colors makes it look more realistic and dimensional.  I then began gluing the branches around the circle to form the wreath and along the top of the gate to form the garland.  I added ribbon and 2 Pointsettia Primas.  I used a scrap of the same gold paper I used for the gate for my stamp background and added two tiny red glittered brads.  You can also add bling to the wreaths if you want.
Detail pic of wreath and garland.  
I am also entering this in the Cricut Circle Blog Weekly World Cardmaking Day challenge and My Pink Stamper Christmas Card challenge. 
I hope you enjoyed my card.  Would love to have you come by again and check out my blog some more.  I am looking forward to seeing everyones great cards.
Happy Craftin

Tuesday, August 30, 2011

Spooky Halloween Rosette Banner

The challenge this week at Sweet Sassy Diva is to make a Halloween Banner. Now is a great time to start on Halloween so you can get all your home decorating ready for October. All week the Design Team will be sharing their Halloween Banners so this should give you lots of idea to get started.  
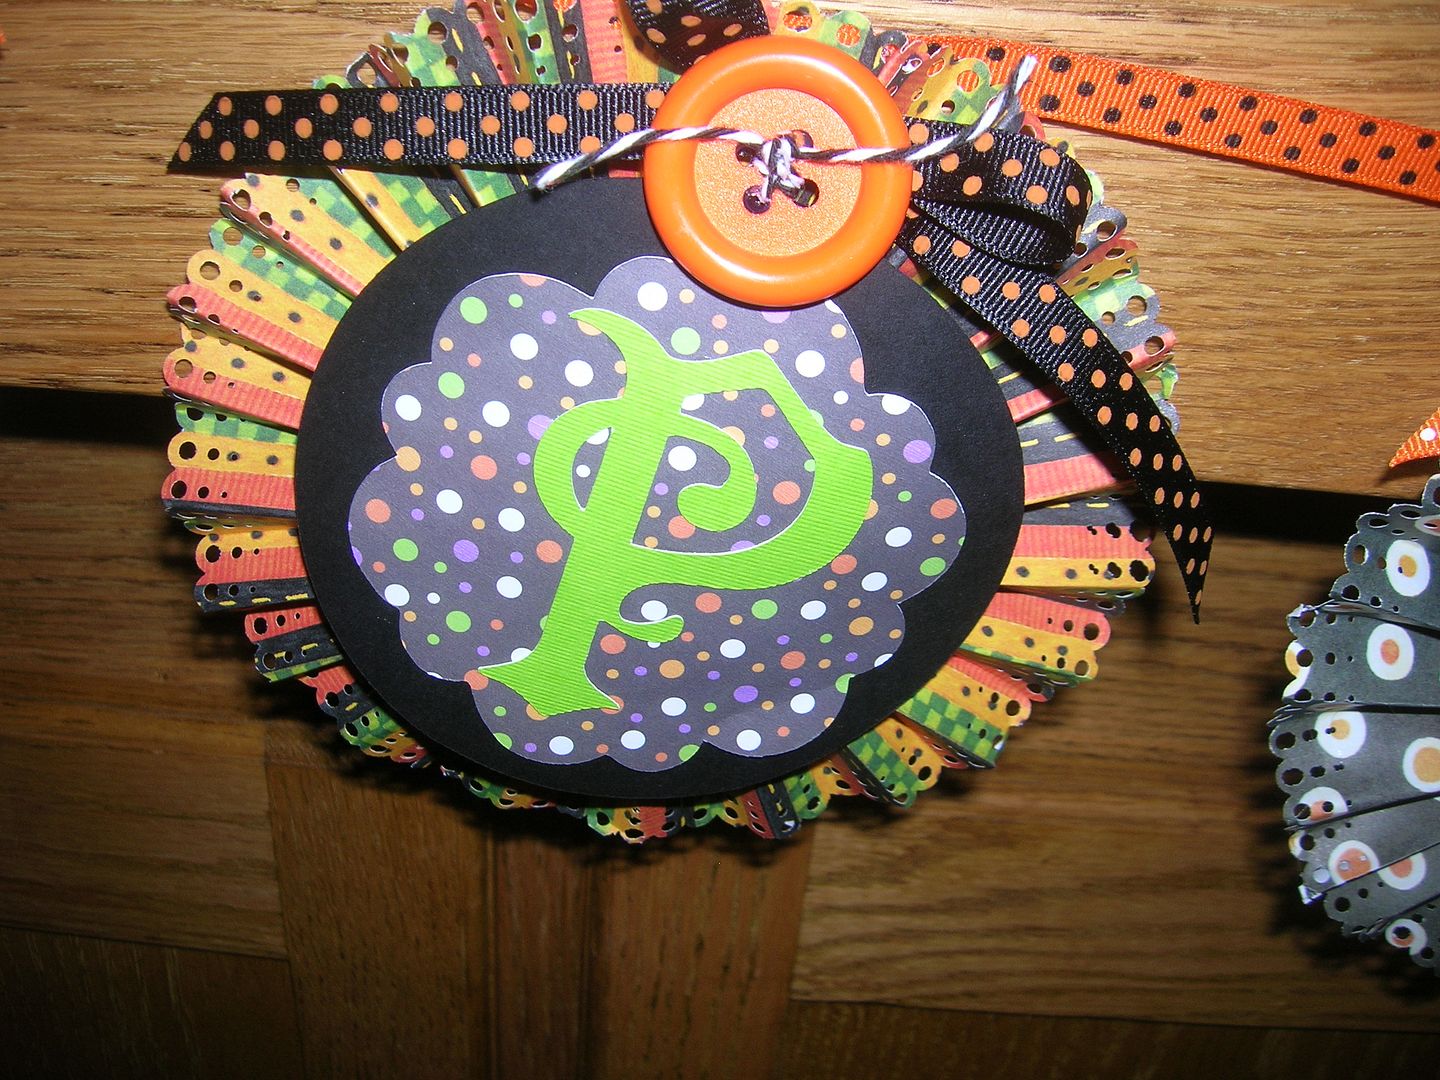
 Here is a picture of my finished banner hanging up.  
    
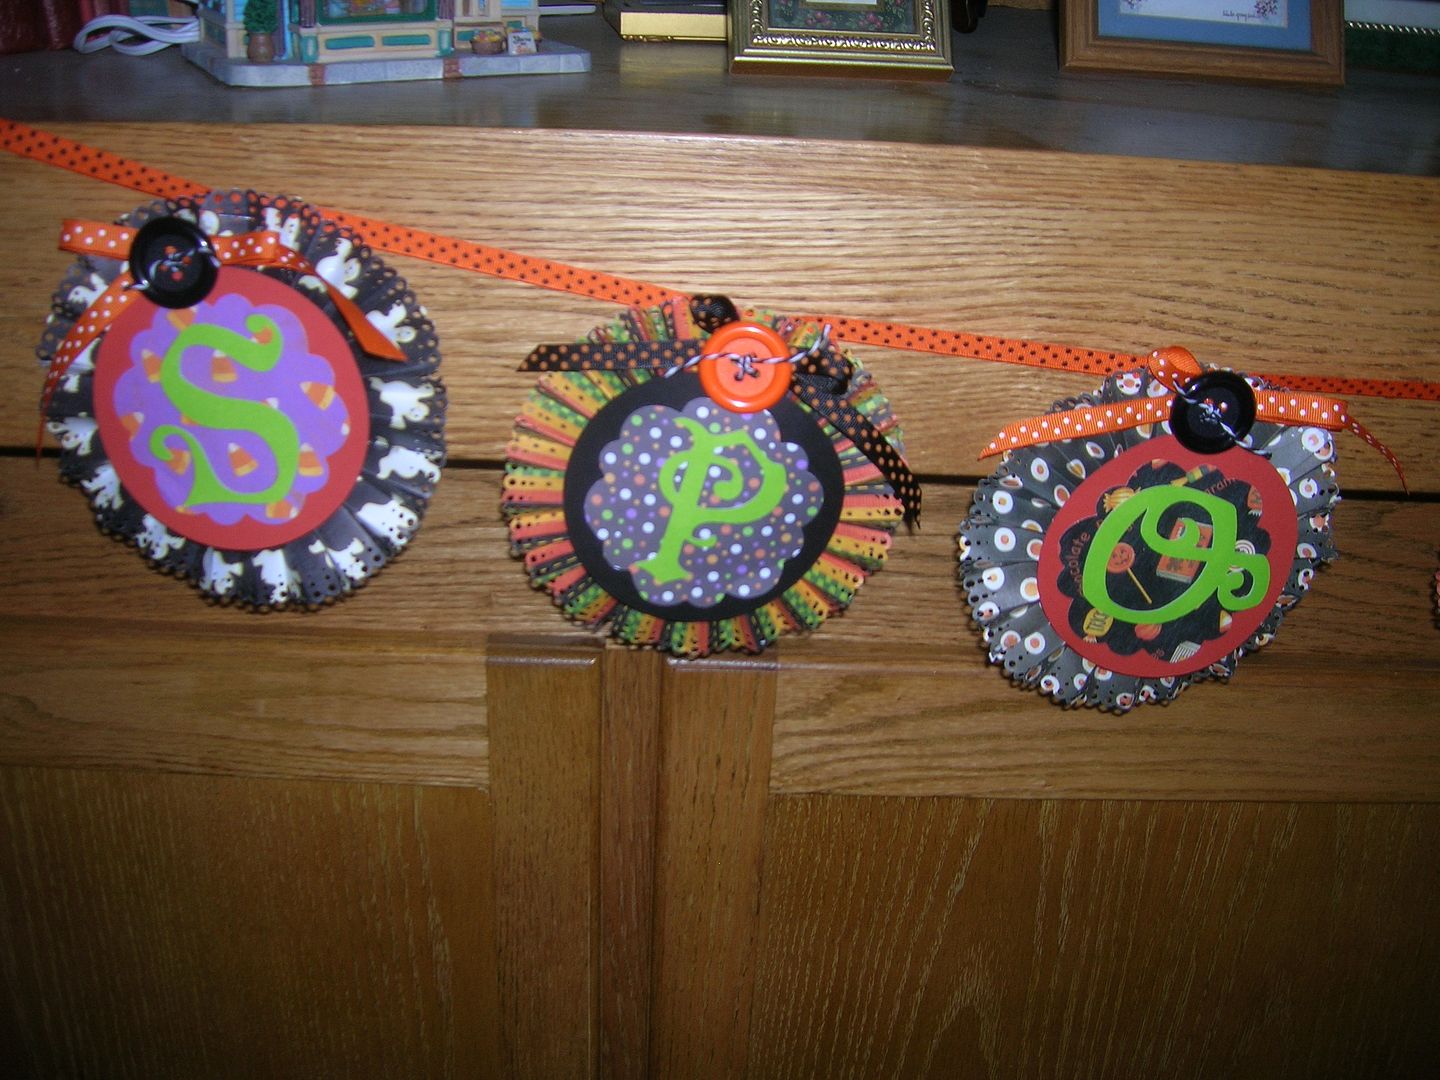
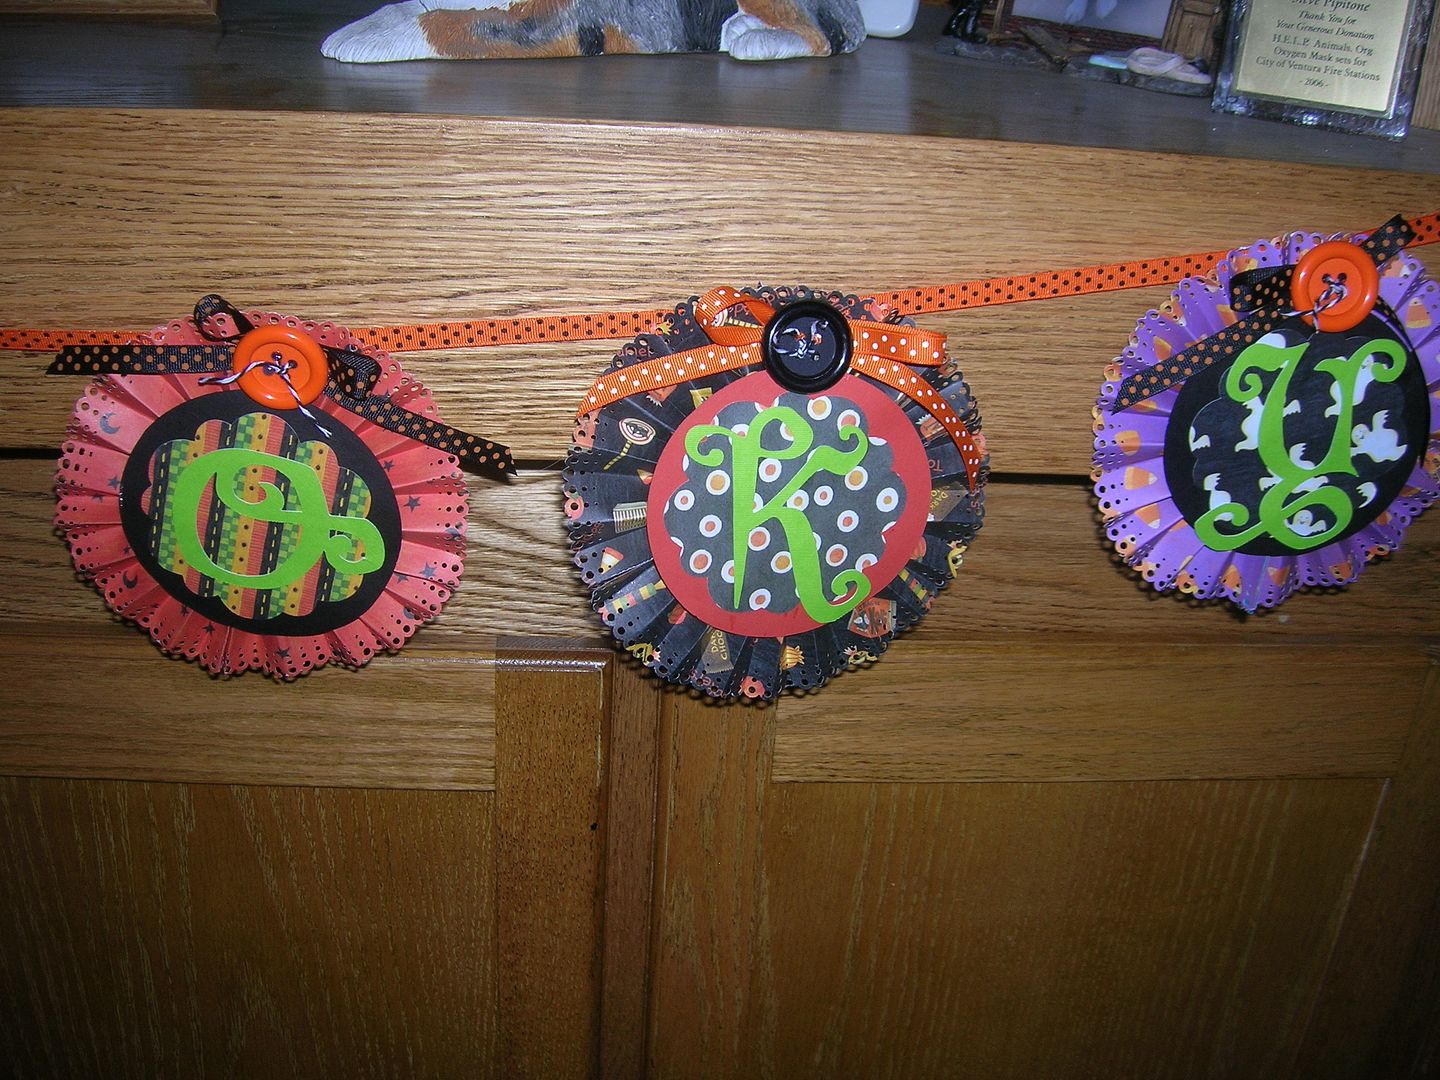
Here are some closeups.  
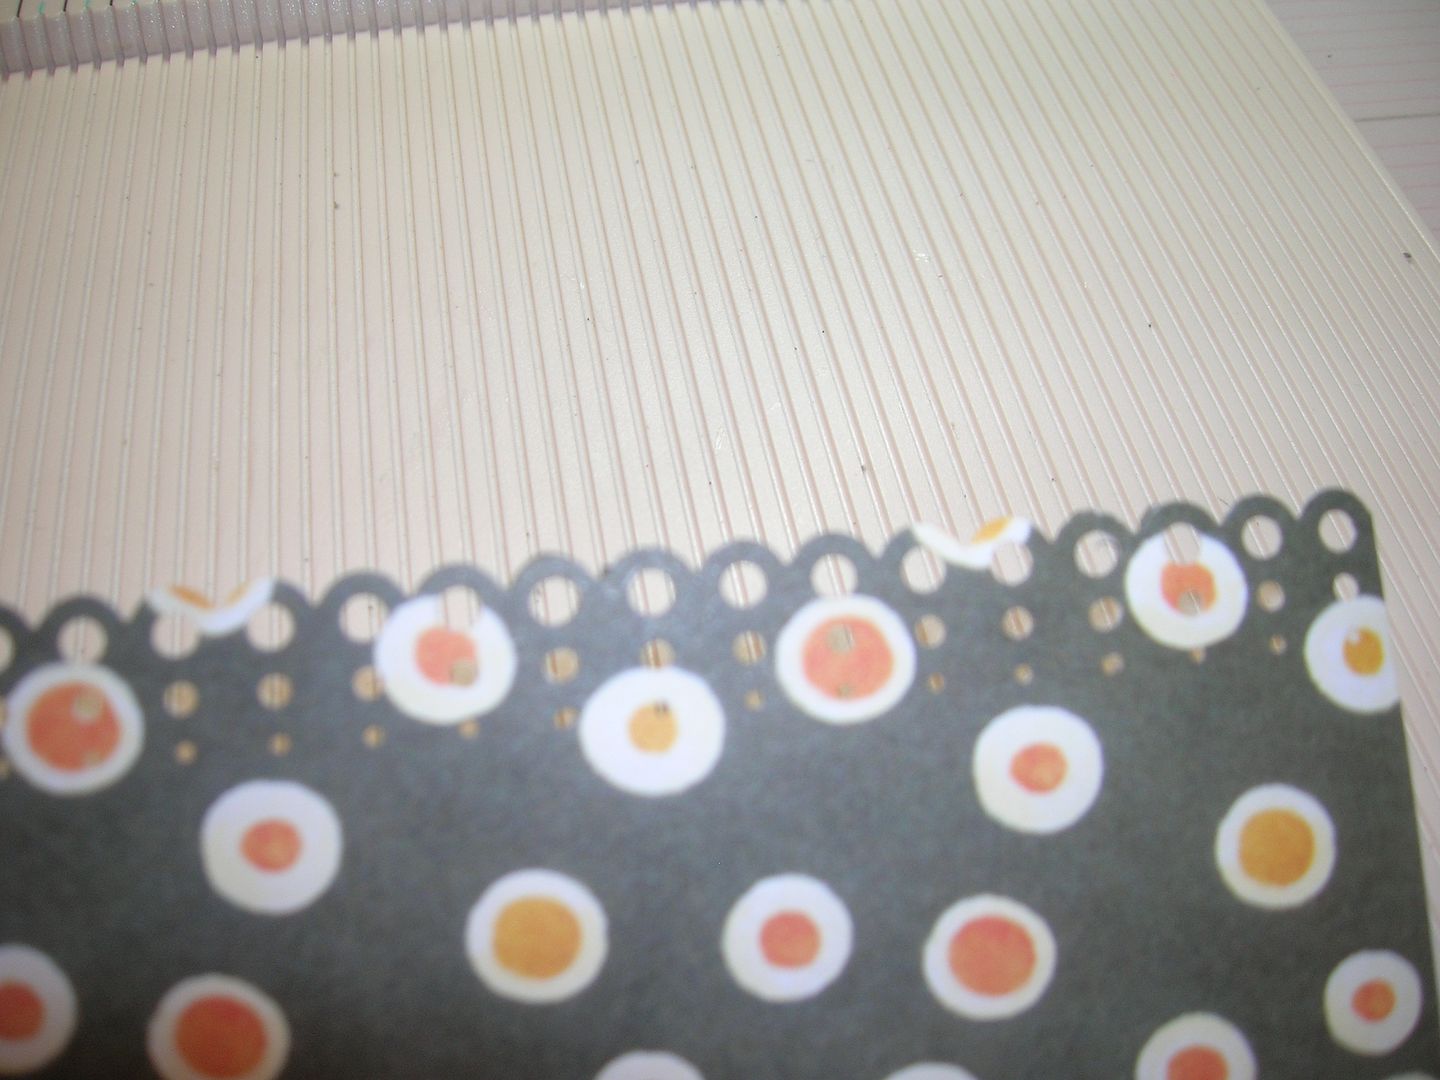
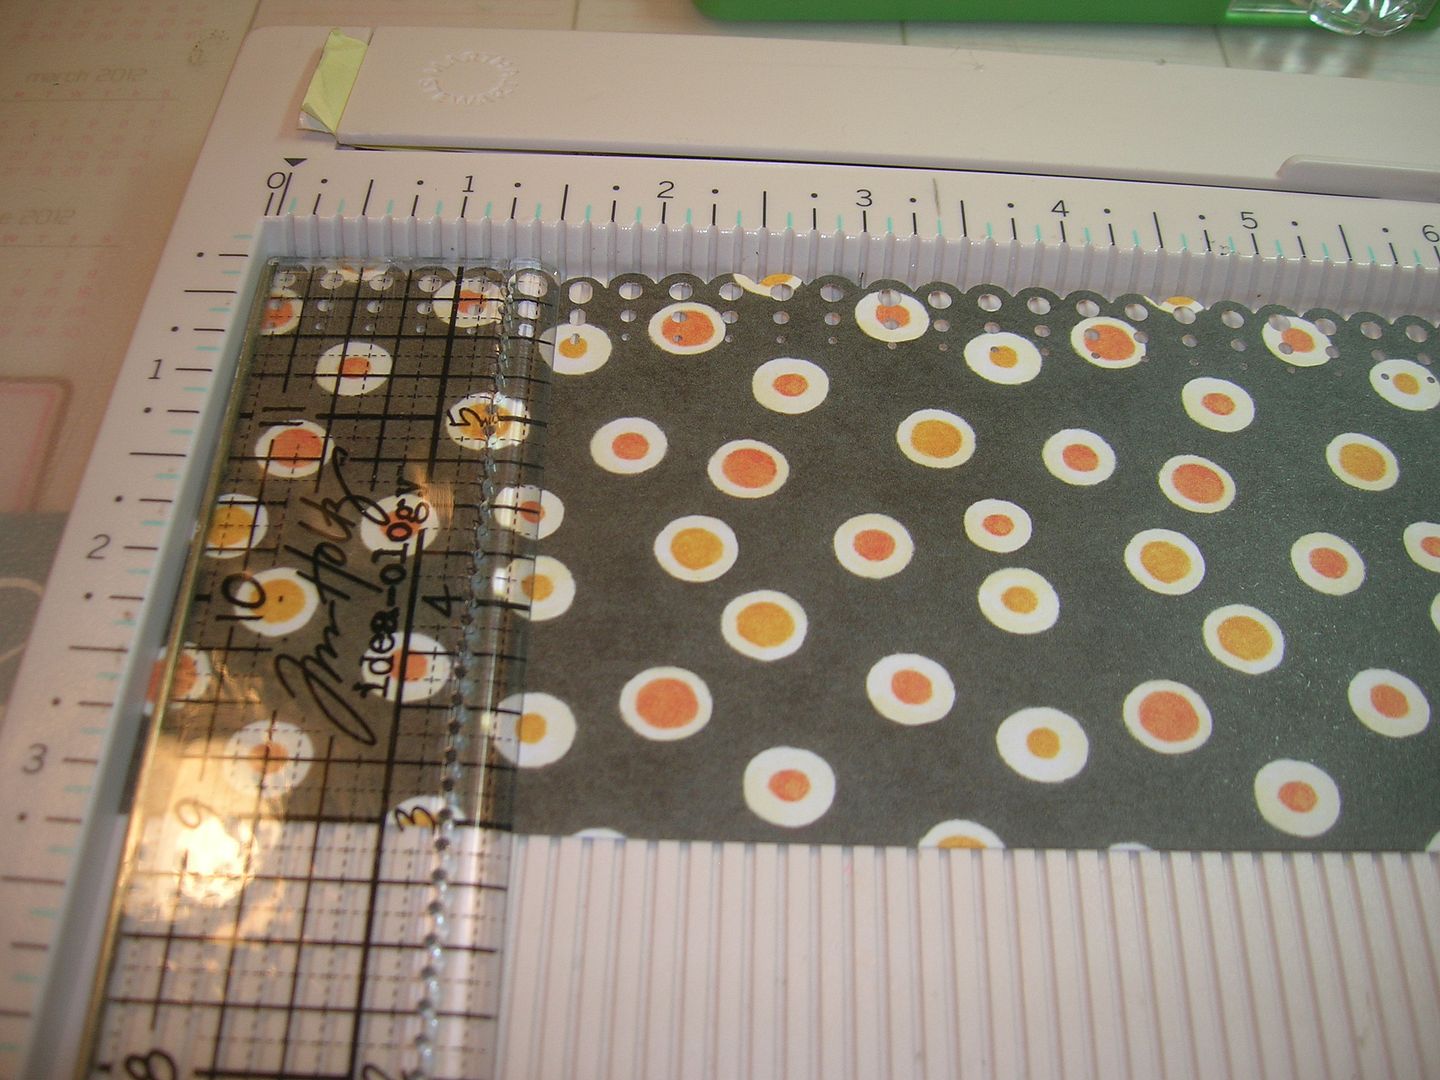
To make the banner I started out with two 3 inch x 12 inch strips of paper.  I chose 6 different prints since there were 6 letters in Spooky.  Smaller prints or stripes work the best.  I then took a MS Punch and punched down the edge on one 12 " side.   I will tell you a secret if you do mess up on one side you can do the other side and use the messed up side in the center.  
Next I score using the punch as a guide.  So for this one I scored after two valleys in the cuts  which is about 1/2 an inch.  
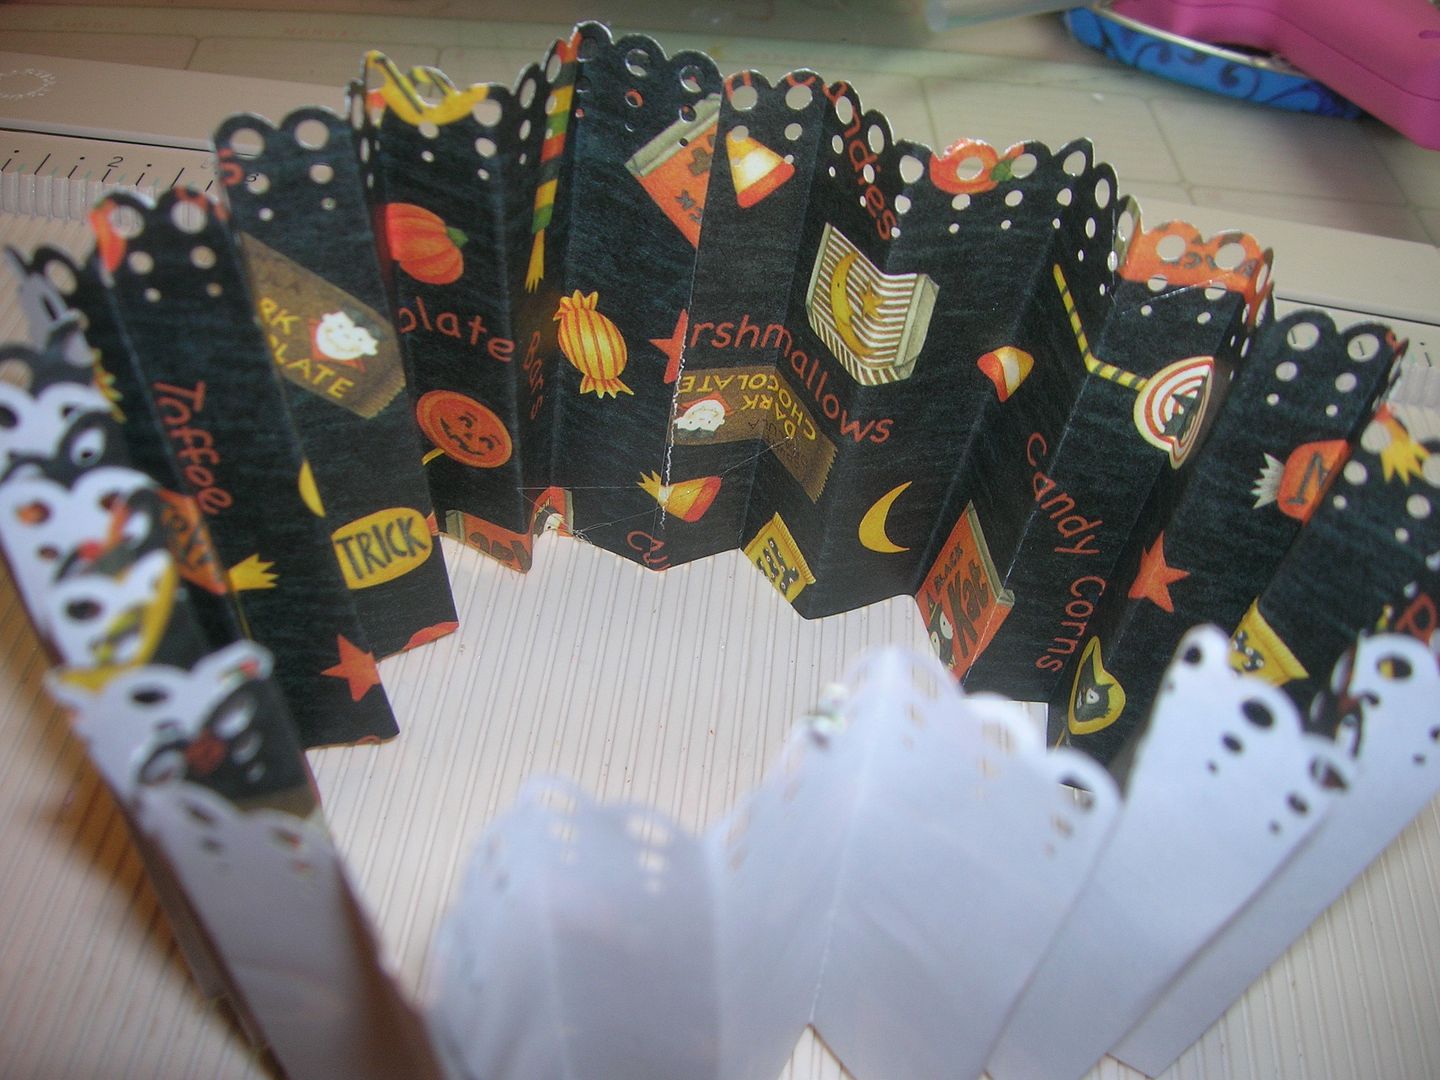
I then accordian fold the paper and glue the ends together with hot glue.  
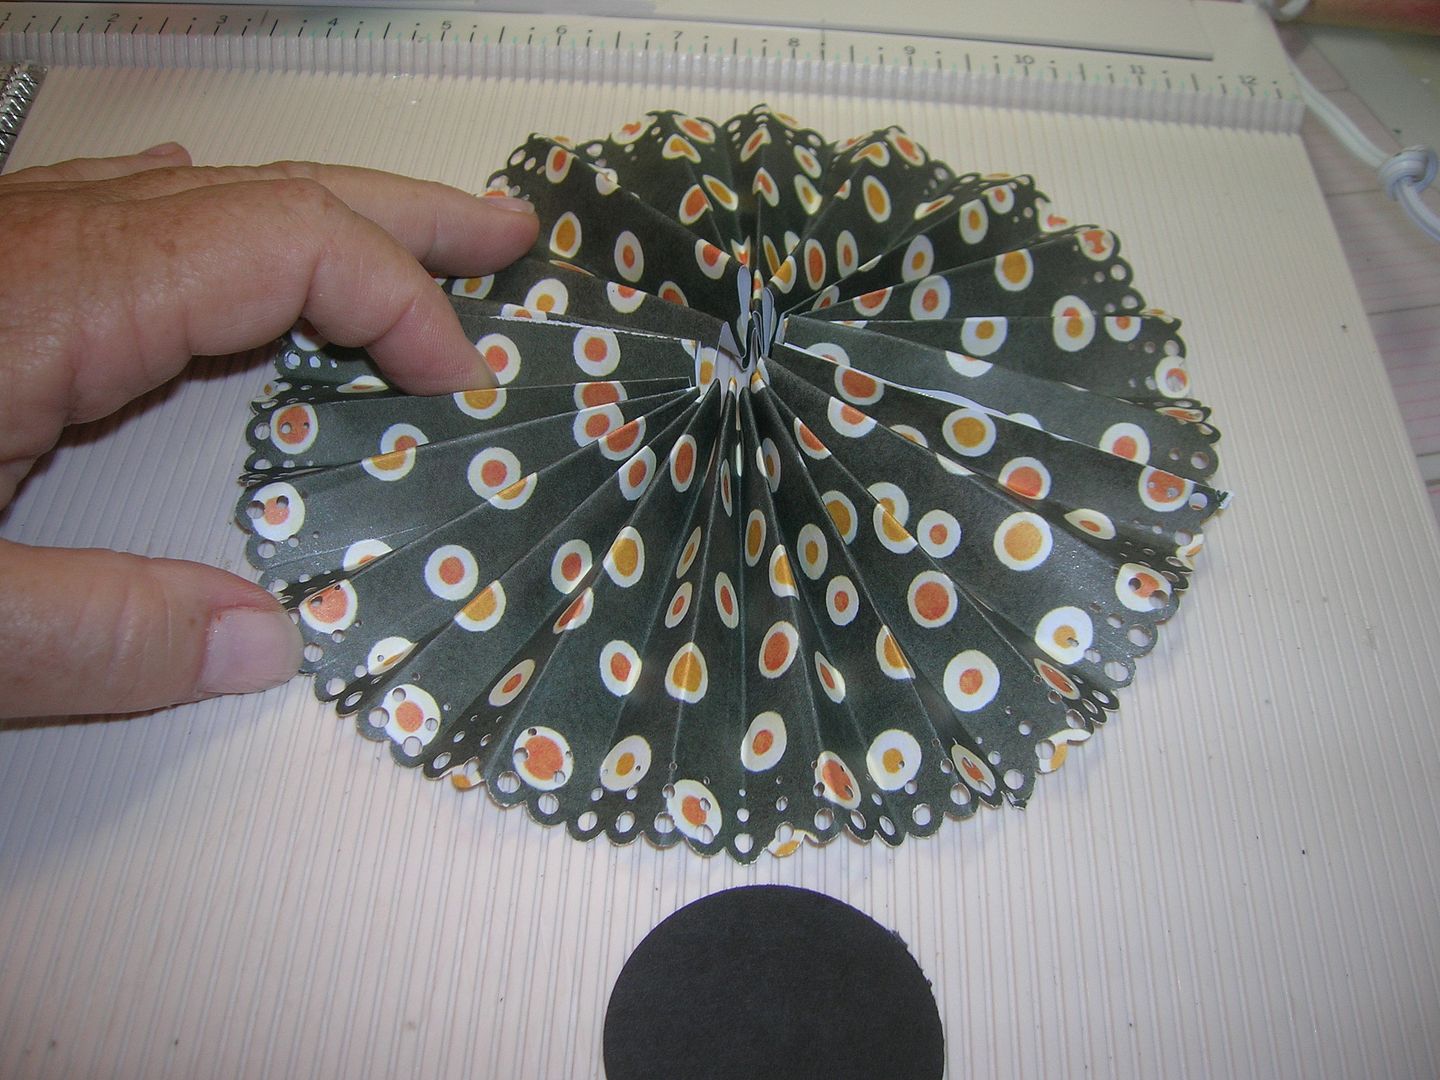
Cut two circles with a punch or Cricut.  Push the circle of paper down and glue a circle to the top and a circle to the bottom to hold in place.  
I then cut orange and black circles from George at 4 1/2 inches and scalloped circles from Lacy Labels at 3 1/2 inches from leftover rosette paper.   I added some ribbon and large buttons I had in my stash which I threaded with twine.  The letters were cut from Happy Hauntings at 3 inches in Cricut green so they would stand out.  

Thanks for looking and hope you like my "Spooky" Banner.  Please stop by my blogspot to see what else I have been up to.  Also make sure you come back to SweetSassy Diva everyday this week to enjoy the designers great Halloween banner projects.  Happy craftin everyone!

Thursday, June 30, 2011

Two birthday cards for challenges and my stash


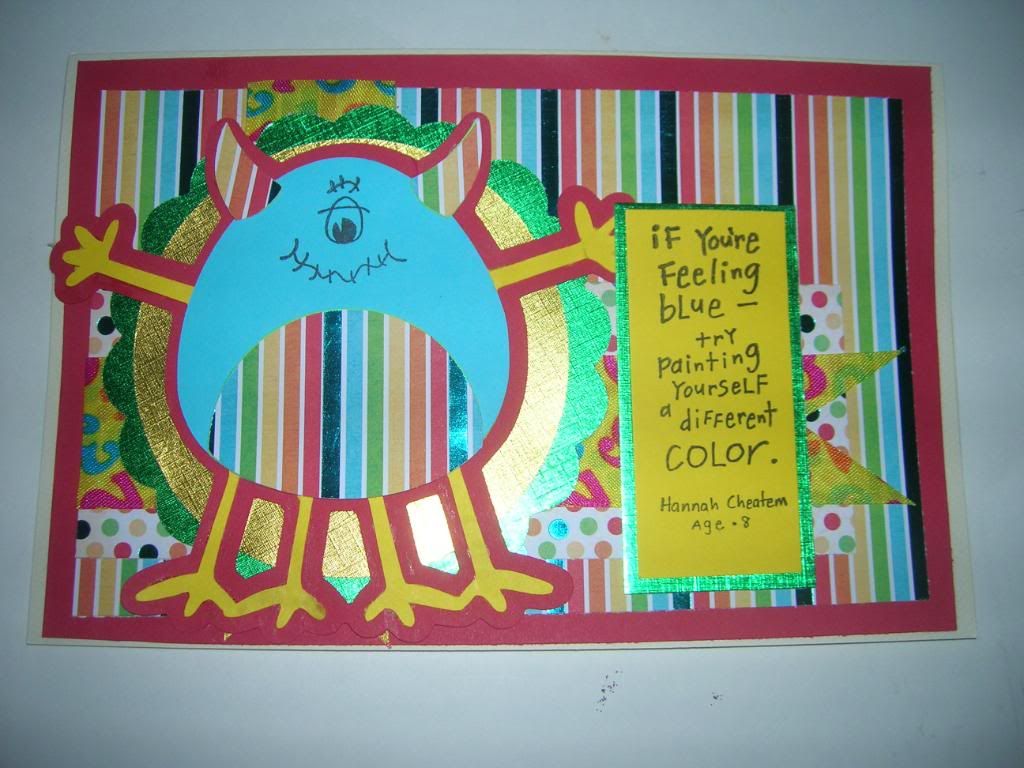
I made this card for the Peachy Keen sketch challenge this week.  I wish I could say I choose the stamp first and then made this bright cheerful card to match the sentiment.  But no I started with the stripes and the  monster.   I only have faces from the Peachy Keen line.  (Must make  note to get more )  Since I hadn't tried the funny little faces I got for the Mini Monsters I decided to do this cute little one eyed monster.  So I am cutting away make my cute little guy and somehow I got ink on the belly which was orange.  Well since I had stripes left I thought why not perk him up and make that stripes so I did.  I then went to get a stamp I have that says How many are you?   It is in a darling set of things kids say I got at M's recently.  Well instead I found this stamp that went so perfect.  "If you are feeling blue try painting yourself a different color."  And I thought shazam that is so perfect.  In fact it was so perfect even my husband got it.  
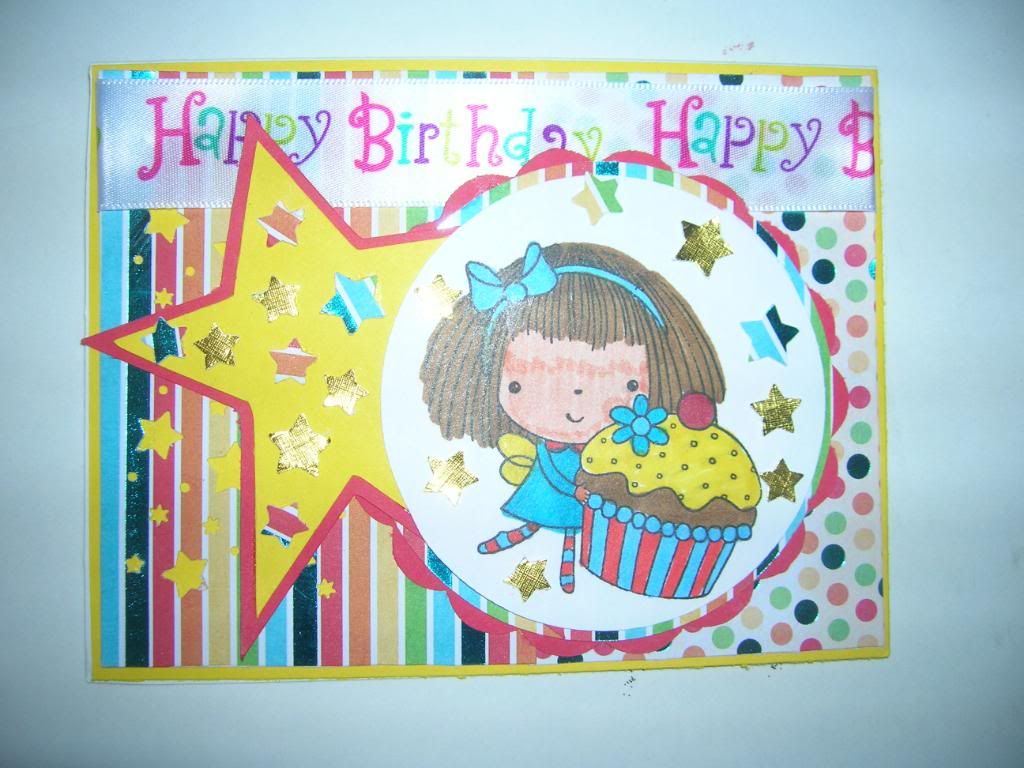
Now on to card #2 for  birthday stripes and stars challenge at Birthday Sundaes.  This is the first time I have done a challenge on this blog.  But I need to have more cards on hand.  I used a Penny Black stamp I recently bought.  The star, circles are all from George.  Used some more of my cute stripes and polka dot paper.  Punched out some stars with MS punch and then glued stars that were cut out around.  I used Bic and Sharpie markers for the coloring.   Happy Birthday ribbon is from M's.

Sunday, June 26, 2011

God Bless the USA on Blocks -Home Decor

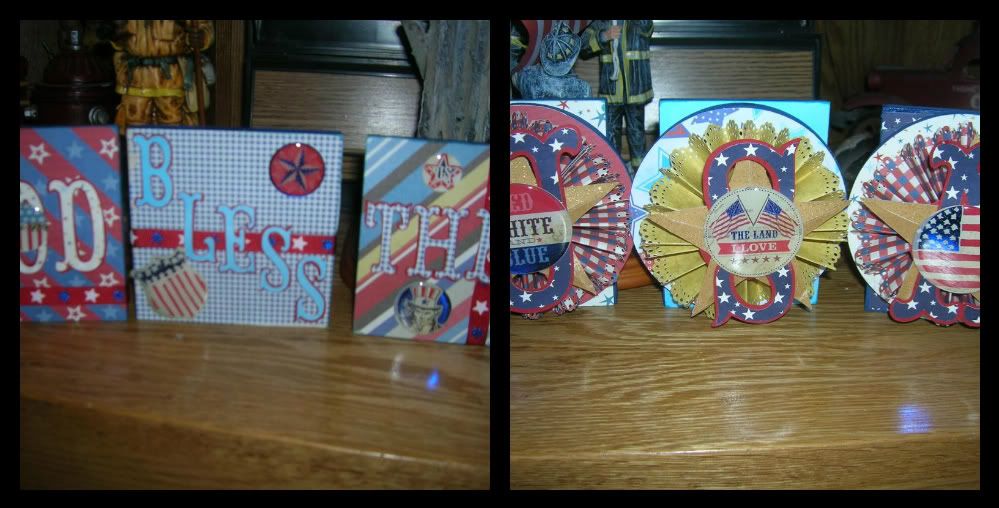
For this project I went to Michaels and bought a package of thin precut blocks.  The packge is only $2 and comes with circles, squares and rectangles.  I painted them all with dark blue paint and then began decorating.  The words and letters are cut from Storybook.   The 4 inch squares and 4 inch circles were cut from George.  Then I made three rosettes.  I cut 2- 2 x 12 inch strips, punched the edges, scored using the punch as a guide,  and hot glued together.  On the top I added the 3 D star from Stand and Salute.  I added some embellishments and ribbon.  The backs are also covered with paper.  My husband really liked it and we placed it on the "fireman altar" as I call his part of the mantle with all his fireman  chotskies.   I am entering this is the Cricut Circle Weekly Challenge God Bless America.  


Tuesday, March 8, 2011

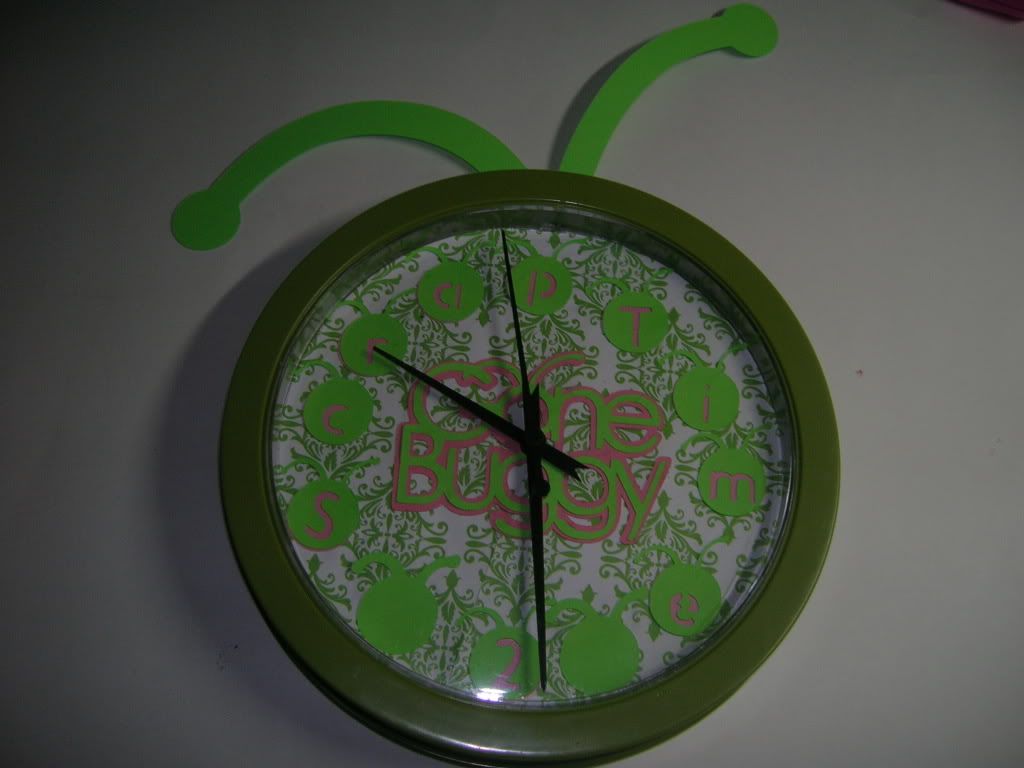
I have been seeing some really cute clocks on the Messageboard so decided to make one of my own for my craft room.  Got the clock at Target last week for only $3 and the plastic cover comes off easily.  I cut a 7 1/4 " circle with George out of background paper and then made a slit to center so I could put it around hands.  The letters were cut at 1 1/2 " from Everyday Cricut.    It  says Time  2 Craft.  Between the words I used the blank Cricut head.  I punched 1 inch pink circles to make the letters stand out.  I cut the Gone Buggy at 4 inches and slit it also to put around hands.  Then added the antennae to the back of the clock.  (Sorry I forget what size I cut the antennae.)  This will be fun to hang in my craft room.