
Last weekend I went to a Valentine mini book contest at my LSS. I always try to find classes that I can later use with my Cricut. The book was fun, simple and adaptable to many uses. Some of my friends from the One hour thread asked for directions so here they are. I decided to make my sample for photos with some really cute zoo paper so I could also enter it into the CC weekly challenge. Please feel free to email me with any questions or problems . I would love to help. So here goes-
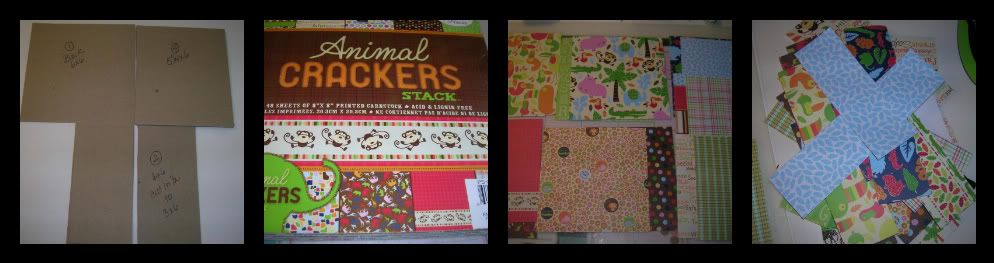
1. Step 1 is to cut chipboard. You need 3 pieces 6 x 6 inches and 4 pieces 5 1/4 x 6 inches. Take 2 of the 6 x 6 pieces and cut in ½ so you will have 4 pieces 3 x 6 inches.
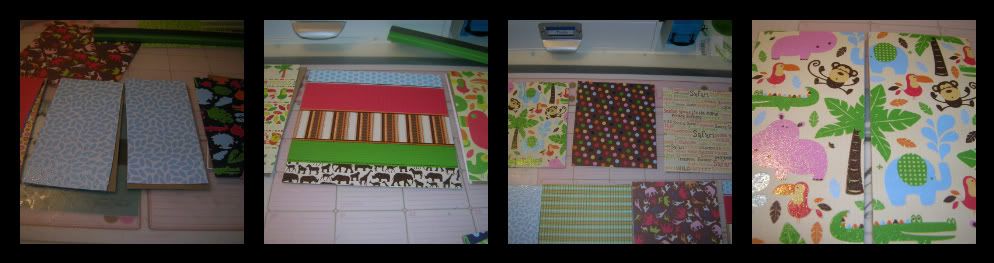
2. Step 2 is to cut paper. You will need 14 pieces of 6 x6 inch paper. Keep all scraps to use as you decorate. I lay out the paper to make sure I like the way they will look together. I do not cut paper down to fit 5 ¼ pieces until I am sure I have paper order the way I want it. Glue edges of cardboard and across middle with ATG gun, Zip Dry or similar glue. I then check edges and trim excess if needed.
The order of the book is front cover 2- 3 x 6 pieces, then 2- 5 ¼, then 2- 3 x 6 pieces, then the back is the 6 x 6 piece. Save all scraps for decorating pages and tags later.
3. Step 3 ink all edges rubbing pad along sides at an angle on both sides. This will cover cardboard edges. I used black but you can also use brown. Set aside to dry.
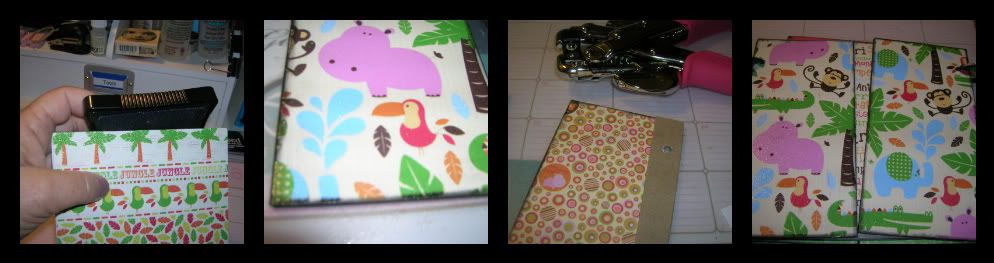
4. Step 4 use an extra piece of chipboard to make a guide to punch holes with Cropadile or punch. Punch holes at 1 “ in from top and bottom.
5. Step 5 Punch front cover punch on both sides, next page 5 ¼ punch on right, next page 5 ¼ punch on left, 3 x 6 pieces, punch one on left and one on right, 5 1/4 page punch on right, next page 5 ¼ punch on left. Last page is 6 x 6 punch on both sides.
6. Step 6 Put pages in order and string ribbon through holes. Be careful to catch all pages on left and then on right. I do top holes first and then if I am sure I have caught them correctly do the bottom. Tie ribbons loosely so you have room for pages to turn. Check if pages turn and when you are sure they are fine pull knots tightly.
7. Step 7- Next make 3 pockets 2 ¼ inch by 4. Glue three sides and leave top open to one to back page, and the other two to 5 ¼ pages of your choice.
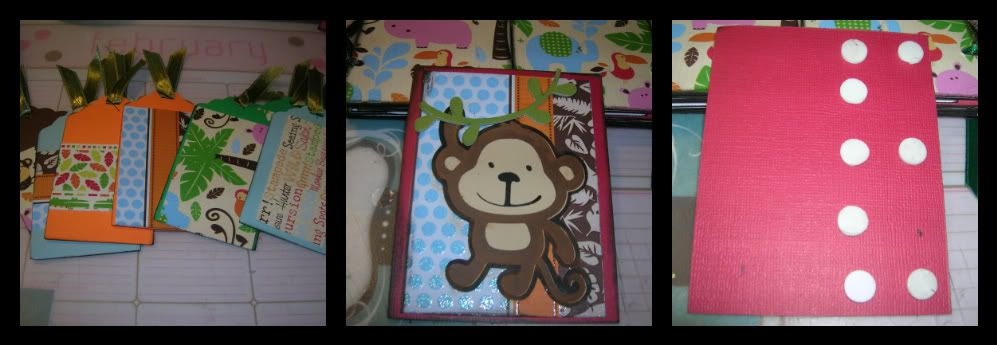
8. Step 8 Cut 9 tags at 2 x 4 inches. I used Tags, Bags and more p. 91 cut at 4 inches. You can use any tag or hand cut by snipping top corners. Decorate one side with scrap strips. Other side is for pictures. Add ribbon to top and either tie or staple.
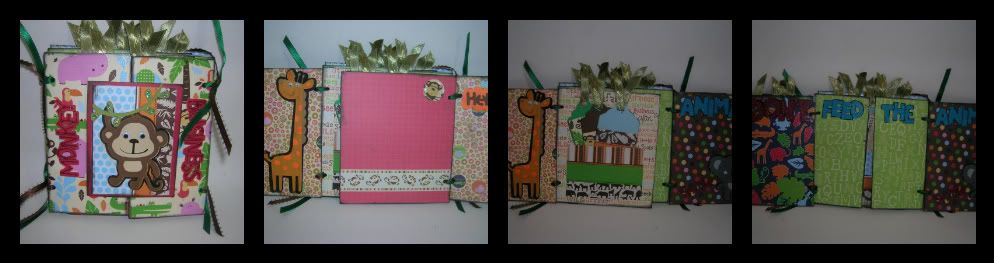
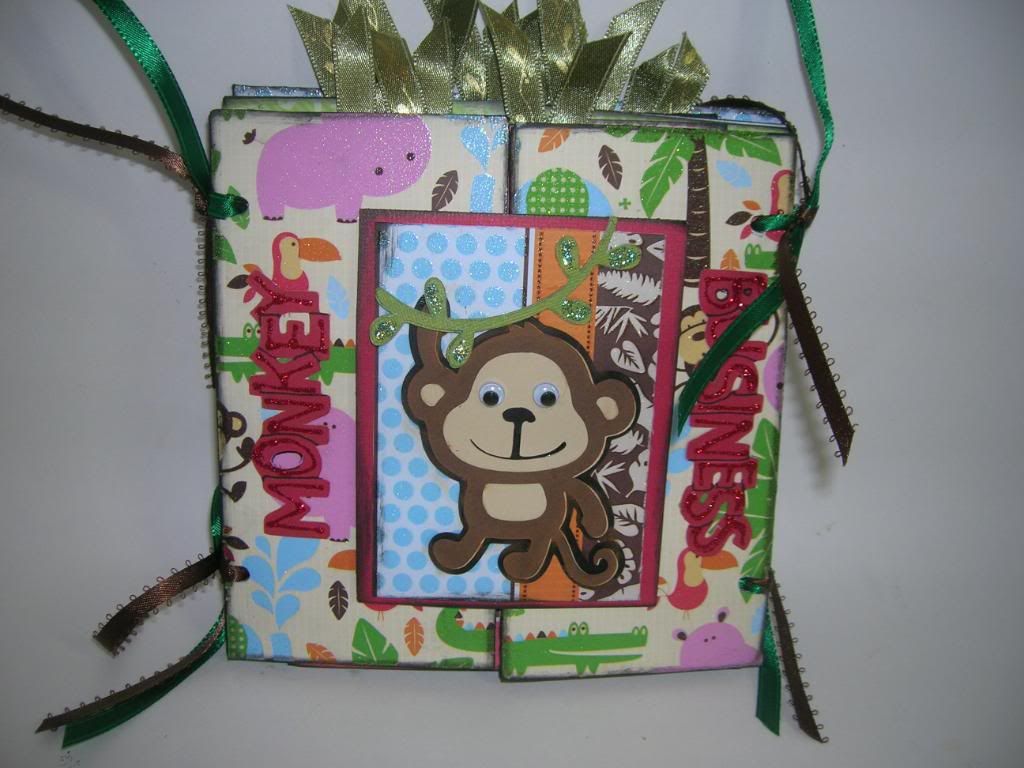
9. Step 9 You are then ready to decorate with your Cricut. I used cuts from Create Critters and Animal Kingdom. On the front page I cut a monkey and glued to a rectangle. I then pop-dotted 1/2 of it and placed it across front cover. I used chalk on edges and added googly eyes.
These are the cut sizes I used:
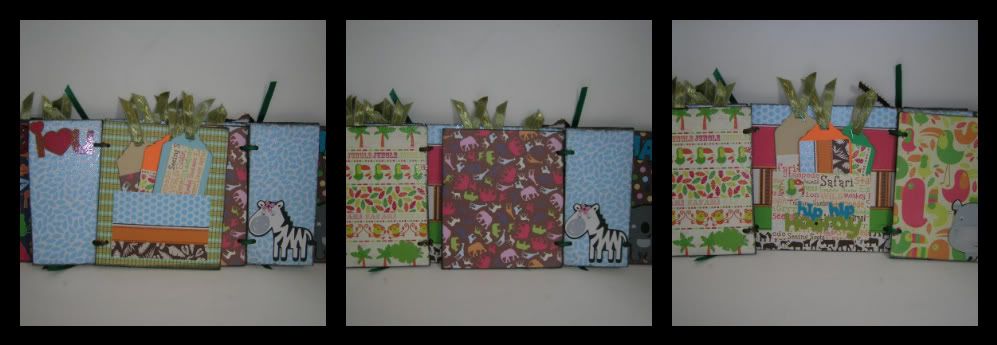
Create a Critters: monkey page 46 3 ½ inch, zebra page 47 3 inches, giraffe p. 48 5 ½ inch, phrase 1 ½ inch, Koala p. 49 2 ½ inch, phrase 1 ½ inch, zebra page 45 ½ inch, phrase ¾ inch, leaf p. 51 1 ½ inch and 2 inches, Hippo page 49 2 ½ inches and phrase 1 ½ inch.
Animal Kingdom: Monkey Business 2 inches, Don’t Feed Animals page 113-Don’t 3 inches and feed the animals 2
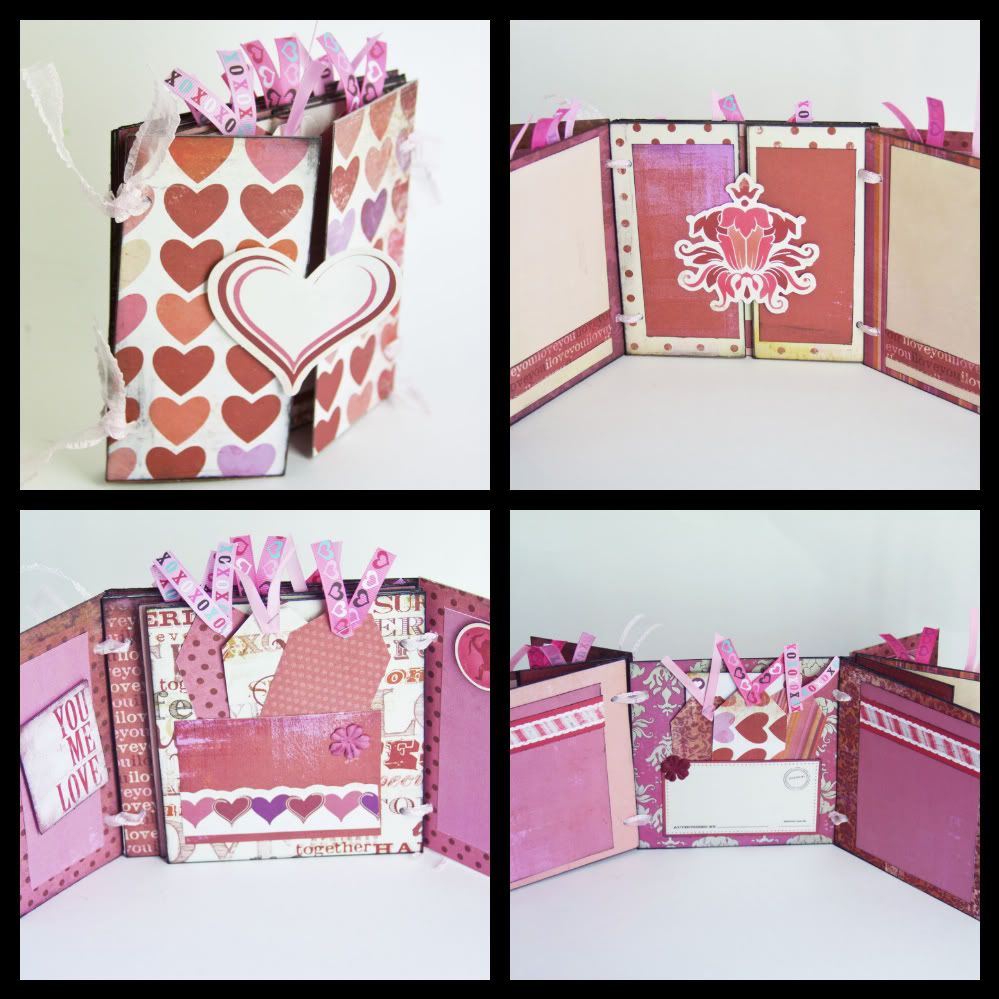 This what the Valentine Mini book looked like:
Suzanne, Both of these came out wonderful, I'm going to follow you directions as soon as I get all my stuff back out, I just love these, awesome job!!
ReplyDeleteSuzanne,
ReplyDeleteThis is super cute, great job at explaining it as well.
That monkey on the cover is adorable
Hugs
Stacy
Thanks for posting the directions to this mini book!! I can't wait to try it! I love both of yours Suzanne!!
ReplyDeleteThis is beyond darling!
ReplyDeleteThese are so cute. Thanks for posting the directions. I can't way to try.
ReplyDeleteThanks for all the info. I will have to give this a try. Very cute!
ReplyDelete