Just Kitting Studio Items for Sale

Showing posts with label TBBM. Show all posts

Sunday, November 27, 2011

Nov. 27th SSD Trim a Tree Challenge

Wow so hard to believe it is the end of November and Christmas is only a month away. I hope you all had a wonderful Thanksgiving with your loved ones.  This is the time that we are all super busy with the hustle bustle of the holidays and Christmas crafting.   Our fearless leader Bobbi Jo asked the Design Team to come up with some ideas for challenges and this week I came  up with 
"Trim a Tree"- Design a project to hang on your tree.  
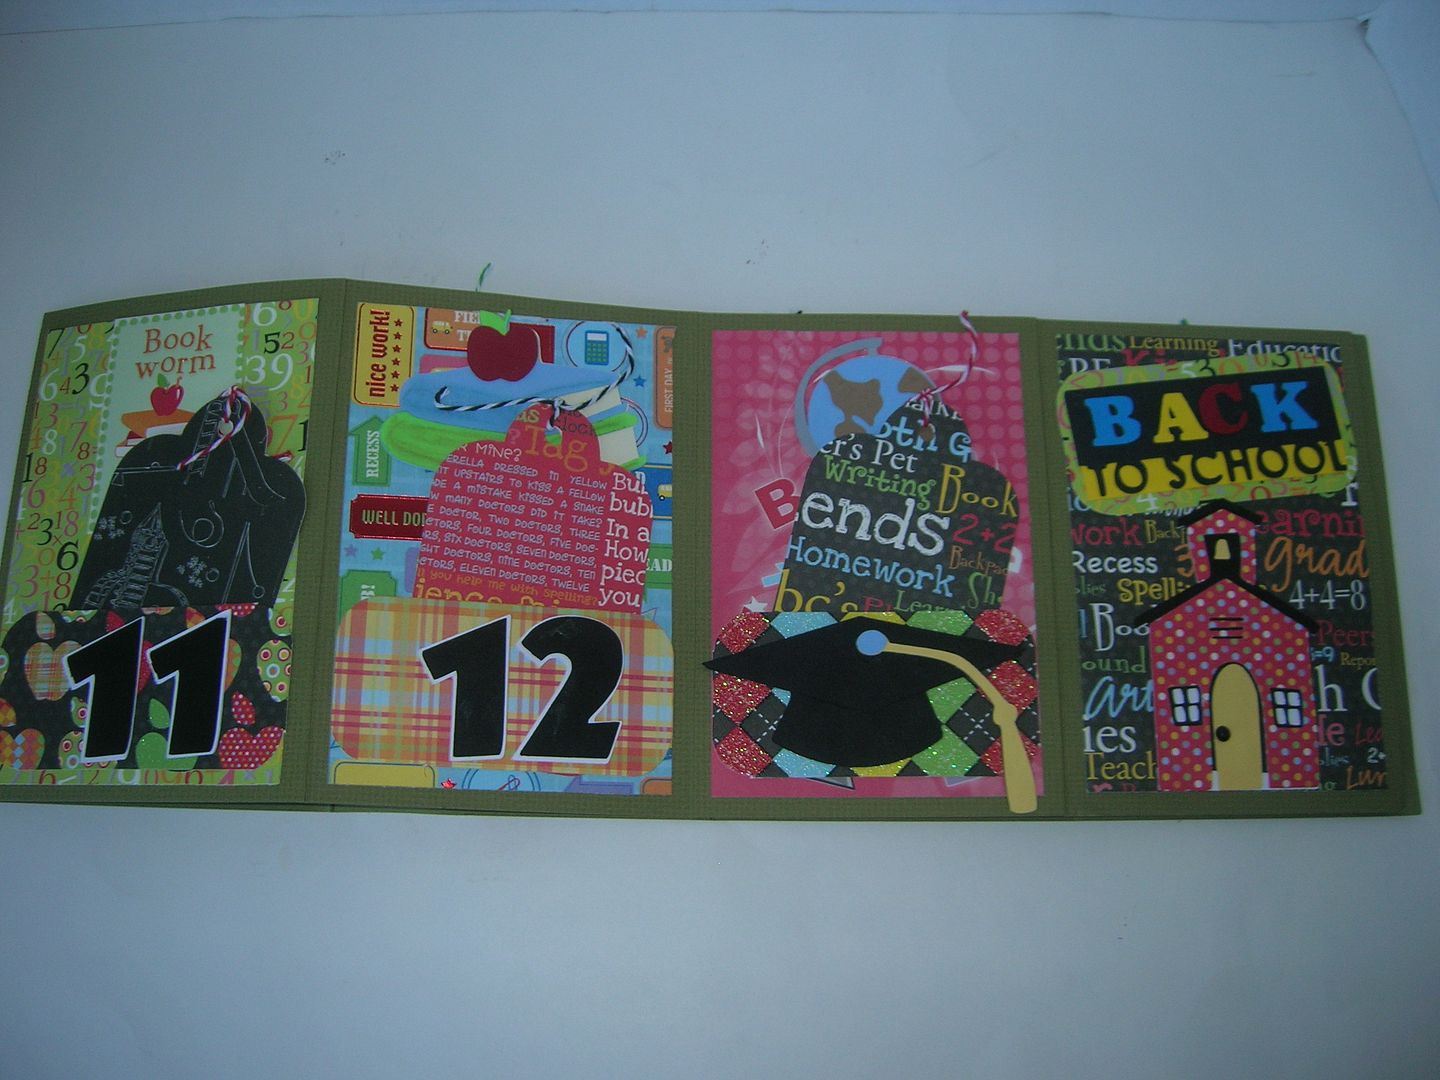
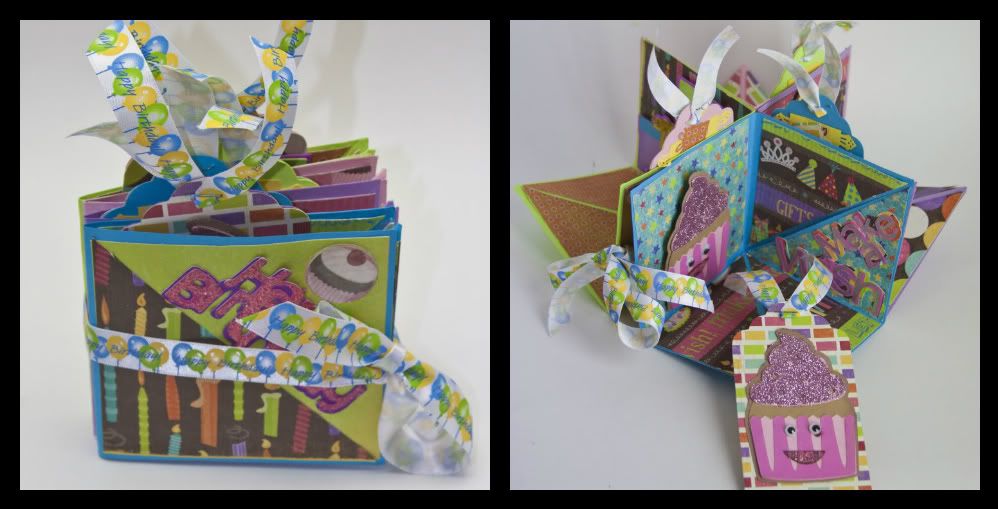
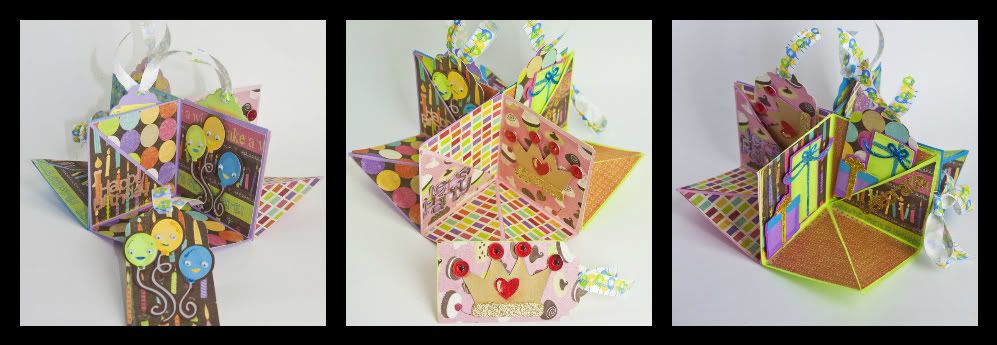
I actually saw a project like this on Pinterest (my newest addiction) but with real wood blocks.  So I got out my Tags, Bags, Boxes and More and started my ornament.  
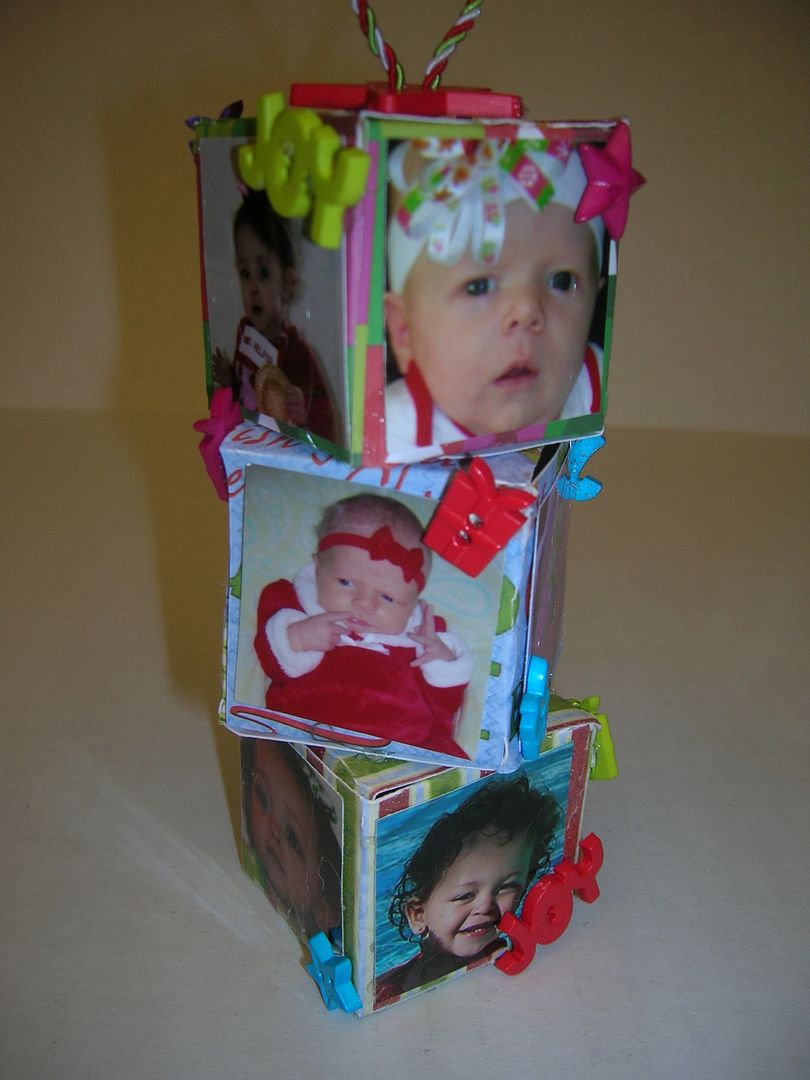
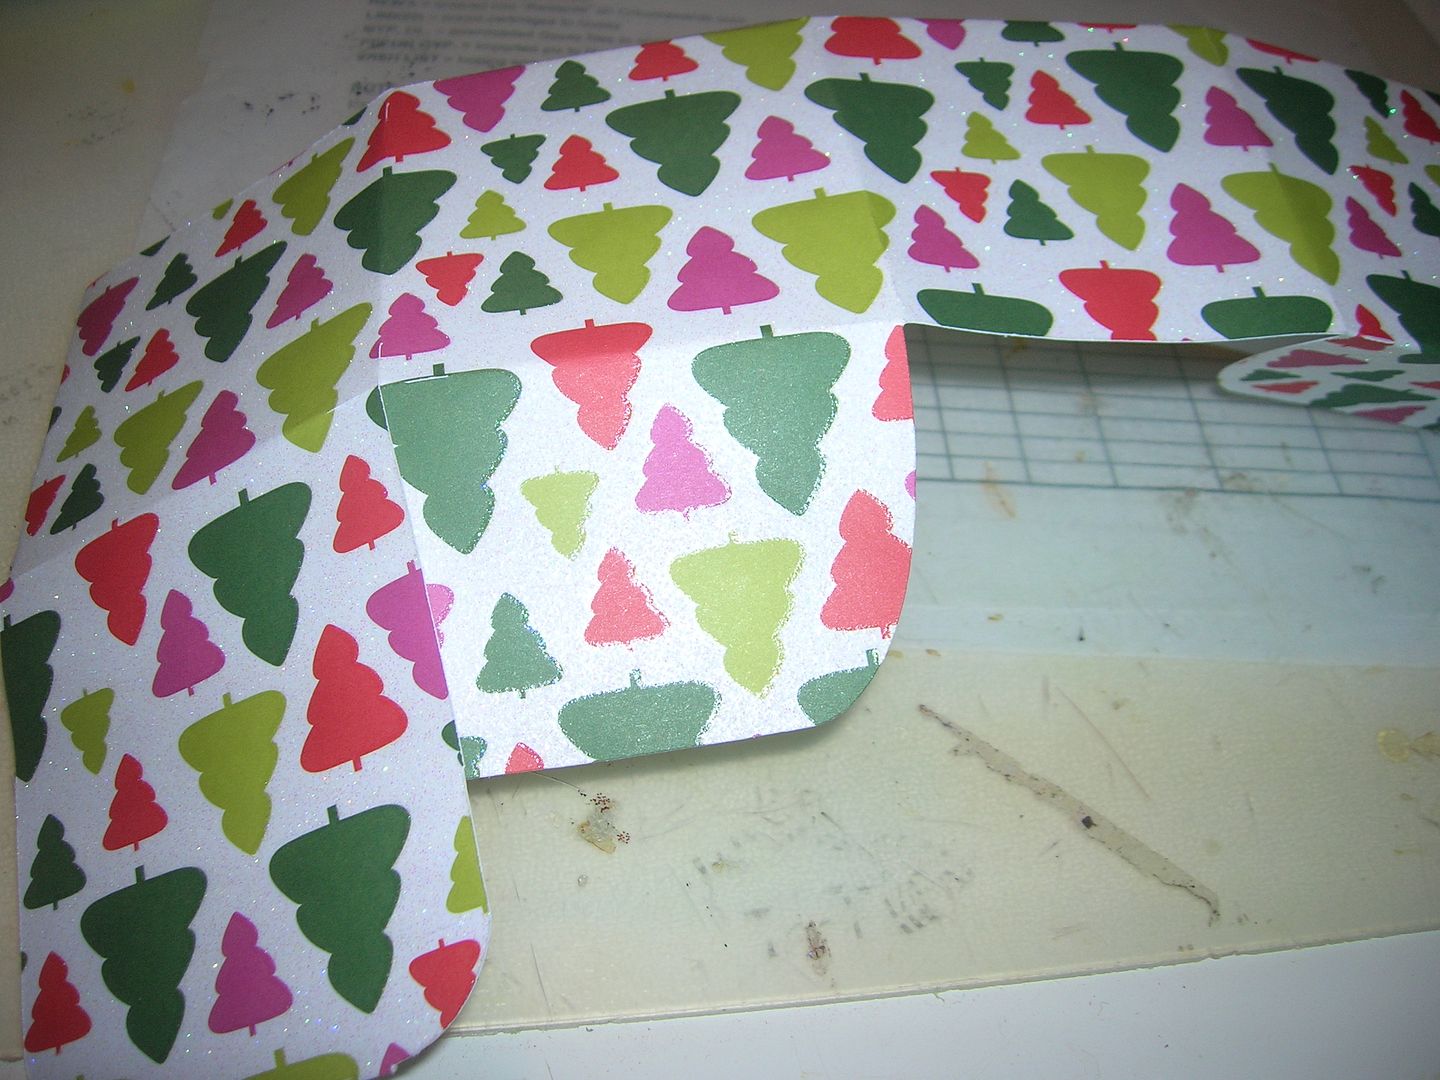
At first I cut the box from page 119 at fit to page and it was way to big.  So next I cut the box at  5.5 inches At that size I was able to fit two boxes on a page and it was a great size for an ornament when I stacked three together.   
I used paper in my stash from last year that was fairly stiff so the boxes would hold their shape better. 
The paper can be single sided as the other side will not show.   
Once the boxes are cut  I folded along the score lines.  
I punched pictures with this handy two inch punch from my "extras" stash.  I glued my pictures on with the glue gun.  I glued mine on after I made the boxes however I would recommend you glue them on while the box is flat so you don't have to worry about smashing your boxes.  
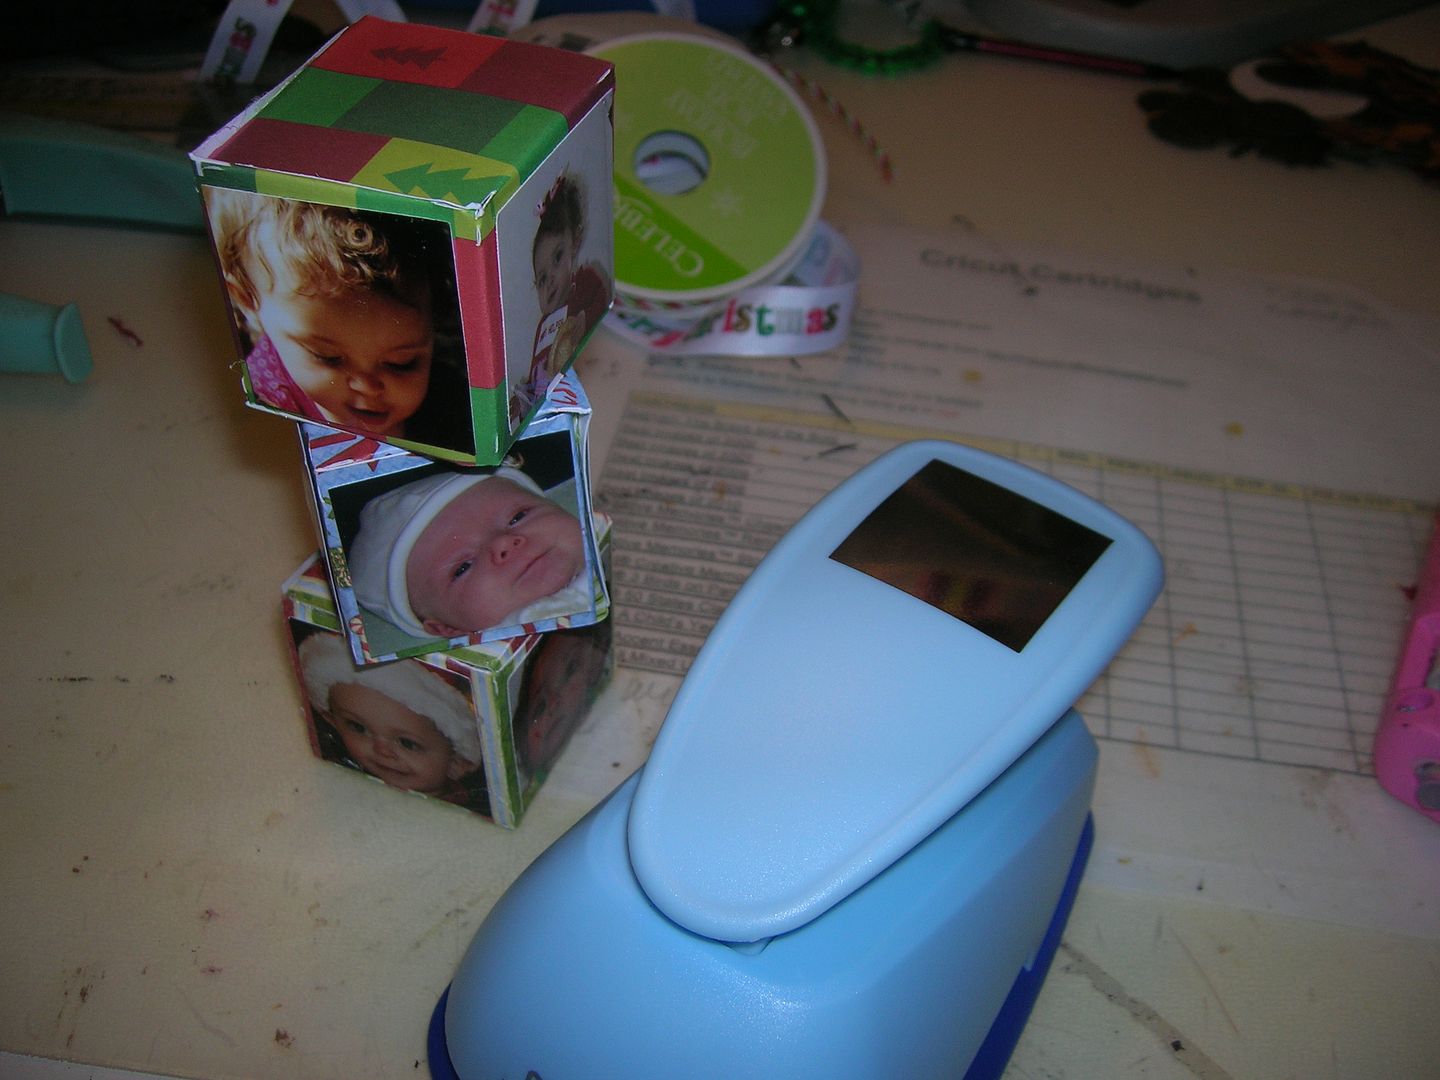
I had these cute little buttons I got last year on clearance and I glued them on the corners.  
Hope you like my project and will come back all week to see what all the Design Team has made.  I can't wait to see what  all the DT creates.  

Thursday, November 17, 2011

Blog candy winner for November and Thursday Tutorial link

Time to  choose the winner from my three days of blog hops this month for the $10 gift certificate to Michaels or Joanns.  The winner was selected by Random.org.  I added up the total amount of comments for November 4, 5, and 16th which was  69.   The winner is:  #36
 Sandi Cl~ said...


Wow! What a gorgeous wreath! Fabulous idea to make it with rosettes! Thanks for playing along with us this week at Stuck on U Sketches!  I will contact Sandy and let her know she is the winner.  Thanks so much all for your wonderful and kind comments.  

Congrats Sandy

Other chances to win:
My Blog Candy for the FCCB Cricut Crawl- is a surprise goody bag for followers  who comment on my crawl project. 
 To win leave a comment and how to contact you. 
I would love for you to be a follower too.  
Other chances to win on my blog right now:My Memories Suite - Click here for a chance to win a free digital scrapbook program.One of my followers will win My Memories suite and all bloggers can get a $20 discount on the software and digitals of your choice.
Also today is Thursday Tutorial and this week Fantabulous Cricut Blog Challenge is having a Harvest Blessings Cricut Crawl Challenge.  If you haven't checked out all the Design Team Projects make sure and do that.  Also please join us by entering the challenge this week.  We would love to see your projects.  So for the Thursday Tutorial I found some links to the "Harvest Blessings" recipe I remembered seeing last year.
Please click here to find out what "Harvest Blessing " Mix is and how to make these cute boxes and tags.  
Please leave a comment on FCCB it would be much appreciated.  Happy Craftin!


Sunday, October 9, 2011

For Me? layout of two grandbabies

This layout is of my two granddaughters. I love this picture.  Katie was so excited to hold her new little sister.
The frame was cut from Elegant Edges page 26- oblong cut and shadow.  The tag and pocket are from Tags, Bags, Boxes and More.  The tag is page 89 cut at 3.75 and the envelope page 112 cut at 7 inches.  On the tag I used a little alphabet stamp set and stamped Sisters Forever.  The For Me?  is Tim Holtz Grunge board colored with Alcohol inks in Sunshine yellow, Citrus, and Sailboat blue.    The Love in the center of the flower circle is from Home Accents and is cut at 4 inches.  The green layer is embossed with a Cuttlebug folder.

I am entering this in several challenges.  The first is Lasting Memories which was to follow a sketch and use a tag.  
The second is Blog Quick Quotes which is to do a single picture layout.  
The third is Frosted Designs Recipe challenge - where you had to choose 4 items from a list to use.  I used the following 6 items from the list- yellow, ribbon, chipboard, flowers, ink and buttons.  
I am also entering this in the Cricut Circle challenge- which was to have a title, 2 cuts and a minimum of three buttons.  

Since I do double page layouts I also did this 2nd page to go with the first.

Tuesday, September 13, 2011

Graphic 45 Primer ABC Back to School altered project

The minute I saw the first pictures of the new Graphic 45 ABC Primer paper I knew what I wanted to do.  I love Graphic 45 and being  retired teacher I love, love, love this paper,  My only problem is I always hate cutting up at first,  For this I used 12 x 12 single sheets, 8 x 8 pad, chipboard embellishments, Graphic 45 matching stamp sets, several different ribbons and school brads I found.  
The book shaped box was from M's on clearance.  I covered the box inside and out  using Mod Podge.  I then made an accordian book with craft paper card stock .  Each was cut 6 x 7 inches and then scored 1 inch on side  and folded it to glue pages together.  I then put some of stiff ribbon on end to have a pull out piece so pages wouldn't get stuck.  
Here is pics of finished front, side, back and inside.  
After that I cut paper 14 each smaller than pages and decorated. I used Lacey Labels to cut some shapes.  I also used Tags, Bags, Boxes and More to cut out tags of different shapes and sizes.   I used a lot of ink on the edges.  After decorating one side I turned and did the other side and then glued the last tab into  the book.  
Each page has pockets with one or two tags which pictures could be added to later as well as journaling.  
I am really pleased the way this turned out and hope you liked it as well.  
I am entering this in the following challenges.  
Cooking with Cricut  School Days Challenge
Blog Quick Quotes  Back to School Challenge
You Had Me At Craft  Made it My Self Mondays
Paper Issues  Learning Curve linking party
My Pink Stamper School Theme


Monday, August 8, 2011

First Day of School Mini Book for Grades K-12

Hi Everyone and welcome to my post for the Sweet Sassy Diva Design Team today.  I am also entering this in the BBTB2 Challenge  which is to make a project with Locker Talk.   This week the challenge for the SSD Design team is to make a Back to School Project.  Back to School has always been a big deal to me first because I loved school as a kid and both my parents were teachers.  Then for 33 years I taught school so this time of year I would be scrounging for supplies for my classroom.  Well now it means I have been retired for one full year which is hard for me to believe.  I still troll the Back to School aisles and ads looking for great deals on crayons and folders.  Guess those habits are hard to break.  
So on to my project.  I decided to make a First Day of School Mini book.  I used an accordian book from Bazil  ( www.bazill basics.com ) that I got at my local scrapbook store on sale.  Here is a picture of the school stack I had.  I have seen new school stacks at Michaels recently.   
The folder opens up and each page is 4 x 6.  I made  2 x 4 pockets for the tags.  Each tag was cut with design paper to place in a pocket.  The wallet size pictures would fit on the front of the tag and the back size is blank so that info about teacher, school, etc. could be added on each one.  
The recipe for the cuts are at the bottom of the post.  

Here is the folder decorated and closed.  
Folder open and decorated.  

First day of school page and K through 2 
3rd through 6
Back side 7-10
11-12th grade and graduation 
Back to school page 
Recipe for cuts 
Recess cart- Bach to School 1 1/2 ", school house 3 3/4", scissors 2 ", crayons 2 ", ABC 2 ", book and apples 2 1/2 ", back pack 2 1/2 ", grad cap 1 1/2 " world 2 1/2 ", glue 2 1/2 ", bus 2 "
Locker Talk slide 2 1/2 ", lunch pail 2 1/2 ", first day 3 1/4"
Tags, Bags and More tags 4 1/2 "
Thanks again for joining us at Sweet Sassy Diva. 
 Also a big thank you to Bobbi Jo for these great challenges.  
  Please  come back each day this week to Sweet Sassy Diva to see all the other awesome projects the Design Team is doing for Back to School.   I would love to have you come by my blog too.  

Friday, July 22, 2011

It's My Birthday Blog Hop July 22-July 24th Day 1 Dollhouse Book

Today I am thrilled  to help my crafty friend  Rachelle celebrate her birthday with her blog hop.
So a big Happy Birthday to you Rachelle!
   So here is the info about the blog hop from the birthday girl herself.  
Welcome Crafting friends to the It's My Birthday" Blog Hop.
July 22-July 24th
8 am-11:30 PM  

Thank you for joining and helping me celebrate my birthday. Those who know me know I love many things but one thing I love the most is crafting. So I decided to host this fun celebration with some of the most talented crafters that I know.
I do have a few rules for this hop, in support of each crafter and the time they have put into their work, to be eligible for the "Grand Prize" you MUST visit each blog and leave a comment for each day of the blog hop and also become a follower at "Creations By Rachelle" and also like my page on Facebook = http://www.facebook.com/CreationsbyRachelle?ref=ts
Have fun and enjoy all the wonderful projects created by some wonderful talented friends.

If you have started on Rachelle's  blog you’re on the right track. If not, and just found this hop, you can go back to the beginning HERE and hop along with us.

This hop runs from July 22-24th, so you have plenty of time to make it all the way through the hop. Check out each blog and see what each blog has to offer for BLOG CANDY!
Tell your friends about the hop on your Facebook, Twitter, and link it here for an extra chance.


It's My Birthday Blog Line Up


Shawnee-http://quiverofangels.blogspot.com/        


Patricia- http://creativediva98.blogspot.com/          


Deb-http://www.scrappingmamma.net/        


Suzanne-http://cricutcraftingrammy.blogspot.com/ You are here   


My project for today is a  dollhouse book or a square –around mini album and is made from 4 sheets of full size scrapbook paper.  The fun thing is you can set it out and tie it open to   view all the little rooms.  Once you learn how to make these they are quick to put together and can be made for holidays, birthdays, births or any other event. I used Tags, Bags, Sweet Treats and Birthday Bash Cricut carts to decorate.   Remember you can click on the pictures to enlarge them.    Here is a link I found online of the directions for making the book.


My blog candy for this blog hop and this month is a $25 gift certificate for your choice of Michaels or Joanns.  I am celebrating my 6 month blogaversary as well as going over 250 followers.  Please become a follower and leave a comment. All comments made on my blog from July 13-July 30th will be entered in the drawing. 
Please come back all 3 days for more great projects and more chances to win. 
So now you are off to your next stop 


Tuesday, June 21, 2011

Sunny Days Playtime layout

Today I designed this layout that I am going to enter into a variety of challenges.  Most of the paper is from the Flower Shower Stacks from DCVW that I bought last year.  
The Sunny Days Cuts is from Celebrate With Flourish and was cut at 2.5".
The Sun is from Pack Your Bags and was cut at 4 ". 
The girl with the ice cream is from Playtime cut a 3 " and the girl jump roping was cut at 4 ".  
The grass is from Cake Basics cut at 1" x 12 ".  
The trees are from April Showers cut at 5 3/4 " and 6 ".  
The sun border was cut from the Cricut Classic font and the flowers for the journaling were cut from Tags, Bags and More at 3 1/2 inches.  
I then embossed, cut flowers from a punch, added buttons,  drew accents with Smooch and Sharpies.  I also added Recollection Tear Drop Gems  for ice cream drops. I didn't have yellow so I put yellow alcohol ink on white ones.  

Close up of the two little girls.  
Bitten by the Bug2- Use the Sunny Days Cut from Celebrate with Flourish
More than Favors- Tags, Bags and More 
Frosted Designs- journal card

My Craft Spot- sweet treat for Summer 

Saturday, April 30, 2011

I love my E2 and CC challenge Gift Card holder


Today I finally got to spend the day with my new E2.  I love love love this machine.  I watched the video on Cricut.com  http://www.cricut.com/expression2/celebration.aspx.  I highly suggest you watch this as a great overview in an orderly manner.  I think it is very easy to use.  My only issue is not being able to move cuts around the mat like we can with our Gypsy.  The cuts are very close to each other on the mat which makes it hard to cut  different  color paper  for different cuts.  I am using the space bracket and line return to help with this.   Hoping they will update this. 
The challenge this week for the CC challenge is to make a gift card holder.  Since tomorrow is my DD's birthdy  I made this little purse.  I cut the little purse at 7 inches ( largest that would fit on 12 x 12) from Tags, Bags, and More two times, once in red cardstock and once in black and white double sided paper.  I then cut the red pieces so that the front flap, sides and bottom were all that was left.  I used my Cuttlebug, embossing it to look like leather.  I added a cute black rose button for closure and used beads with miracle thread wrapped around to make handle.