Just Kitting Studio Items for Sale

Showing posts with label CC challenge. Show all posts

Thursday, June 2, 2011

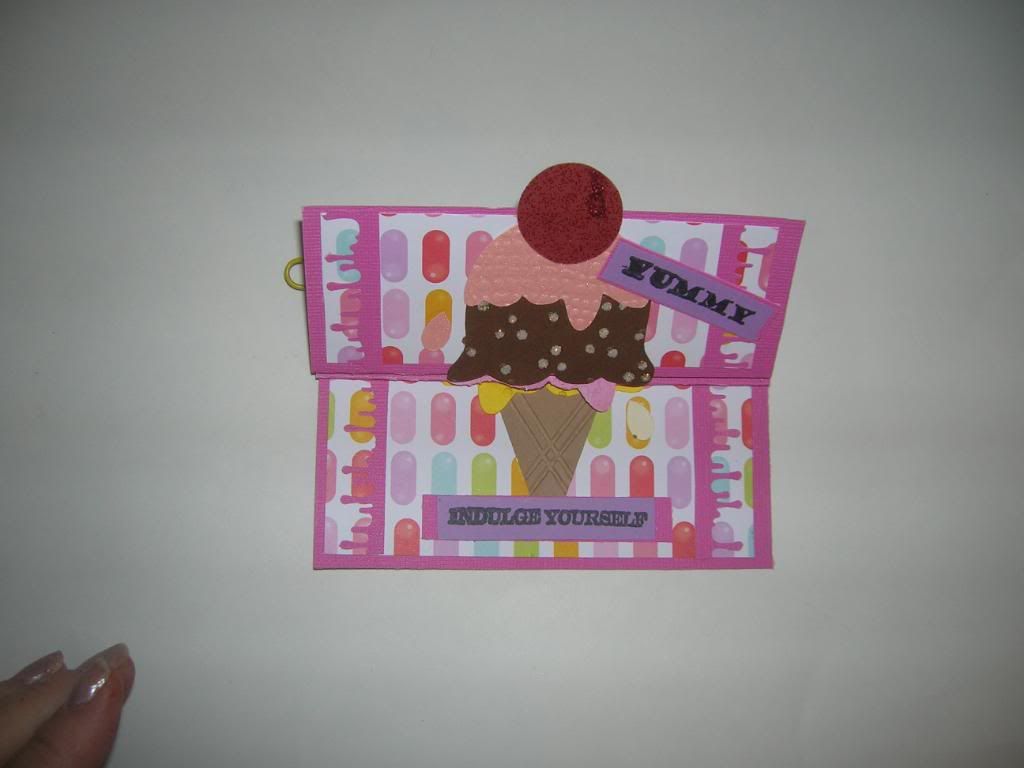
Summer treat - an accordian ice cream cone


This project has been linked to the Patches of Pink Link up party for this week.  Check it out and add your own projects.  
This is a card I designed today for a Cricut Circle challenge.  For the weekly challenge we were to make a project showing a summer treat we enjoy.  I got this idea in my head for a card using our families favorite treat ice cream.   I wanted to have it look like a regular ice cream cone until it was opened up.  
The card itself is a 5 " x 12 " piece of cardstock.  I then scored the piece at 2 ", 4 " and 6 " and 8 ".  I then folded the paper  accordian style.  I then cut paper from  the DCVW Stack Simply Sweet.  Four pieces were cut at 1 3/4 " x 4 3/4 ".  One piece was cut at 3 3/4" x 4 3/4.  I glued these down and then added edge on each side using drippy glue punch.  I used the Sweet treats cart to cut the ice cream cone pieces.  I used my Gypsy and made several sample cuts.  The size I decided upon was 4.76.  
 I then embossed each piece and added Stickles and the stamps.  
Tuesday, May 31, 2011

Wow did I spend a lot of time on this layout!

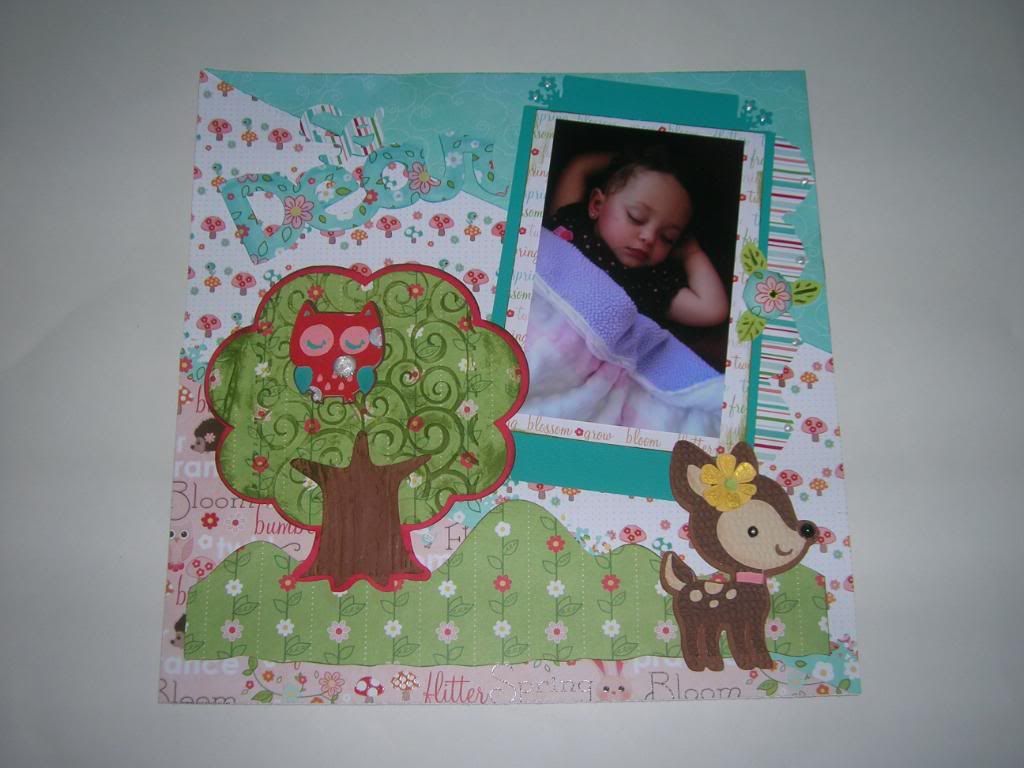
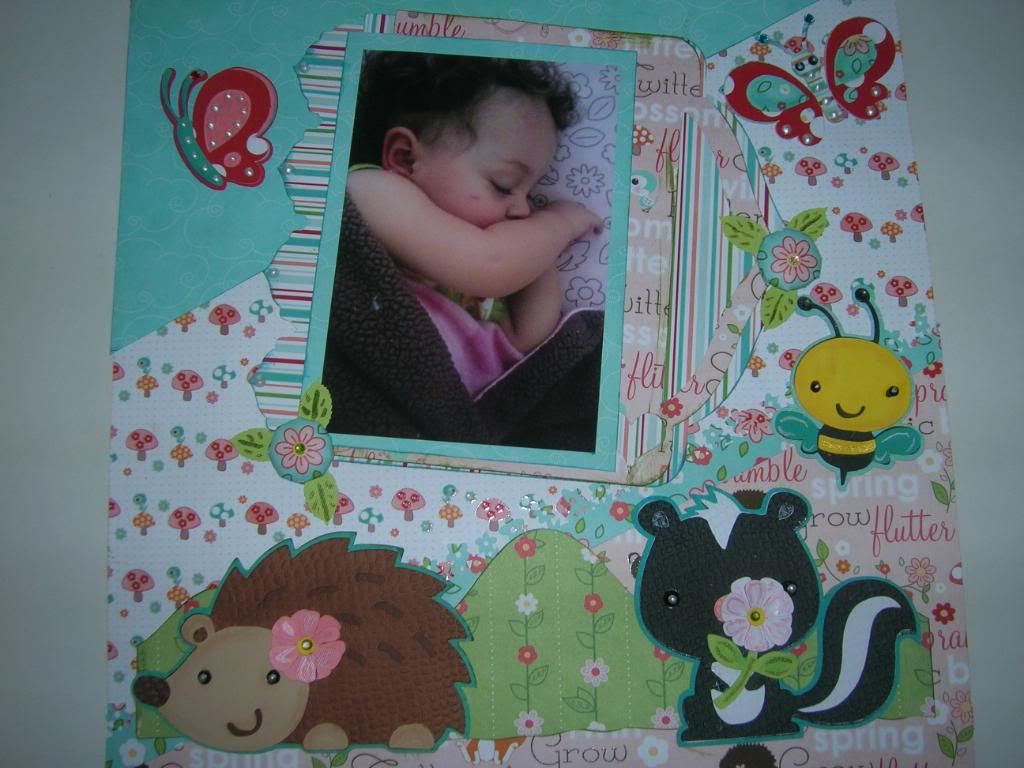
This month Provo Craft is having two Magazine challenges.  For this challenge you were to use 3 Imaginesce products and  4 Cricut Cuts.  I knew right away I had this cute Imaginesce paper I had bought because I knew it would be great with Create a Critter.   So I used the following papers - Mushroom Fancy, Critter Chatter, and Hey Foxy.  I also used the Itop to make 3 flower buttons and the I  rock for the gems on flowers and butterflies.   I tried to duplicate the animals on the paper with the cute little animals on Create a Critter cartridge.  Took a lot of time but I am really happy with the way it turned out.  Hope you like it!
This is the left side of a two page layout
This is right side of  two page layout
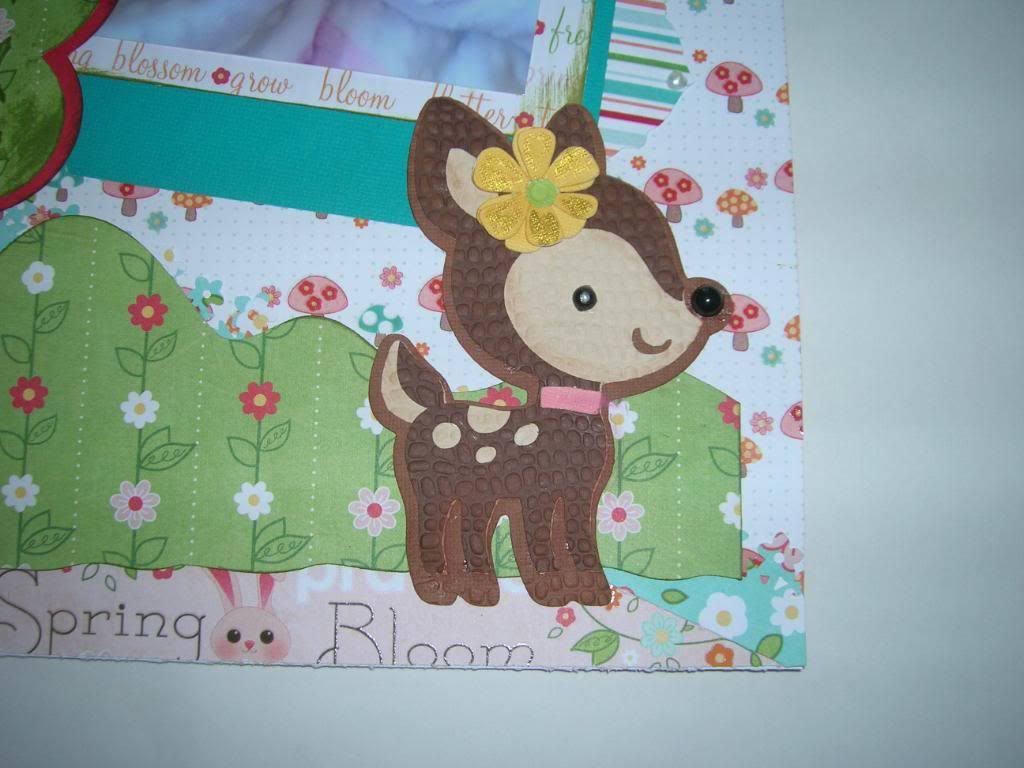
Close up of deer
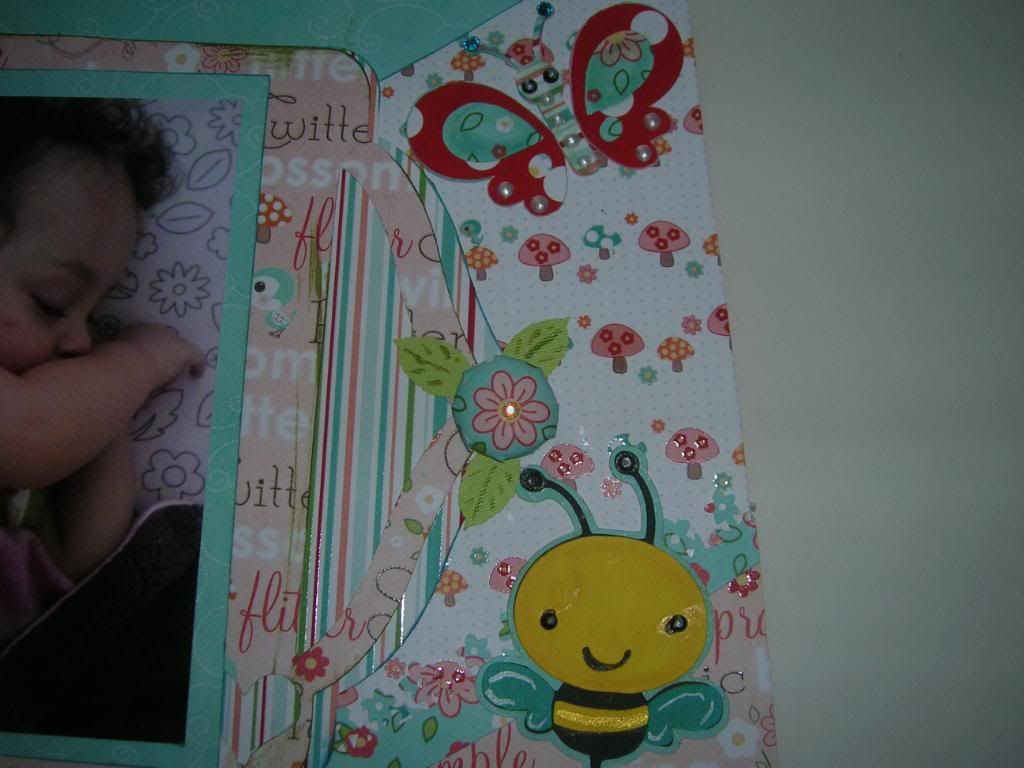
Close up skunk and bee
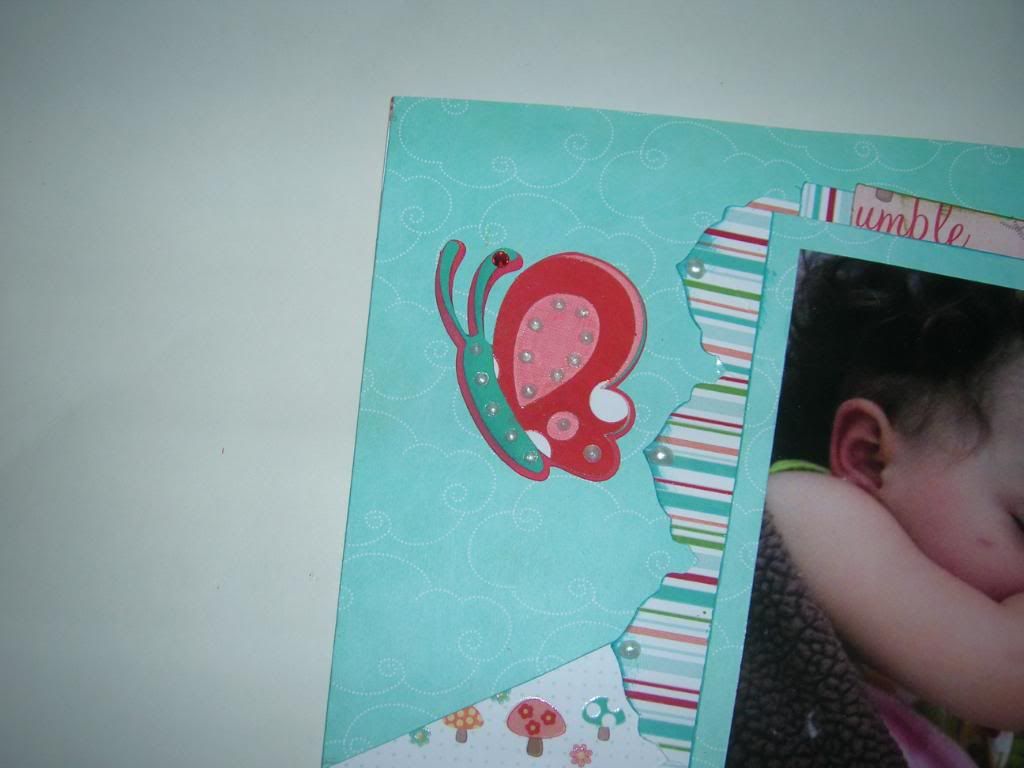
Close up butterfly and I top flower 
Closeup other butterfly and border
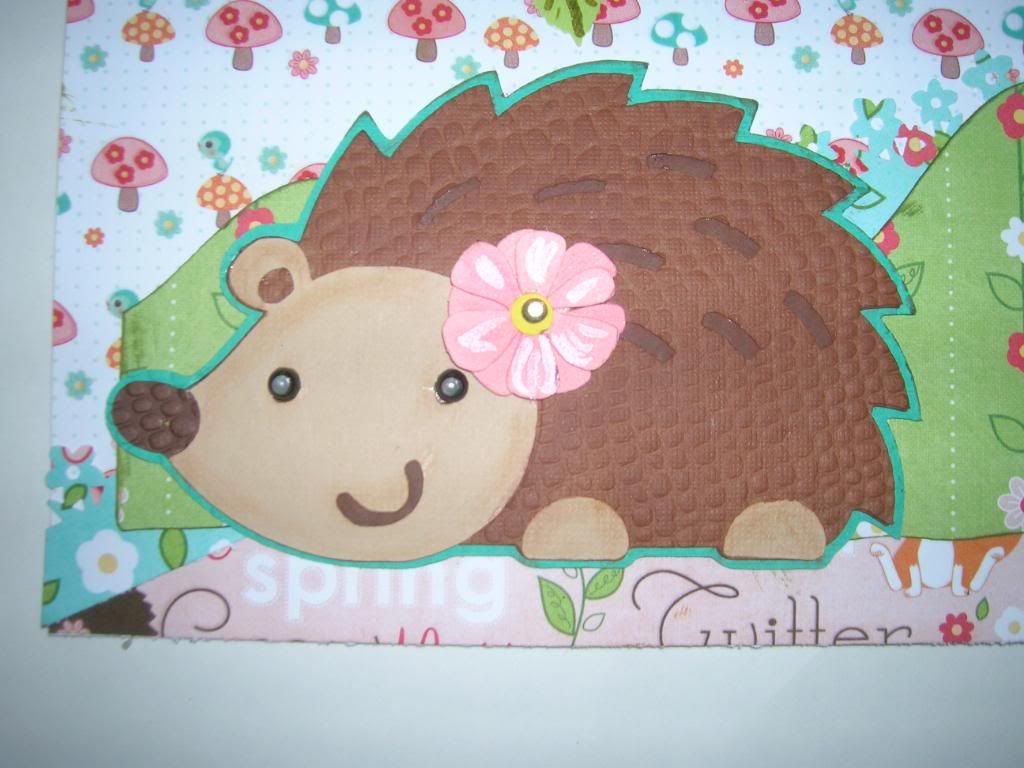
Close up of hedge hog  and Smooch ink on flowers with I rock gems
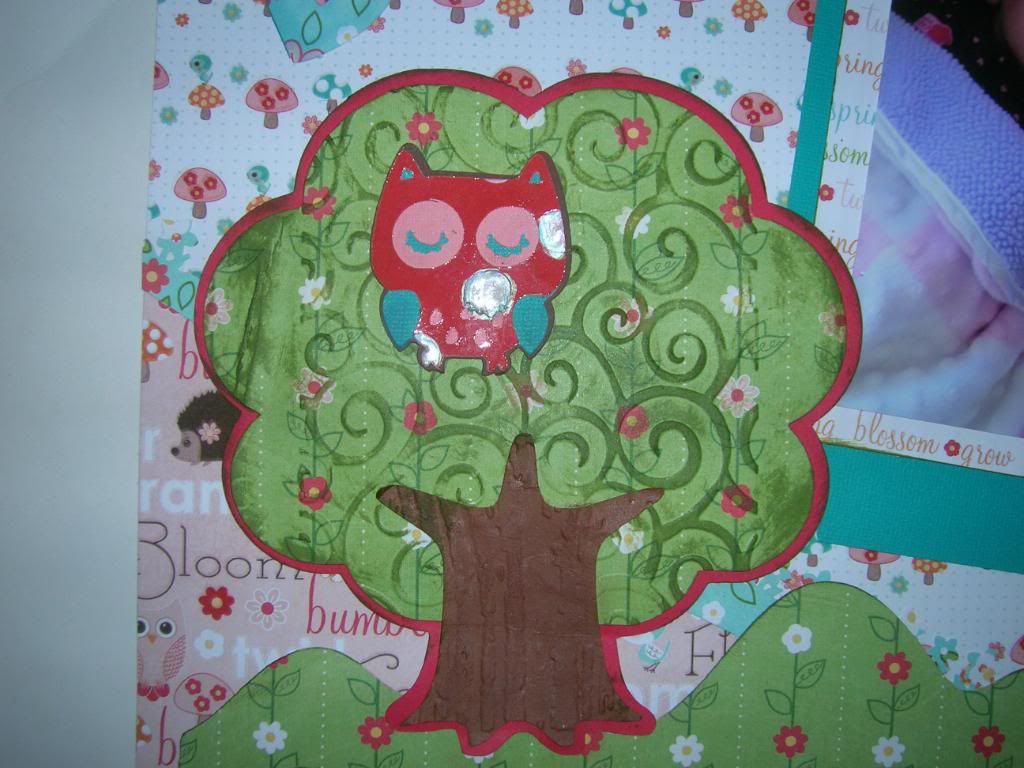
Closeup of owl and tree which I used Cuttlebug Dvine Swirl embossing folder.  
I also used chalk on edges and on embossing, beads for eyes with Pearl pen accents, MS punch for flower corners and leaves behind I top flowers,and  Smooch ink for accents.

Cuts for this project-
Elegant Edges p. 32 book cut and shadow cut at 7 "
Elegant Edges border p. 32 shadow only
Create a Critter Page 62 hedgehog 3", all flowers 1"
                            Page 61 skunk 3.5 ", butterfly 2 "
                            Page 25 owl 2.5"
                            Page 68 bee 3 "
                            page 69 deer 4 " and So Dear title 3"
                            page 68 tree 6"
Paper Doll Dress Up page 77 black out shift hill cut  at  2.9 x 12 inches on Gypsy
             

Tuesday, May 24, 2011

More Beach Layouts with Elegant Edges and Life's A Beach

Sorry this was supposed to post yesterday and I just realized it didn't.  I am having trouble getting on to Blogger the last couple days. 
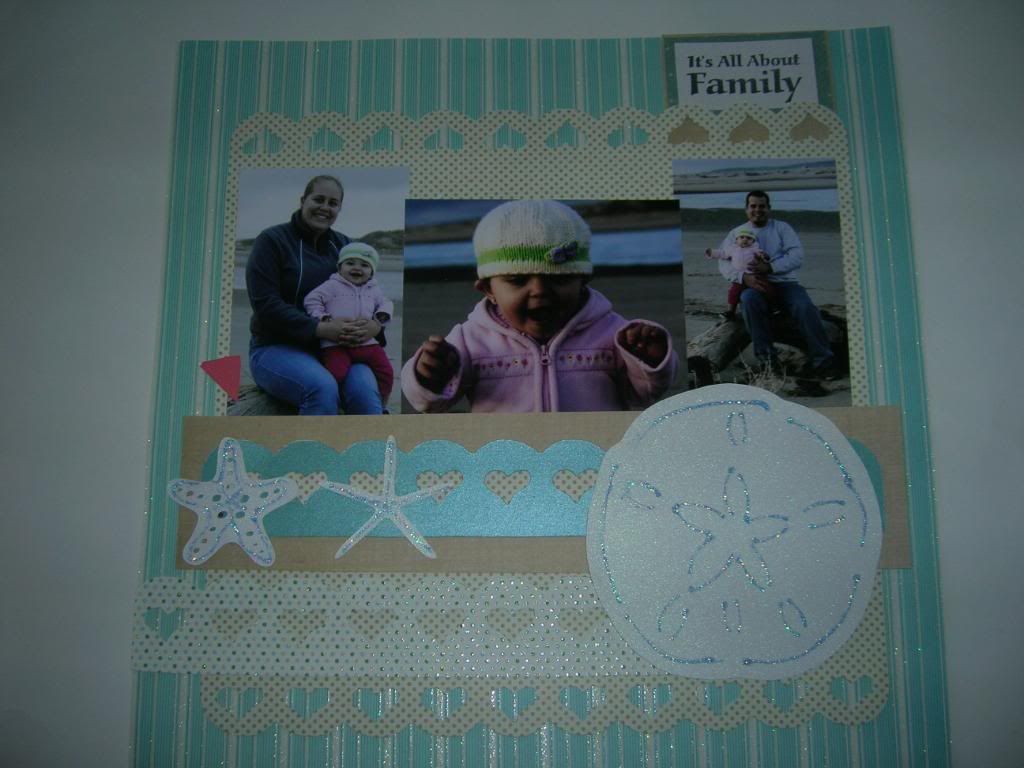
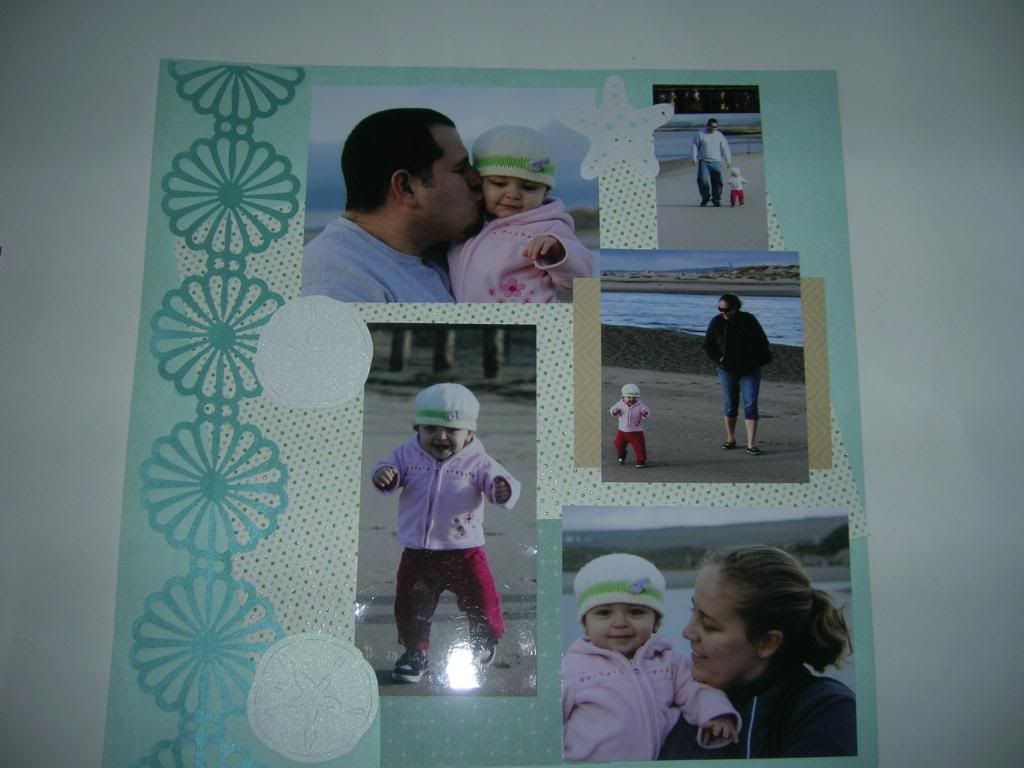
On Saturday I posted my layout for the SweetSassyDiva Design Team.  Well I still had pictures left to scrap so I ended up making two more pages. These pictures are of my  granddaughter when she first learned to walk running up and down the beach with mom and dad.  The first LO I used the sketch for the Weekly Challenge on the CC Blog.  The carts I used were Elegant Edges page 26 Heart 10 inch square.  The heart border was cut at 1.75.  The shells from Life's a Beach page 65 were cut at 5 inches and the sand dollar page 66 was cut at 4 1/2 inches.     


This last one I used the sand dollars again and the Large MS Scallop Punch cut on both sides of a 2 1/2 inch strip.  

Saturday, May 21, 2011

SMASH Book/Cricut Magazine Challenge Make It Your Own

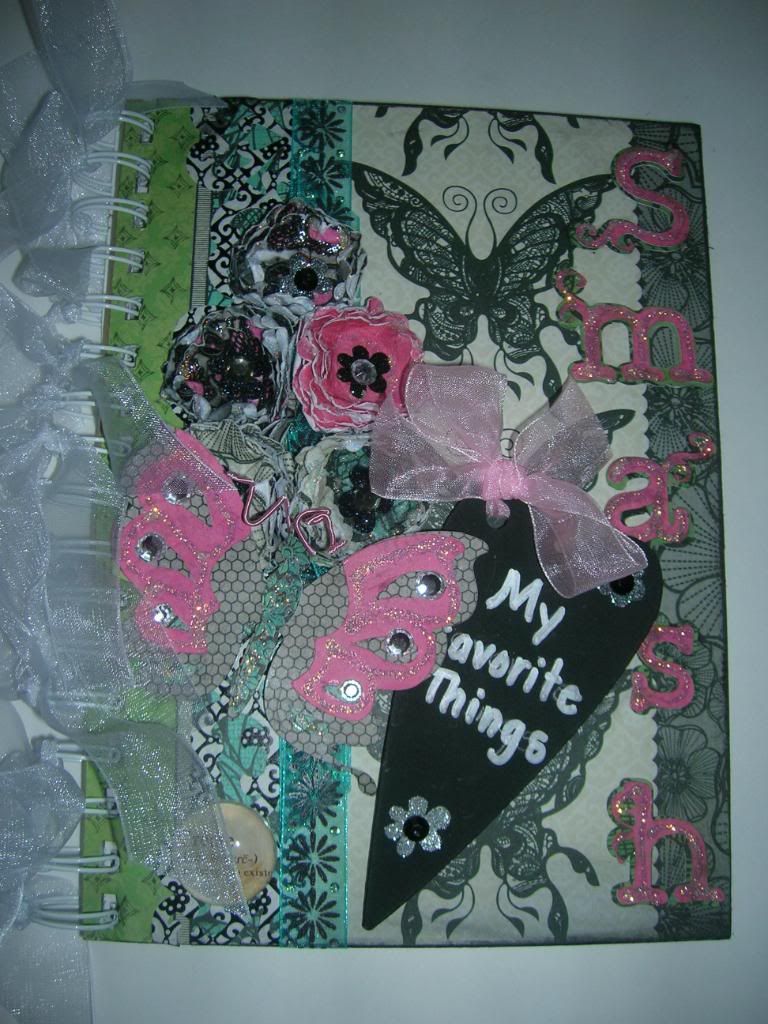
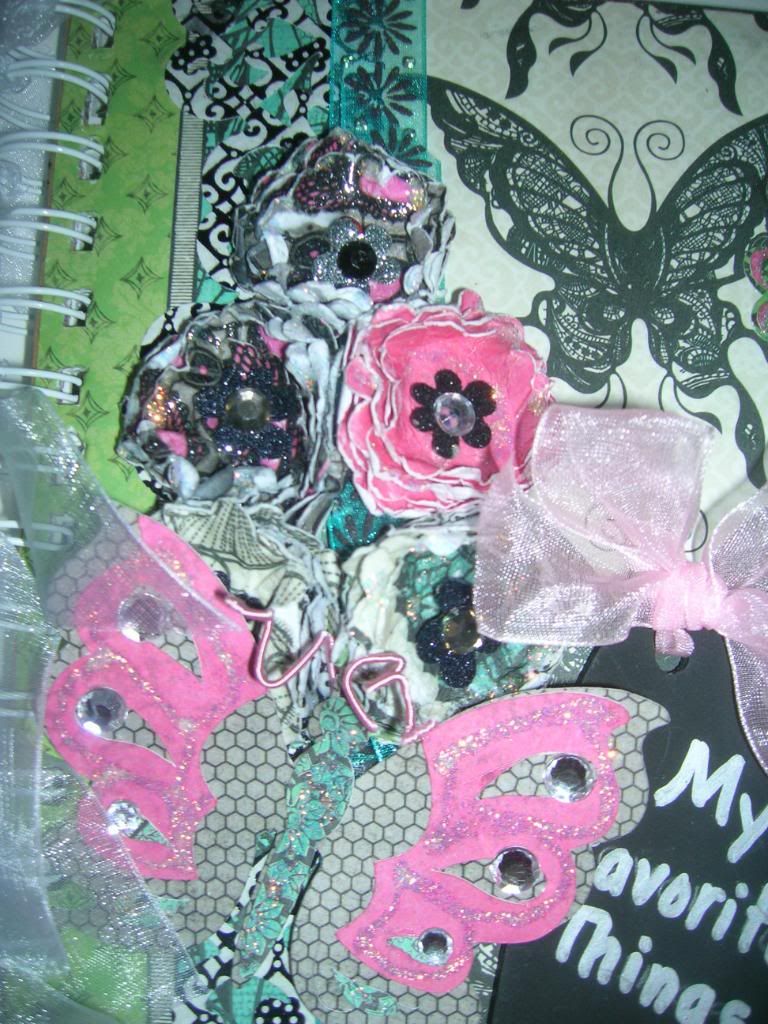
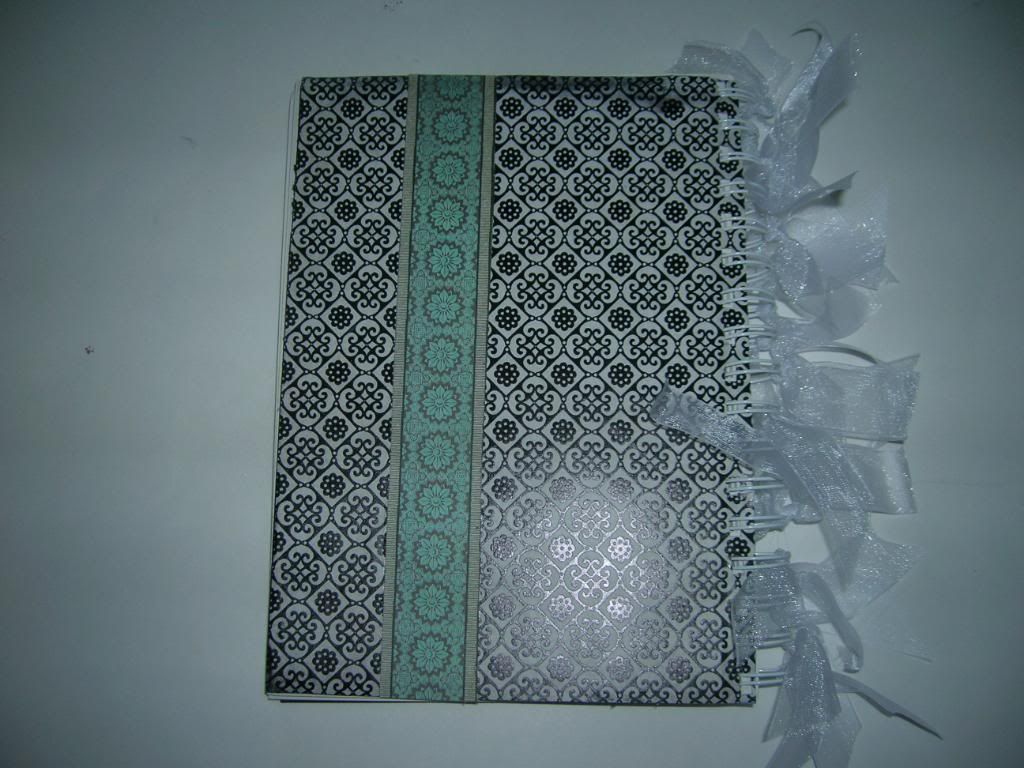
I have been hearing about Smash books but wasn't sure what they were. Then there was a thread on the Cricut messageboard which led me to this video http://www.youtube.com/watch?v=_PFsArr4Z1s and website http://www.eksuccessbrands.com/kandcompany/   The same day the May Cricut Circle Magazine came out.  One of the challenges was to take a project from the magazine and make it your own. There were many beautiful projects but  a lovely journal ion page 33 by Janet Wilkins caught my eye.  So since I collect things and they often end up in a drawer or box. I decided to make a Smash book using  an artist sketch book I had sitting around. I gently  pulled the wires apart just enough to take the cover and backing off and then covered them with one of my favorites stacks  DCVW Street Lace.  The Smash title is from Cricut American Alphabet cut at 1.25, the flowers are the Scalloped cut from Mother's Day Bouquet cut at 1.25 and 1.5.  The butterfly is from Rock Princess cut at 3 inches.  The mini chalkboard is from MichaelDirections for flowers s and I  wrote on it with a silver Sharpie. I also added  a MS punch cut,  Memory thread for the antennas, Diamond Stickles, a couple embellishments and ribbon. 
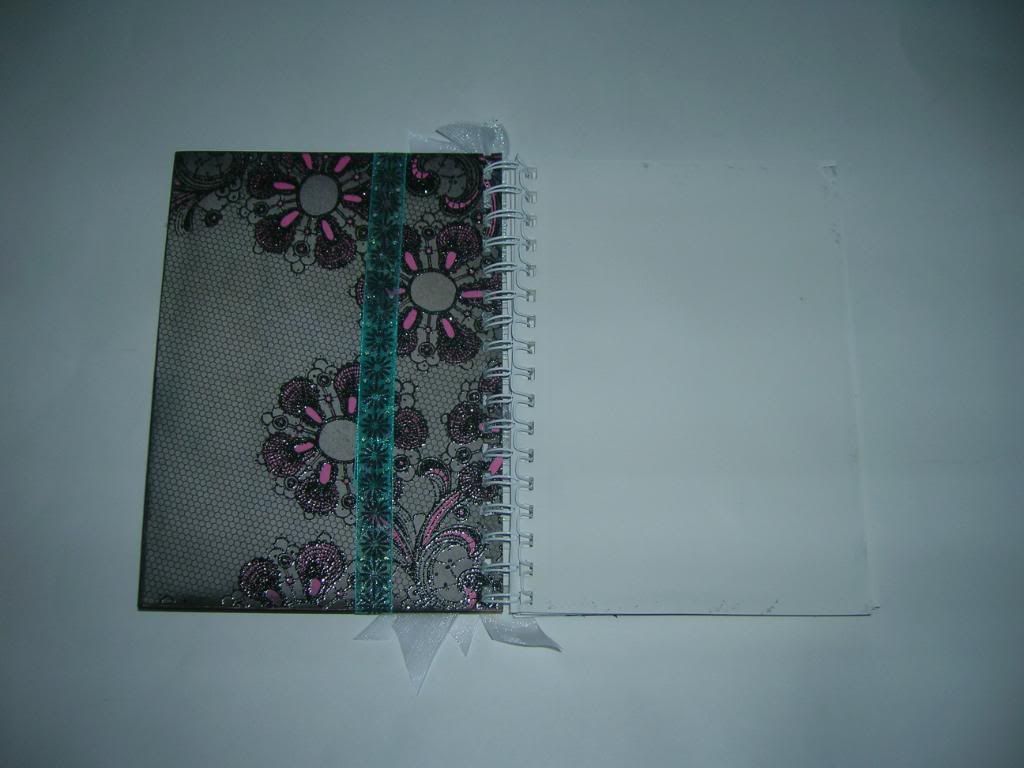
This is the inside cover 
Back Cover 

Tuesday, May 10, 2011

MAY MONTHLY CC CHALLENGE: Tic Tac Toe Challenge


MAY MONTHLY CHALLENGE: Tic Tac Toe Challenge


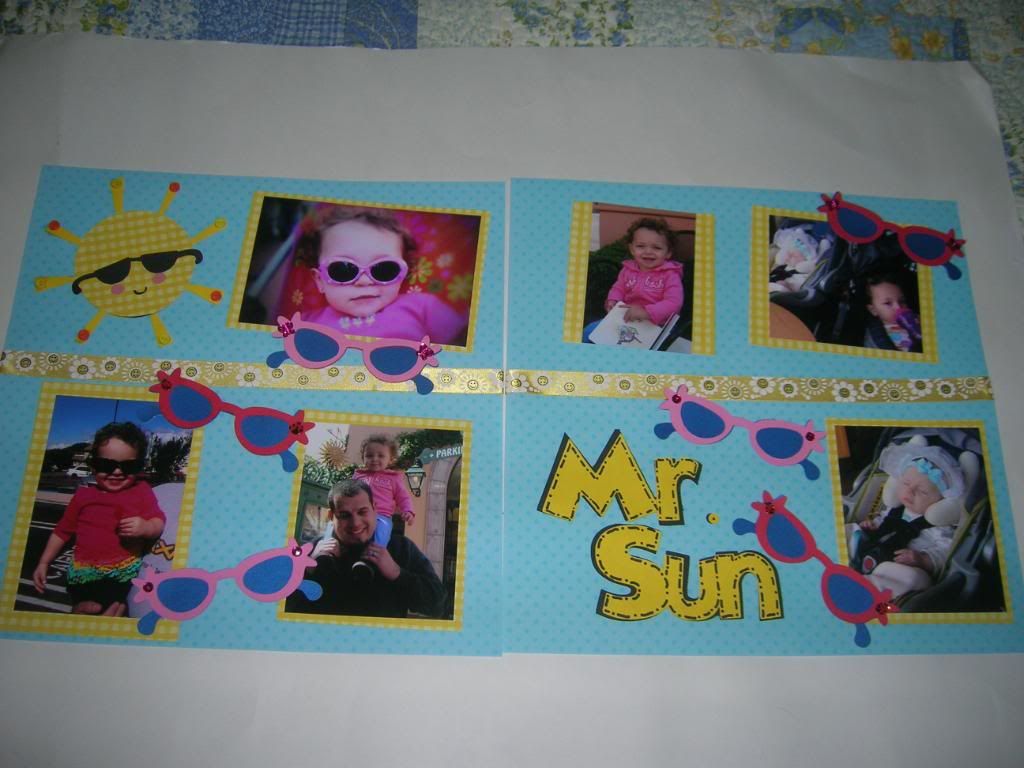
This is the challenge and you  needed to select a row.  I chose the top row using a sun shape, welded image with gypsy and buttons.  
This is my project.  The sun is from Simply Charmed and has little buttons on the sun rays.  The sunglasses are from Paisley and there are a few buttons and embellies on them.  Mr. Sun was welded using my Gypsy and Mickey Font.   The sun and title were embossed.  I added some ribbon from M's and  faux stitching with a sharpie 

Saturday, April 30, 2011

I love my E2 and CC challenge Gift Card holder


Today I finally got to spend the day with my new E2.  I love love love this machine.  I watched the video on Cricut.com  http://www.cricut.com/expression2/celebration.aspx.  I highly suggest you watch this as a great overview in an orderly manner.  I think it is very easy to use.  My only issue is not being able to move cuts around the mat like we can with our Gypsy.  The cuts are very close to each other on the mat which makes it hard to cut  different  color paper  for different cuts.  I am using the space bracket and line return to help with this.   Hoping they will update this. 
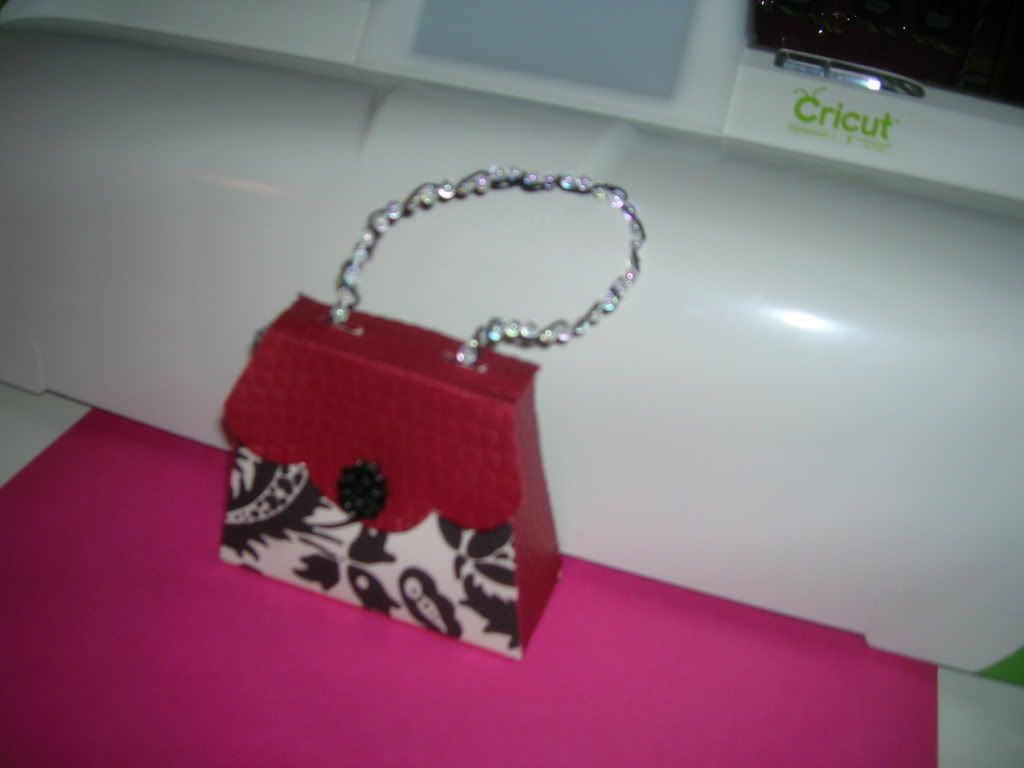
The challenge this week for the CC challenge is to make a gift card holder.  Since tomorrow is my DD's birthdy  I made this little purse.  I cut the little purse at 7 inches ( largest that would fit on 12 x 12) from Tags, Bags, and More two times, once in red cardstock and once in black and white double sided paper.  I then cut the red pieces so that the front flap, sides and bottom were all that was left.  I used my Cuttlebug, embossing it to look like leather.  I added a cute black rose button for closure and used beads with miracle thread wrapped around to make handle.  

Sunday, April 17, 2011

CC Weekly Challenge card- Prima like flowers

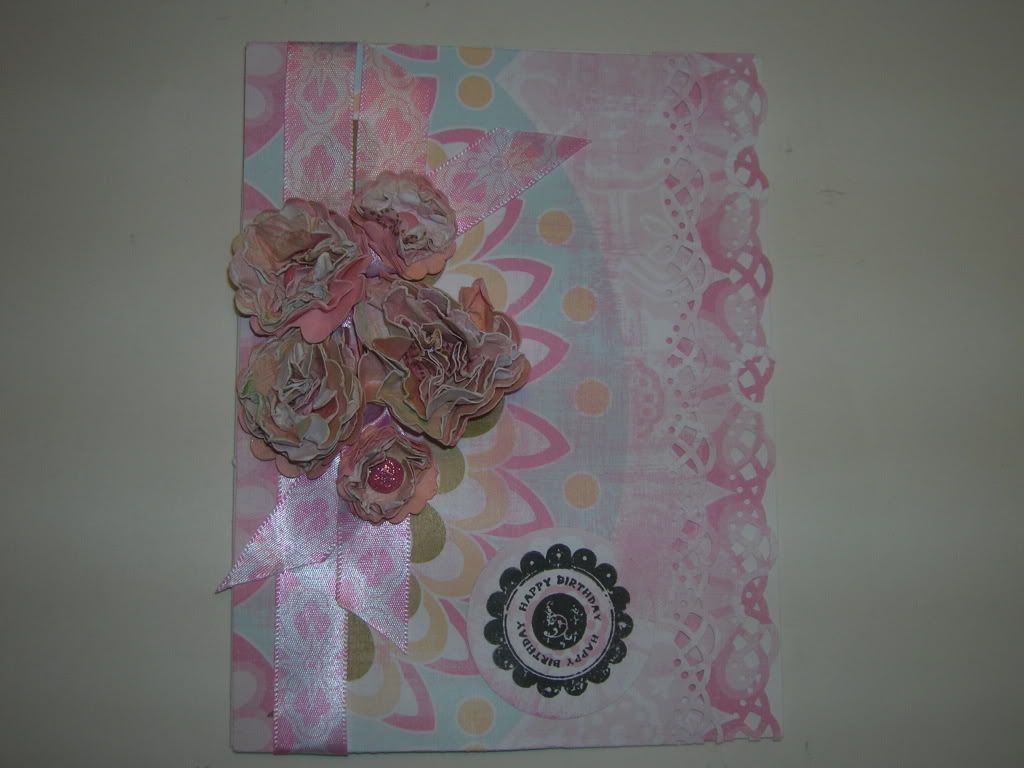
This is my entry for the Cricut Circle challenge this week to do something with a flower.  I love making these flowers and they are much cheaper than buying Prima flowers.   I cut scalloped circles from Mother's Day Bouquet cart at 2 inches, 1 1/2 inches and 1 inch.  The next step is the most important.  YOU HAVE TO  WET THEM!!!!!!   I used to try to skip this step and they just come out so much better if you wet the paper.   So once I cut a bunch of scalloped circles out  lay them all out I spray them with a mister.  When they are good and wet I wad them up into little balls.  I let them dry for a few minutes and then carefully open and spread out not flattening them completely.  Let dry a little longer but not completely.  I like to work with them when they are still pliable.  Next  I stack 5 to 8 high.  Punch hole with crop a dile and add  brad to center.  I then pull each layer up towards the brad  being careful not to tear.  then I pull them down forming the flower.  After they are formed the way I want, I let them dry and then add Tim Holtz ink, Stickles and/or  spray with Glimmer Mist depending on the look I want.
The paper for the card was a double sided piece and the flowers were actually made from the same piece.  I have  3 other flowers from this one piece of 12 x 12 paper.  For this card  I added ribbon and used a MS punch on the edges.  I also added a birthday stamp.

Thursday, April 14, 2011

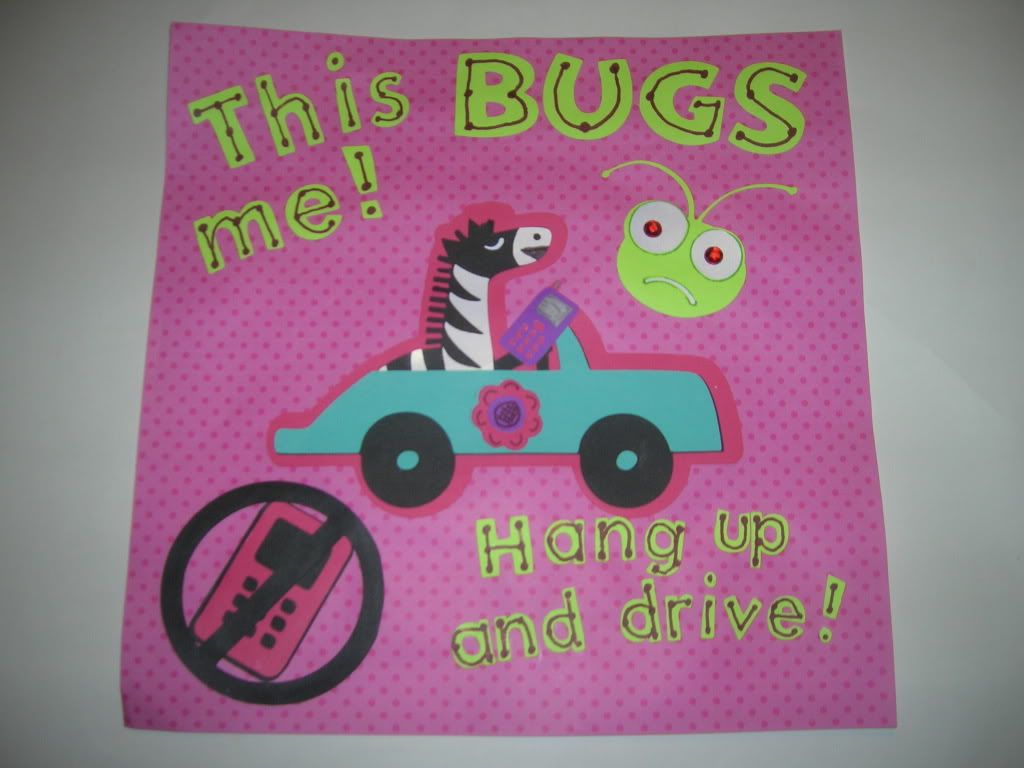
CC Weekly Challenge- What Bugs You

This is my project for the Cricut Circle Challenge this week to make a layout of something that bugs you. The other requirement was to have a bug on the page.  I used the Paisley cart for the zebra in the car and the small cell phone.  The cricut head is from Everyday Cricut and I turned the smile upside down and added red eyes to show anger.  The large cell phone and no sign is from Going Places and the letters are from the Mickey Font.  

Tuesday, April 12, 2011

Cricut Circle April Reuse, Recycle, Repurpose challenge

This is my entry for the Cricut Circle Challenge: Create a project of your choice and reuse, recycle or repurpose 3 items on your creation. Project must include atleast 2 different 
Cricut Image Cuts. 

Picture 1- is my finished project.  

Picture 2- These are the items I chose to recycle- a Tim Holtz chipboard box, dryer sheets, old beads, a coaster from a restaurant and a coffee cover from a bagel place.  
Picture 2- I used 2 different cuts from Elegant Edges page 64 and 68 and also the shadow of the oblong one.  I then glued the Elegant edge circle to the coaster.  
Picture 3- I cut the dryer sheets in one inch strips and gathered around a cardstock circle ( 2 1/2  Inch) gluing as I went. It took 2 strips to make first layer.  I made another layer and gathered a little tighter to make a medium layer and then made a small layer on a one inch circle.  
Picture 4- Lay layers out on paper towel and spray with Glimmer Mist. Pat excess off with paper towel and let dry.    
Picture 5- Glimmer Mist lace, pat off excess and let it dry and then glue all layers together. 
Picture 6 - Inside of box.  This where I am going to keep all the butterflies, tiny flowers, dragonflies and such that I cut from tiny scraps to keep for projects.  So not only did I recycle to make the project but am keeping little punches in it that are recycled from tiny scraps.  

Wednesday, April 6, 2011

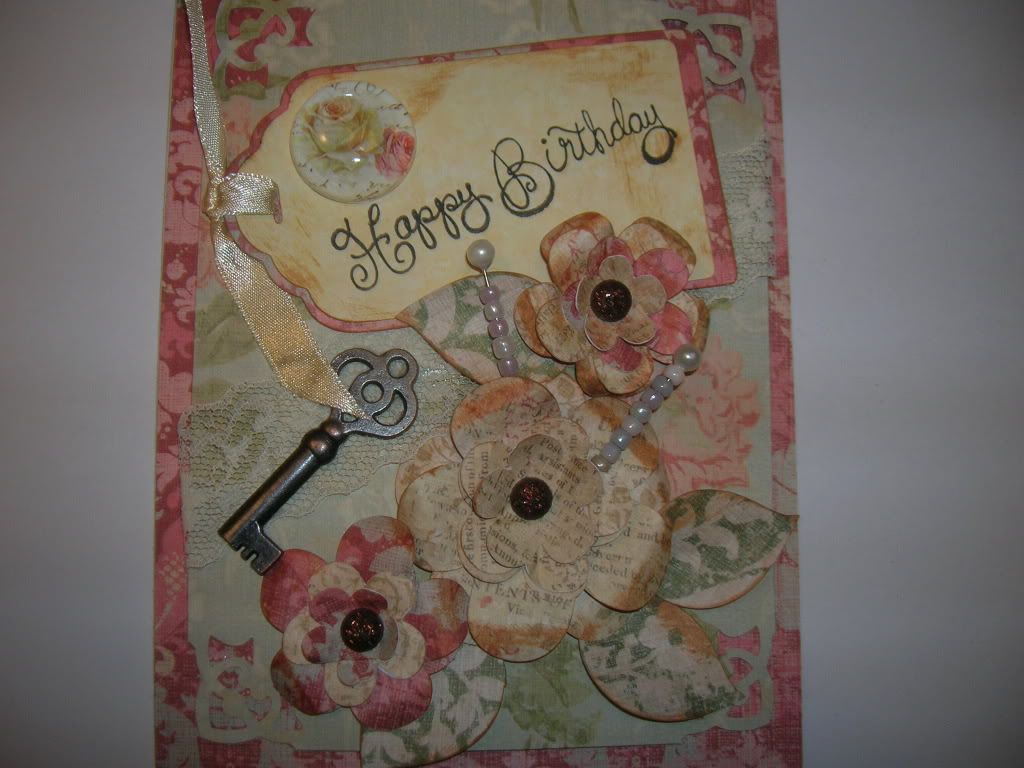
Vintage Card with sketch for CC weekly challenge


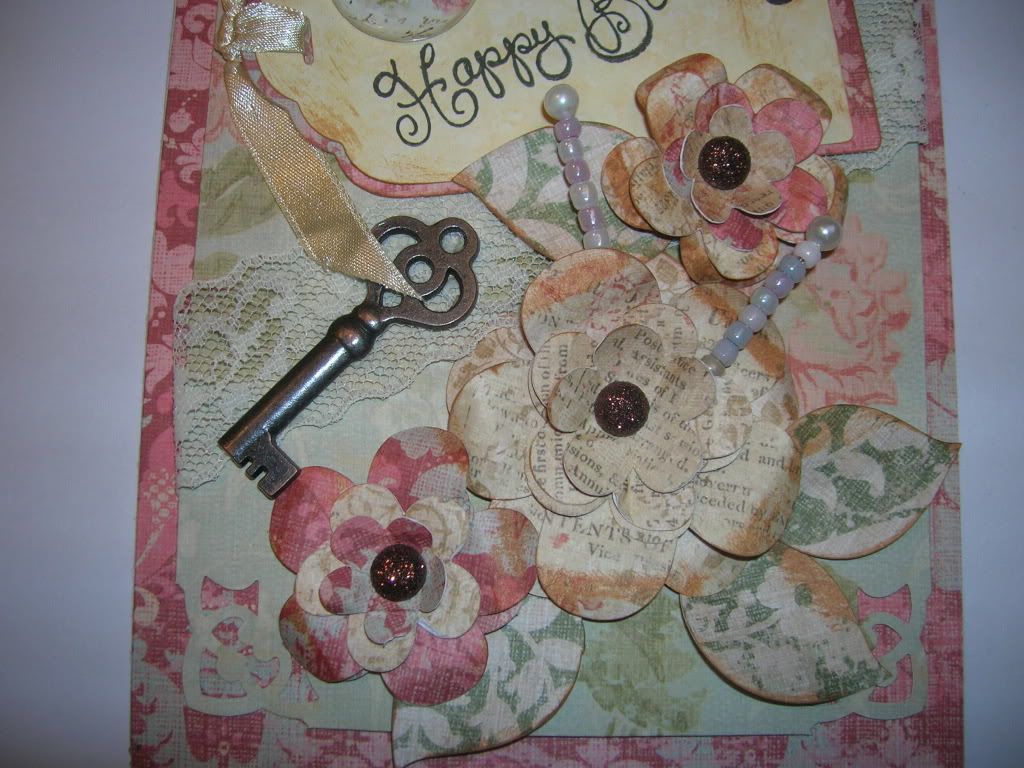
This is my card for the Weekly challenge on the CC Blog.  We were to make a sketch and  then use the sketch for the project.  I wanted to make a Vintage card.  Used Fabulous Finds, Mother's Day Bouquet cart.  Use Tim Holtz ink on edges.  Made beaded pins to add to flowers and added the metal key.


Close up of flowers.  

Wednesday, March 30, 2011

CC Weekly Challenge Card- Just Because with Floral Embellishments

Cricut Circle Weekly Challenge #26: Just Because Challenge!

 Create a layout featuring an everyday topic or create a “Just Because” card.

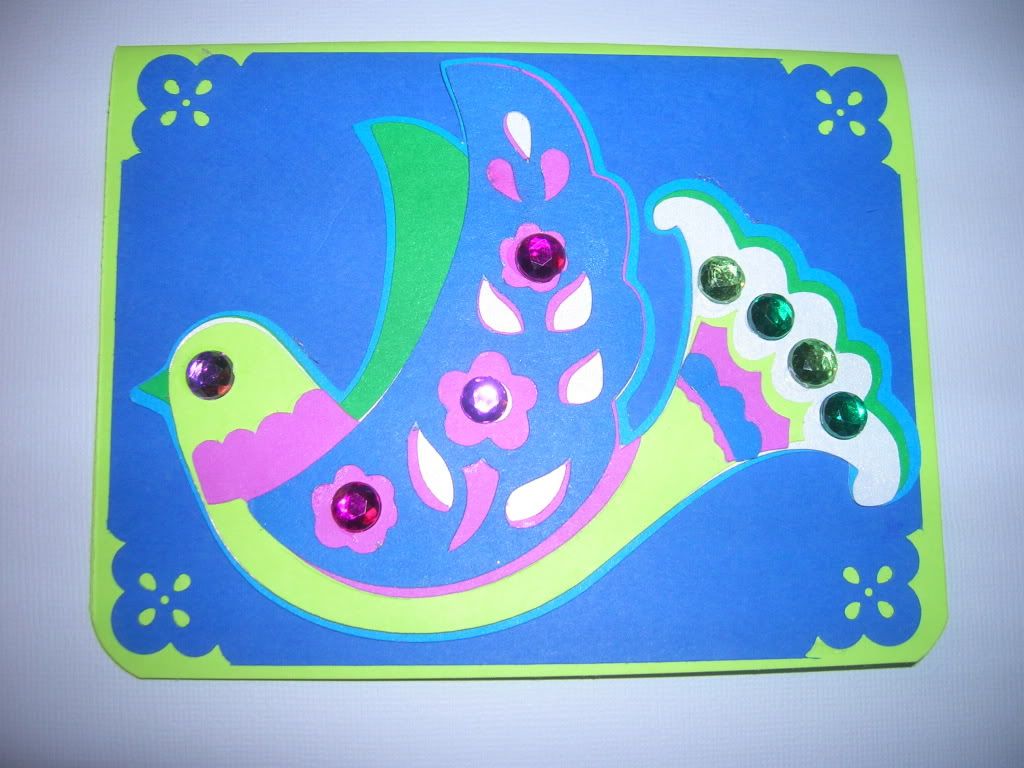
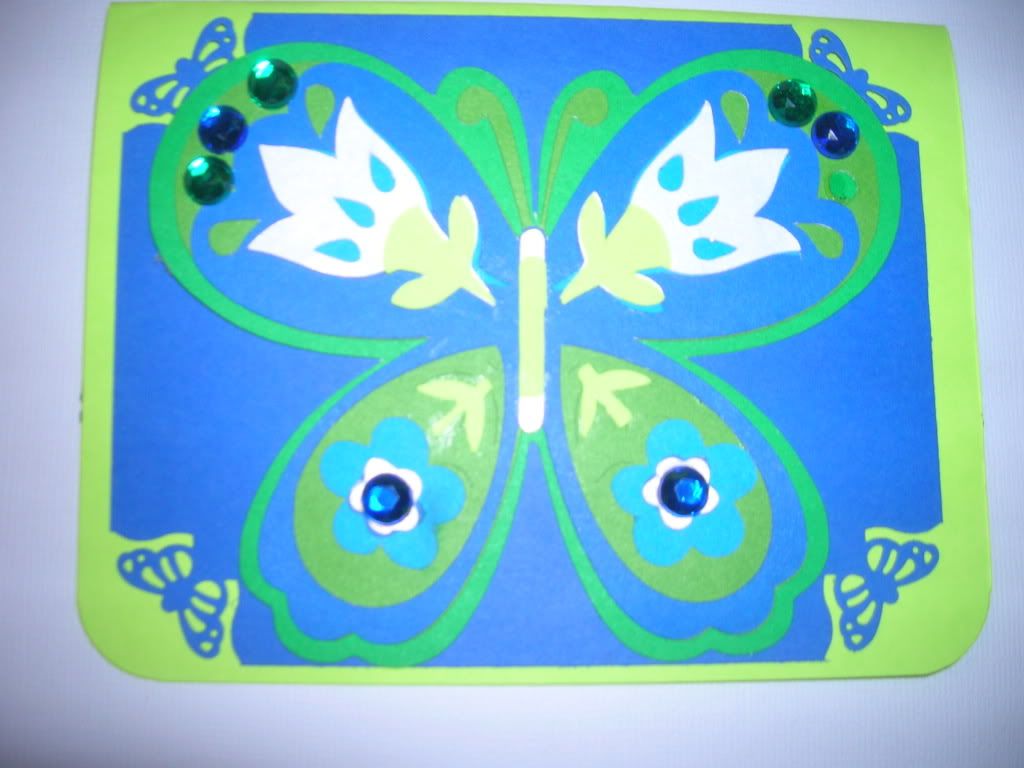
I decided to make a card from Floral Embellishments. First I did the bird and then from pieces left I also did a butterfly.  This cart has beautiful phrases including Mother's Day.  I love the bright colors of the DCVW  8 x 8 stack as they are perfect for this cart.  Also the pieces are easy to layer.  Added bling and now I have two cards ready to go when I need them. 
 
The first card of the dove is my entry into the challenge.  
Then I made another one of a butterfly.  
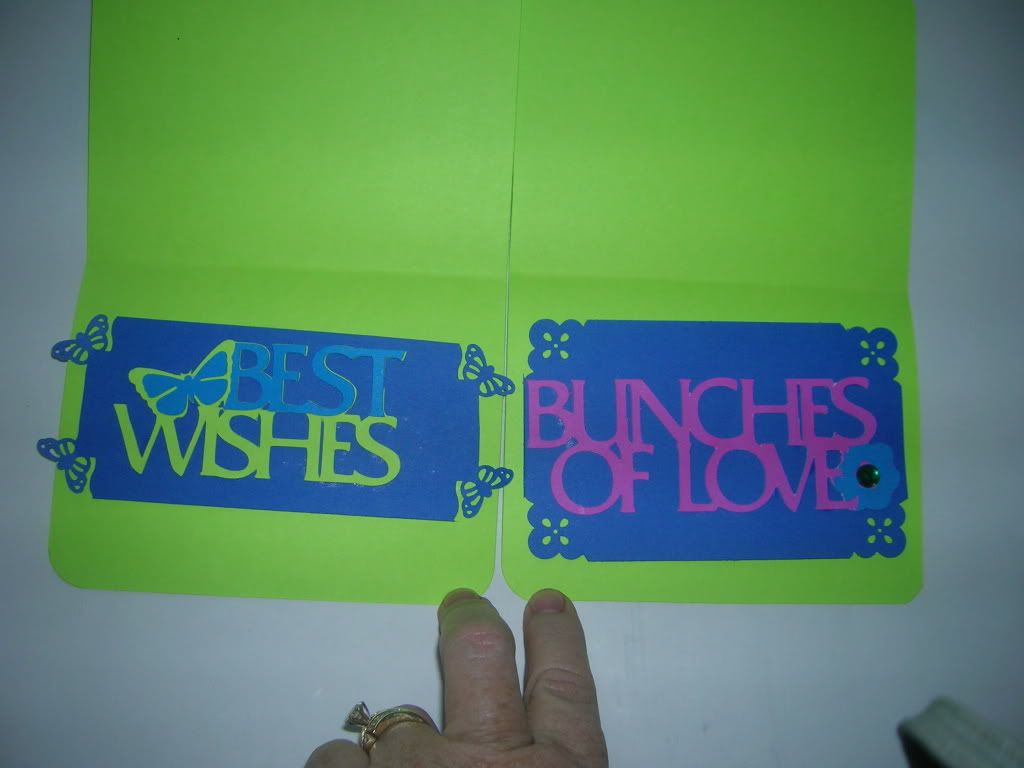
This is the insides of the two cards.  


Sunday, March 6, 2011

Door hangars for CC Monthly Challenge

FEBRUARY MONTHLY CHALLENGE: CHILDREN AT PLAY!

“Childhood is the most beautiful of all life’s seasons.” This month we want you to create in honor of the children in your lives. Not only will you be creating something FOR a child, but you will be playing to win a prize for your local school. The winner will be playing to win aLightly-Loved Cricut Expression and FOUR Cricut cartridges (Provo Craft’s Choice) for your local school

The Challenge: Create a project (other than a layout or card) for a child using your Cricut machine. Project ideas include, but aren’t limited to: Gift item, toy, organizing solution, chore chart, item for schoo., stationery set, etc. Project must include atleast 2 different Cricut Image Cuts.

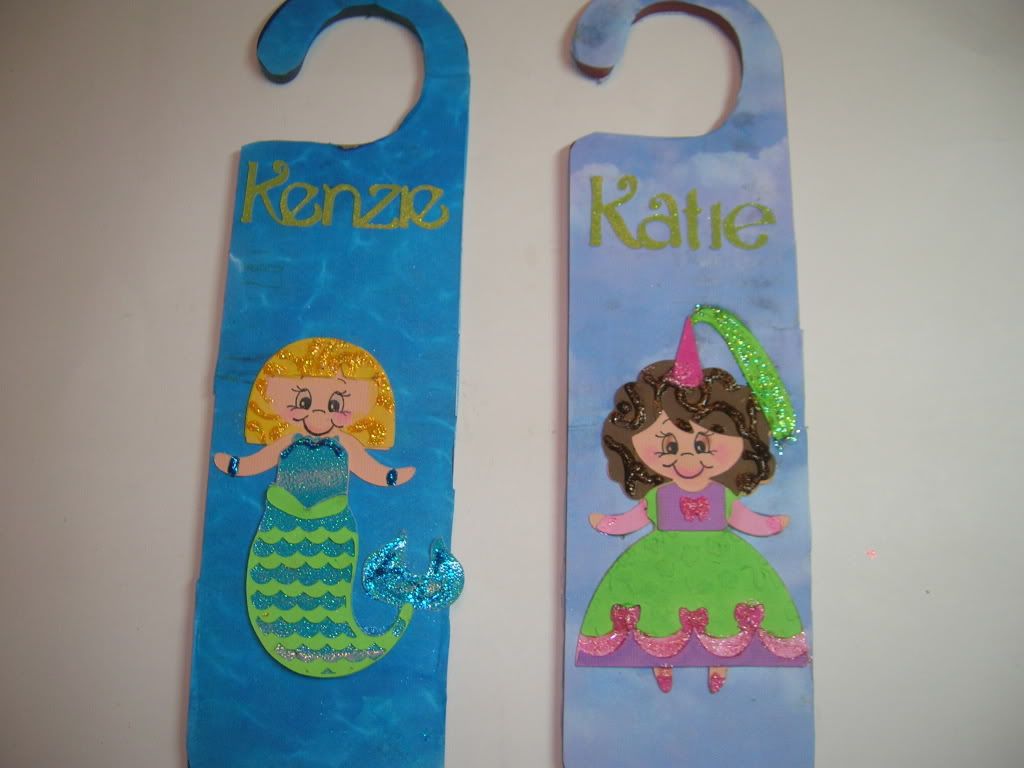
I made these door hangers today for my sweet granddaughters.  They are wood and belonged to my daughter when she was in college.  I traced then and glued paper  to wood.  I then Glimmer Misted the water paper on the left and the cloud paper on the right to give them more vivid color.  The two dolls were cut at 4 inches from Once Upon a Princess.    I have a couple more so will save these for grandbaby due in July and any future grand kids.
If my name was to be drawn for this challenge I would love to give and Expression to the school my daughter teaches at.  It is a school for children with Autism and I am sure they would love to have a Cricut machine.

Friday, March 4, 2011

Weekly challenge #23 Guy Stuff Challenge- Cruisin Truck

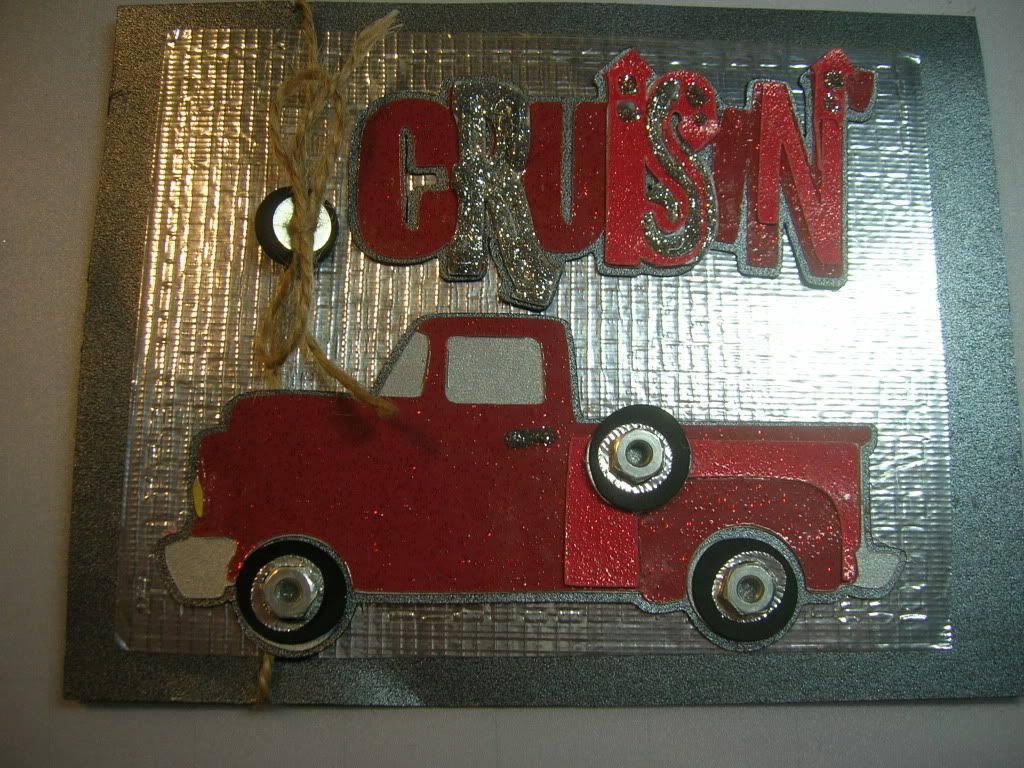
This is my card for the challenge which was to incorporate at least three of the following types of materials on your project. (Hardware items, stars, raw cardboard or chipboard, twine, string, paint, buttons, staples, or distressed edges)

To make this card I used Nifty Fifties for the truck and the phrase Cruisin is from Boys Will be Boys.  First I embossed Silver Duct Tape that comes in a 8 1/2 x 11 sheet at Michaels with a cuttlebug  folder to make the background.  Then I cut out the truck and  title pieces.  I used tiny bolts for  the wheels, twine, and a button and washer for the bow.  I am leaving the inside blank for now.  I thought later I could add Cruisin...." to wish you a Happy Birthday"  or "by  to say thank you" or  "by to say get well."  Anyway you get the idea- so for now the inside will be blank.  Love the way the duct tape looks embossed.  

Monday, February 28, 2011

Two Layouts- One for CC Weekly Challenge

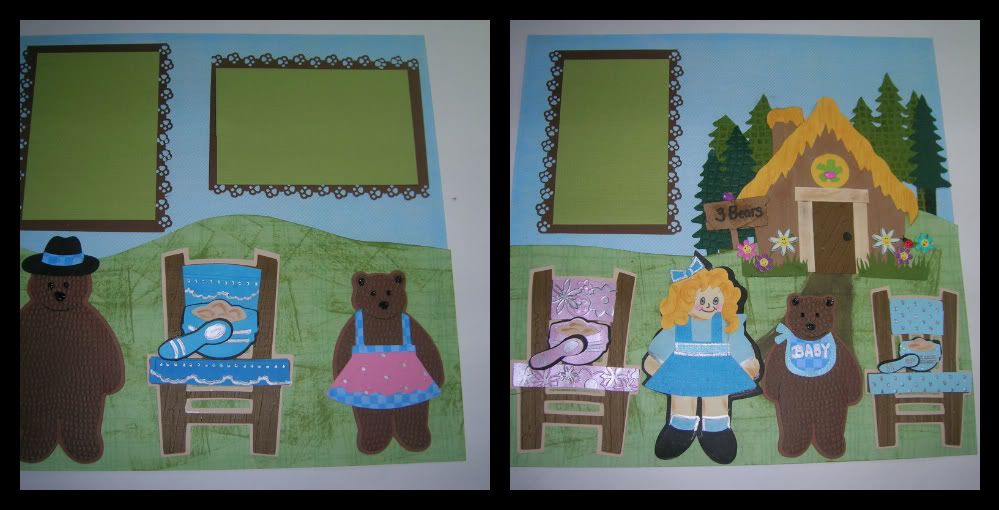
The first  layout is for the weekly CC challenge. The Challenge: Include a Fairytale or Folklore figure in your project (princesses, gnomes, etc. I knew right away I wanted to get out My Community and do a layout of the Three Bears.  The bears were cut from My Community at ", 4 1'2" and 4 ".  The bowls were cut at 2 1'2, 2", and1 1'2".  Goldilocks was cut at 5 ".  I used the Gingerbread house on the same cart but turned the snow parts into straw by embossing.  The forest trees came form Campout and were also cut at 5 ".  The greenery was from Plantin Schoolbook.  I used a lot of different embossing folders  for texture and chalked the edges. Also used a bear paw stamp to frame pictures and Silver Sharpie for accents.  

This was a layout I had cut out before CHA for the CC crop.  Finally got around to gluing it together.  I also added the side strips which were done with my new 12 inch Cuttlebug folder  I used light blue glitter cordinations paper and then ran Tim Holtz purple distressed ink over the top. 


Tuesday, February 1, 2011

CC Weekly Challenge card

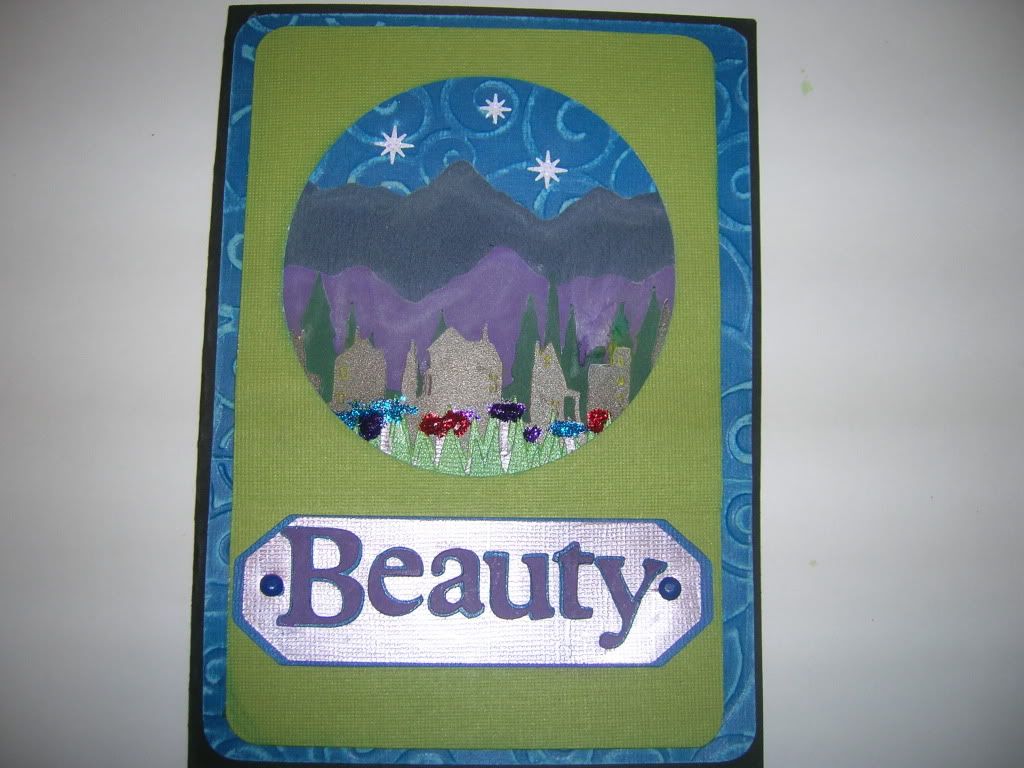
This is the card I made for the Weekly CC challenge.  We were to make something using a cart you got with your machine.  I used Plantin Schoolbook and designed my project on the Gypsy.  The card is 5 x 7.  The blue piece I cut at 4 1/2 x 6 1/2 and embossed with Divine Swirls or Coredinations paper which I then sanded.  The first cut on the Cricut was the green which is 4 x 6 and the circle in the center is 3.5.  Then  I went to page 69 for the scenery cuts.  I cut the flowers (1) and the grass (2 x) at .75.  The houses, trees and mountains were cut at 1.50.  all the cuts are 4.25 long to fill the circle.  I also did one more mountain cut same size flipped.  The letters for title also PS are 1 inch.  The tag is from page 71  italic tag which has two holes.  I made my own shadow.  I chalked all the cuts and then glued the pieces together to form the scene.  I added a few MS punch stars from white glitter paper,  I added brads on tag, and stickles for flowers.

Tuesday, January 25, 2011

Grammy and the princesses layout for weekly CC challenge

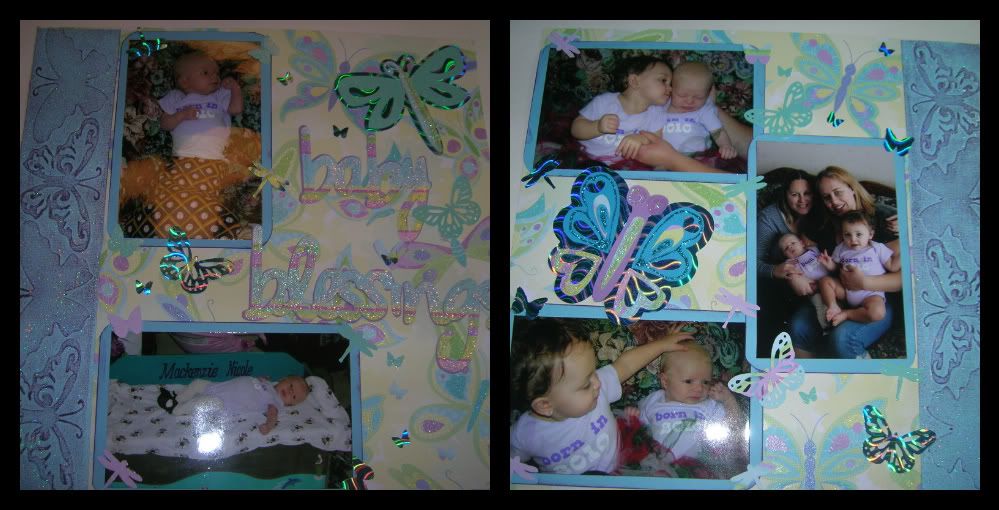
The challenge this week was called the BABY challenge.  We needed to use brads, aqua, butterflies and yourself as the subject.  This is my entry I made using  Lacey Labels and Once Upon a Princess.  I used small aqua brads to decorate small butterflies  I put on corners. Larger butterflies came from OUAP. I almost always do two page layouts.  The third picture  is to show tiny brads and details.   These photos were taken at Katie's birthday party.  Katie was turning one and Kenzie was 2 months.  Nothing better than being with my two girls.

Thursday, January 20, 2011

Weekly Challenge #16: Cute As a Button Sketch Challenge!

Weekly Challenge #16: Cute As a Button Sketch Challenge!

Babies are definitely “cute as a button” with their sweet little faces and tiny features. In honor of our Baby Theme, this week we challenge you to create a SCRAPBOOK PAGE or CARD using the sketch below. Your project doesn’t need to follow the sketch exactly, but it should be apparent that you used it as inspiration. Feel free to turn it on it’s side or move elements to fit what you are doing. In addition to using the sketch, we also want you to incorporate STAMPING and BUTTONS (of course!).


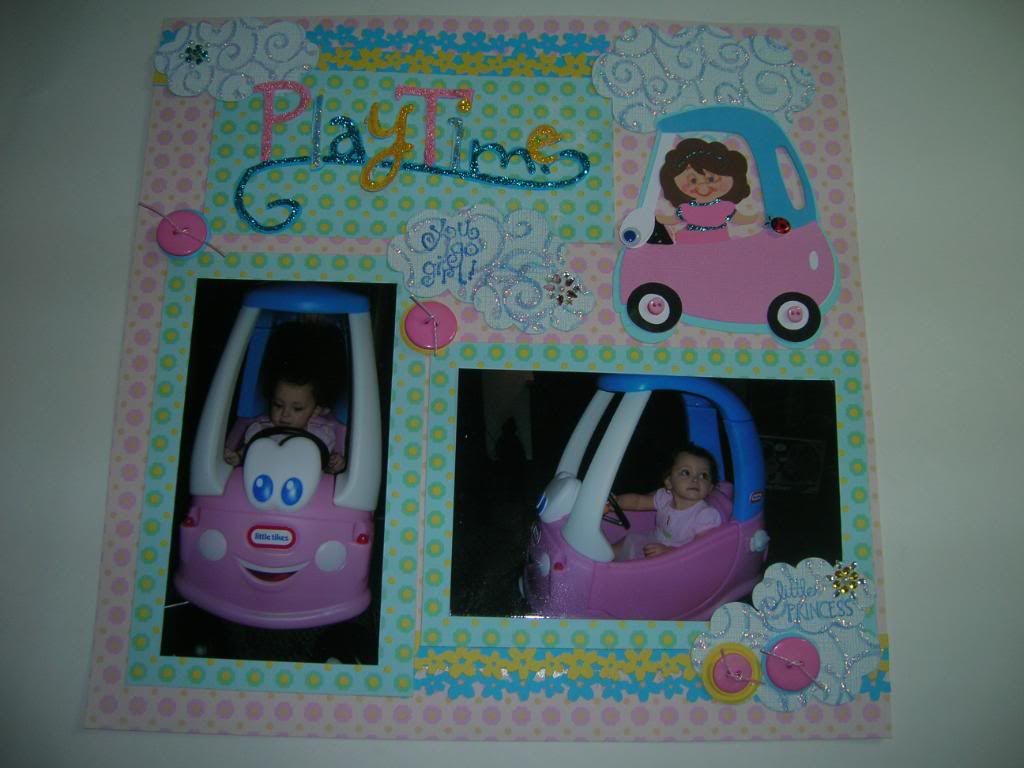
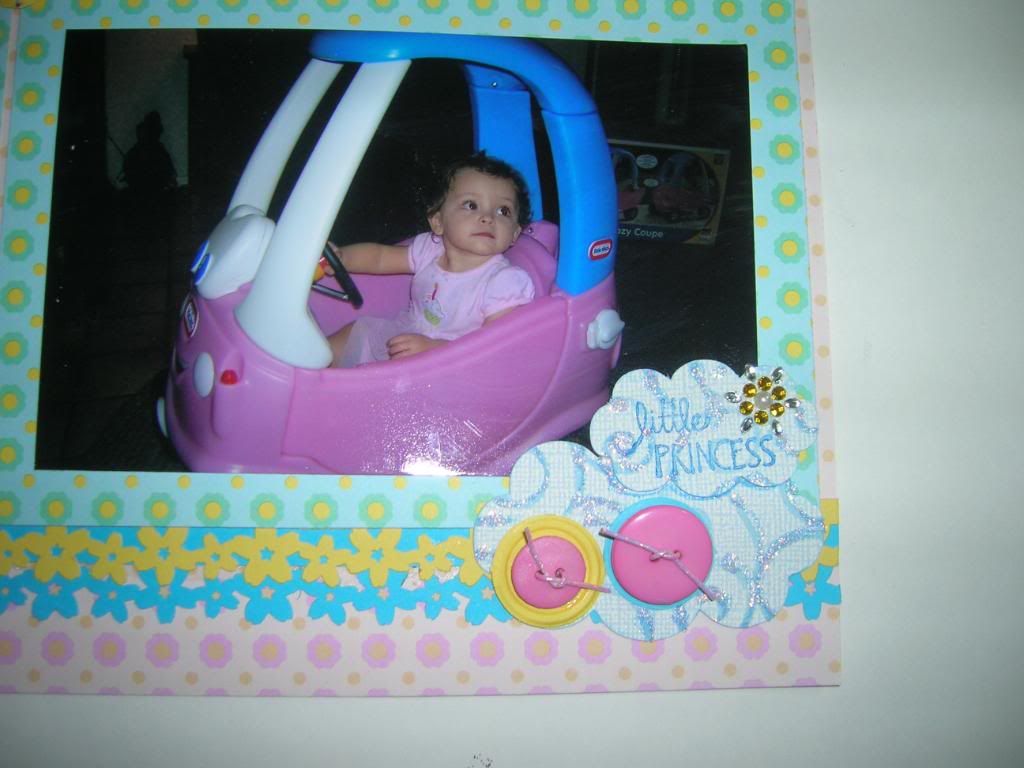
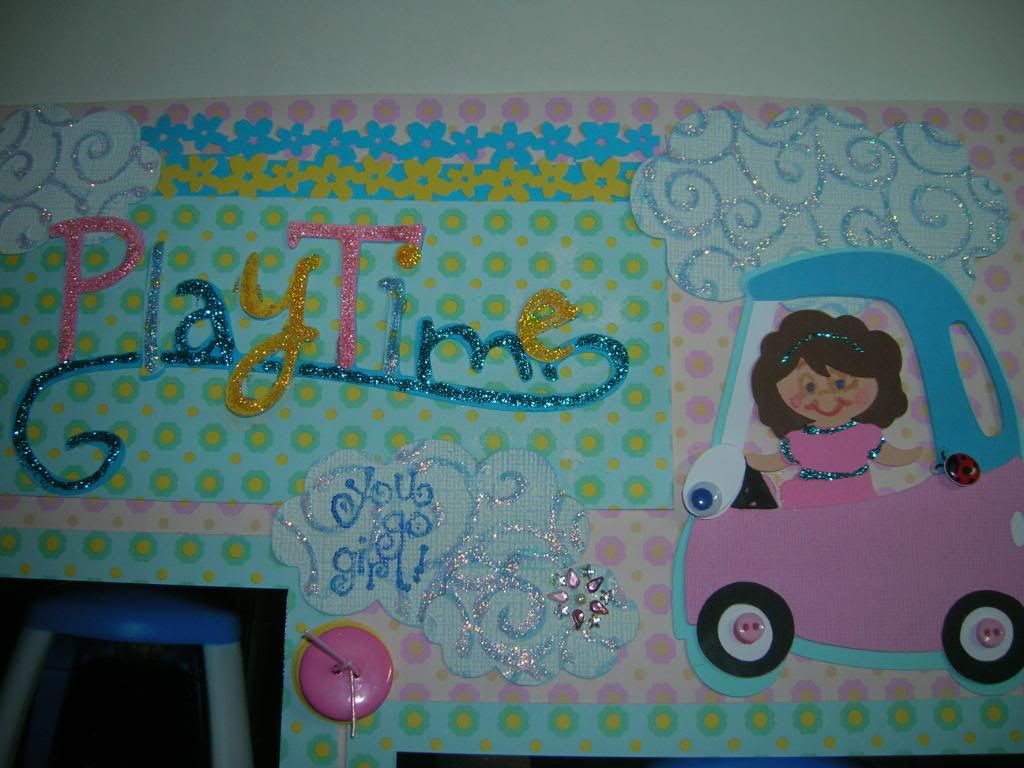
This is my entry for the Cute As A Button Sketch Challenge- The layout is of my granddaughter's first birthday and her little princess car.   I used Cricut Cartridges  B is for Boy (car) , Playtime (title), Create a Critter(clouds) and Once Upon a Princess (girl to match GD) for the cuts.  I used pink buttons which I glued on top of MS punch paper buttons.   I used two stamps- one says Little Princess and the other You go girl.  I used Stickles on the title and dress trim..   The clouds were embossed with Divine Swirls Cuttlebug folder, sanded and then Stickles was added.  I also used MS flower punch and small embellishments  that matched flowered paper.  


Thursday, January 13, 2011

My projects for this weeks Provo Craft Challenges

There are a lot of contest to enter this week with the Cricut Circle.  I love entering these contests to challenge myself to do new things.  
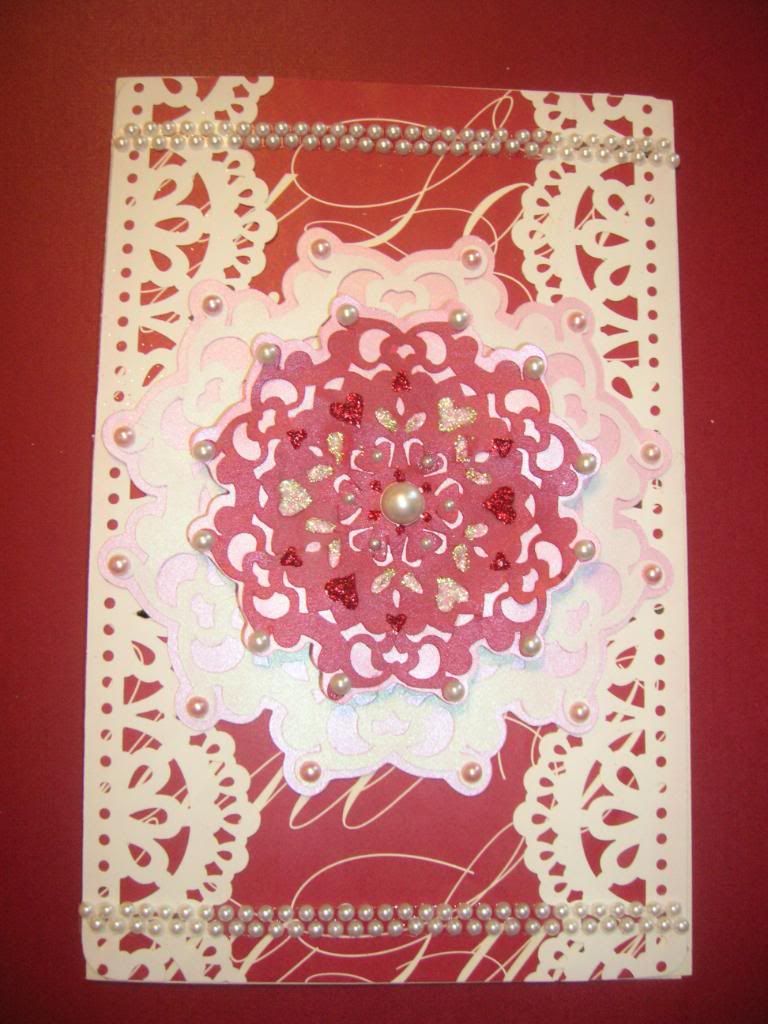
 This is  my card entry for a contest that is due Tuesday the 18th.  Provo Craft and Anna Griffin are premiering new products on HSN on January 20th so they are having a card making contest. The directions are to create a card using atleast one Anna Griffin product (it can be anything!) and one or more of the following cartridges. You may use other cartridges on the card, but the majority of the design needs to represent one or more of the following cartridges:
  • Don Juan Cartridge
  • Winter Lace Seasonal Cartridge
  • Wall Decor & More

The  white lacy trim on the sides and the red paper is Anna  Griffin paper I found at Michaels.  The snowflakes are cut from Winter Lace snowflake 2 cut at 5 " and 3 1/2"  and include shadows.  I then added pearls and Stickles.

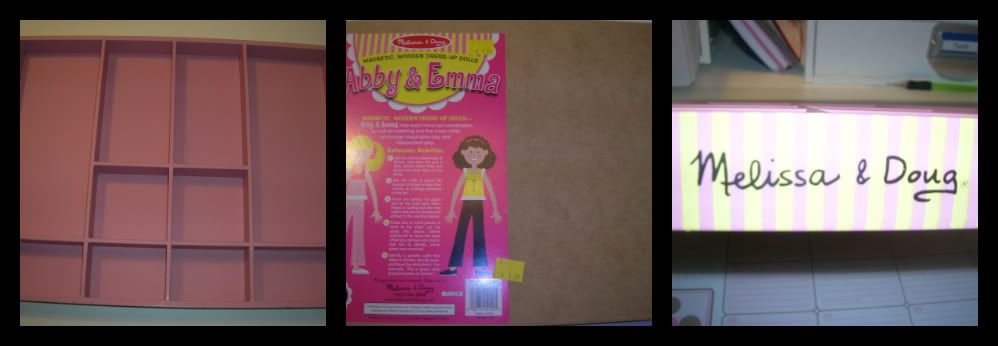
This Project is also for the Cricut Circle. Find something from the thrift store to repurpose with your imagination and your Cricut Machine. Please use at least four Cricut cuts in your design. Upload before and after shots of your project to the blog under the Magazine Challenge Tab. Only one entry per person. Entry deadline is Friday, January 14th, 2011. 
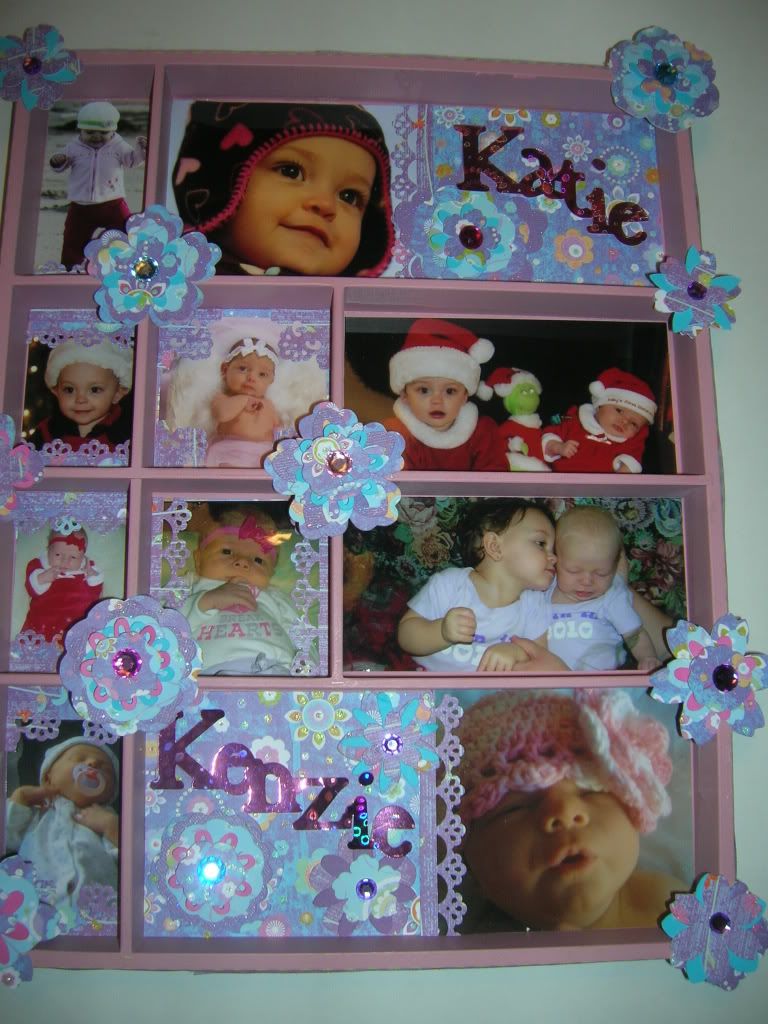
I found this shadowbox which originally was for magnetic paper dolls for 1.99 at a thrift store in Lompoc.  The top pictures show what it looked like originally and the bottom picture is the photo shadowbox I made of my sweet granddaughters.  Katie  is now 1 and  Kenzie is 2 months.  I cut a variety of flower cuts from the new Mother's Day Bouquet cart and made the flowers.  Cuts were made at 2 ", 1 1/2' and 1".  The names were cut from prism paper with Classic Cricut Font.  I used my Gypsy to weld them together and then added bling to the center of the flowers.  

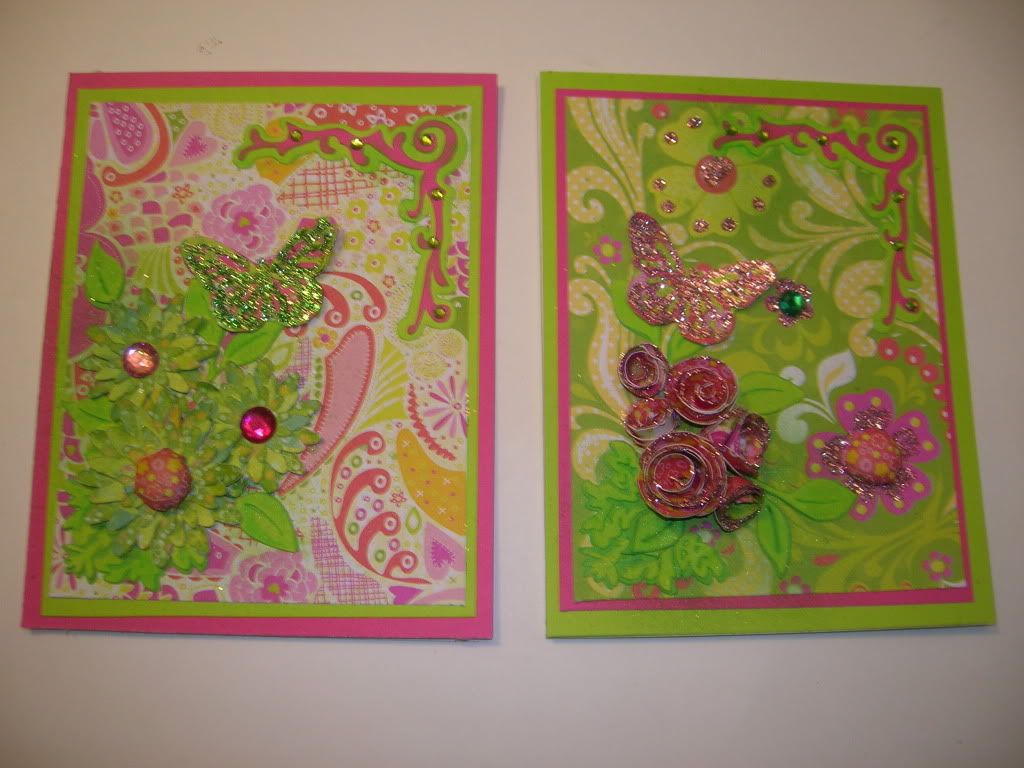
This is my entry for the Cricut Circle Monthly challenge.  We were to scraplift a project from the Circle Blog.  On 11/16 Cindy Royal  (CC designer) was showing 4 cards in Fall colors with layered and wound flowers. The Gypsy file was provided using Gypsy Wanderings, Gr. Speaking, Mini Monsters, Plantin and Cake Basics. I wanted to make Spring cards so I used K and Co Berry Sweet paper which comes in an 8 x 8 pad and is double sided. I used the Gypsy file and then I used my new I rock for the smaller gems and my new I Top for the center of the larger flowers. I think both of these tools are awesome. I also sprayed a little Glimmer Mist on the leaves to make them pop a little. The last thing I did was add MS glue to the edges of the flowers the MS punch butterflies and some of the background paper. I really enjoyed making the dimensional roses on the right with my quilling tool. I have the quilling Cuttlebug plates but this was neat that you could do flowers the same way without the plates.


Wednesday, January 12, 2011

Weekly Cricut circle challenge #15 card

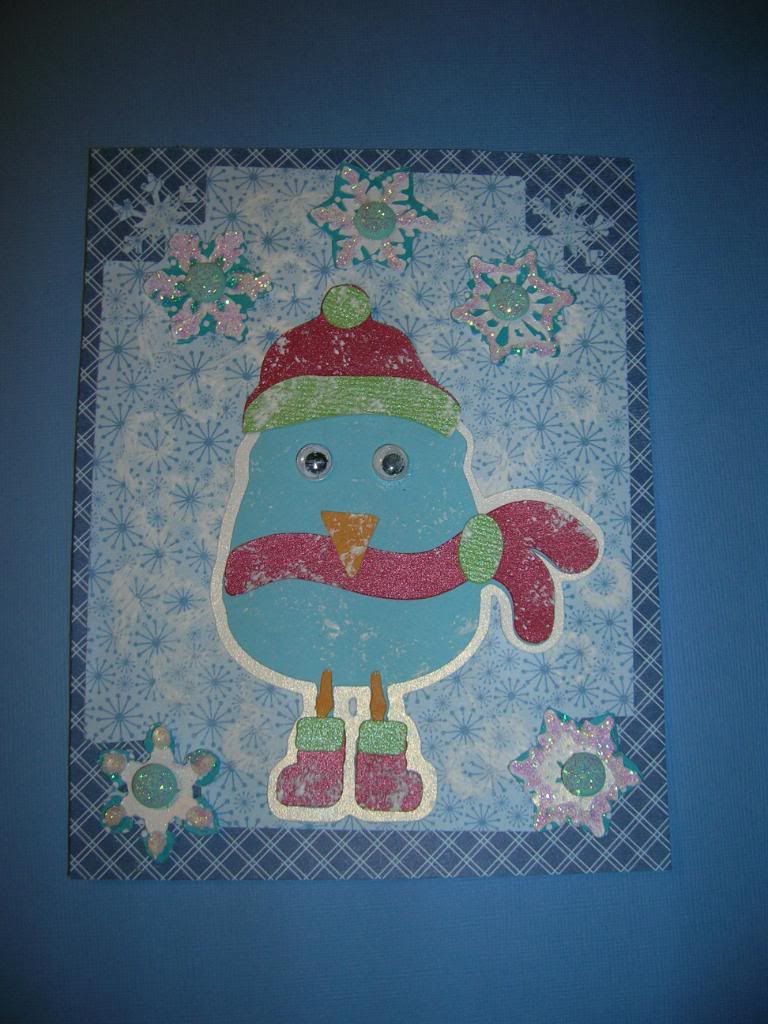
My first post on my new blog.  I am so excited.  This is my project for the Cricut Circle contest this week.  I used the Cricut Carts 3 Birds and Winter Lace.  The bird was cut at 3 inches and the snowflakes at 1 inch.  I used MS snowflake punch for corners and added Adirondack paint dabbers to make snow effect.  I then added brads and Stickles to snowflakes.  I love doing these challenges as it makes me think outside the box.  

Weekly Challenge #15: Feeling Frosty!

Brrrr! Winter is in full swing over many parts of the country . . . but even if it is warm where you are, you can use Winter-inspired elements to fuel your creative juices on your next Cricut project. We challenge you to incorporate white paint, metal, and a snowflake cut on your project this week.