Hi everyone this is Suzanne from
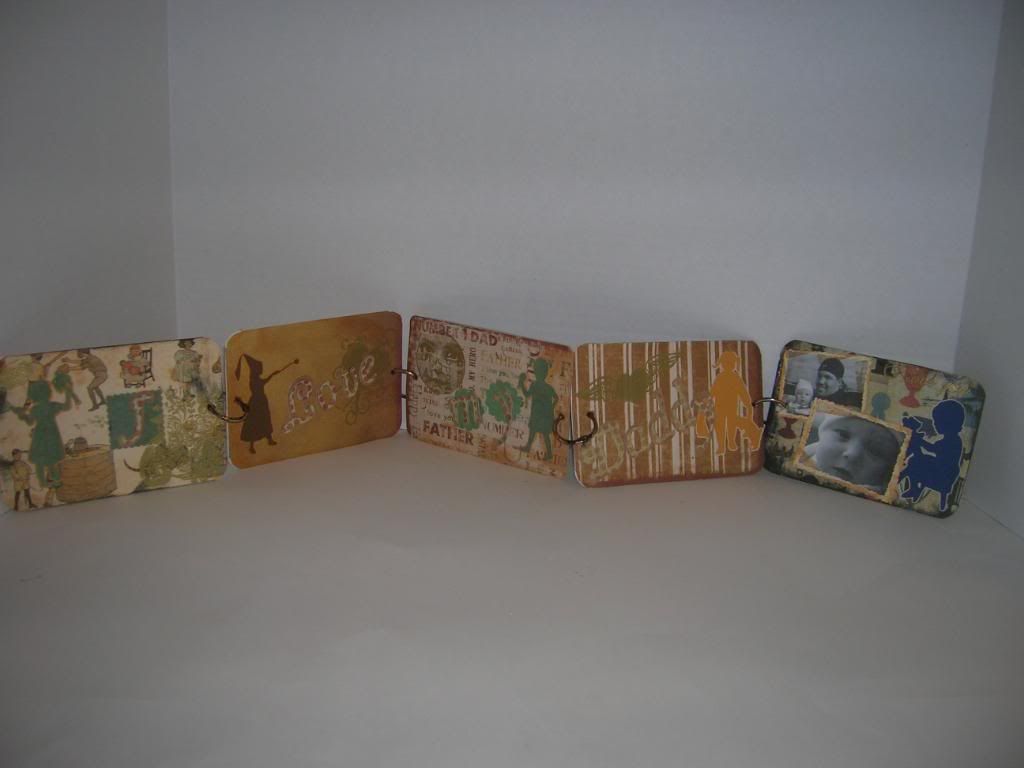
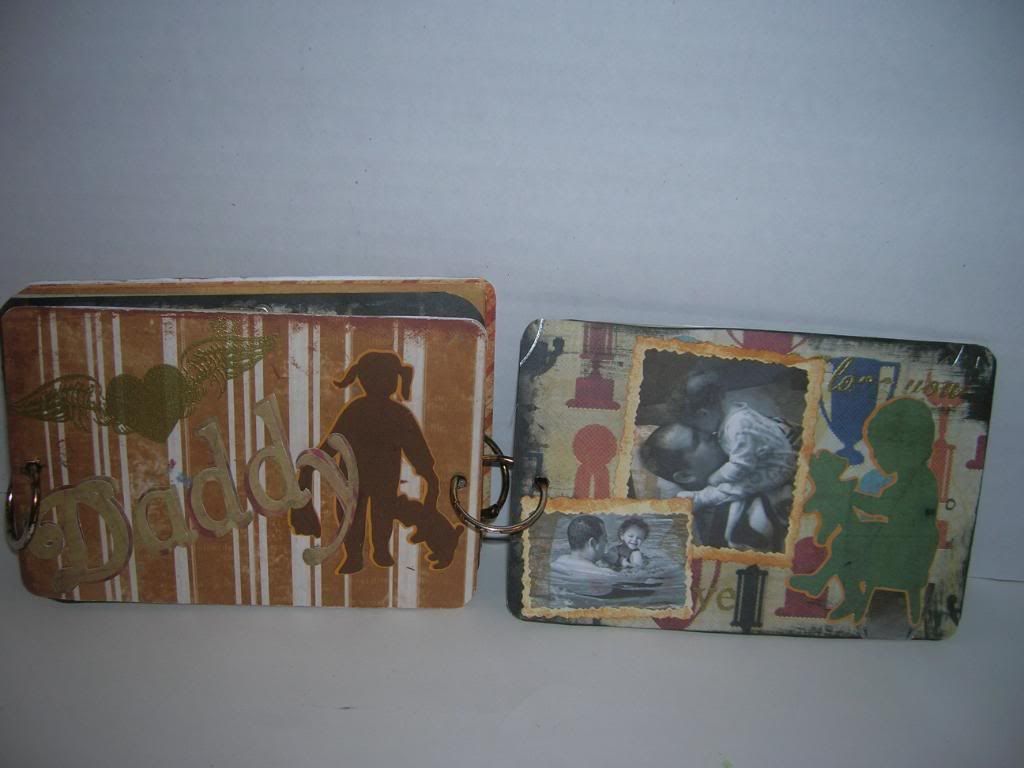
cricutcraftinggrammy. Today I would like to share the Father's Day mini books I made for my son in laws. It is an accordian type book and folds up to 4 x 6 and can be displayed in the open format. Here is a picture of the open book. Remember if you click on the picture it will enlarge for better viewing.
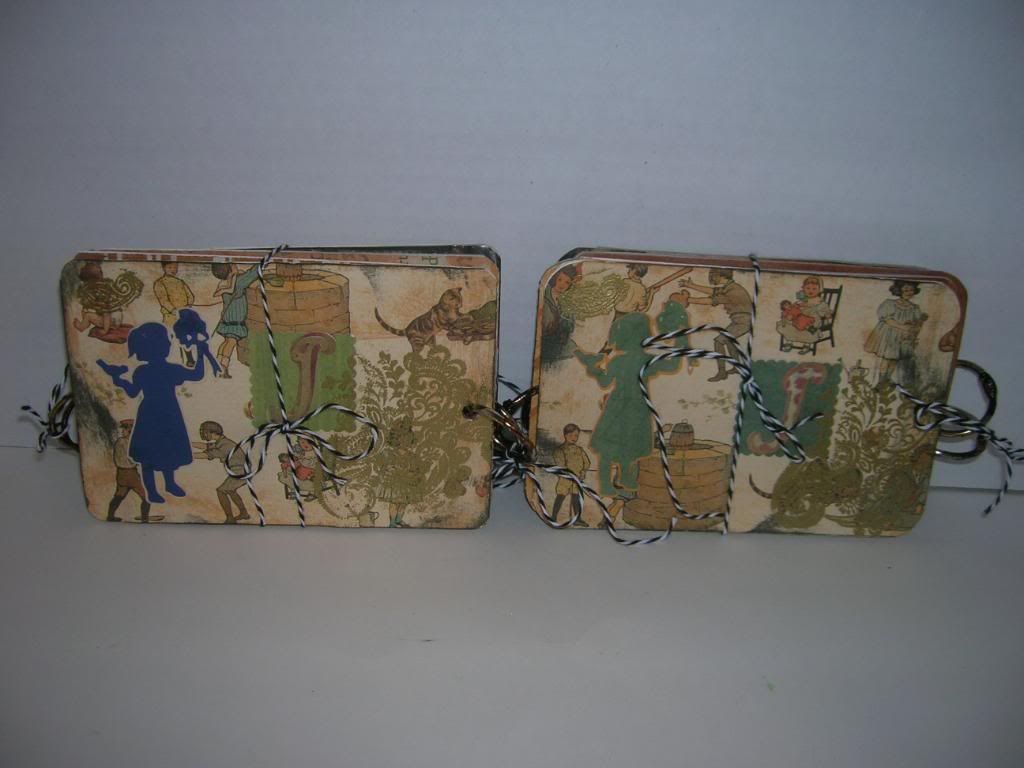
These are the two mini books I made. I tied them with Bakers Twine through the rings at each side and then also around center.
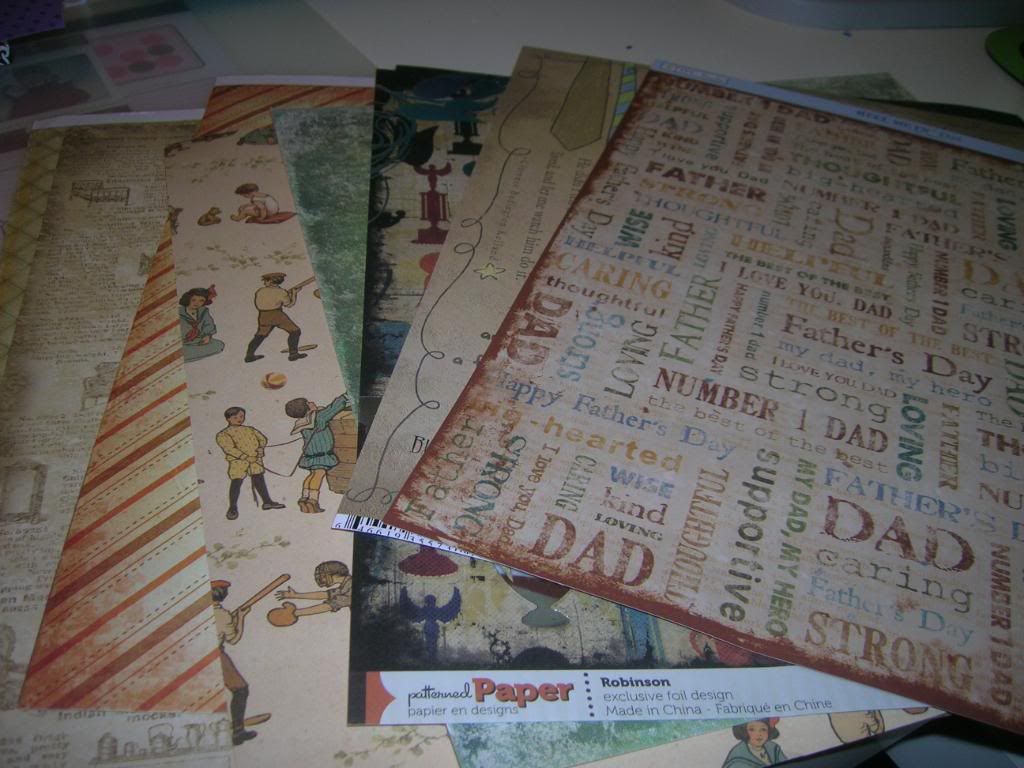
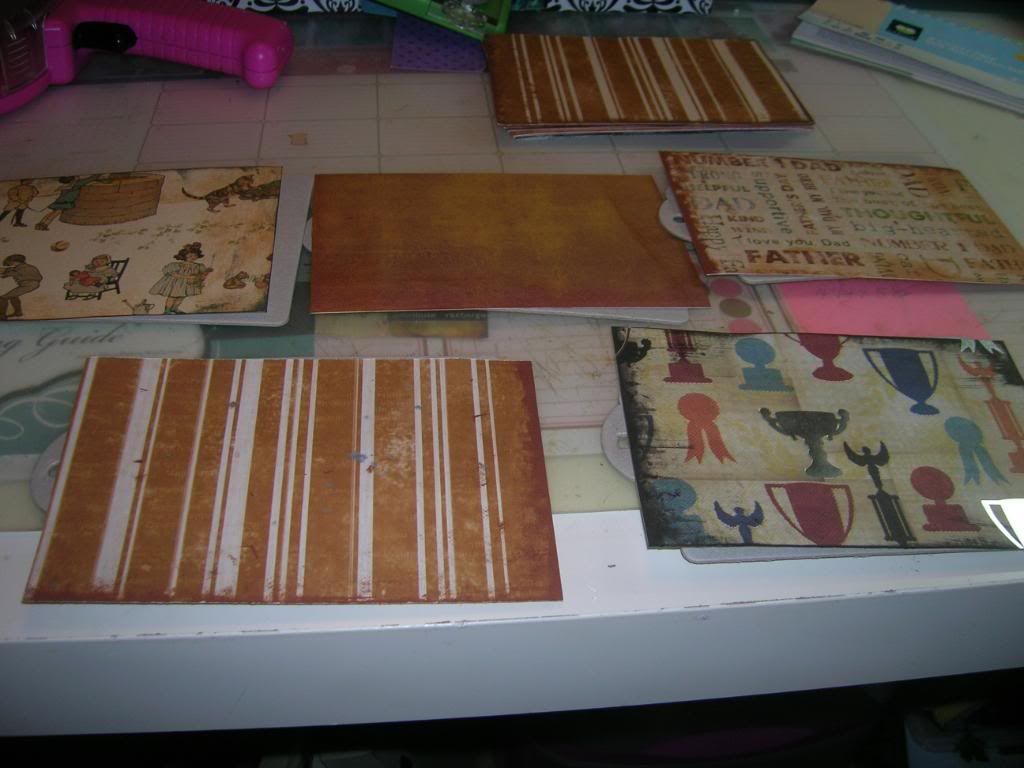
I used a variety of paper including Life's Journey from K and Co. (old fashioned kids), MVP paper from We are Memory Keepers (trophies), Reel Me in from TPC Studio (words) and DCVW paper from stack
Family Connection for stripes.
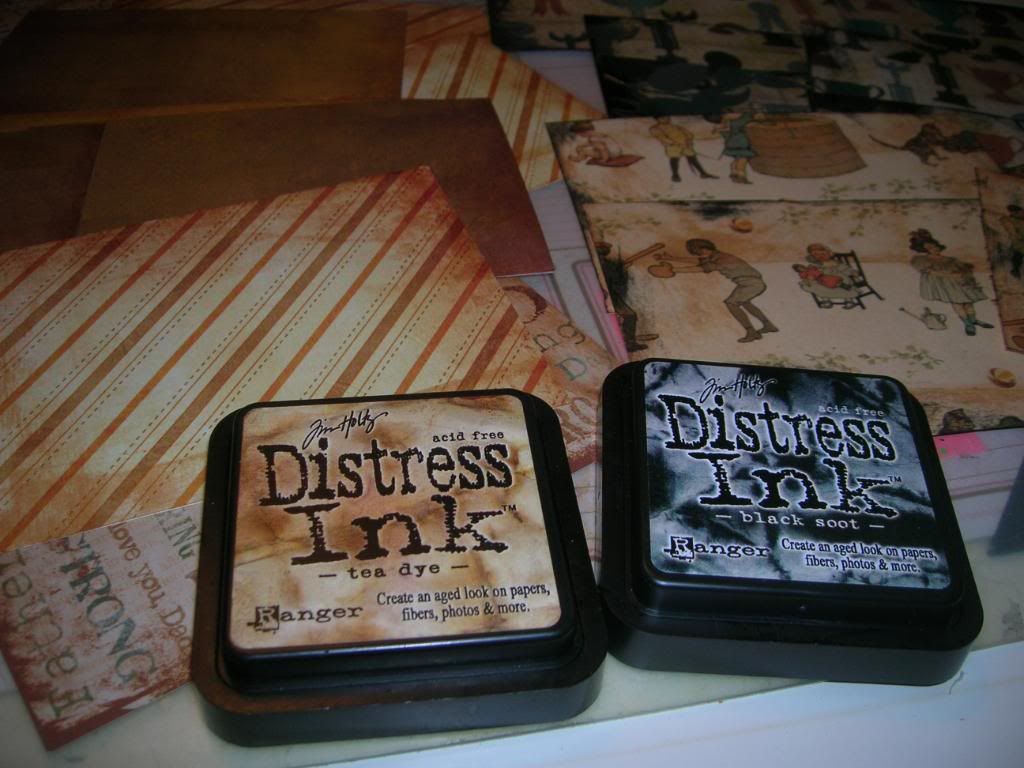
I cut the pieces to 4 x 6 inches and then took my Tim Holtz distress inks (Tea Dye and Black Soot) to match the edges of the papers that were already aged. After running the ink pads over the edges and fronts to get the look I want I allow them to dry for a few minutes.
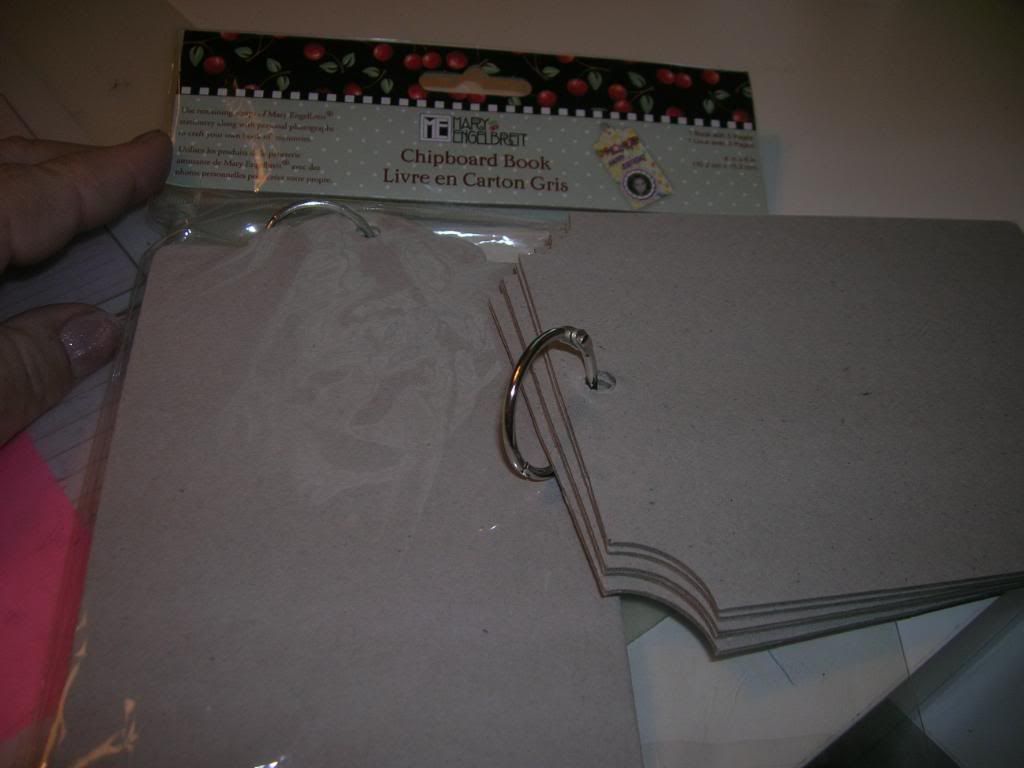
For the chipboard pieces you can cut your own chipboard, use cereal boxes, or use prepared books. Since I have them I am going to use these prepared books. They often have these at Michaels in a variety of shapes for $1.
Before I glue the pages I lay them out to make sure I like the way the colors go together. I then glue using my ATG gun or Beacons 3 in 1 Glue. I also press the paper down firmly using a brayer and making sure all corners are glued well. You can then cover the back in the same fashion. Allow to dry and trim any excess carefully. I then like to round the corners with my Corner Chomper which helps keep the corners from splitting from chipboard.
In this case I am not going to trim the paper to the chipboard shape but if you do wish to do this use a cutting mat and exacto knife.
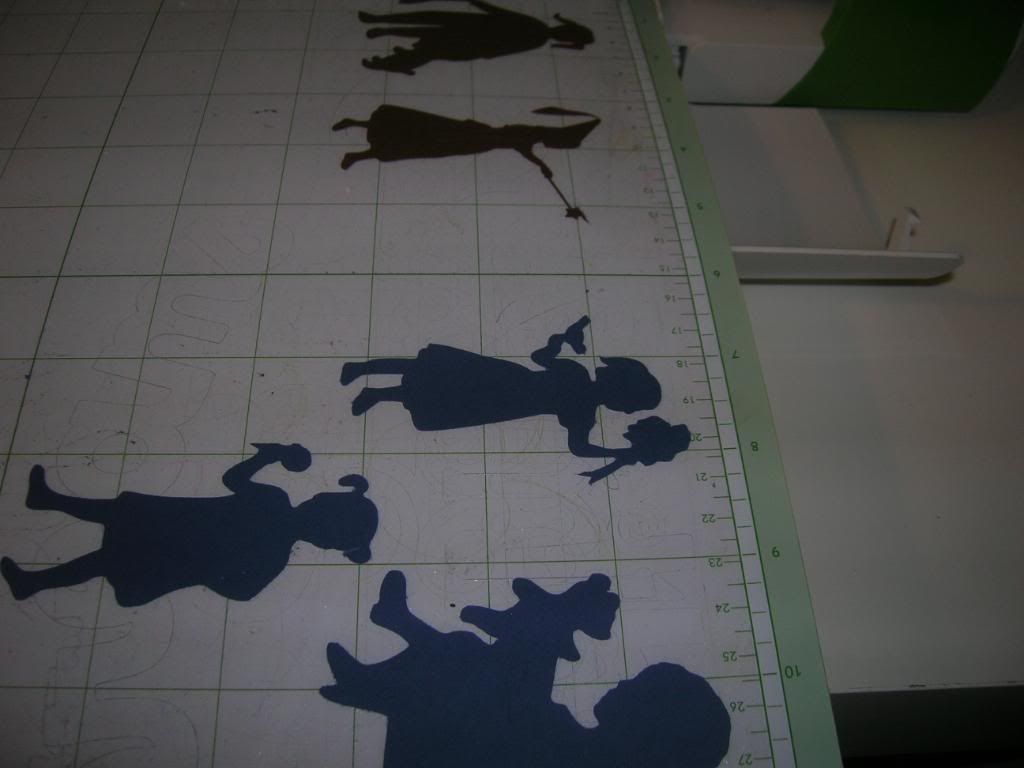
I then selected my cuts from the A Child's Year cartridge all at 3 inches and cut the image and shadow from plain cardstock. The words " I love my daddy" were cut at 2 inches from Elegant Cakes.
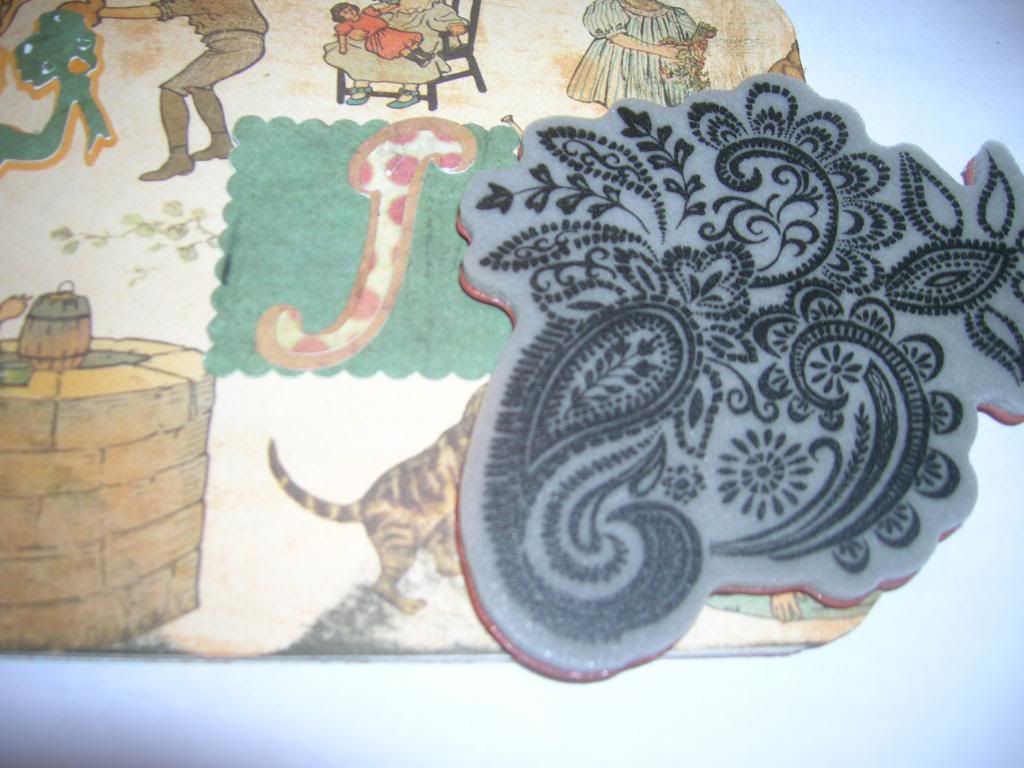
Next I took a variety of stamps and stamped over the pages.
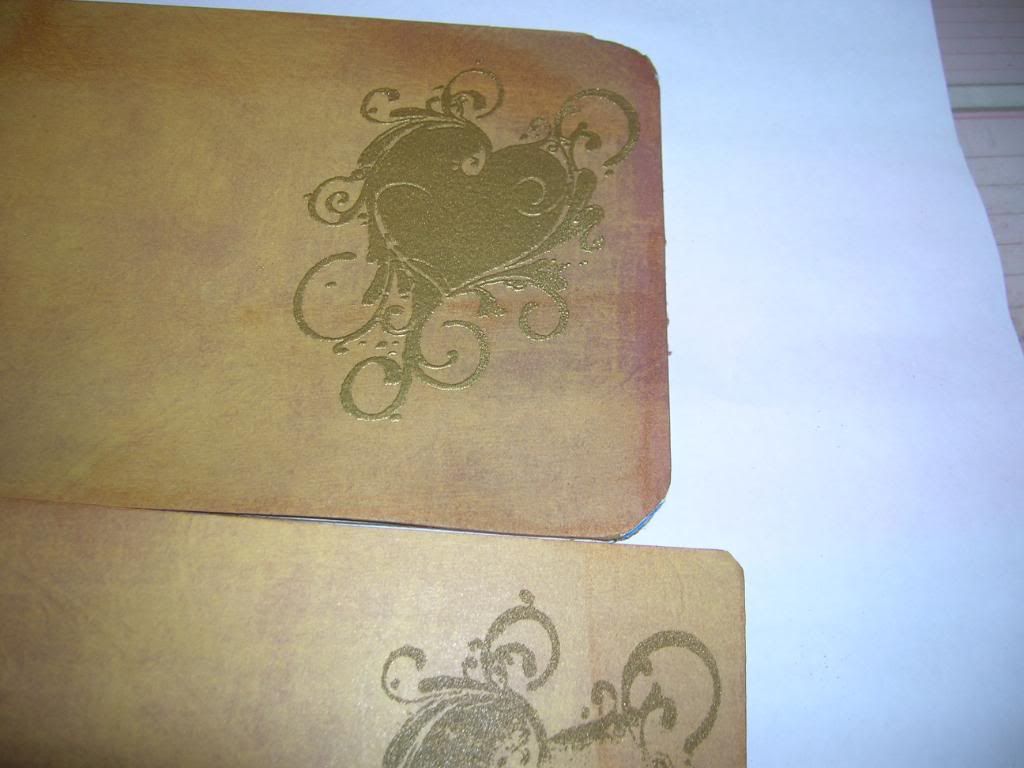
To give the ink a richer look I used gold embossing powder and over the clear ink (Versamark) and dried with embossing gun.
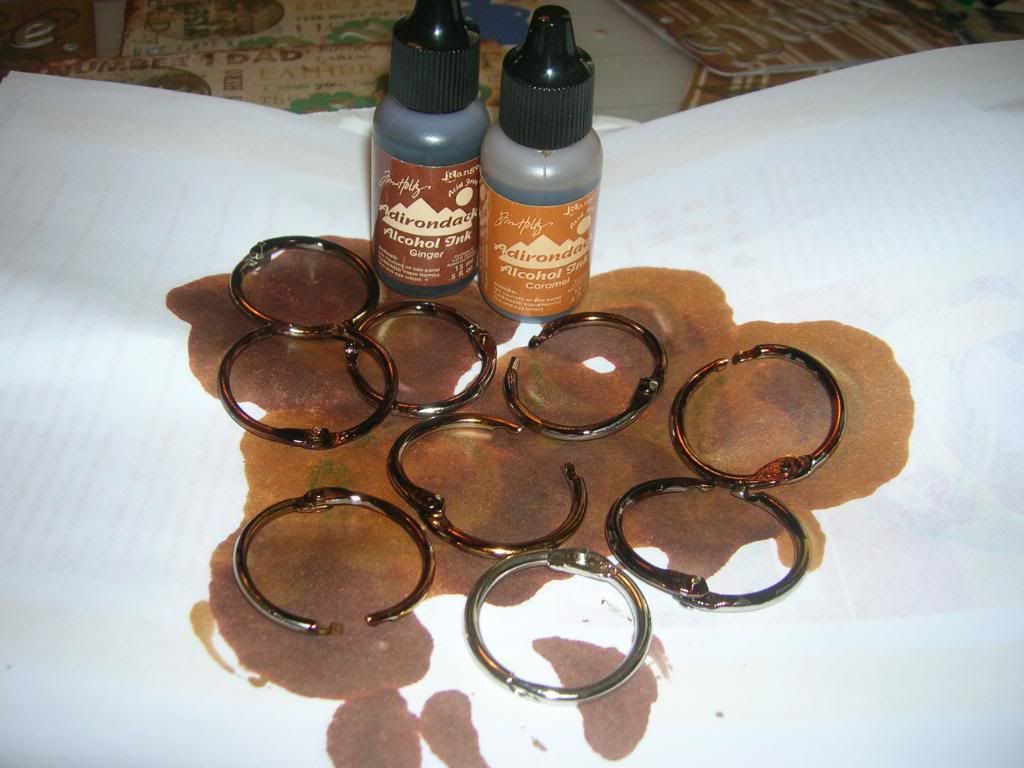
The last step is to antique the silver binder rings with Adirondack Alcohol Inks.
Let these dry for an hour or so until they are not tacky any longer.
I then glued all my pieces to the pages and used my Crop a dile to add holes for rings.
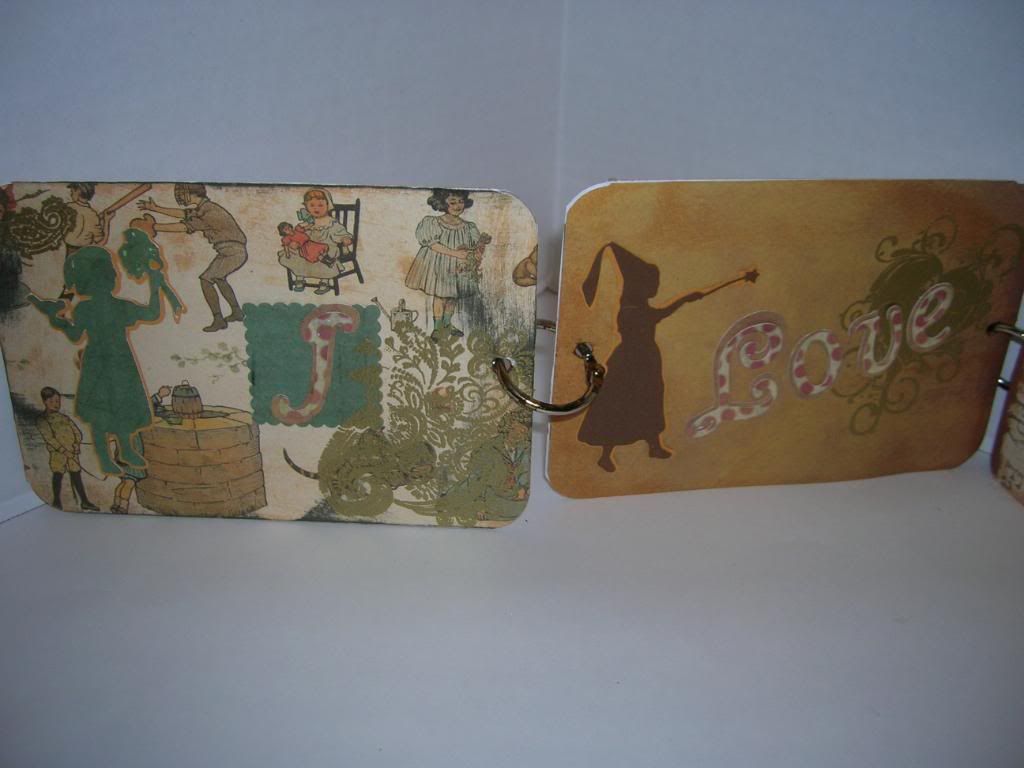
Here is the first two pages " I love"
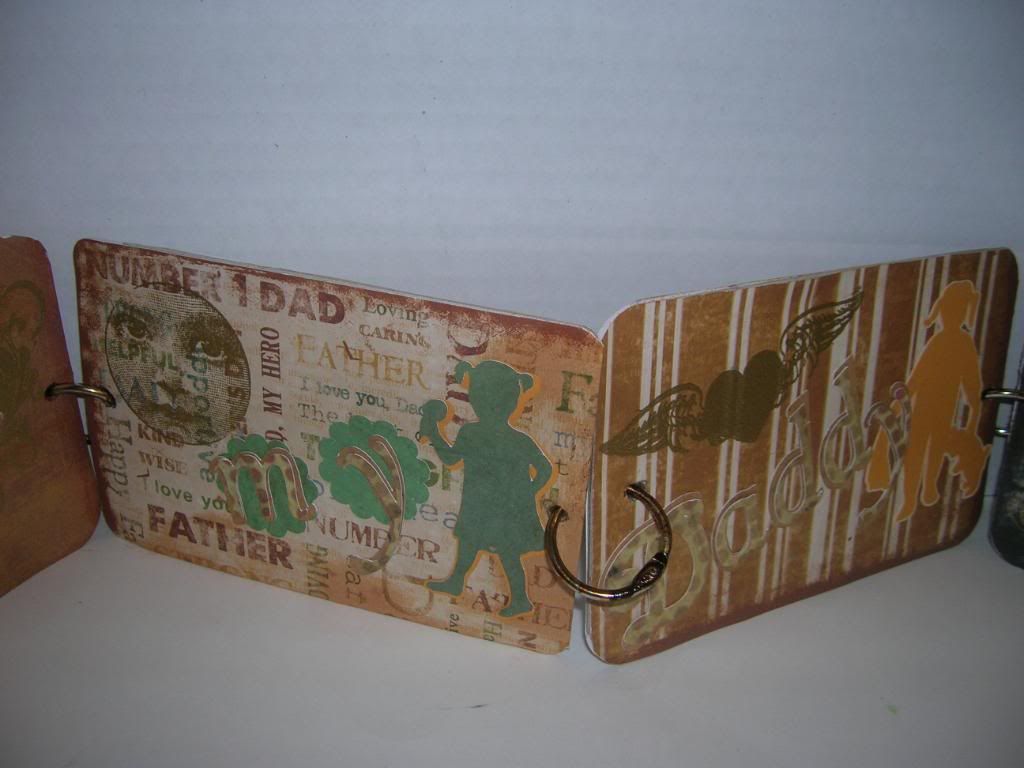
"my daddy"
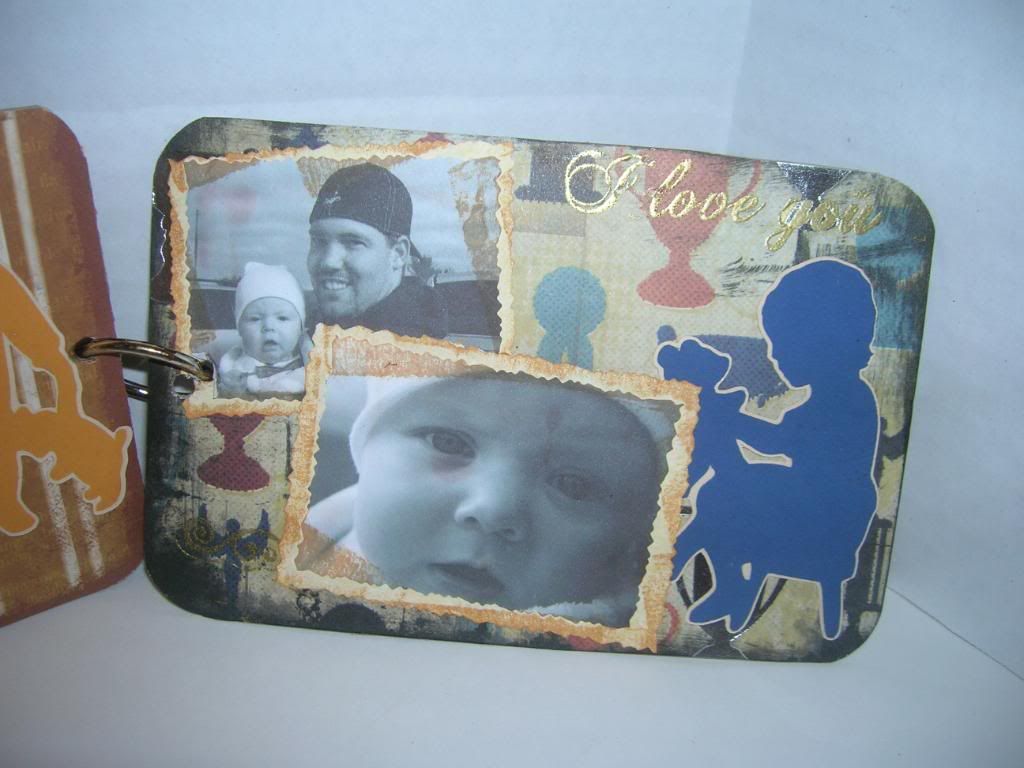
This is last page of book 1. I printed the pictures wallet size and in black and white. I also used a little Tim Holtz Tea Dye Ink to age them a little.
This is grand daughter Kenzie with her daddy.
This is grand daughter Katie with her daddy.
Hope you enjoyed this project and tutorial. Have a great Father's Day and see you soon!