Just Kitting Studio Items for Sale

Showing posts with label Sesame Street Seasons. Show all posts

Tuesday, July 16, 2013

Monday, April 2, 2012

Sweet Sassy Diva- Rain, Rain with Hello Kitty

This week for Sweet Sassy Diva the Design Team was asked to create a project with an umbrella or rain boots on it.  I decided to make a layout with the cute little Hello Kitty Cricut cart.  The Hello Kitty in her cute little rain slicker and umbrella were cut from page 54 at 6 inches and the rainbow from page 51 at  4 inches.  

The rainbow paper came from a DCWV stack from last year called Flower Power.
I embossed the cloud and some of the Hello Kitty cuts.  
I added a few cardboard phrases and some gems 
Rain, rain was cut from Sesame Street Seasons for the title.   

Also entering this in the Paper Playtime Challenge- use an umbrella. 
I hope you will come back this week to see what all the designers create to share with you.
Happy April and Happy Craftin.  

Friday, November 4, 2011

What I Am Thankful for Blog Hop- Fall Rosette Wreath or Table Centerpiece


Welcome to the "What I Am Thankful For" Blog Hop.  This hop is scheduled from Nov. 4 at 8:00 am through Nov. 5 at 11:00 pm (central time).

If you just happened to come to this blog, you are at the beginning with Lisa Peters- http://handmadewithlove-lisa.blogspot.com/.  

We're so excited to be doing this hop and we have a fabulous lineup with some very talented ladies. There will be lots of fun projects, along with some great blog candy, and a great grand prize for this hop.

The hop is a 2 day hop so you will have plenty of time to make it through the whole hop lineup twice. Check out each blog and see what blog candy you can win at the individual stops.  Please come back both days to see great projects.

My project is a Rosette Fall wreath or Table Centerpiece
Start with a 12 inch straw wreath and 4 yards ribbon 
Wrap the wreath with the ribbon and glue down with a hot glue gun.  
You then need to make a ton of rosettes.  I used my Tim Holtz Rosette makers which come in three sizes- 1 3/4, 2 1/8, and 2 5/8. 
You can also make them by hand or if your lucky enough to get  your hand on the new Rosette's cart by Cricut you can use that.  I know I for one will be buying that cartridge.  
Once I got a bunch of rosettes made using the DCWV Fall stack I started gluing the rosettes all over the wreath.  I started with larger ones and filled in with smaller ones.  
I then cut out a pile of leaves  from Sesame Street Seasons Cricut Cartridge page 50, 51, and 52 cut at 5 inches and 3.75 inches.  Embossed using several Cuttlebug folders, crumpled and inked with Tim Holtz Rusty Hinge and Vintage Photo Distressed Inks. 
These were glued on bottom of wreath.   
 Here is the finished product.  
Closeup- I added some Fall berries and Fall felt embellishments to some of the rosettes.  

If you missed the blog hop yesterday please go back and check out the great projects on Day 1.  
To be elgible for my blog candy please become a follower and leave a comment.  I will draw a winner after my blog hop on Nov. 16th. for a $10 gift card for your choice of Michaels or Joanns.
Any comment made on the 4th, 5th and 16th will be elgible.  

To be eligible for the grand prize, you must visit each blog, leave a comment and then become a follower of every participant in this hop. You also MUST visit my blog and leave a comment on my blog for the day and also become a follower at "Scrapping With Lisa" and my facebook page:http://www.facebook.com/pages/Scrapping-with-Lisa/130882060268842.  Please let me know if you don't do facebook and I won't count that against you for the blog candy.  Now for the blog candy, I bet you are wondering what it could be.   It will be a grab bag full of goodies. 

There is no next stop as you have now completed the What I am Thankful for blog hop.    Have a great day, happy craftin and please come back to my blog again.  


Posted in Robin's Creative Cottage Linking party on 11/24 as my favorite project of this month. 
I am also entering this the following blog challenges- Cooking It Up With Katie-Anything but a card, Paper Playtime-Any project past or present, Craft Junkie 2-link party, You Had Me at Craft-link party, Stuck on You Sketches- leaf, Celebrate the Occasion-Fall pumpkin, and the Cricut Circle Monthly Challenge- Signs of Fall.   Also posting on Craft Junkie Too Linking Party and Passionately Artistic Linking party.  
Here is the complete lineup:
Suzanne http://cricutcraftingrammy.blogspot.com/ Last but not least.  

Wednesday, October 19, 2011

Let's go Fly a Kite with Elmo birthday card

I made this card today using Sesame Street Seasons and a Peachy Keen face stamp.  This is for the Peachy Keen Challenge this week which is design a project with Wind and Whimsy.  I did a search on my cut search and found this cute cut with Elmo and the kite.  Used a $1 stamp I got at Michaels that says capture this moment to your heart and then inside Happy Birthday. I embossed Elmo, used Glossy Accents, Smooch ink, white gel pen on the stitching and the PK eyes, and added three little buttons to match the paper colors.  Ribbon was from a package I got this week.  

Thanks for looking and Happy Craftin!

Saturday, June 25, 2011

Sesame Street Seasons layout- Summer Sun

Happy Saturday everyone. 
If you are here for the Tristan Birthday Bloghop Click on this link.  
This is also the  day for my  post for the Sweet Sassy Design Team . So please enjoy this project too.

Hi everyone this is Suzanne from  
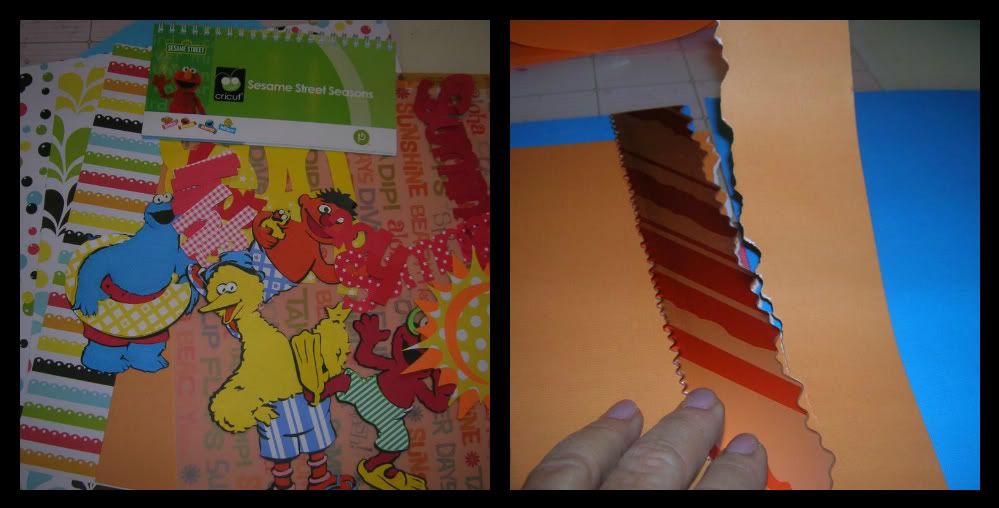
Cricutcraftingrammyblogspot.   For the Design Team challenge this week at SweetSassy Diva we were asked to use a cartridge that started with the letter of our name.  I chose Sesame Street Seasons for two reasons.  One I hadn't used it yet and two I knew it would have Summer cuts for a fun layout.   The patterned paper I used was a huge stack I bough a couple of years ago when I first got my E from Me and Big Ideas.   
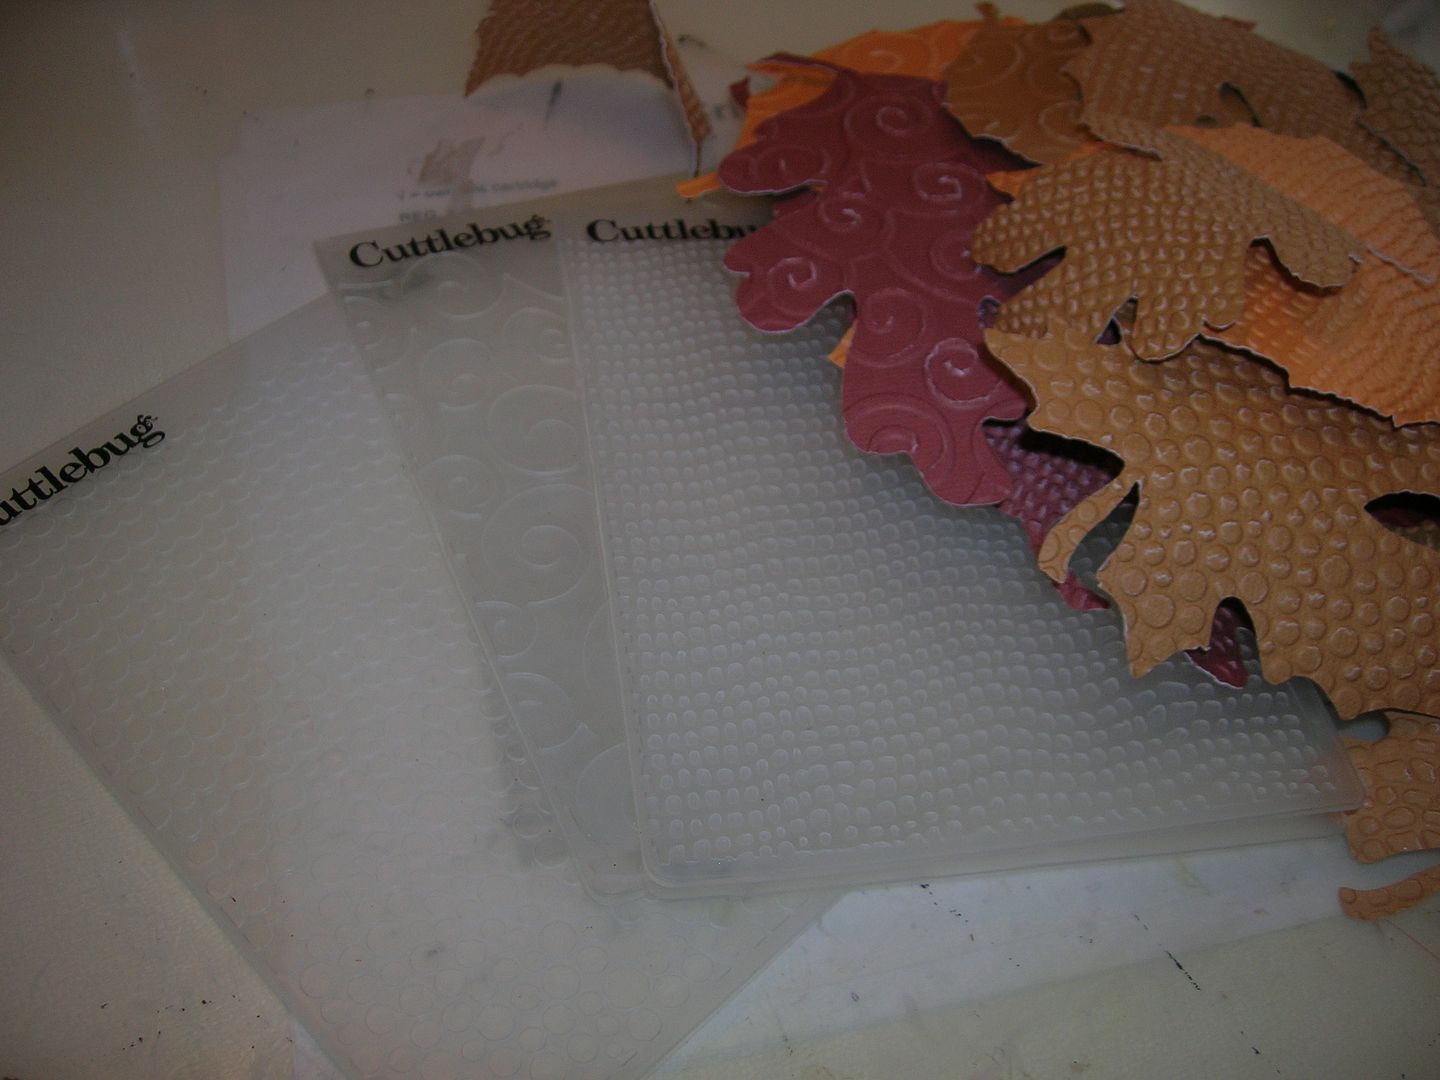
 I first cut out all the characters I wanted to use.   All the cut sizes are below  the pictures. I then took cardstock and tore it across Fiskars edge and embossed it with a Cuttlebug folder.   I did this in pieces and overlapped using the embossed and deembossed sides to give different texture.  
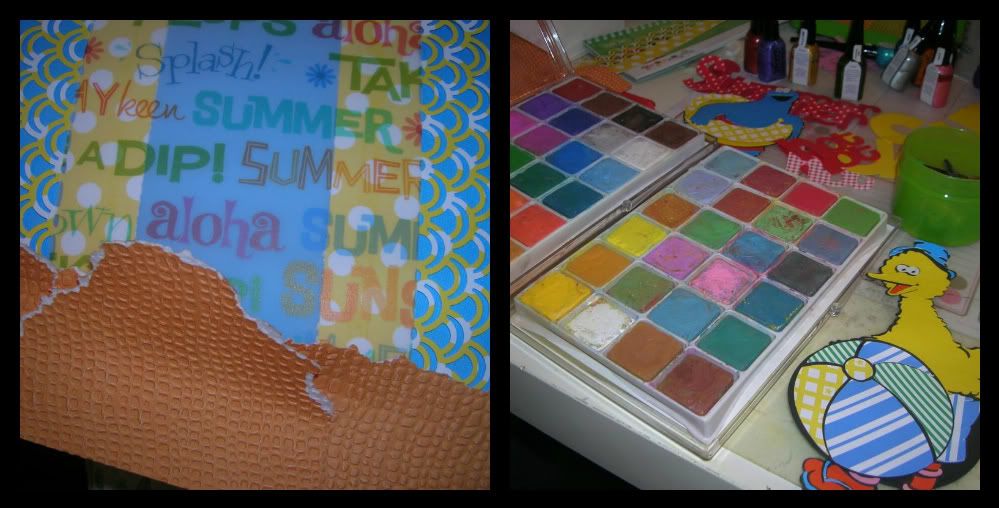
Next I laid out the vellum I got at the local LSS.  It is called Beach Fun by American Traditional Designs.  I then punches out an edge in yellow polka dot paper with a wide MS punch and glued all these pieces down.  
Next I got out my chalk, Smooch ink, and Stickles I thought I might use.  
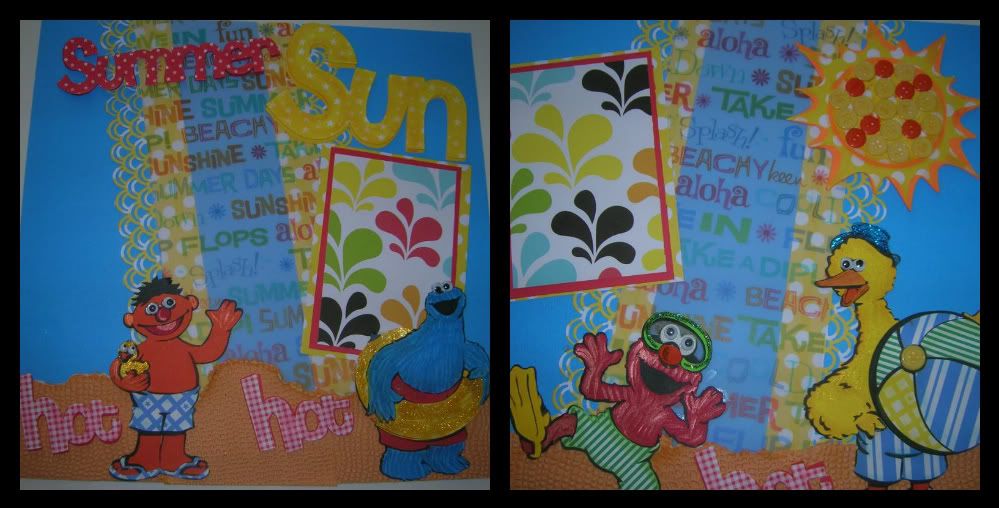
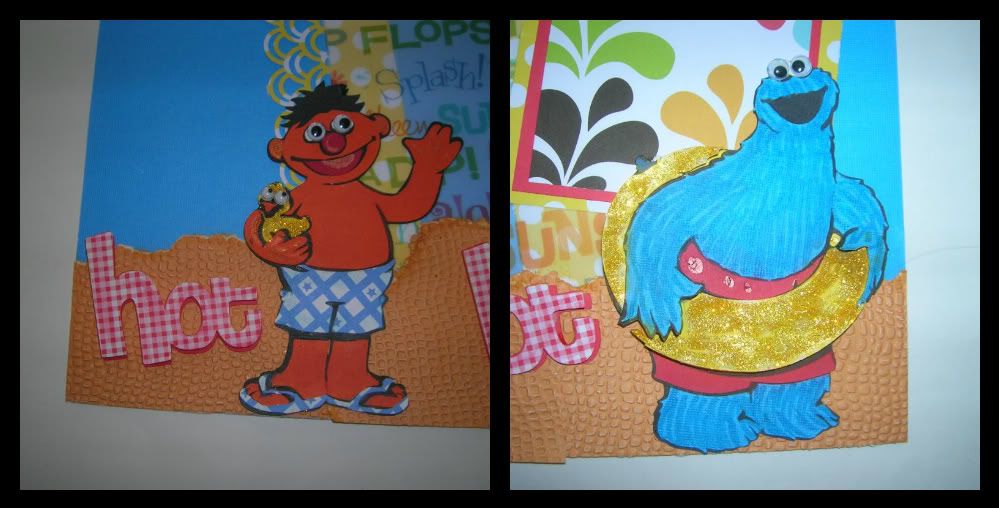
Here is the close up of Ernie and the Cookie Monster.  If you look closely you can see how I chalk around cuts, used Stickles and Smooch Ink.  I love how using Smooch Ink gave the characters the look of fur, etc. 
For the cookie monster I pop dotted the inner tube.  I didn't like the way his paws looked so I cut them out with an exacto knife to pull them out over tube.  I also used googly eyes for all the characters and even the little duck Ernie is holding.  
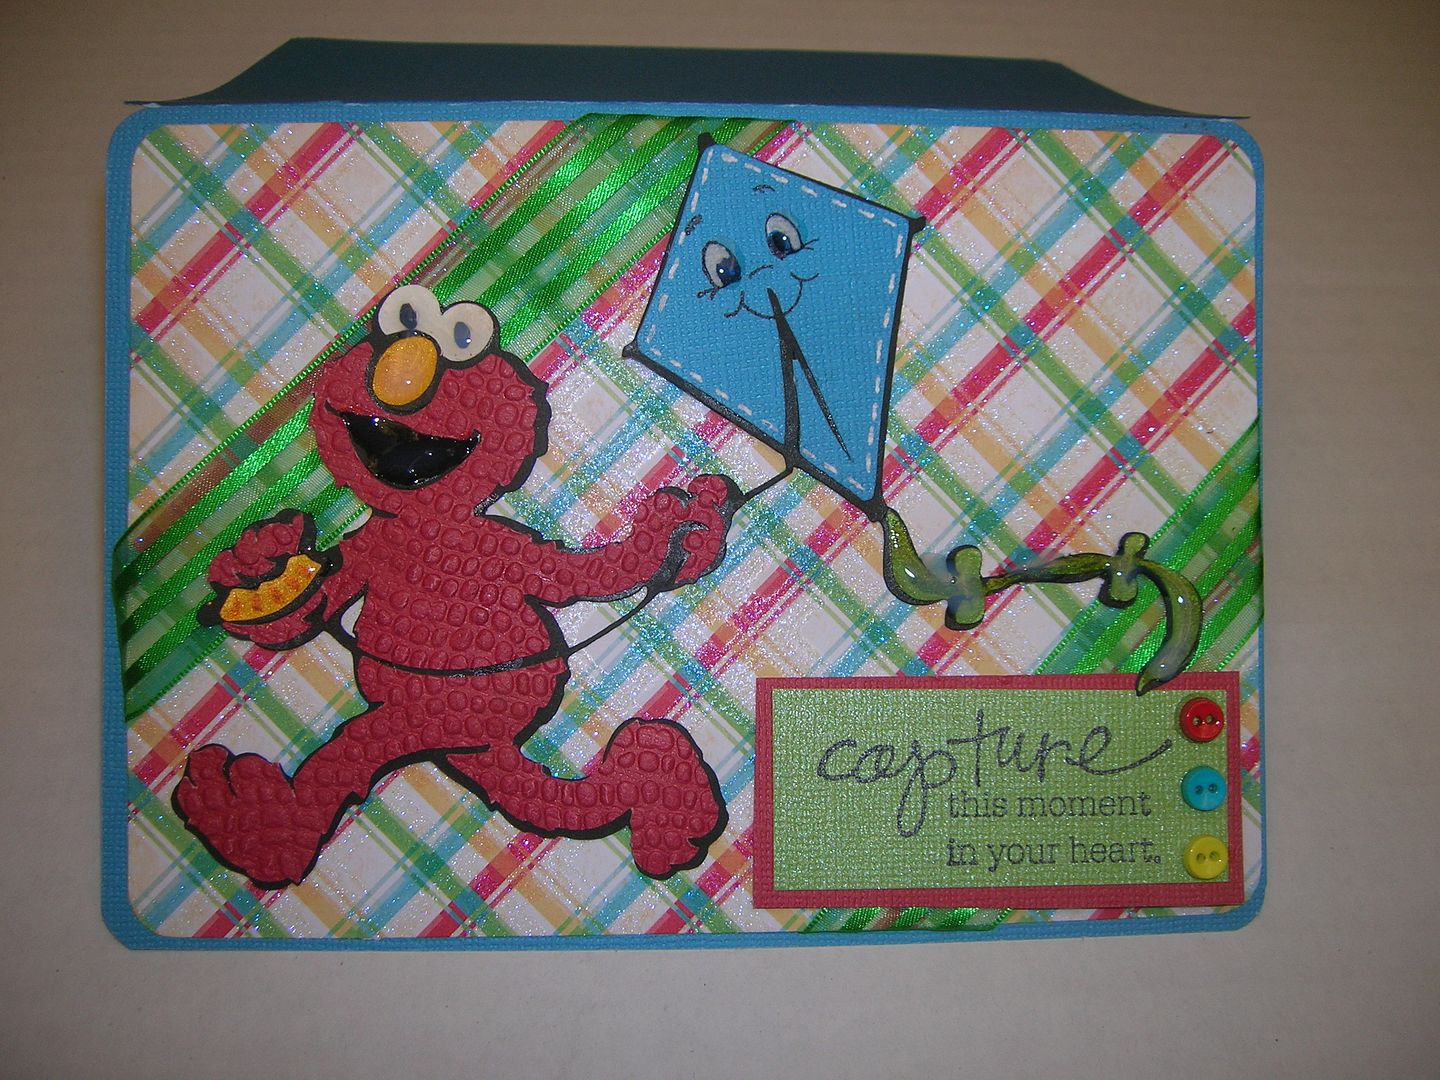
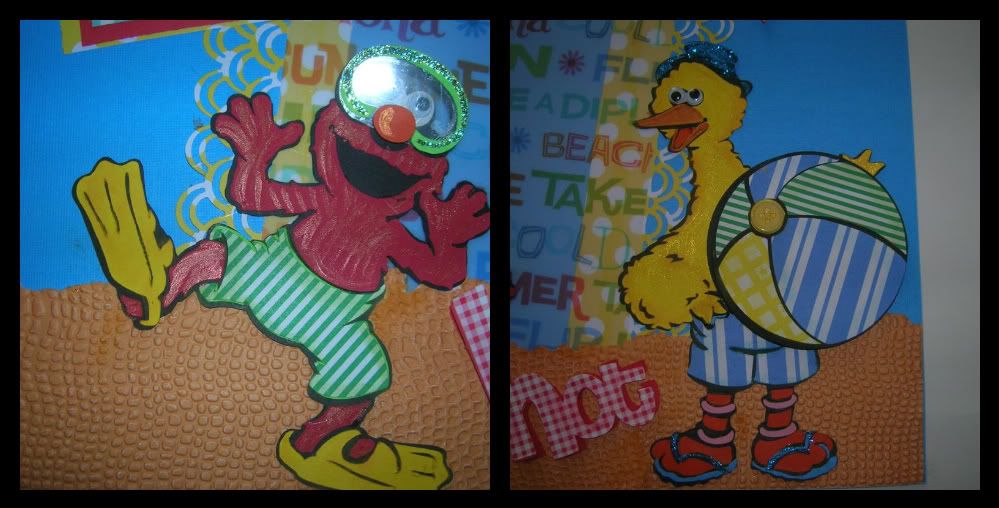
In addition for Elmo I used plastic from one of my cart boxes to give it the look of a real snorkel mask.  
I cut out the beach ball for Big Bird to hold, trimmed around his wings to make it look more like he was holding the ball.     
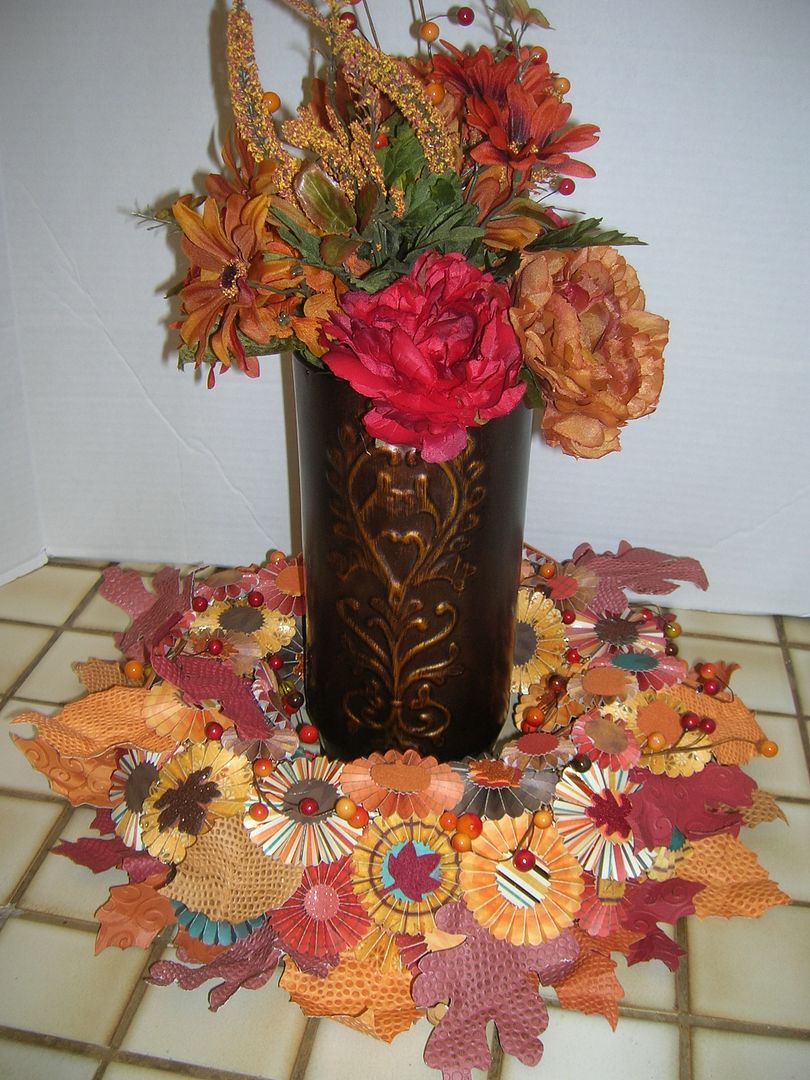
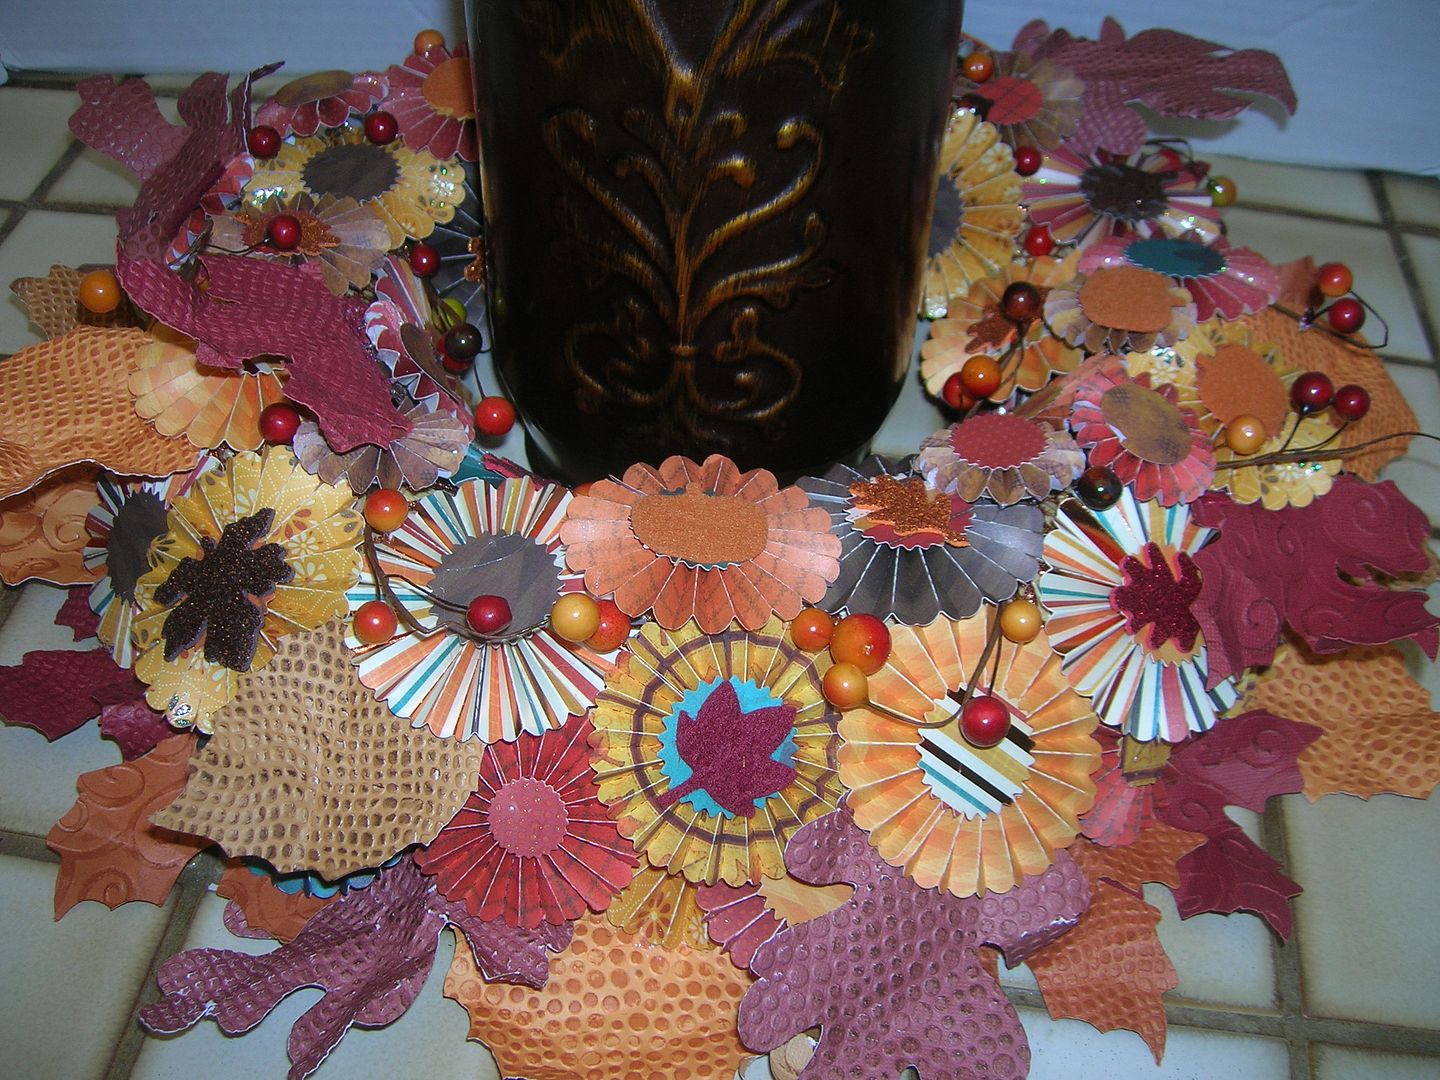
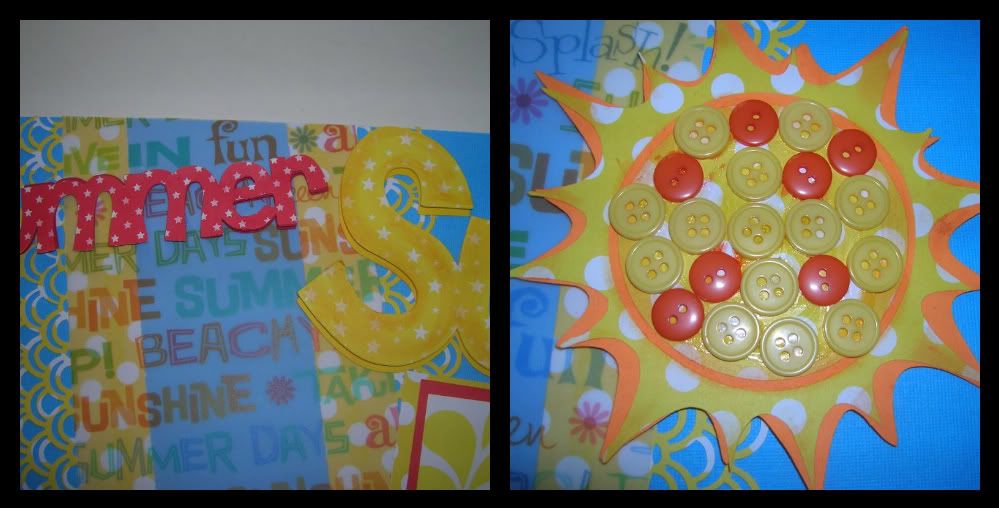
 Each word is cut out one time in pattern paper and two times in plain cardstock.  I then pop dotted the words  on two layers.  I also used chalk on the edges of words.   The last thing I did was fill the center of the sun with buttons.  I have seen this on projects in magazines and always thought it was cool so I thought this was a great project for this idea.  
Cut sizes:
Big Bird 7 ", the other characters 5 ", Summer word 1.75 ", Sun word  3.5 ", hot word 2 " ball 3 ". Sun 5 ".

Hope you liked this project and tutorial.  Let me know if you have any questions and wishing you all a wonderful fun filled Summer.