Just Kitting Studio Items for Sale

Showing posts with label Thursday tutorial. Show all posts

Thursday, March 1, 2012

FCCB 100 Challenges and memories of my great aunt

For the past few weeks I knew the "100th challenge" for FCCB was coming up. That is an amazing feat for an awesome blog.  So congrats to Robin the creator of FCCB.  We appreciate you Robin  and the challenges each week.  Looking forward to another 100 challenges. 
I am very happy I will be staying for another term at FCCB.  I believe this may be my last Thursday Tutorial for awhile.  I have been doing the posts for awhile and will be taking a break.  
So for the Thursday tutorial I had planned to dedicate this post to my sweet Great Aunt Ora who turned 100 years old last April.  We had a wonderful birthday party for her and she loved every minute of it.  Now due to recent events this post and dedication is even more special to me.  My aunt took a bad fall and passed away last week.  I am so glad I had so many great years with her.  
Here is a picture on her 100th birthday 
I wanted to share the shadowbox frame I made for her birthday. She was absolutely thrilled with it and cried when she saw I had used pictures of her as a baby, child and a young woman.  
 I used Bo Bunny paper, Tim Holtz Vintage photo ink, and a variety of embellishments.  My aunt's name and 100 years was cut from the Cricut Cart Storybook at 2 inches.  If you have never made a shadowbox they are so much fun to make because you can use thicker embellishments.  In fact the more layers the better.  They make wonderful gifts and memorabilia holders too.  
I hope you will join us this week for the 100th Challenge at FCCB.  Remember to use the banner and color scheme as your inspiration.  I am looking forward to seeing what you create.  Thanks for stopping by the Thursday Tutorial.  Also please stop by and congratulate Robin and the team on 100 challenges.

Saturday, January 21, 2012

Thursday Tutorial for FCCB-" Learn from my mistakes"

Hello everyone.  It is time for the Thursday Tutorial at the Fantabulous Cricut Challenge Blog.  This week the challenge is "Snow Fun" and you are to use a snowman or snowflake in your project.  I hope you are making a project to enter into the challenge.  It is always so fun to see the different projects 
and diecuts that people use. 
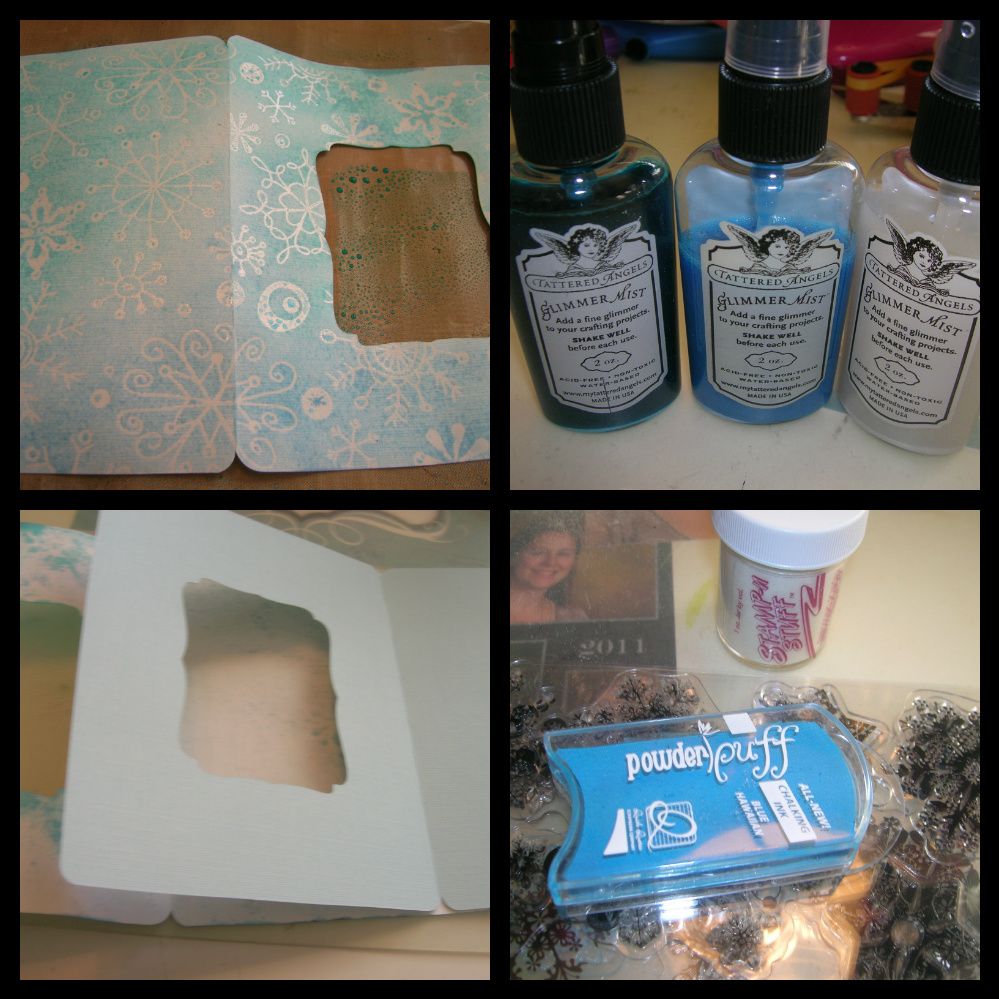
So for the Thursday Tutorial I wanted to share this new paper by Tattered Angels (there are some other companies that make similar paper. I got the paper at my LSS where I have taken several classes on using Glimmer Mist.  The paper starts out white with an embossed design and then when you spray it with the Glimmer Mist the pattern pops out.  One of the designs I found was a snowflake pattern.  
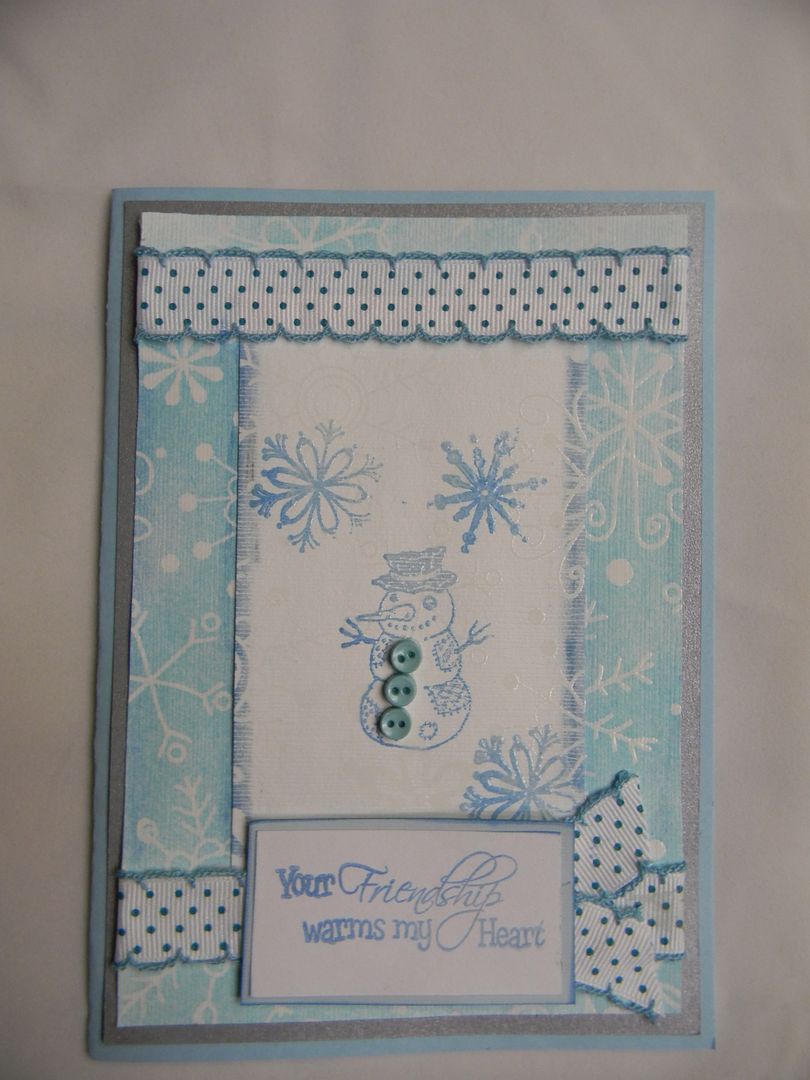
Now I am going to be honest with you my first project which is my tutorial project did not come out real well so I tore it apart and redid it into this finished product.  When I realized how bad my project looked  I was going to post a video or something else.  But then the teacher came out in me and I remembered saying to my students "We learn from our mistakes too."   I know we have all had times when our projects don't come out right for one reason or another so I am sharing my tutorial to show you what "NOT"  to do.  
For my original card I cut a card from page 47 of the Art Philosophy Cricut cart at 5 x 7 with a window.  
I then repeated the cut with plain blue cardstock so I would have a liner.  

The first two pics are my completed first card  outside and inside. 
The paper wrinkled as I glued the pieces together before the Glimmer Misted paper was really dry.  
(Also its a lousy picture but that's another problem.)
Picture three is the cut on my E2.  Picture 4 is the cover piece cut out.  You can save the inside piece for the inside of your card or for another card later. 
I then lightly sprayed the card cut with Glimmer Mist.  I used Patina , Blue Skies and a little bit of Dazzling Diamonds.   I should have let the piece dry really well before gluing the inside lining to it.  It also is good to flatten it with books or I use 12 x 12 tiles that I have in my craft room to put vinyl on to press the paper flat.  
Even though I put a lot of ATG tape on the card it puckered and no amount of pressing it helped.  
I then added Snowflake stamps and Quick Quotes chalking ink.  I also heat embossed the stamps to give more dimension.  I added a snowman stamp with some tiny buttons on the inside to pick through the window.  
The stamp Friendship Warms My Heart is from Robins Creative Cottage.  
So after taking my pictures and realizing I would never use this card, I carefully pulled it apart.  
This card was make using the backside, the ribbon and the inside piece.  I also reused my sentiment piece.  
The front window piece is now being pressed so I can salvage it too.  
So there is my tutorial on "Do as I say and not as I do." or "Learn from my mistakes."
I hope you will find some time to craft this week and join us for the Thursday Tutorial.  It would be "Snow Fun"  to see what you create.  

Thursday, January 5, 2012

Thursday Tutorial for FCCB- Pocket card for Tea, Cocoa, or Cider package

Hello everyone its time for the Thursday Tutorial at Fantabulous Cricut Challenge Blog.  This week the challenge is "Warming Up With Hot Cocoa".   We would love to see your projects.  
So check out todays tutorial of how I made these cards 
(using a tutorial from Shes A Sassy Lady) at FCCB today.  

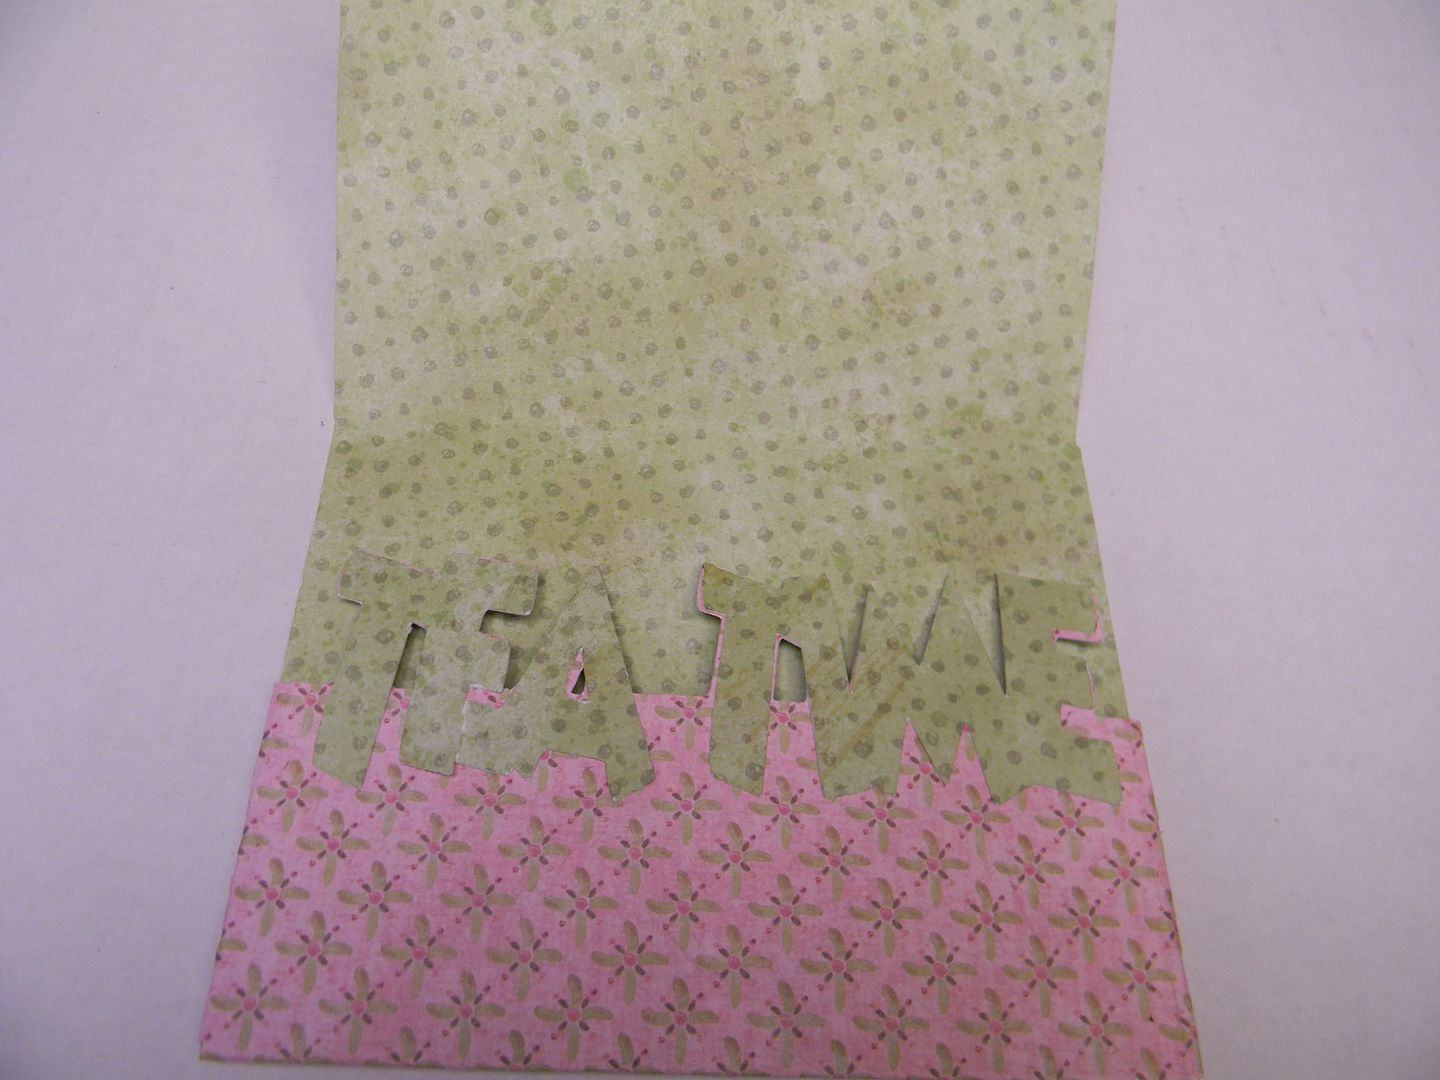
This is the inside.  

So come on over to FCCB for the tutorial and the challenge. 
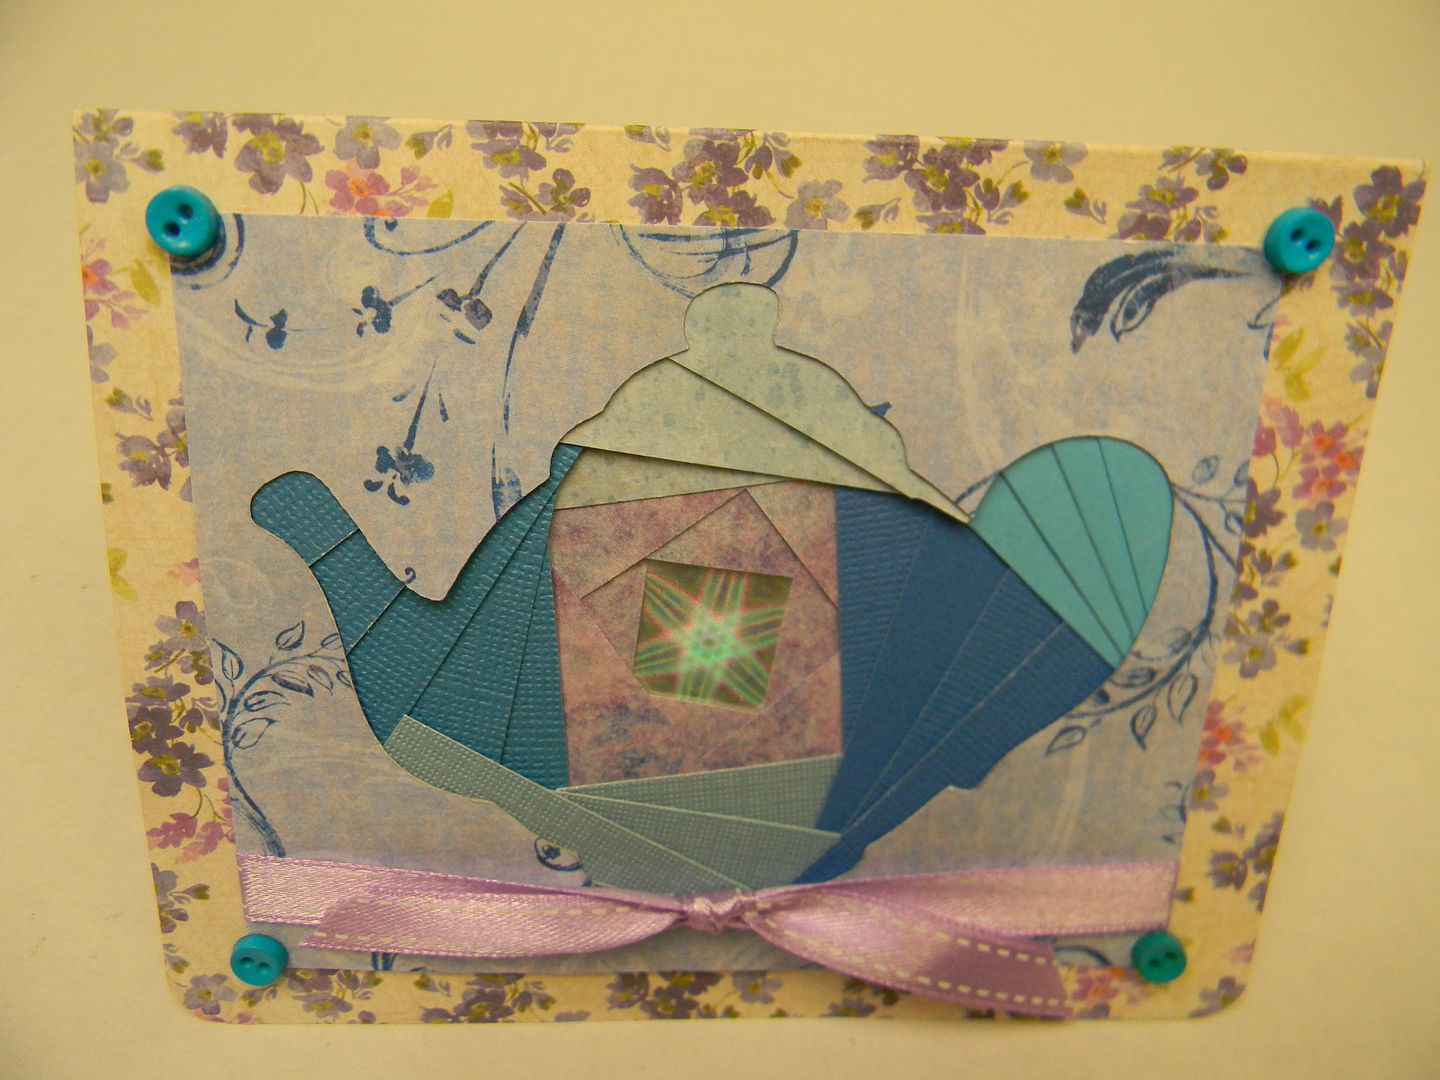
I am entering this in the Paper Playtime Recycle challenge. The reason this is a recycle project is the cut out used for the Iris folding card is left from cutting out the teapots for the first card.  This would usually be thrown away but now I keep these cuts and can make them into Iris Folding cards.     

Thursday, December 1, 2011

FCCB Thursday Tutorial Holiday card

Wow not only is it time for the Thursday Tutorial but it is the first of December which means there are only 25 days till Christmas.  One of my newest places to hangout and find ideas is Pinterest.  There are some many wonderful creative ideas.  I love looking for ideas that I can adapt by using my Cricut.  So for today I wanted to share this really cute Christmas card since this is the theme for FCCB this week.  
I found this adorable card which  led me to this blog.  
Inspired Treasures - link to card with three tress above 
Connie Babbert 
Although the card is not made with a die cut I cut my 5" circles with George which made it quick and easy.  
Link with PDF for folding and directions.  This is another card she made.  

Here is my card I made using some of my charms from Creative Charms 
Our sponsor this week
Hope you enjoy this project and will try making these cute trees.  Hope to see your projects this week for the challenge.  

Thursday, November 10, 2011

10-Thursday Tutorial for FCCB- One Sheet Mini Book

Hello everyone its time for another Thursday Tutorial at FCCB.  This week the challenge is "Book Lovers". Please check out the Monday challenge and see what the Design Team has created and then join us this week with a creation of you own.   
Last year for Thanksgiving we had a big family dinner with our family and my SIL's family to celebrate the birth of our granddaughter Kenzie.  I made these little one sheet mini books for each person (16).  I also made them for my group at church.  For these I  Tags, Bags and More for the inside writing tags.  I used the Thanksgiving cart for the Thankful heart and added some leaf embellishments.  

Here is a video I found on 
You Tube from Creations with Christie
It is an easy to follow video and I loved the ideas of using the Tim Holtz paper.

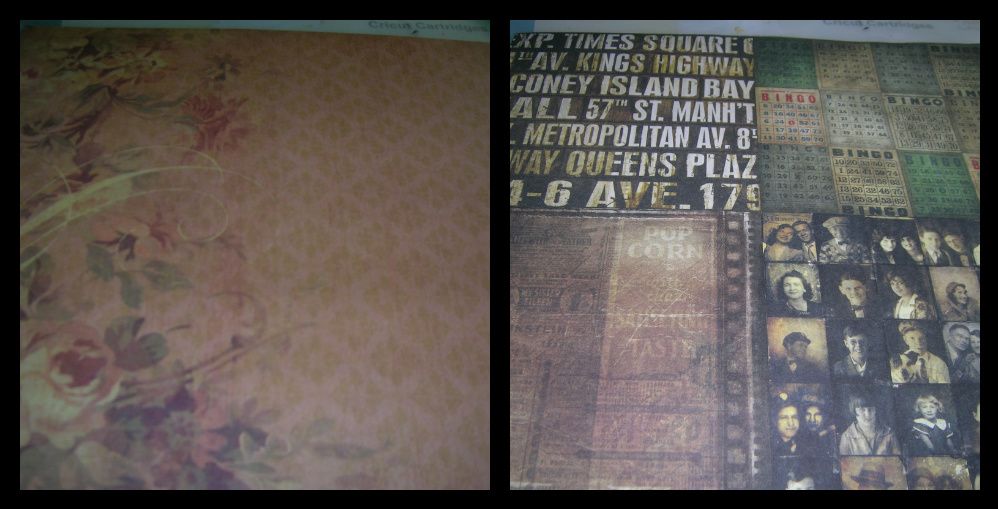
I made a few more following her video using these two papers.  The one on the right is Tim Holtz.  
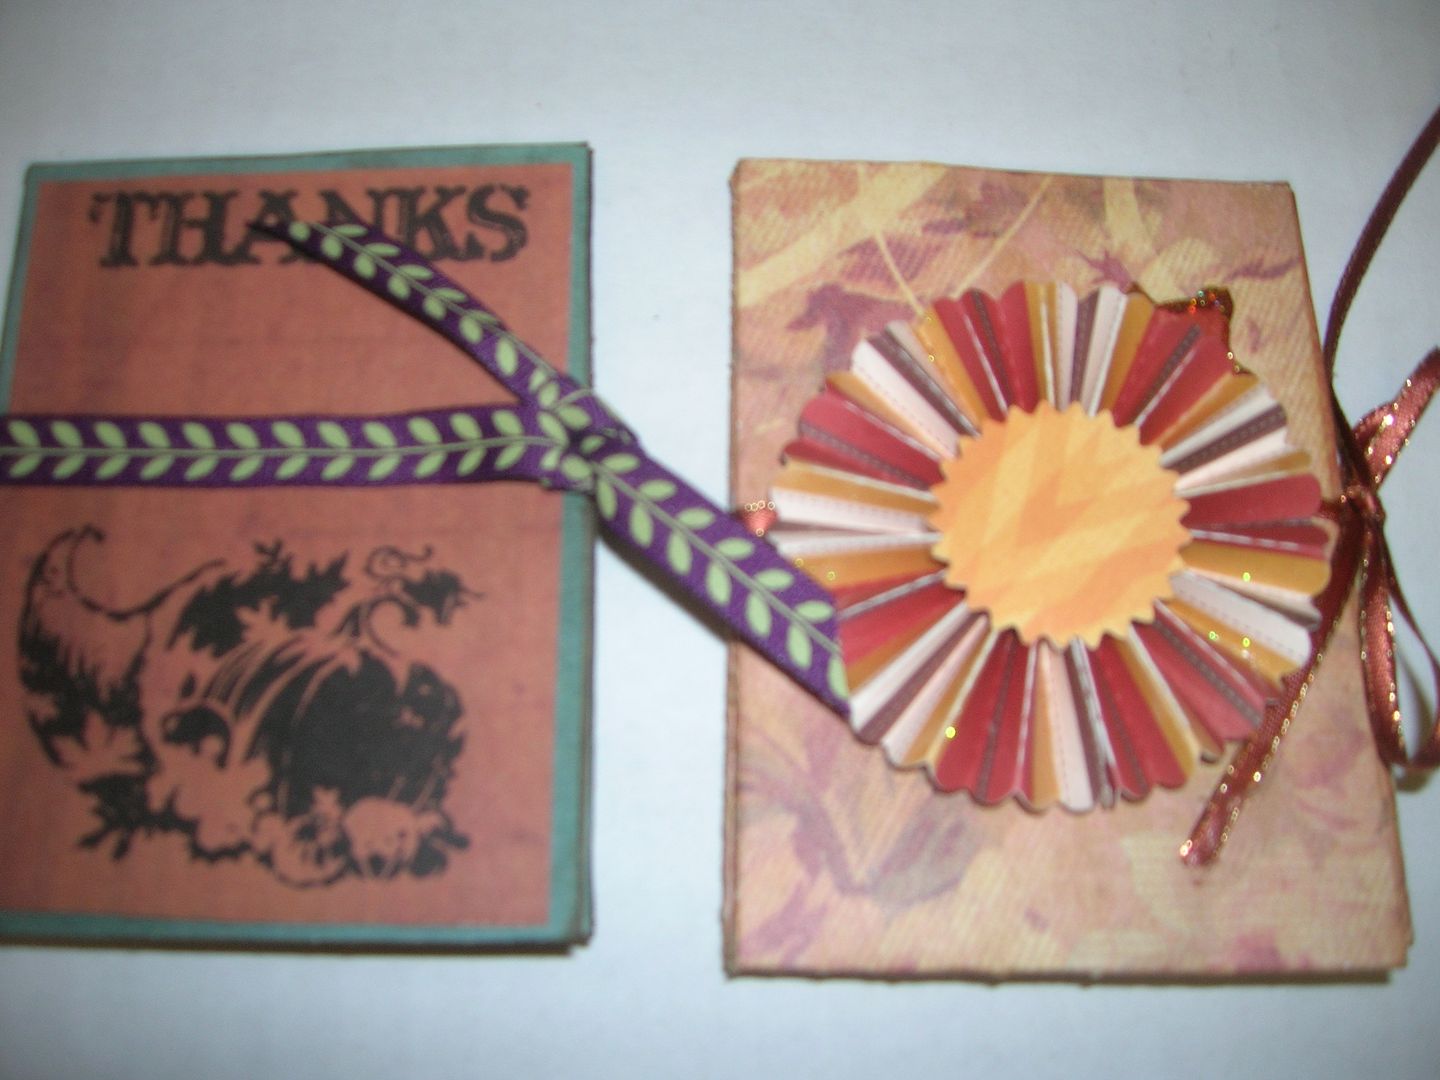
Here is the completed books on the inside.  The second picture is when I was stamping the covers.  My husband walked in and surprised me and I messed up the stamp on the left.  So I cut another cover and restamped and then glued it on op.  The other one I added a rosette left over from another project.  The ribbon glues around the outside to tie the book together.  

Hope you enjoyed these little books and can find a use for them.  I would love to read your comments.  Don't forget to join us this week for the "Book Lover's" Challenge.