Just Kitting Studio Items for Sale

Sunday, June 19, 2011

Thanks Nadia from With Glittering Eyes for a great tutorial on Bravissimo Award Ribbons

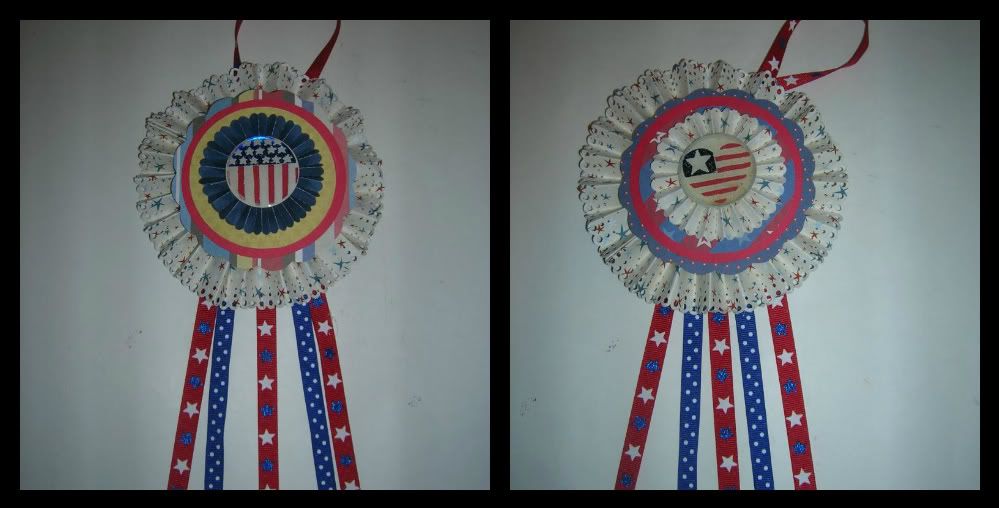
How many of us have looked at those wonderful Bravissimo award ribbons from Making Memories at Michaels lately and thought I could do that with my Cricut?  Well the talented Nadia has done just that and posted the directions on her blog. Check it out at  Nadia's With Glittering Eyes blog.   I decided to try making some patriotic ones.  I made two  following Nadia's directions and  hung a ribbon on them so they could be hung on a wall or doorknob.  For me I was thinking my light sconces on each side of hearth.  I see a lot of great uses for these.  Even makes me wish I was still teaching to make them for various student activities and awards.  (But just a little bit.)  For now I am going to make some smaller ones for 4th of July and a Big Sister one for my granddaughter when her sister arrives.  As Nadia shows they look great on gift bags.  

Friday, June 17, 2011

American Gnome

I made this card today for the BBTB2 challenge.  The challenge was to use the gnomes from Freshly Picked. I didn't have this cart but it was on sale at Michael's so I picked it up.  I had wanted it off and on so the time was right.   This idea came to me and it was a lot of fun putting it together.  The gnomes were cut at 4 inches.  The flag is from Stand and Salute and was cut at 2 inches.  The paper is K and Company, I used Peachy Keen Stamps for the faces, twine, Smooch ink, chalk  and Stickles.  I also entered this card in the Creative Cutter Room Design Team Thursday (use a flag) and Peachy Keen Stamps challenge (patriotic and Peachy Keen faces).  

First grade class used My Dad Fold Card :)

Yesterday I received the nicest post from Tina at My Hoppy Place .  Tina is a first grade teacher and she wanted to let me know she saw my My Dad fold card and had made them with her first grade class.  I was thrilled since I was a teacher for 33 years until this last year when I retired.  In face I taught first grade for about 15 of those years.   This so made my day and I asked Tina if I could share and here is one of the samples.  So cute isn't it.  I think  the dad's that get these will so cherish them.  Thanks, Tina.

Tuesday, June 14, 2011

Double Twisted Birthday Easel card

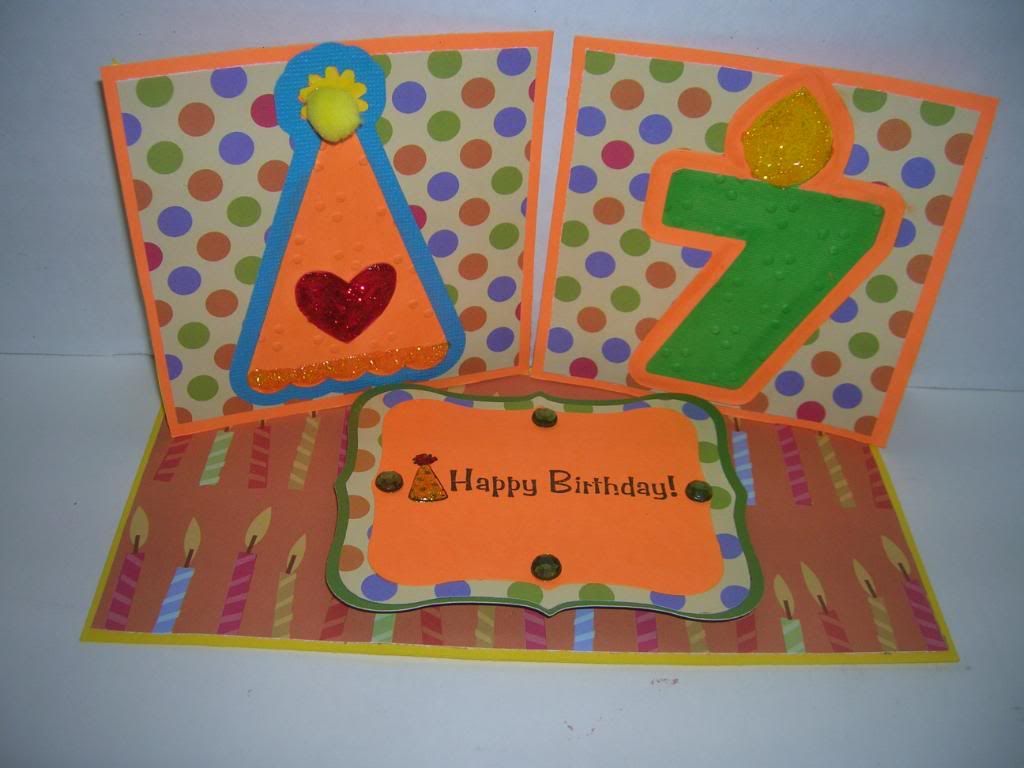
I made another double twisted easel card today.  I needed to make a card for the son of our friends who is turning seven.  I used Sweethearts  for the seven and the hat.  I am also posting this in the weekly challenges for Scrappy Mom (use Sweet Treats) and  Celebrate the Occasion  challenge (using a birthday party hat.)  

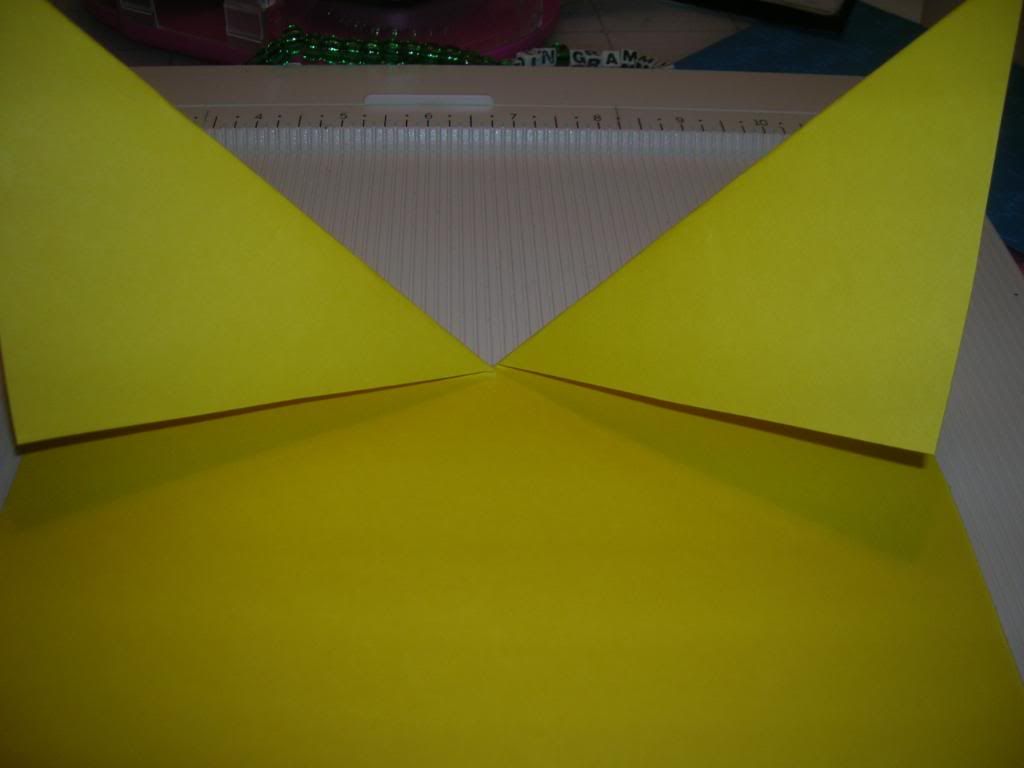
Card is made cutting 8 x 8 shape and scoring at 4 inches all the way across and then 4 inches down to first score.  Fold pieces down and then decorate card.  The bottom piece decoration needs to be pop dotted to hold the folded pieces in place when it stands up.  

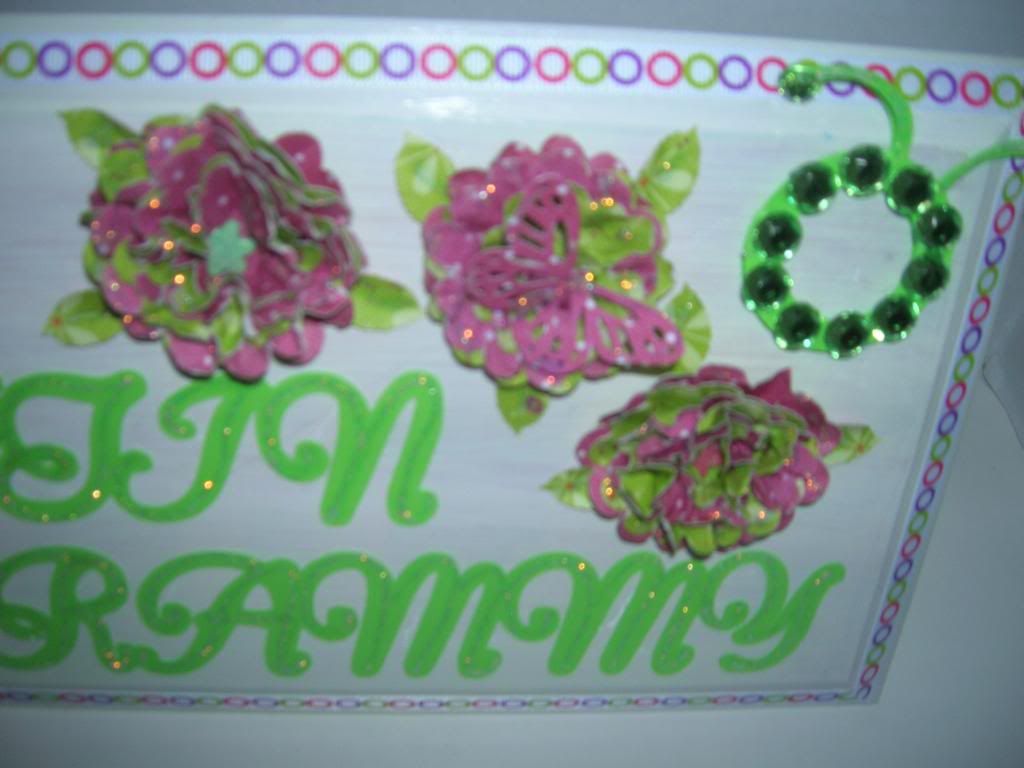
Altered sign for my craft room

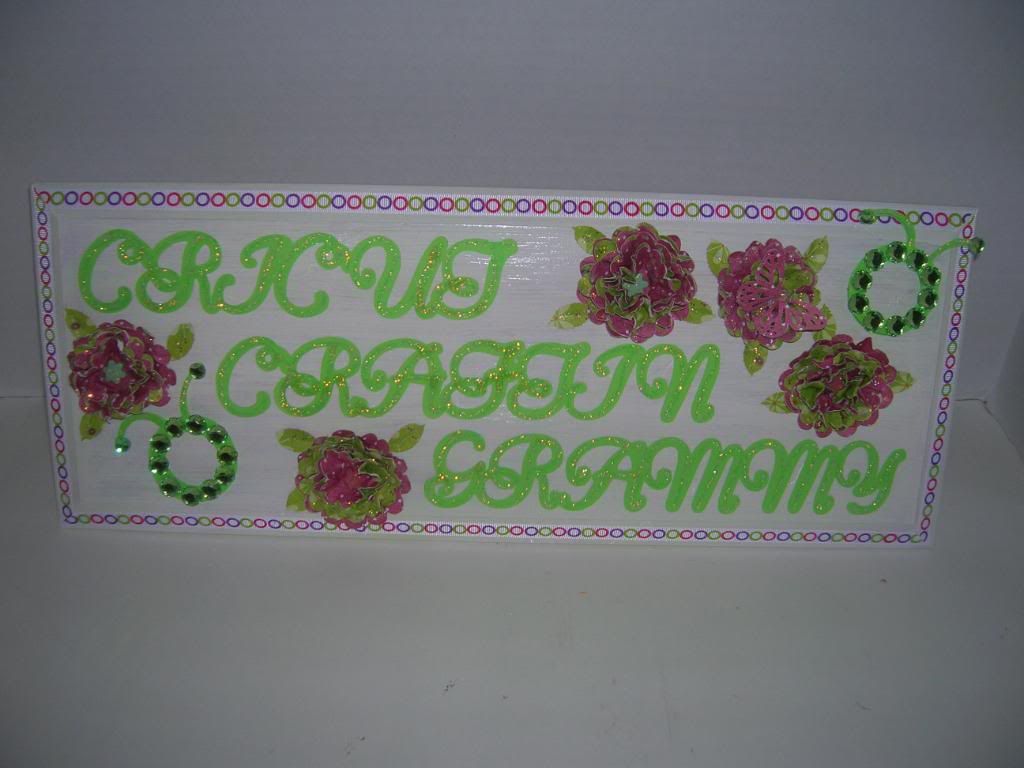
This is my complete project for the challenge on She's a Sassy Lady.  The challenge was to make a Home Decor item, weld on your Gypsy and use a flower.  I bought this sign for $1 at a thrift store.  I painted it and sprayed with Glimmer Mist to tint.  I then designed my project on my Gypsy.  My blog name is done with MS Elegant Cakes font which is welded together.  The flowers are the Scalloped flower from Mother's Day Bouquet.  They are cut at 2", 1 3/4", 1 1/2" and 1 ".  I wet each cut and crumple them up then smooth them out carefully to dry.  I put 6 to 7 layers together and punch a hole with my Crop a dile and then add a brad.  
I used Diamond Stickles on the flowers and title.  The circle image is from Cricut Everyday and I added gems to bling it out.  The leaves on the flowers and the butterfly are a MS punch.  I then added $1 Michaels ribbon around the edges.  Now I have  sign for my craft room.  

Father's Day Mini Book

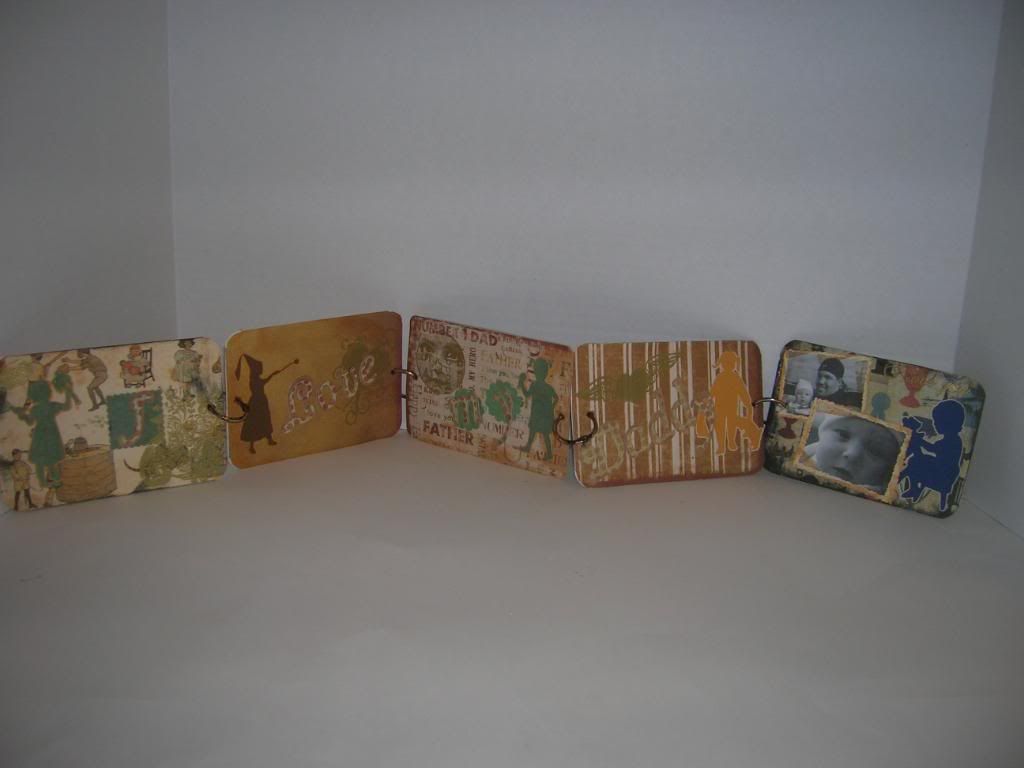
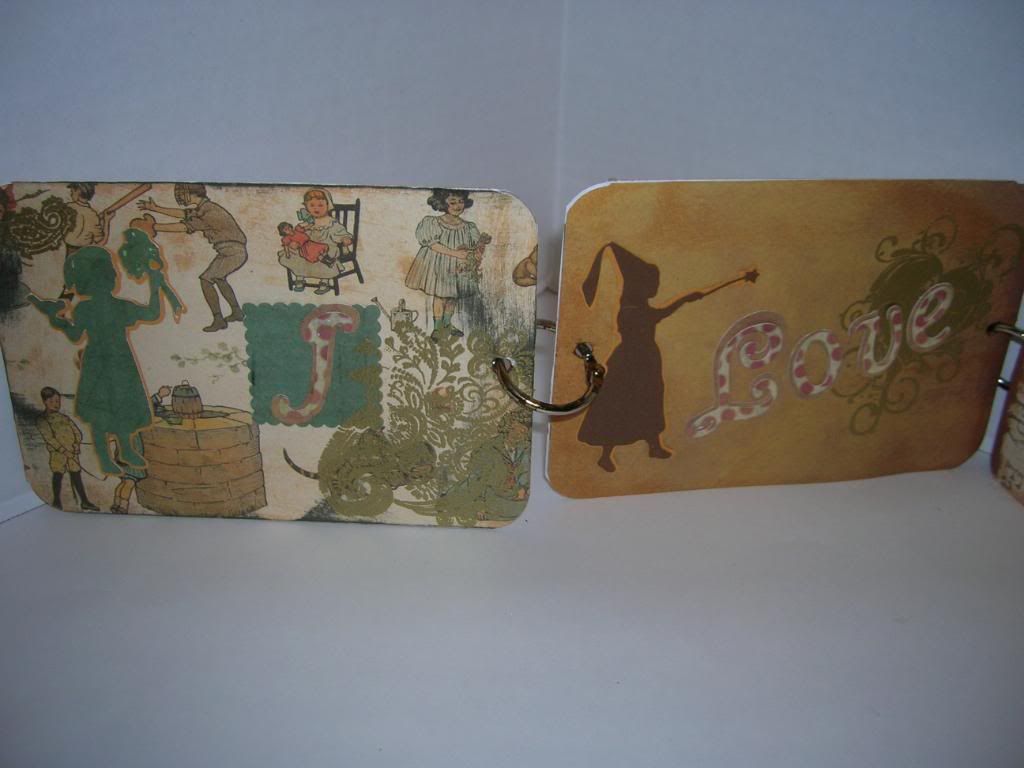
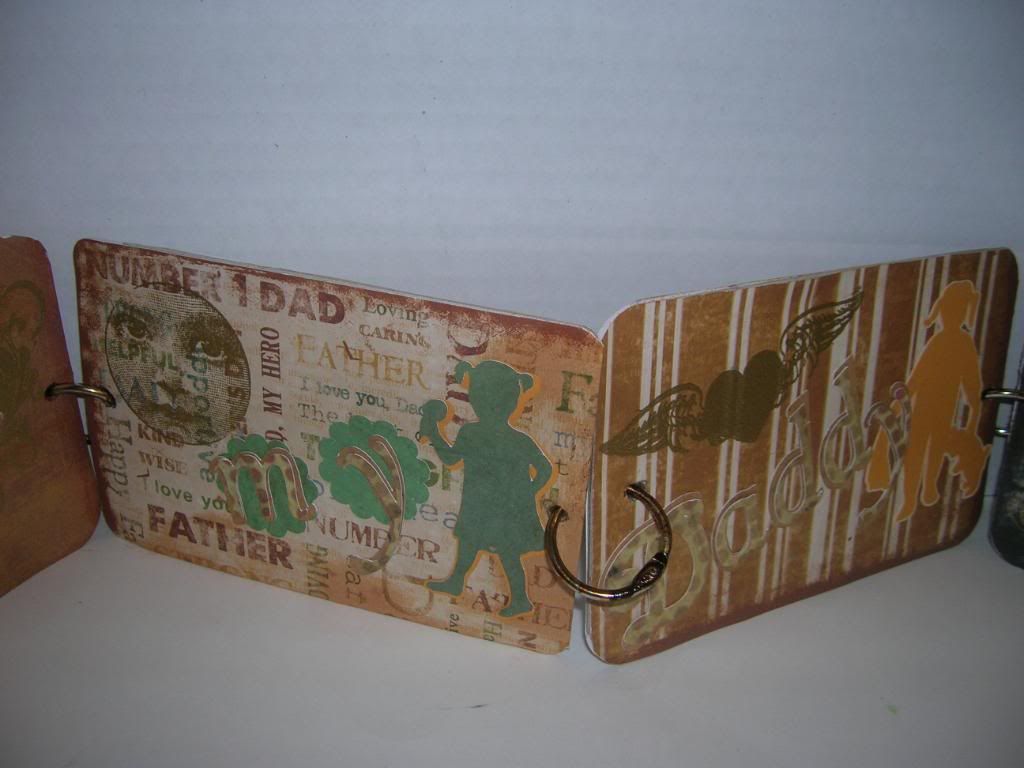
Hi everyone this is Suzanne from cricutcraftinggrammy.  Today I would like to share  the Father's Day mini books I made for my son in laws.  It is an accordian type book and folds up to 4 x 6 and can be displayed  in the open format.  Here is a picture of  the open book.  Remember if you click on the picture it will enlarge for better viewing.  
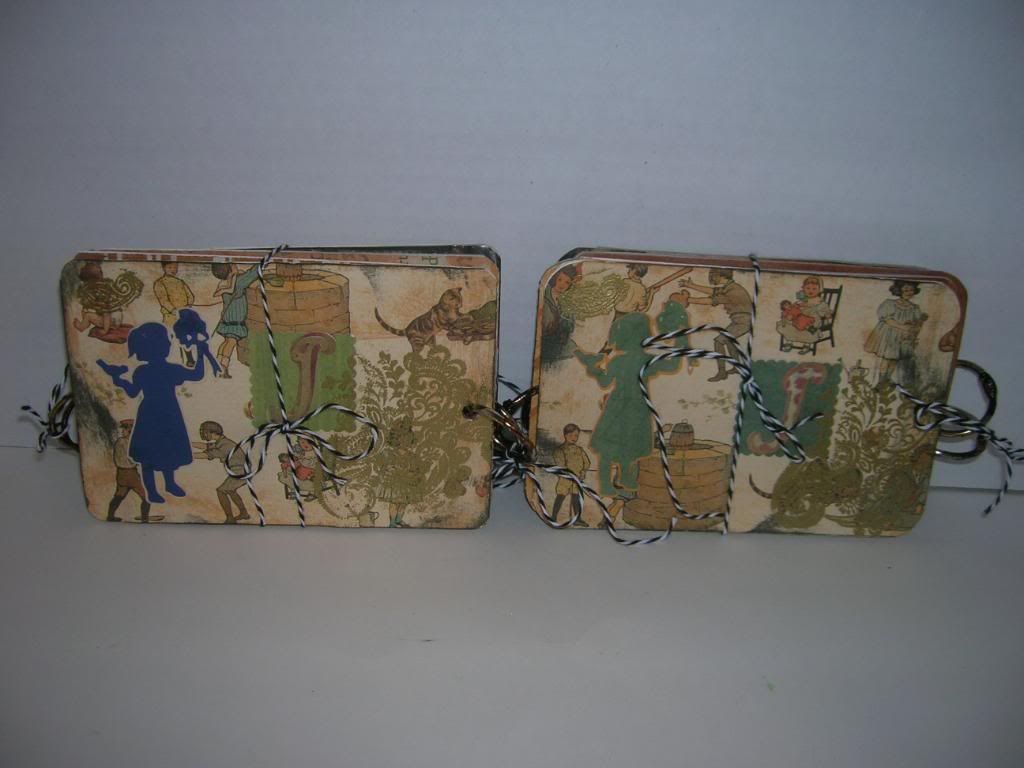
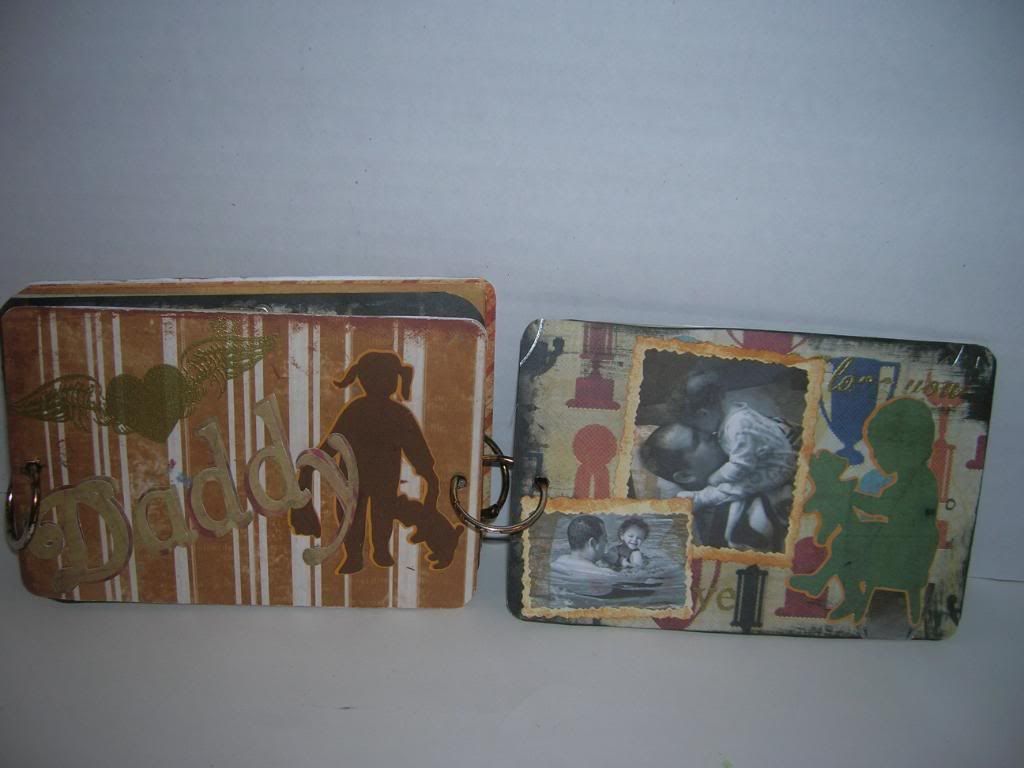
These are the two mini books I made.  I tied them with Bakers Twine through the rings at each side and then also around center.  
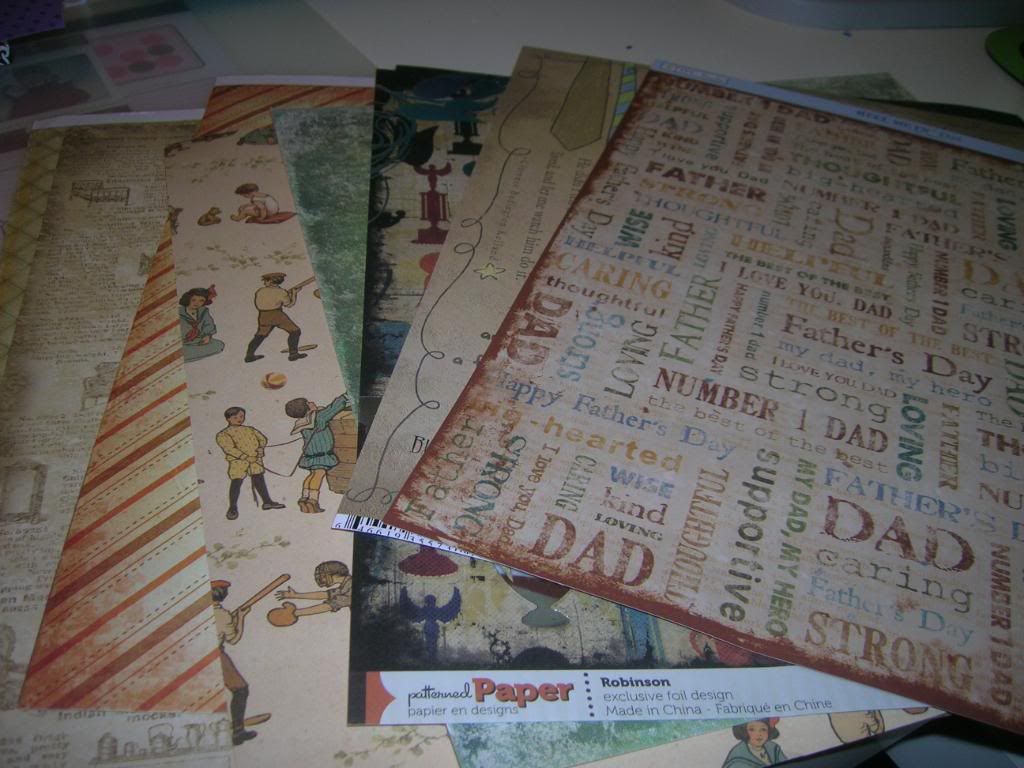
I used a variety of  paper including Life's Journey from K and Co. (old fashioned kids),  MVP paper from We are Memory Keepers (trophies),  Reel Me in from TPC Studio (words) and DCVW paper from stack 
Family Connection for stripes.  
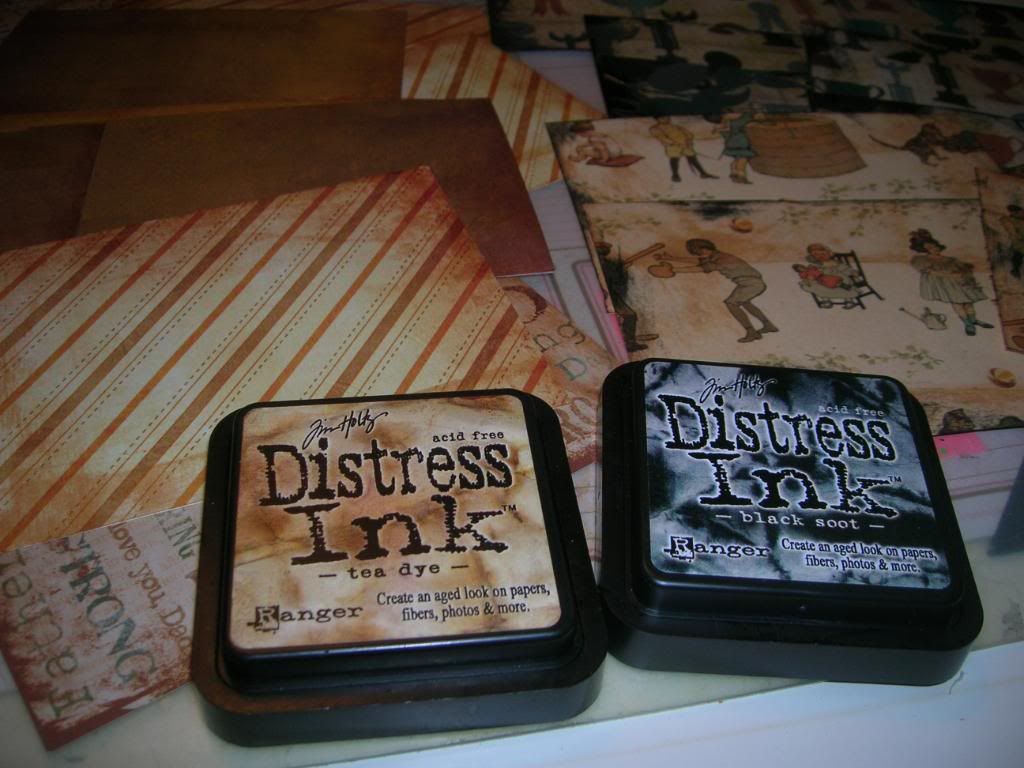
I cut the pieces to 4 x 6 inches and then took my Tim Holtz distress inks (Tea Dye and Black Soot) to match the edges of the papers that were already aged.  After running the ink pads over the edges and fronts to get the look I want I allow them to dry for a few minutes.  
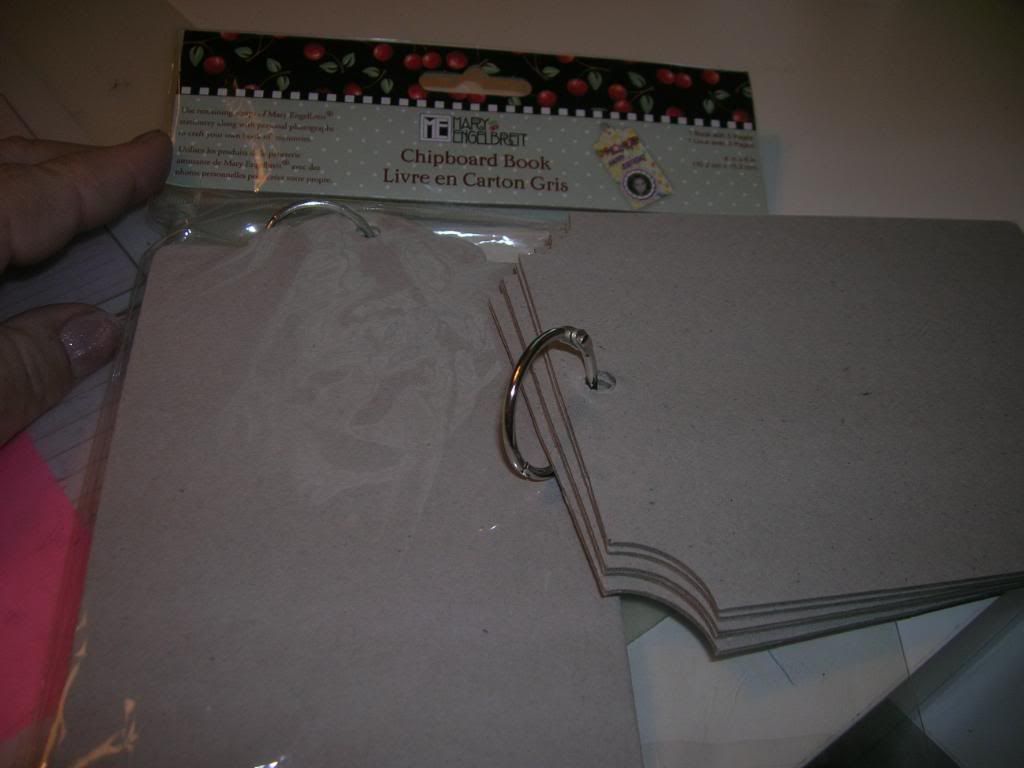
For the chipboard pieces you can cut your own chipboard, use cereal boxes, or use prepared books.  Since I have them I am going to use these prepared books.  They often have these at Michaels in a variety of shapes for $1.  
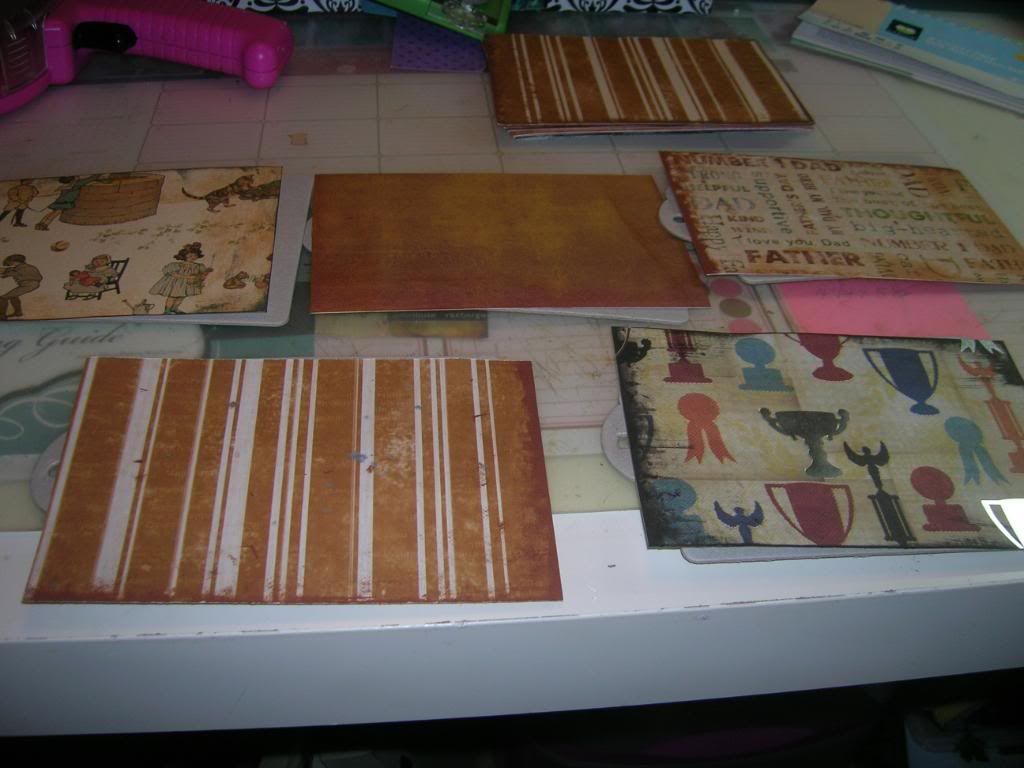
Before I glue the pages I lay them out to make sure I like the way the colors go together.  I then glue using my ATG gun or Beacons 3 in 1 Glue.  I also press the paper down firmly using a brayer and making sure all corners are glued well.  You can then cover the back in the same fashion.  Allow to dry and trim any excess carefully.  I then like to round the corners with my Corner Chomper which helps keep the corners from splitting from chipboard.  
In this case I am not going to trim the paper to the chipboard  shape but if you do wish to do this use a cutting mat and exacto knife.  
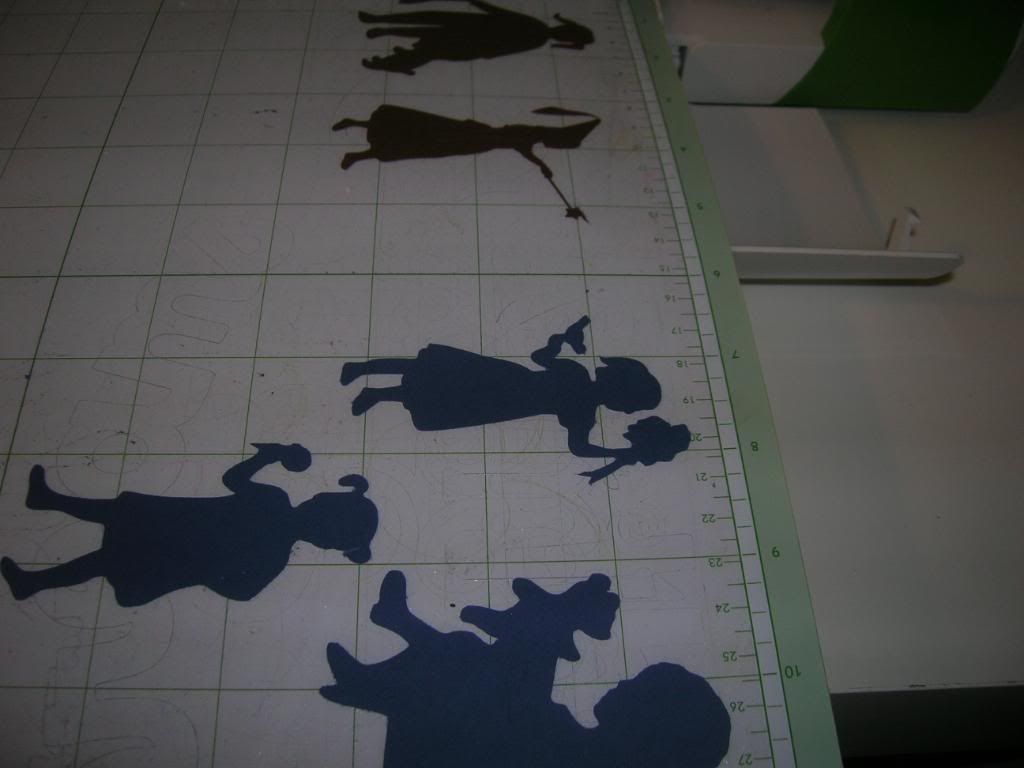
I then selected my cuts from the A Child's Year cartridge all at 3 inches and cut the image and shadow from plain cardstock.   The words " I love my daddy" were cut at 2 inches from Elegant Cakes.
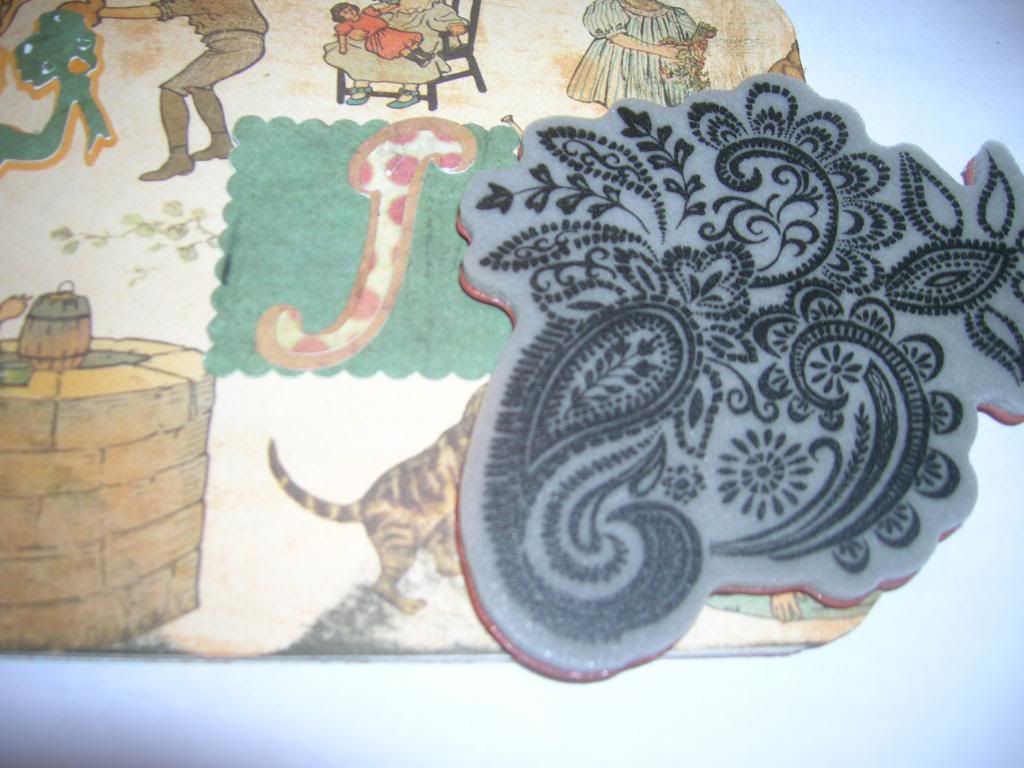
Next I took a variety of stamps and stamped over the pages.  
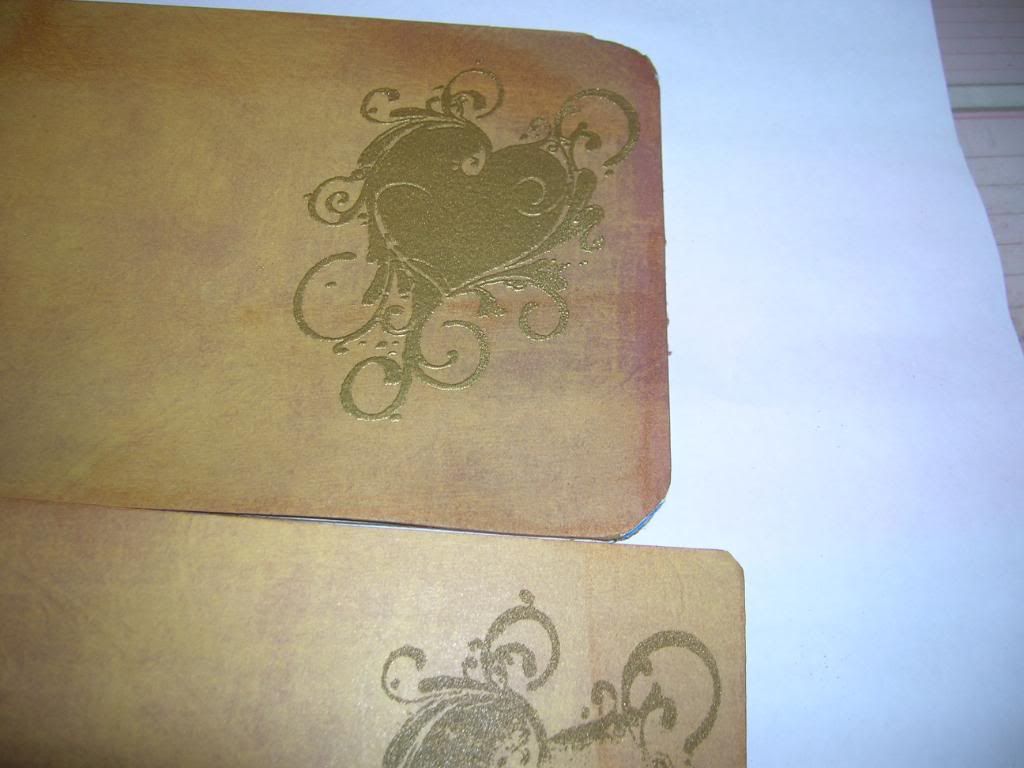
To give the ink a richer look I used gold embossing powder and over the clear ink (Versamark) and dried with embossing gun.  
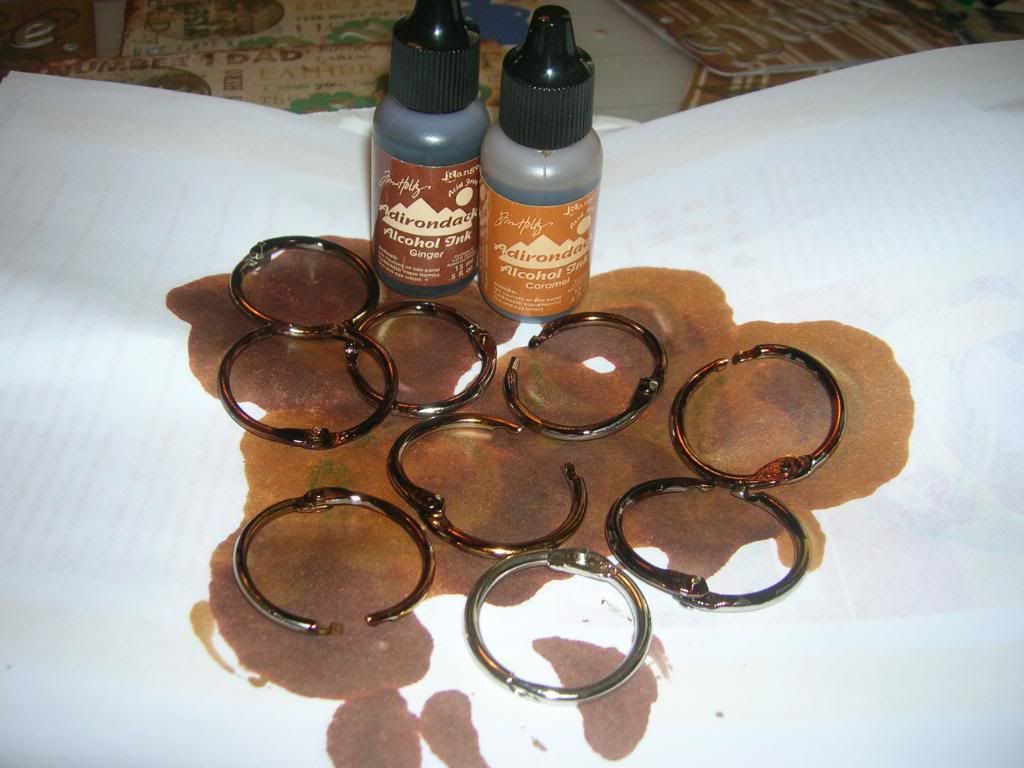
The last step is to antique the silver binder rings with Adirondack Alcohol Inks. 
Let these dry for an hour or so until they are not tacky any longer.   
I then glued all my pieces to the pages and used my Crop a dile to add holes for rings.  
Here is the first two pages  " I love"
"my daddy"
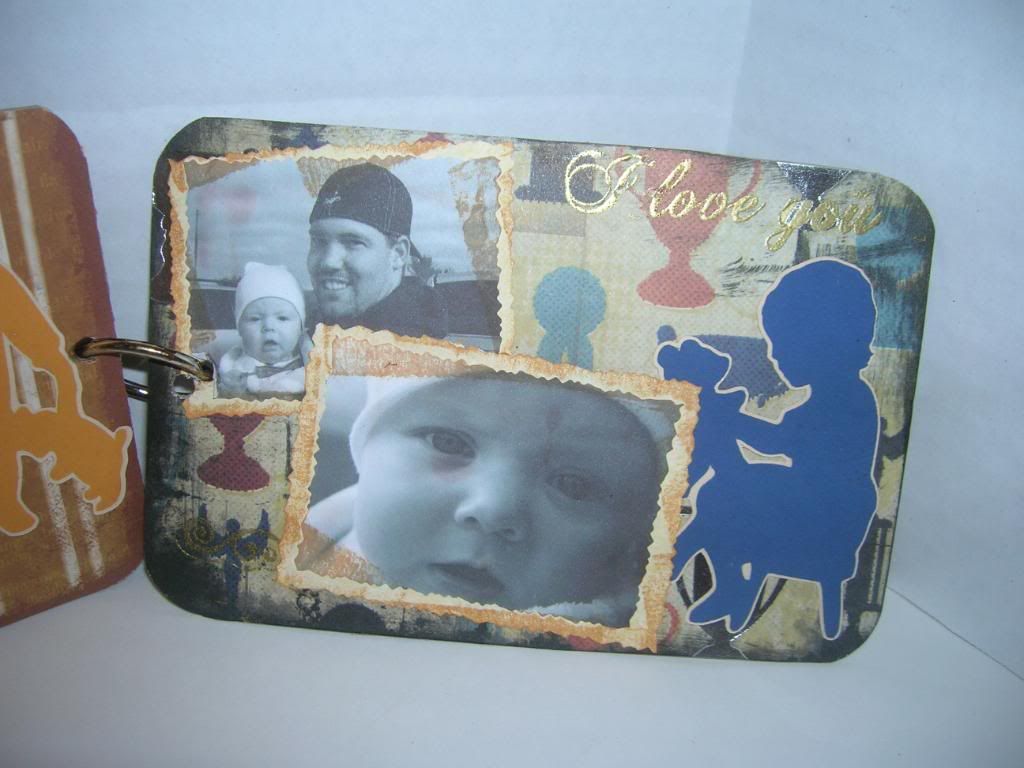
This is last page of book 1.  I printed the pictures wallet size and in black and white.  I also used a little Tim Holtz Tea Dye Ink to age them a little.  
This is grand daughter Kenzie with her daddy. 
This is grand daughter Katie with her daddy.  
Hope you enjoyed this project and tutorial.  Have a great Father's Day and see you soon!

Monday, June 13, 2011

Challenge day- 4 different cards

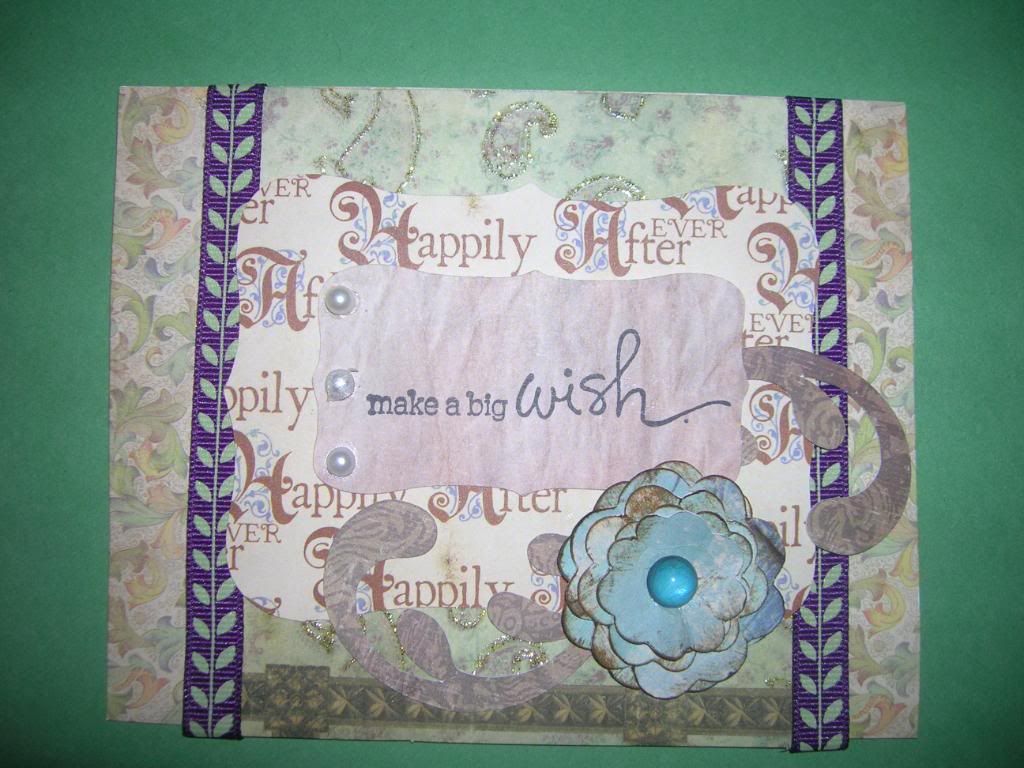
The card above is  for the More than Favors challenge using Accent Essentials.  I used the shape page 79, the scalloped flower page 77 and fleur page 48.  Paper is Happily Ever After by DCVW and I inked with Tim Holtz Tea Dye.  Ribbon and stamp from Michael's $1 bin.   This is A2 size and will be one of my Cards for Soldiers.  
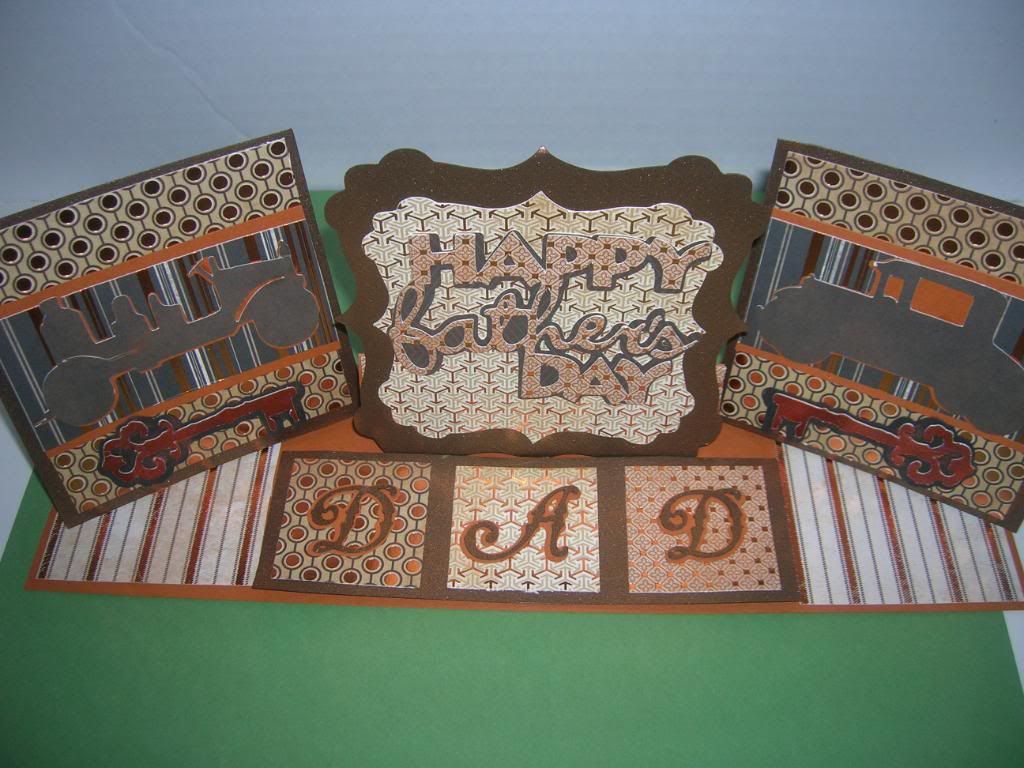
This triple twisted easel card is for the My Craft Spot  where the challenge was to make a man card.  I wanted to try a triple twisted easel card so I made this using Elegant Edges, Elegant Cakes and Heritage.  I am so hooked on making  twisted easel cards.  
I am also posting this on the linking party at Patches of Pink for this week.
  
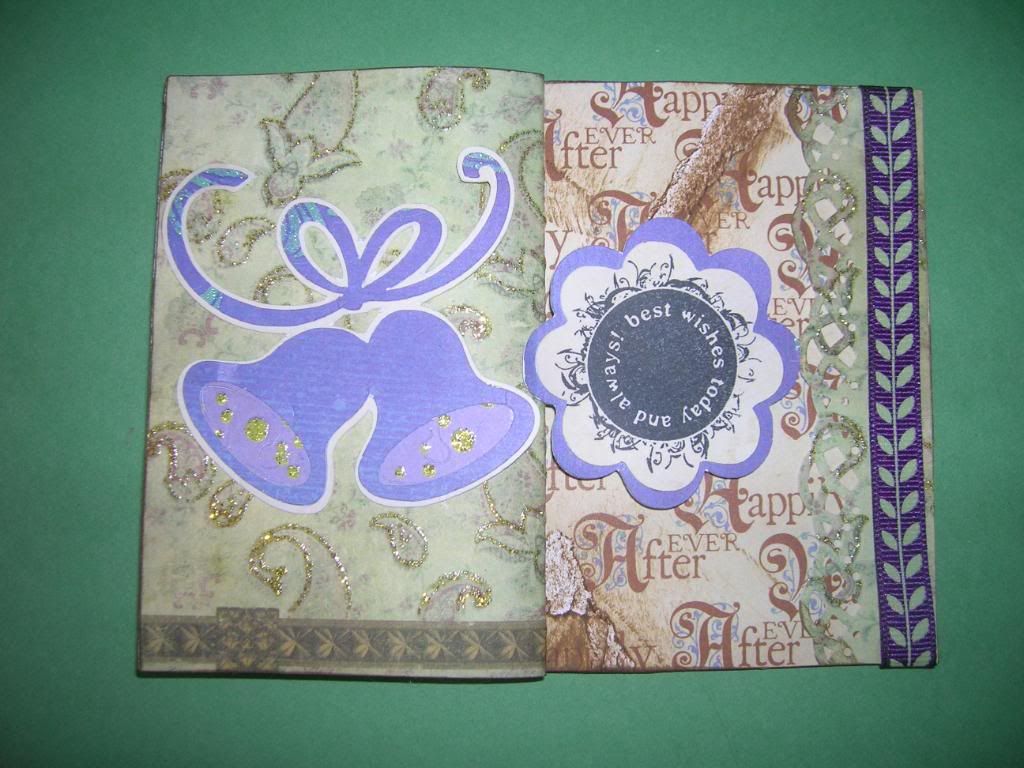
The above card is my Z fold card for the challenge at Paper Playtime,  I again used the DCVW Happily Ever After Stack and wedding bells from Sweethearts cart.  The stamp on right is pop dotted to hold card in place.  
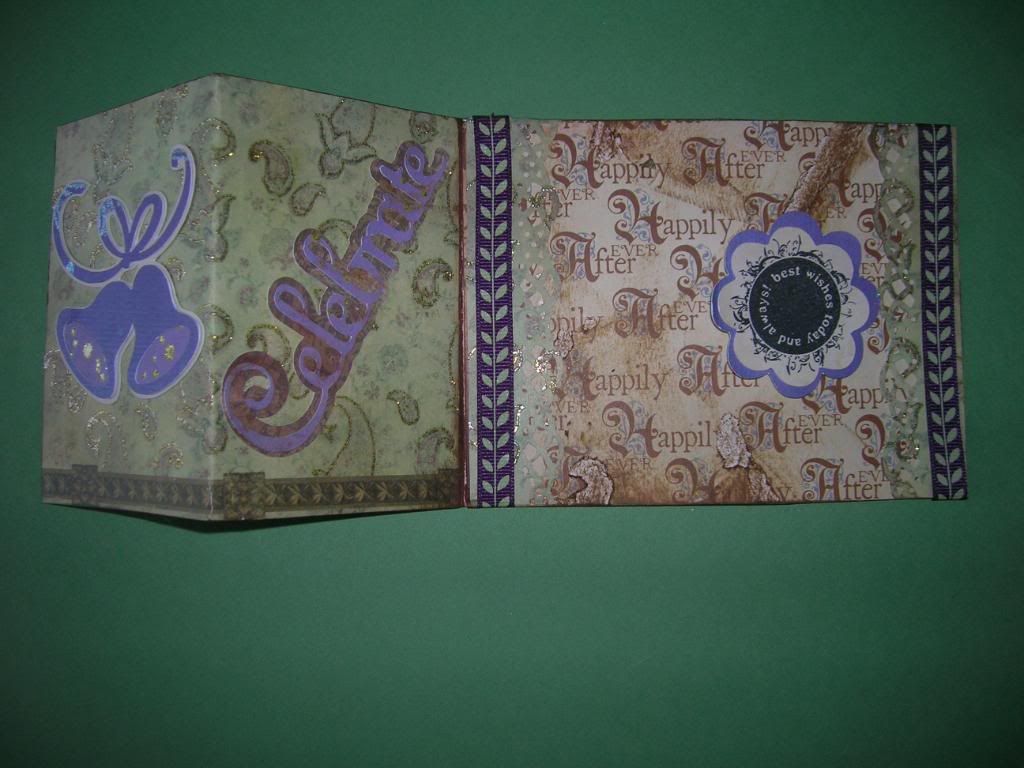
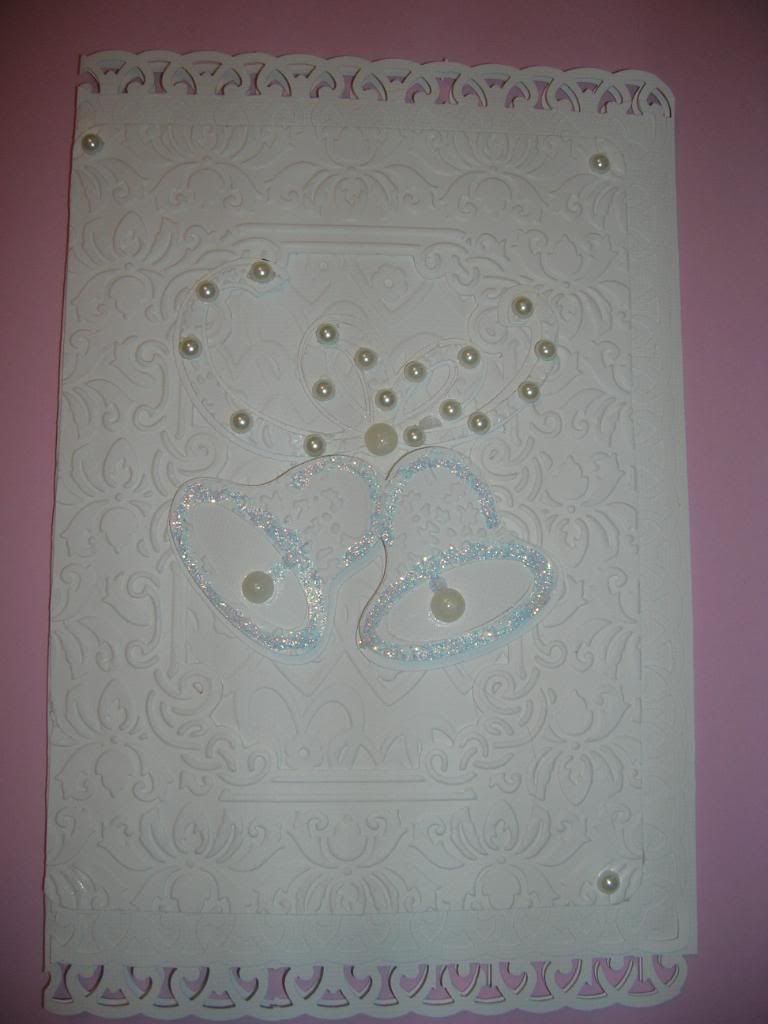
This last card is for the challenge at Fantabulous Cricut to use white and bells.  I love all white cards so I used two different Cuttlebug embossing folders, bells from Sweethearts, MS punch, stickles and pearls.