Just Kitting Studio Items for Sale

Showing posts with label Winter Lace. Show all posts

Wednesday, January 23, 2013

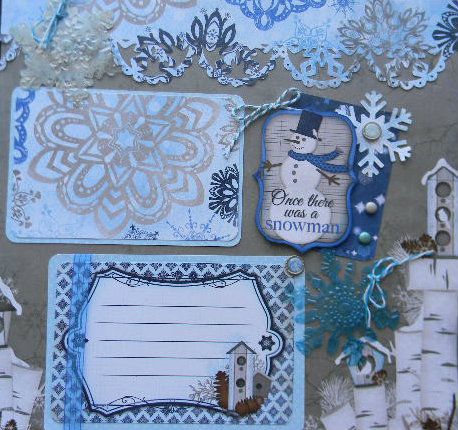
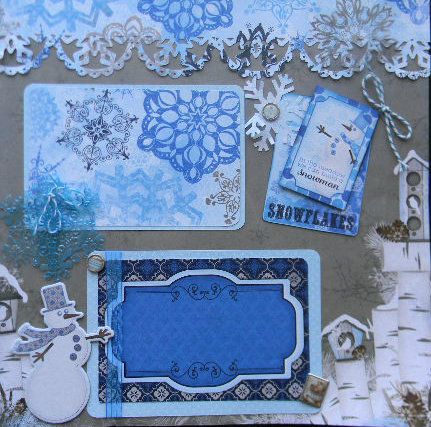
My Paper Crafting Cutter Challenge- Wintery Outdoor Fun


It's time for another great challenge here at My Paper Crafting for the Craft with Cutters Challenge.  
This week the challenge is Wintery Outdoor Fun- create a wintery scene or winter activities project.   
For my layout I wanted to use the gorgeous paper by Bo Bunny Powder Mountain.  We don't get a lot of snow time where I live by the beach in Southern California
 but I fell in love with this paper the moment I saw it.  
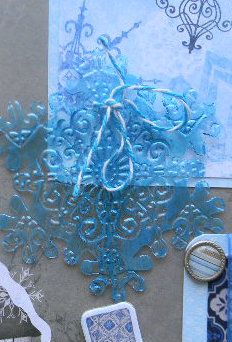
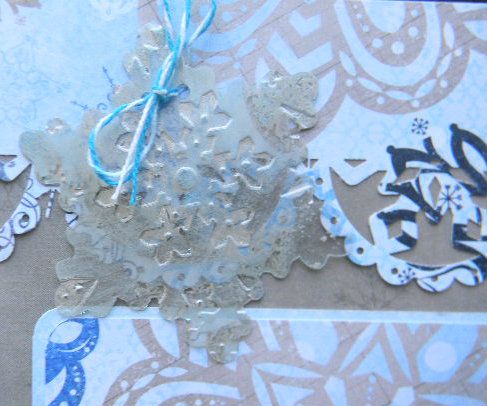
The Cricut cuts were made using the Winter Lace cartridge at 3 inches.  I made snowflakes using Better than Acylic, embossing the cut out and then inking with Inka Gold by Viva.  
I used Slate Blue and Silver.  
I also used a MS snowflake punch, EK Success punch, brads, twine, and ribbon.  
Snowflake in silver top left corner and right side below snowman in blue.  
Another blue snowflake on left middle of page.  
Closeup
Closeup
The Better than Acrylic was purchased from Bug Junkie 
and you can read about its many uses on her blog.  
She also has sheets for sale if you are interested.  

Please join us this week for the challenge at My Paper Crafting.  
We love to see your creations.  

Wednesday, January 2, 2013

My Paper Crafting Snowflake Challenge

Time for the first challenge of 2013 here at My Paper Crafting and  my first post for the new year.  For our first project  we were going to make snowflakes for Sandy Hook Elementary School.  However the request for snowflakes for the children when they return to school  has been so overwhelming and they have requested  that no more snowflakes be sent.  Isn't that awesome!  How wonderful to have to tell people stop we are overwhelmed when people are doing something nice for people.  

I made my three snowflakes from Winter Lace cut at 5 inches.  I also cut the shadow so they would stand out more.  Then I added a Tim Holtz rosette to the center  made with blue and white paper to make them pop.    On top I cut out the words Peace from Gypsy Wanderings and love and faith from Home Accents our of glitter paper.  I added Stickles to the words and gems to bling them out.  

If you look carefully at the snowflake on the top left you will notice the design of the snowflake has peace signs in it.  

I am going to hang my snowflakes in my craft room to remind me to pray for the Sandy Hook families.  

Snowflakes for Sandy Hook 
I hope you will join us this week for the snowflake challenge and link up to My Paper Crafting 
Also remember there is a DT call right now so 
check it out and join in the fun.  
Also remember to check out all the awesome digital files, SVG files and  Paper Piecings 

Thursday, July 26, 2012

Christmas in July at CWC- My decorated vinyl plate


All week we are celebrating Christmas in July at Cooking with Cricut. Come by and check out the awesome projects and Christmas fun each day this week.  
 Here is a charger plate I made for todays decor and gift project.  I bought these  at Michaels last year and I added some vinyl cuts from Winter Lace.  Since the cuts all come in a snowflake pattern they are perfect to fit and design to plates.  These look so pretty in an easel on a mantle or table.  
Charger plates are very reasonably priced I think like 2 for $5.  They make great gifts at Christmas when you need something quick.  Plus they are fun to personalize too.   I buy them at Michaels in various colors throughout the year.  Also last year Walmart had some beautiful ones with acorns on them that were awesome for the Fall.  

Sunday, December 11, 2011

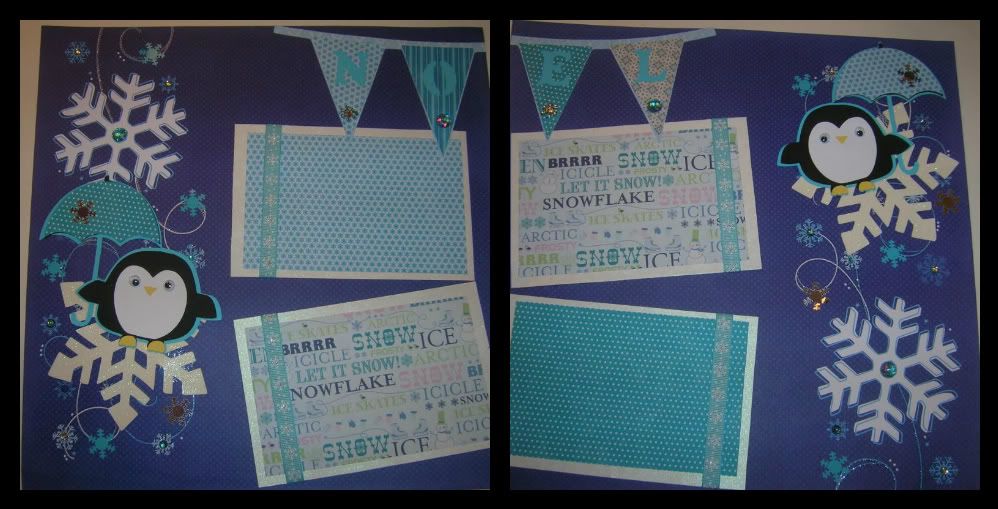
Lasting Memories Winter Wonderland Snowflakes- Jolly Holiday Penguins LO

Hello everyone time for another Lasting Memories challenge.  This week the challenge is Winter Wonderland and Snowflakes.  I wasn't able to do a new layout this week as I am taking a short trip to visit two of my grandchildren.  So  I  am sharing a layout  I did  in July and I think it fits the challenge perfectly.  I live in Southern California so we have to drive to get snow in the mountains but I love the look of snowflakes, snowmen and penguins.  Blue and white is one of my favorite color combos too.  
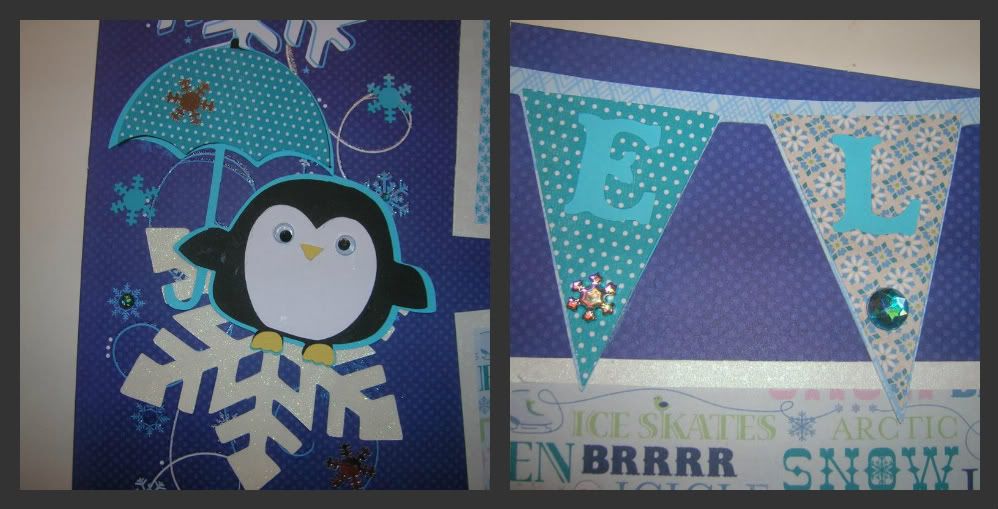
The Penguin is from one of my favorite Cricut winter carts Jolly Holidays.  I tried to give the illusion that the penguin was floating on the snowflakes.  
   I also added the NOEL banner from Jolly Holidays and snowflakes from Winter Lace to accent the snowflakes on the background paper.  The paper, ribbon and embellishments are from last Christmas but I have seen similar ribbon, snowflakes and paper at Michaels and Joanns.  
I hope you will join us this week for the challenge.  We would like to see what Winter Wonderland and snowflakes means to you.  Remember it has to be a layout.  Happy craftin!
I will be entering this in the Shes a Sassy Lady challenge this week- Christmas theme, with blue, white, silver or red.  

Tuesday, November 8, 2011

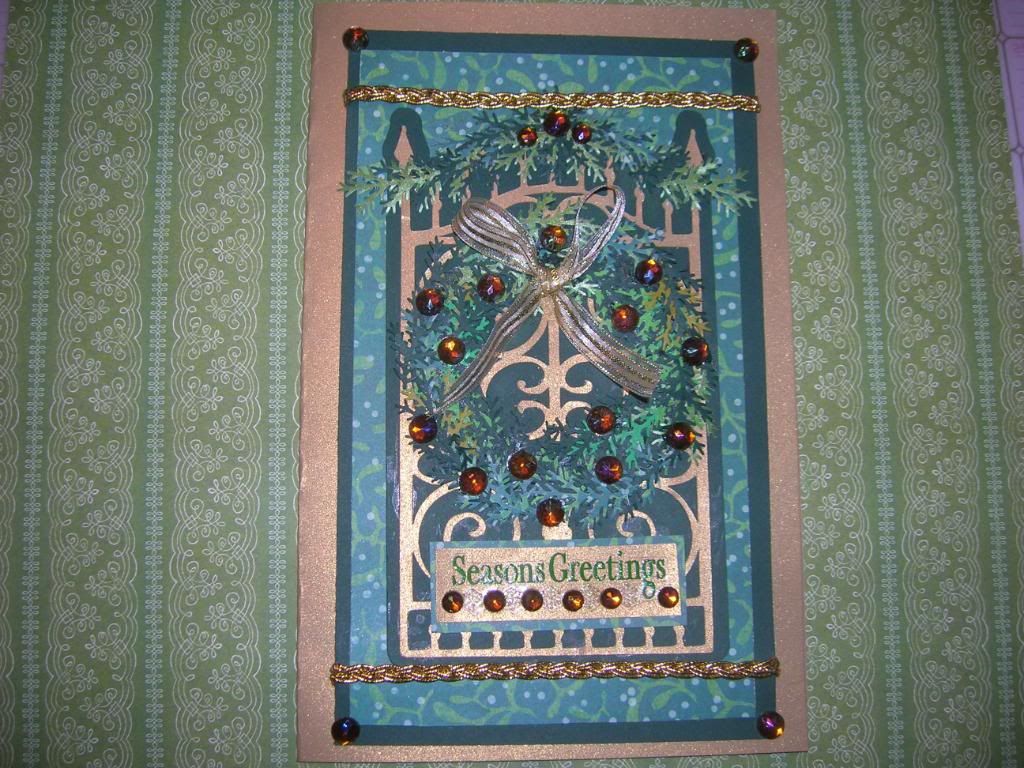
Sweet Sassy Diva Design Team- Stain glass window Christmas cards

This week at Sweet Sassy Diva we were asked to create Christmas Card with a tutorial. 
Before I start I want to explain that I do not have my boxes of Christmas crafting supplies all in the house yet.  Last year I packed them up to give me more room and I need my hubs to get them down from the attic.  This gives me more room during the year.  So luckily I had some scraps and a few goodies but will have to add stamped sentiments labeI have made several Christmas cards using Ornamental Iron and love the look.  This time I decided to make stain glass effect using Alcohol Inks.  
I start out with glossy paper.  If you can't find it at the craft store you can buy packs of glossy card paper at the office stationary stores.  Do not use photo paper. 
 I don't know why just know I have read that several times. 
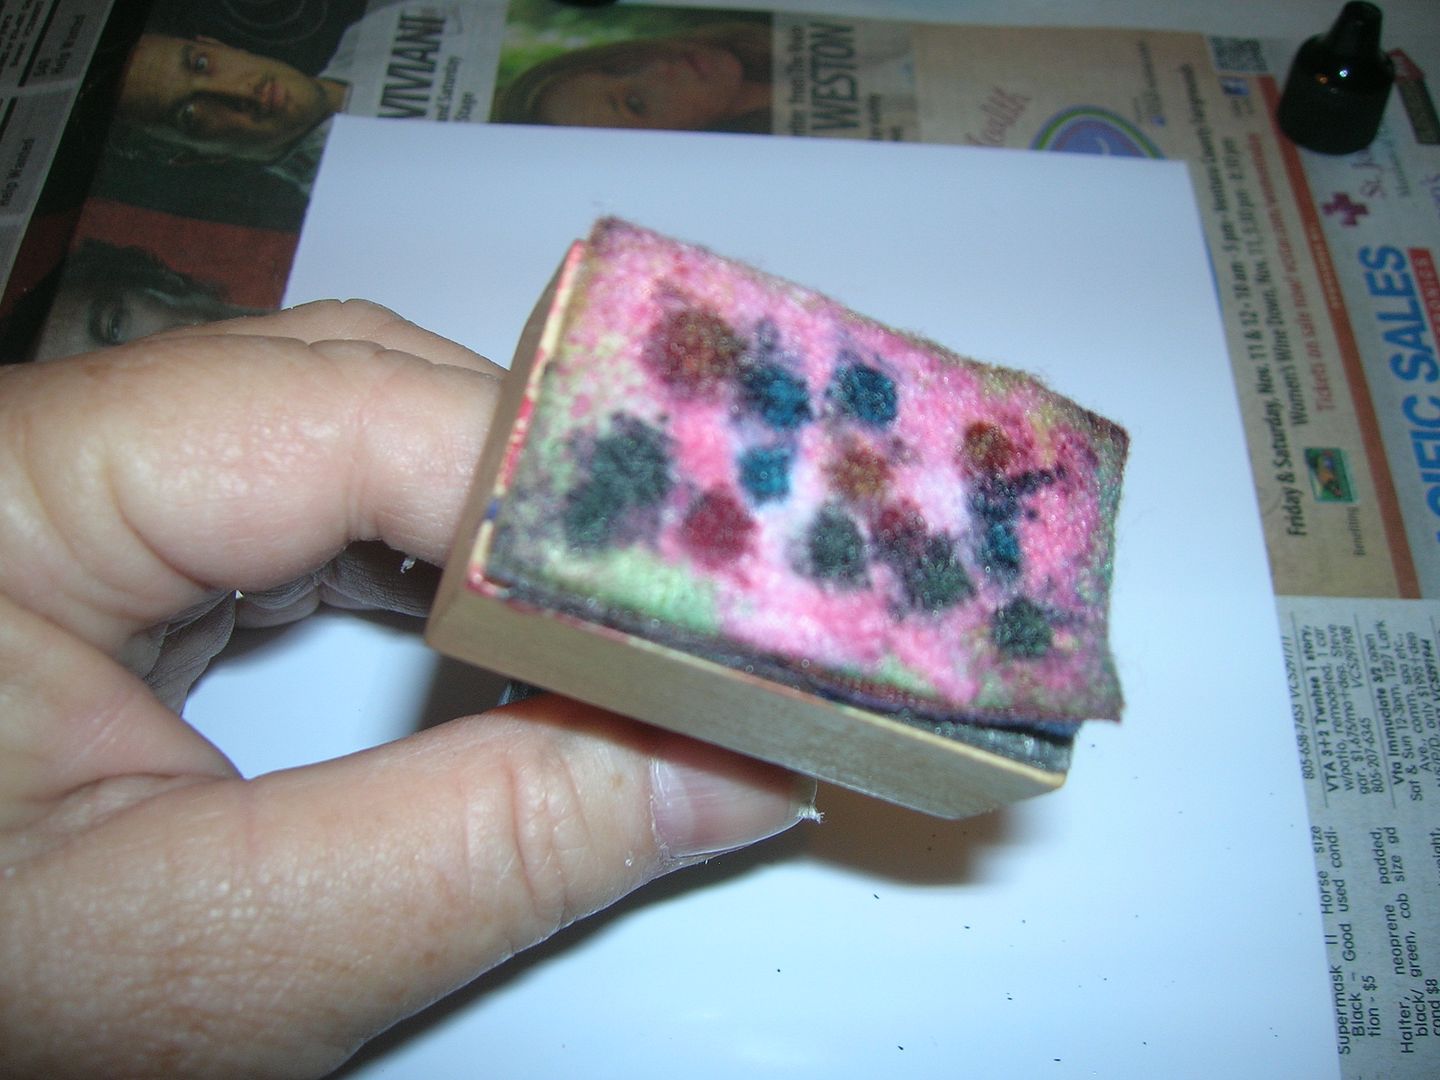
I then choose a color scheme.  You drip the inks on the pad and add alcohol blending solution and then stamp away.  
  
This is what the first two came out looking like. 
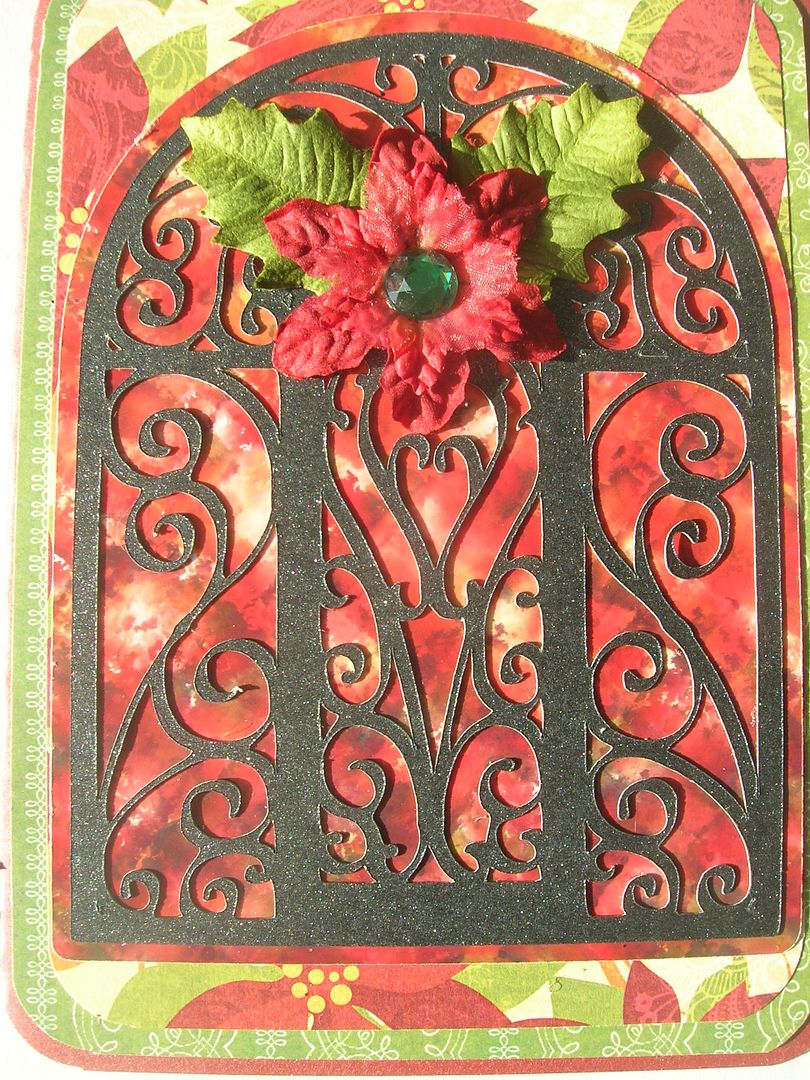
The cuts are from Ornamental Iron page 30 gate 10a cut at 5.75 
and the window on the same page cut at 5. 75.  
I then decided to make a blue one.  I wanted to show you can use different cuts.   From the first one I decided to cut both shapes so that I would not waste ink on parts I did not need. 
 I highly recommend doing this.  
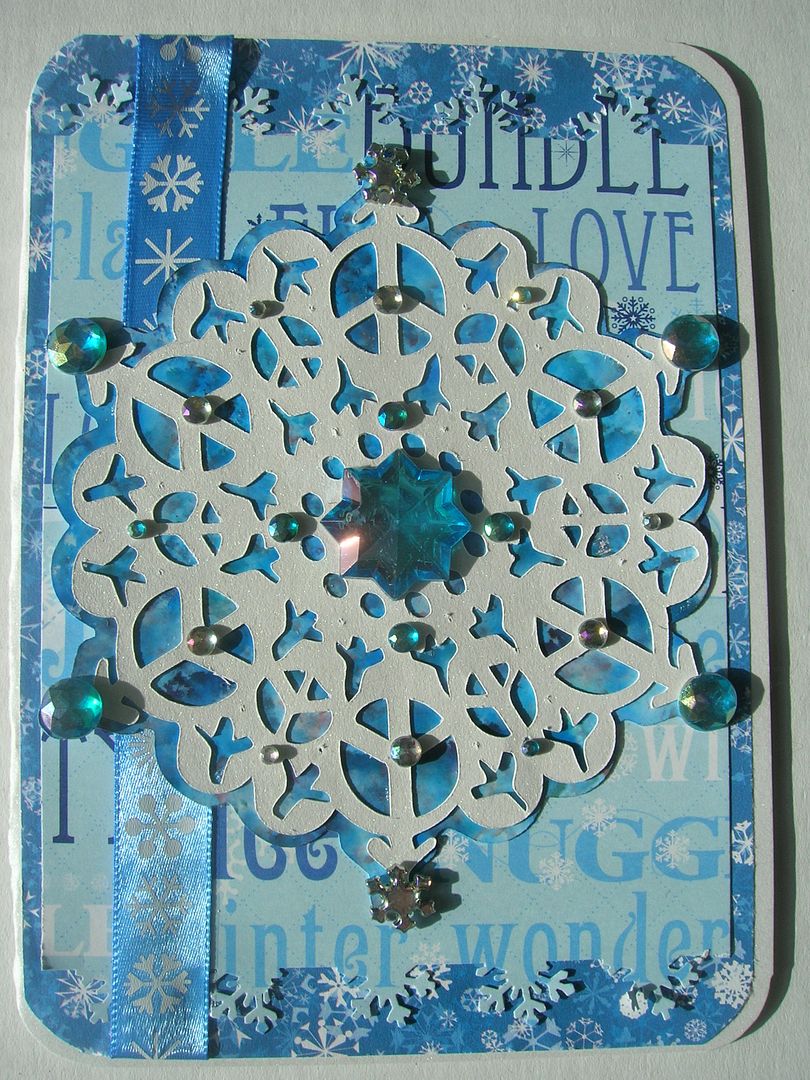
This shape is cut from Winter Lace and is the second snowflake and shadow cut at 4.75 inches.  
Sorry I forgot to take a picture of the blue paper inked but you can see it through the holes. 
I used Sailboat blue and Pearl alcohol inks.
Then it is time to decorate and make your cards.  
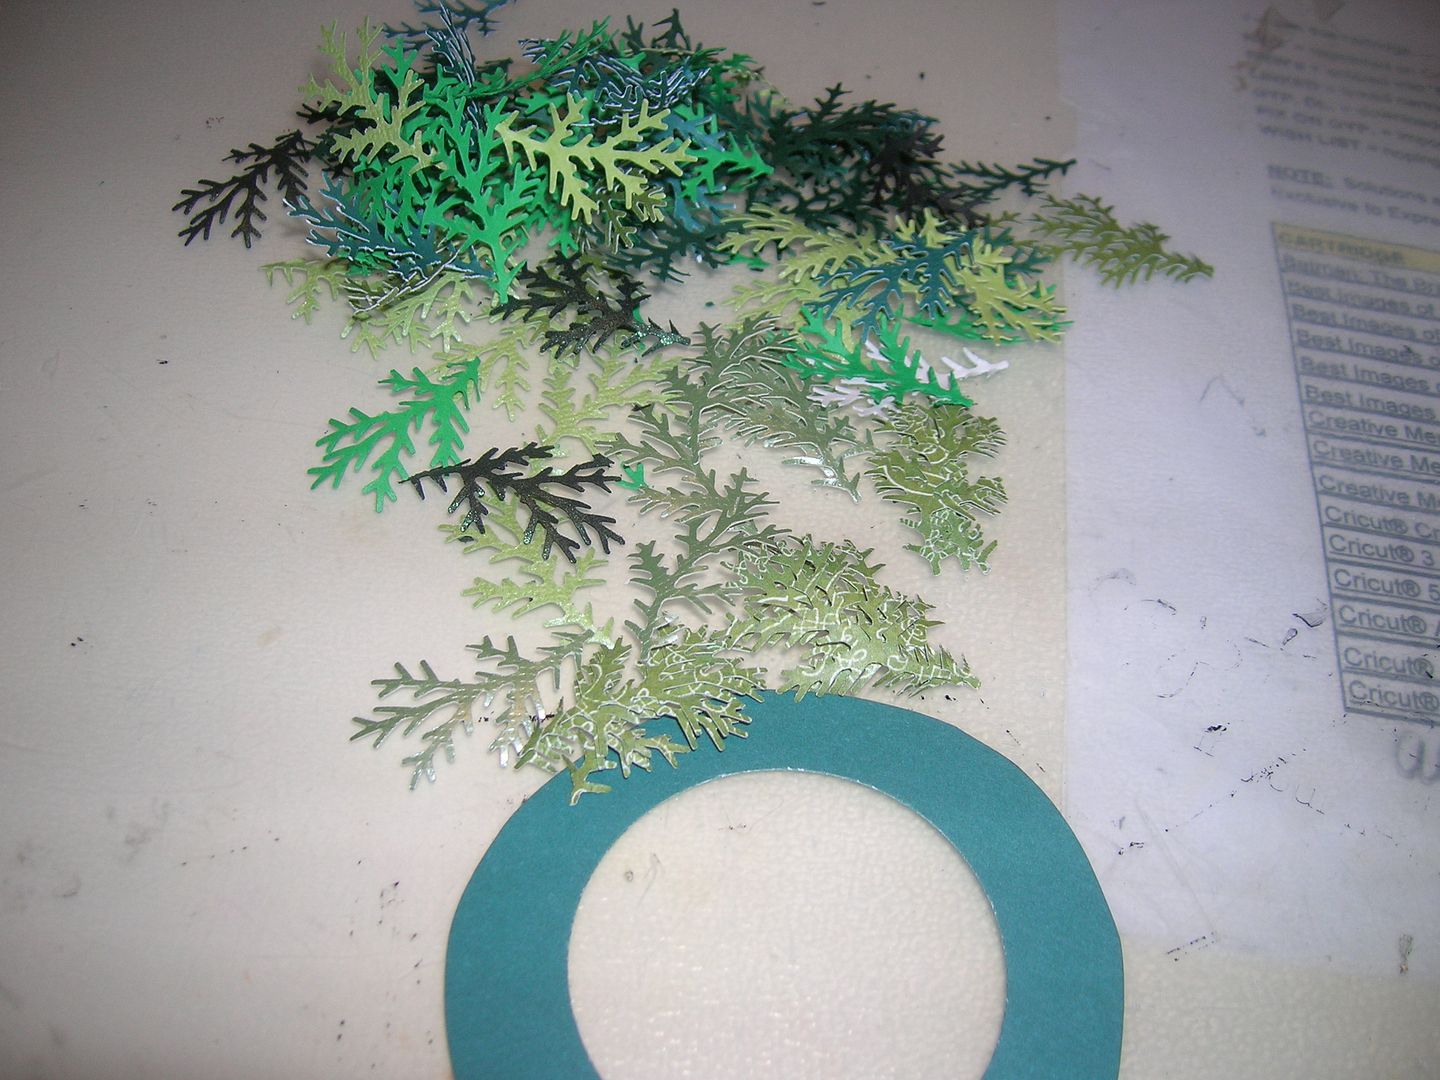
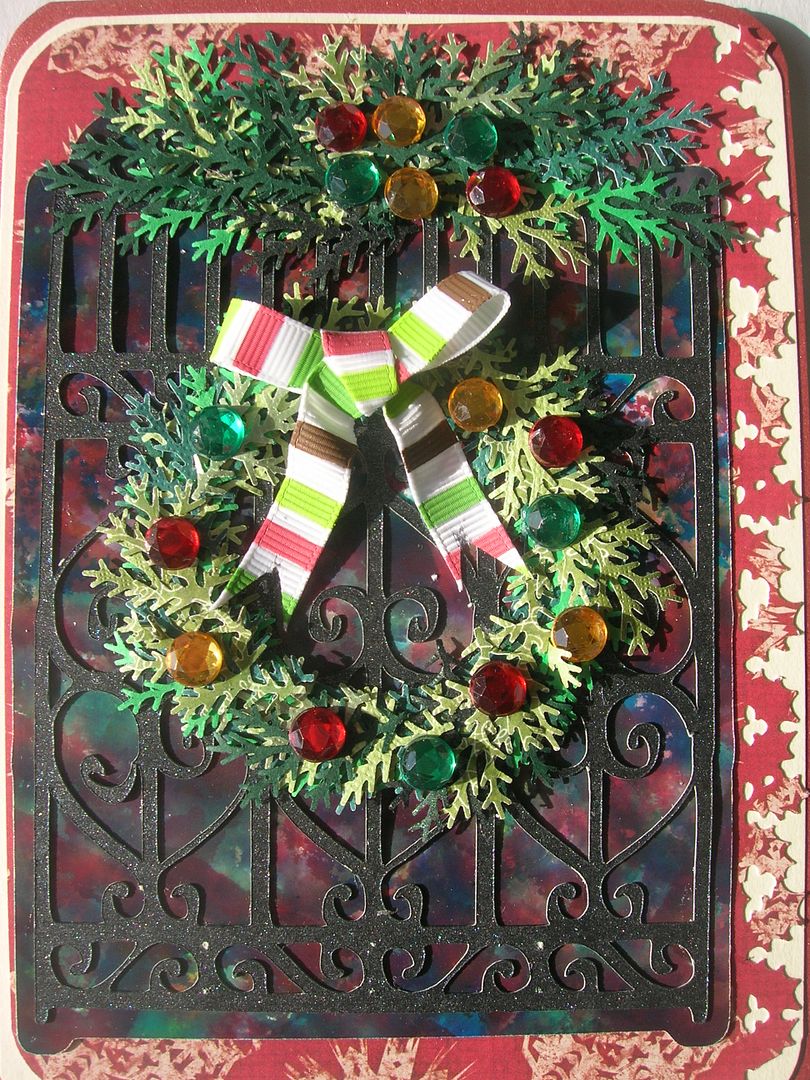
For the first one I did my usual and punched out a pile of branches using my MS branch punch and a wreath shape.  I use a lot of different green color scraps to give the wreath more dimension.  Start gluing around the circle varying the colors and add and add to make dimension and cover the base.  
This is the finished card.  All the  cards are 5 x 7.  This one the colors were darker so I used brighter papers and ribbon.  I then added bling and punched the one side and rounded all the corners with my chomper.  I also added a garland at the top with more branch punches.  
Alcohol Inks used- Meadow, Stream, Twilight Purple  and Watermelon
The next card I used Watermelon and this time Citrus alcohol inks to brighten the background.  
I added a Recollection Pointsettia and leaves to match the paper.  

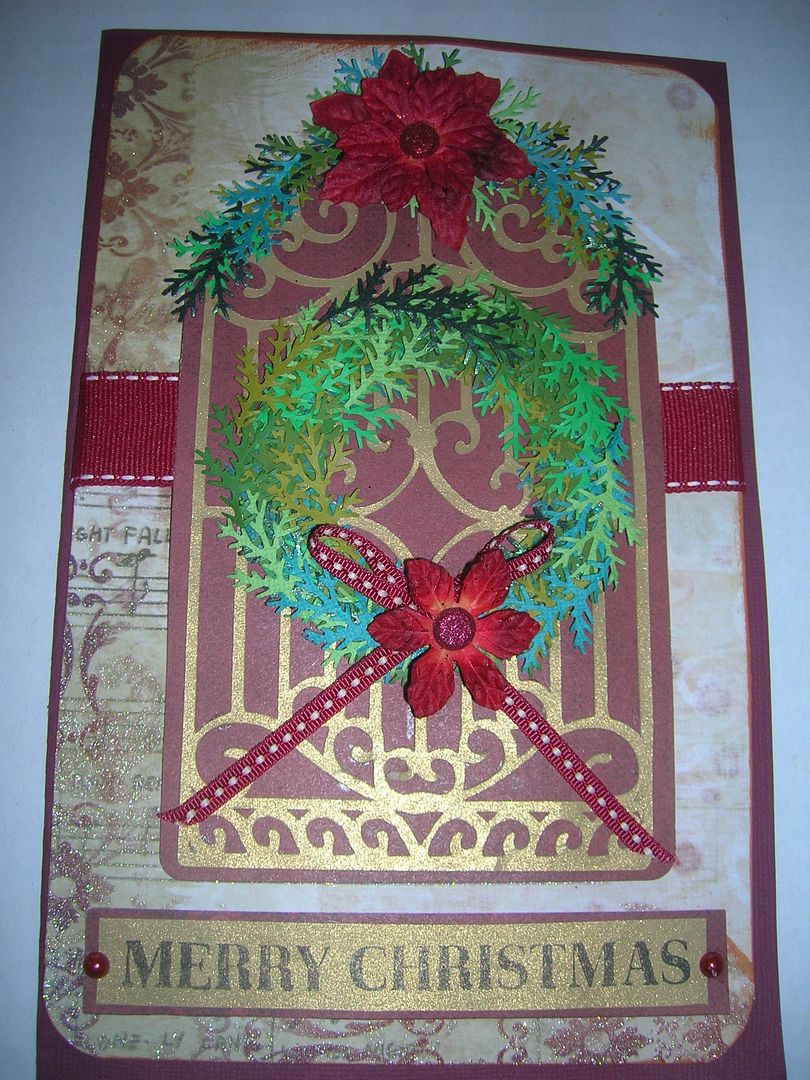
Now if you don't want to use Alcohol Inks here are two others I have made using the same idea but with a background of  scrapbook paper.  You can  click on the links to get the exact directions.  

Thanks for joining me today and please come back all week to SSD
see the card designs the DT comes up with .  I know I can't wait to see them too.  I would love to read your comments too. Happy Craftin! 

Sunday, August 7, 2011

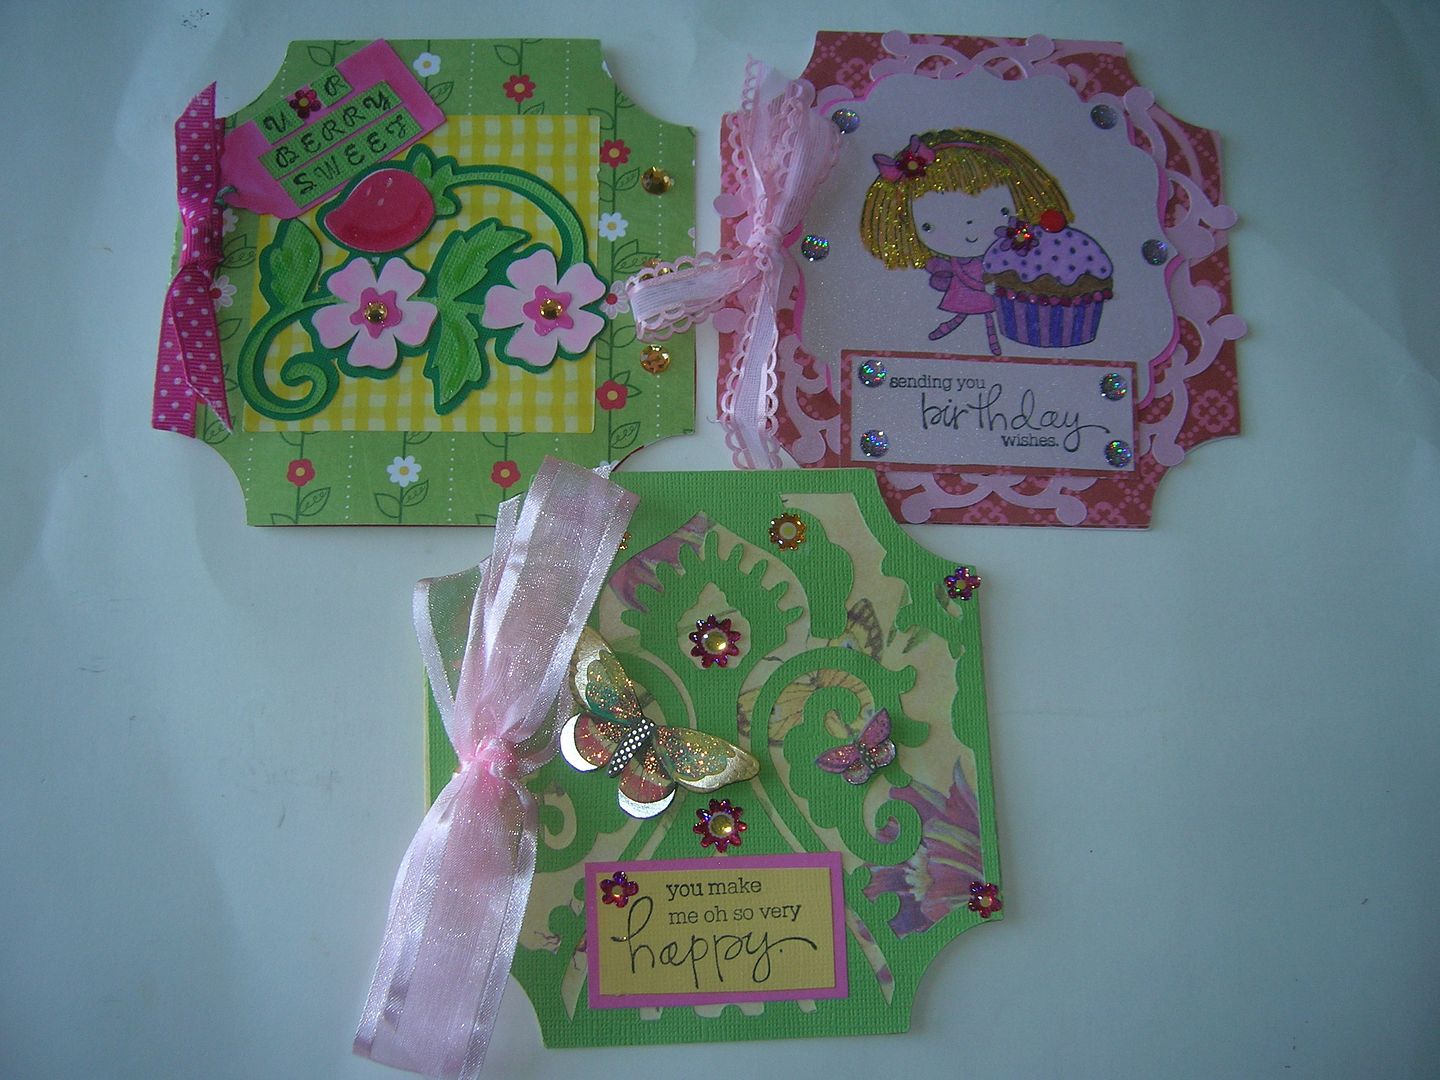
Making three different cards challenge with the same base (She's a Sassy Lady)

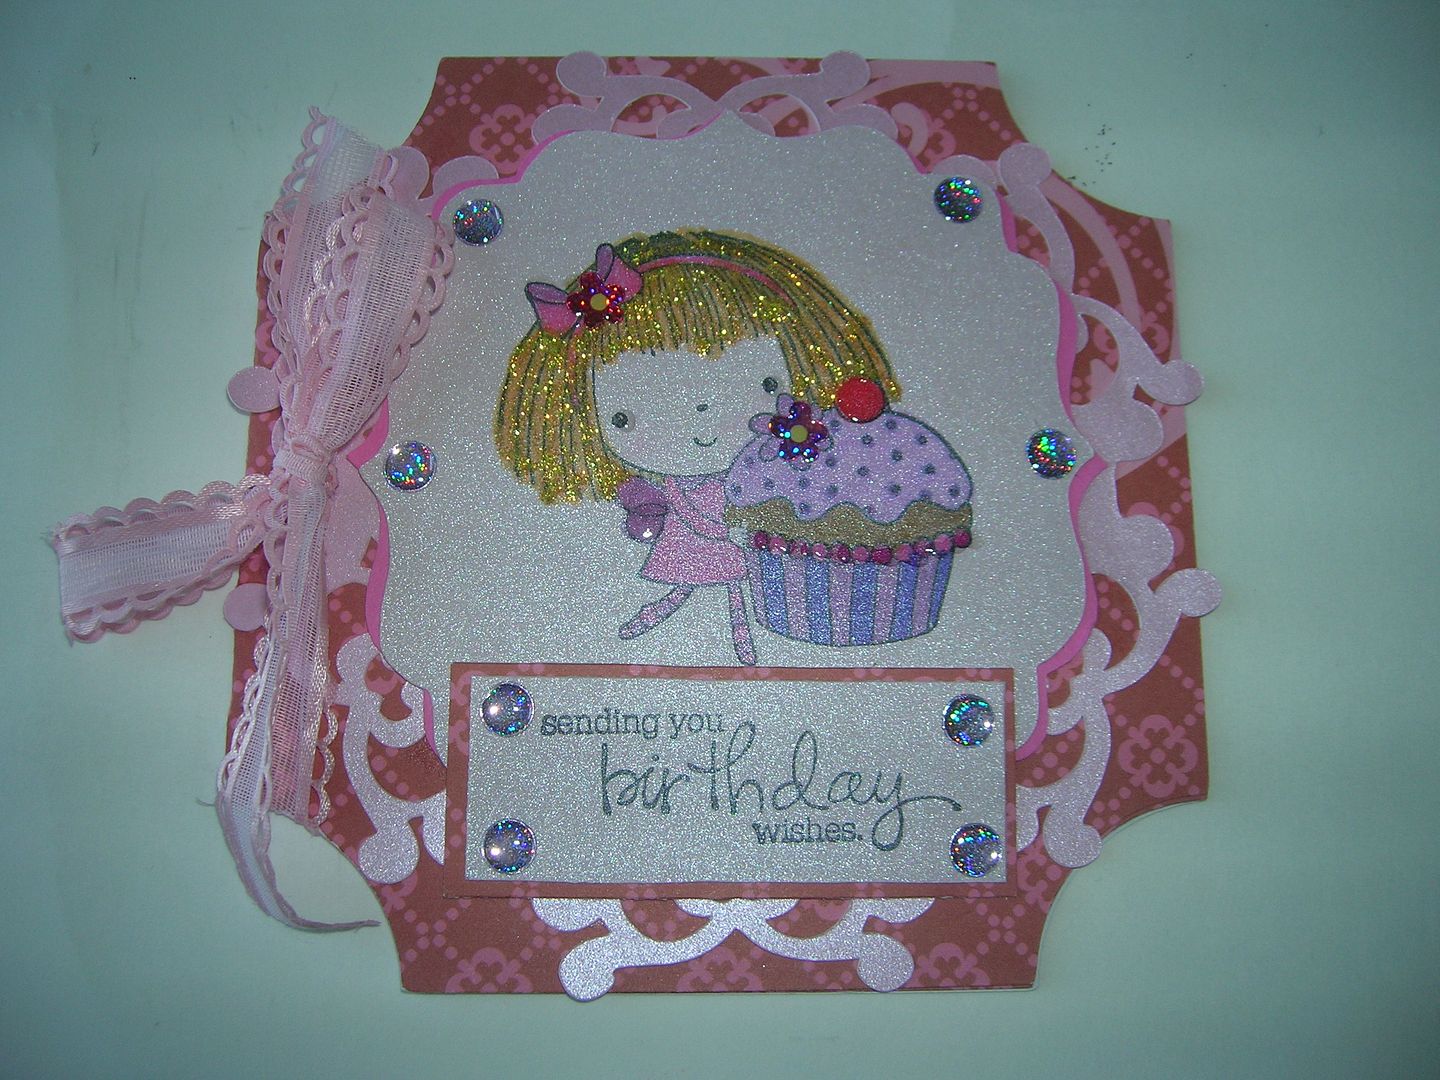
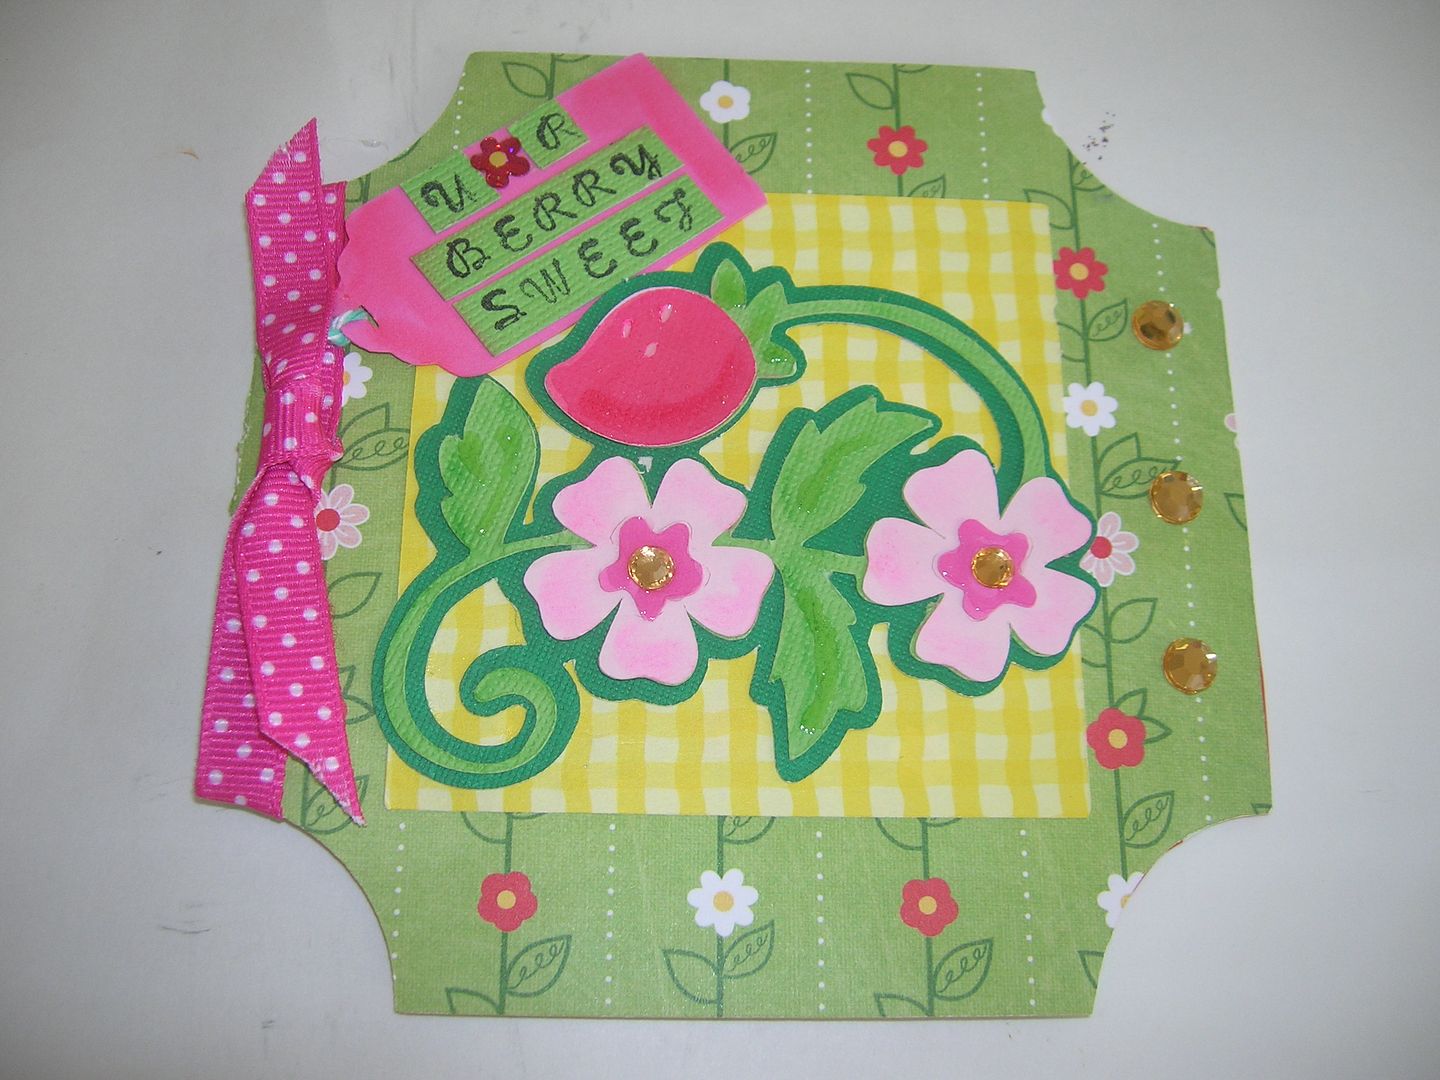
Shes a Sassy Lady had a great tutorial this week and a challenge.  The tutorial is to make three cards with your Gypsy and change them up.  So I used a card cut from Damask Decor and made three different cards.  The first I used the Strawberry and vine cut from Rock Princess.  The second one I used a Penny Black Stamp and colored it with Bic Markers.  The pink cut is from Winter Lace and was leftover from earlier project.  The last card I used a Damask Decor cut on pattern paper.  I added ribbon, bling,  embellishments and stamped sentiments. Two of  these cards I am entering in other challenges.  I think Sheila is so right this is a quick and easy way to make cards.  
This card is for the following challenges:
Birthday Sundaes- Use word birthday on front of card 
Frosted Designs  Use coloring on project- Penny Black Stamp and Bic Markers
This cards is for the following challenges:
Tacky Tuesday on face book  Use the word berry
This card I used some butterfly embellishments and flowers I got on clearance and ribbon that came off a gift  bag.  

Thursday, January 13, 2011

My projects for this weeks Provo Craft Challenges

There are a lot of contest to enter this week with the Cricut Circle.  I love entering these contests to challenge myself to do new things.  
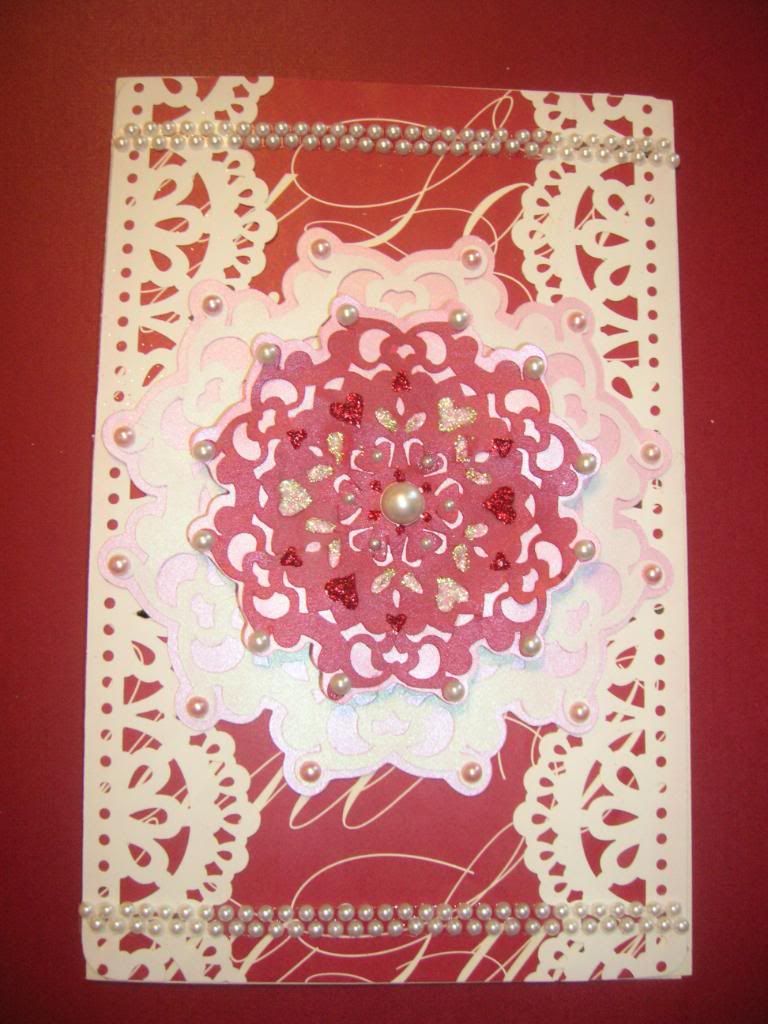
 This is  my card entry for a contest that is due Tuesday the 18th.  Provo Craft and Anna Griffin are premiering new products on HSN on January 20th so they are having a card making contest. The directions are to create a card using atleast one Anna Griffin product (it can be anything!) and one or more of the following cartridges. You may use other cartridges on the card, but the majority of the design needs to represent one or more of the following cartridges:
  • Don Juan Cartridge
  • Winter Lace Seasonal Cartridge
  • Wall Decor & More

The  white lacy trim on the sides and the red paper is Anna  Griffin paper I found at Michaels.  The snowflakes are cut from Winter Lace snowflake 2 cut at 5 " and 3 1/2"  and include shadows.  I then added pearls and Stickles.

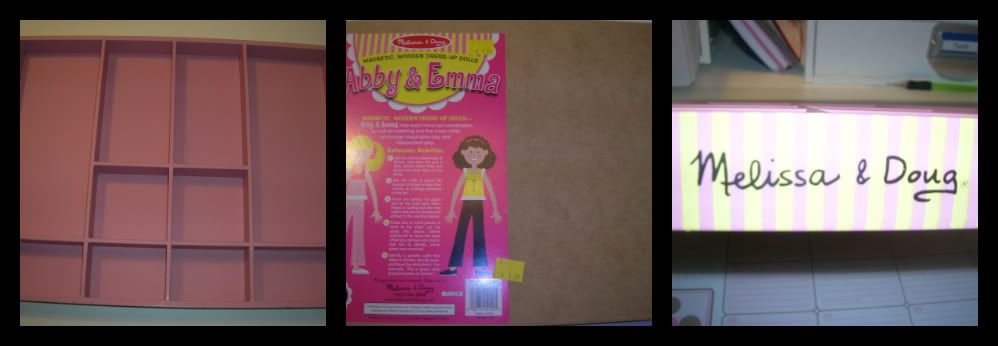
This Project is also for the Cricut Circle. Find something from the thrift store to repurpose with your imagination and your Cricut Machine. Please use at least four Cricut cuts in your design. Upload before and after shots of your project to the blog under the Magazine Challenge Tab. Only one entry per person. Entry deadline is Friday, January 14th, 2011. 
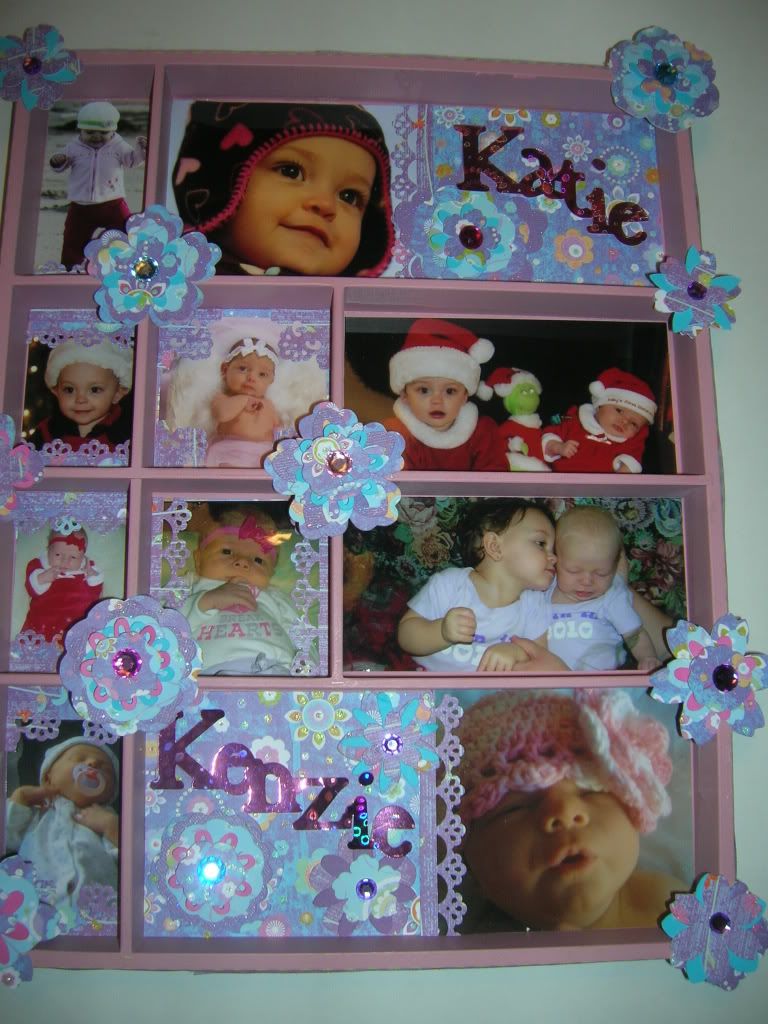
I found this shadowbox which originally was for magnetic paper dolls for 1.99 at a thrift store in Lompoc.  The top pictures show what it looked like originally and the bottom picture is the photo shadowbox I made of my sweet granddaughters.  Katie  is now 1 and  Kenzie is 2 months.  I cut a variety of flower cuts from the new Mother's Day Bouquet cart and made the flowers.  Cuts were made at 2 ", 1 1/2' and 1".  The names were cut from prism paper with Classic Cricut Font.  I used my Gypsy to weld them together and then added bling to the center of the flowers.  

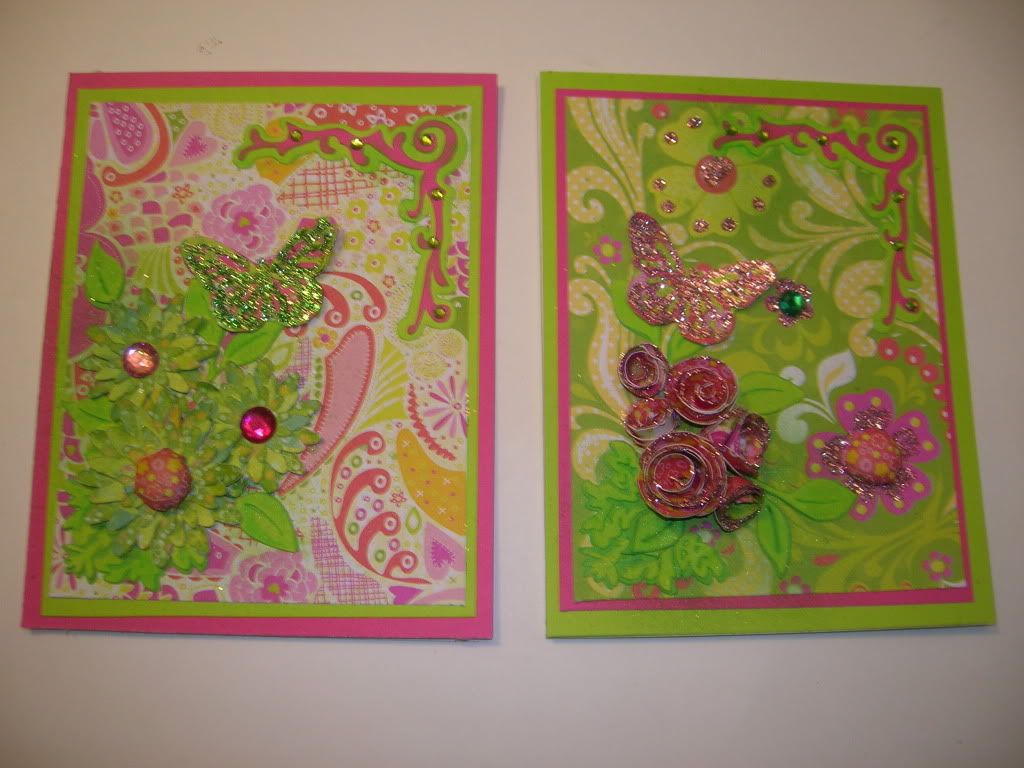
This is my entry for the Cricut Circle Monthly challenge.  We were to scraplift a project from the Circle Blog.  On 11/16 Cindy Royal  (CC designer) was showing 4 cards in Fall colors with layered and wound flowers. The Gypsy file was provided using Gypsy Wanderings, Gr. Speaking, Mini Monsters, Plantin and Cake Basics. I wanted to make Spring cards so I used K and Co Berry Sweet paper which comes in an 8 x 8 pad and is double sided. I used the Gypsy file and then I used my new I rock for the smaller gems and my new I Top for the center of the larger flowers. I think both of these tools are awesome. I also sprayed a little Glimmer Mist on the leaves to make them pop a little. The last thing I did was add MS glue to the edges of the flowers the MS punch butterflies and some of the background paper. I really enjoyed making the dimensional roses on the right with my quilling tool. I have the quilling Cuttlebug plates but this was neat that you could do flowers the same way without the plates.