Just Kitting Studio Items for Sale

Showing posts with label Once Upon a Princess. Show all posts

Wednesday, July 17, 2013

It's All About the Princess- Disney Princess Layouts

Being I have three precious granddaughters I have to have Disney Princess layouts.  I used Once Upon a Princess and Princess Party as well as Mickey Font and Mickey and Friends,  
The next two are using a Princess sticker sheet.  
I used Elegant Edges for the pink with silver polka dot center and then cut it in half.  

Thursday, May 24, 2012

Day 4 Cooking with Cricut Blogaversary - Tiara or Crown

Welcome to Paper Crafting World and Cooking With Cricut's 2nd Blog-Aversary and our week long celebration! Each day for a whole week (May 19-26) we will be brining you fabulous projects made by our Design Team members. We have some GREAT blog candy as well as some daily file and graphic give-aways -- so you will definitely want to make PCW-CWC your daily stop every day this week!

Our theme for today is . . .

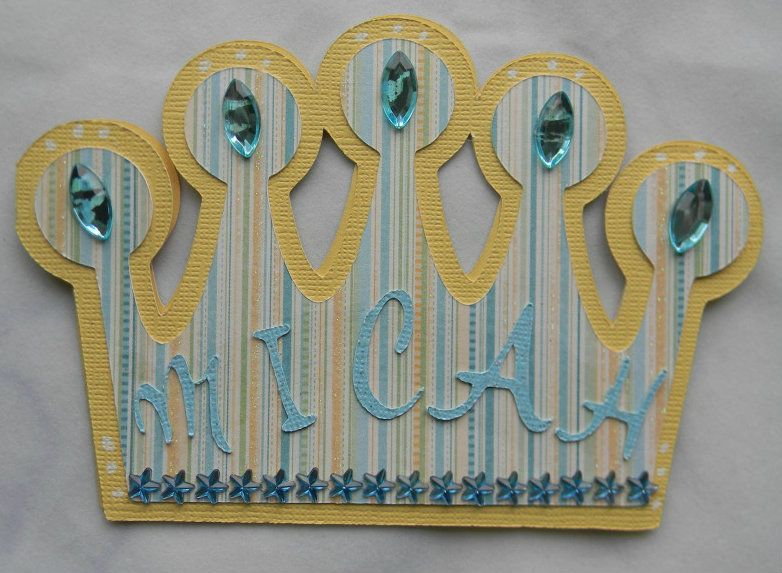
and here is what I created a card for my first grand son who will arrive in October.  
Recipe:
I used Once Upon a Princes page 53 and cut the crown at 3.5 inches 
Striped Paper DCWV Nursery stack 
The letters were cut at 1 inch.  
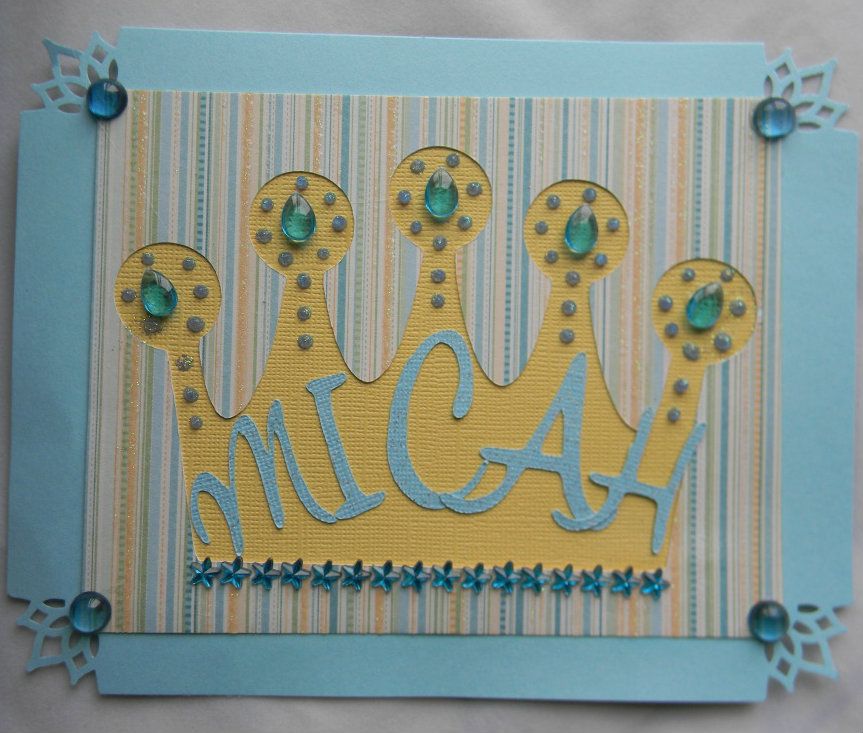
I then took the negative cut and made another crown to use for a layout page.  
Corners cut with MS punch and I added gems, stars, and Stickles.  Letters cut at 1.5 inches.  


For my blog candy ( in honor of the CWC blogaversary )I will be giving away a $10 gift card to Michaels to one random winner. I will be posting a project each day of the CWC blogaversary celebration May 19-26th except for the 20th and 21st (I have other DT commitments those days.) So for an optimum chance leave a comment on my blog each day of the CWC hop. I would love to have you as a follower too.

Thanks for stopping by and make sure you head on over to Cooking With Cricut to check out the rest of the projects by our amazing Design Teams! I hope you will come back and join the DT and myself every day the rest of this week to see what else we have created for the blogaversary.

Tuesday, May 1, 2012

Sweet Sassy Diva Diamond shape challenge- Week of 4/29

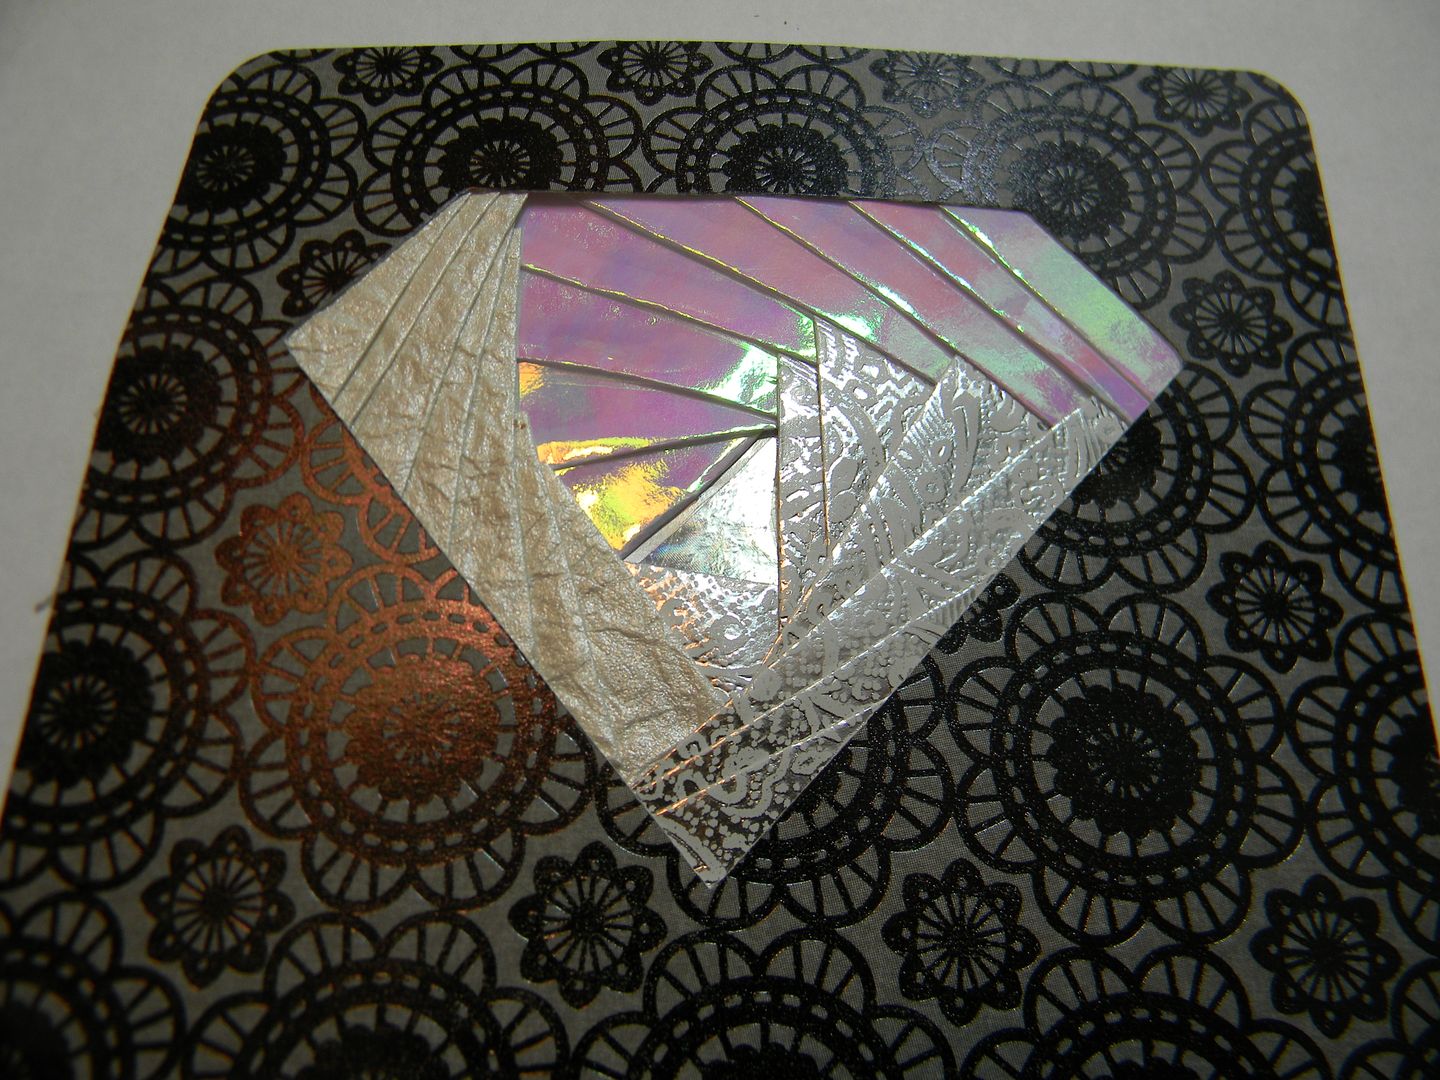
Wow April is over  and May is here.  Before we know it Summer will be here.  This week at Sweet Sassy Diva the challenge for the Design Team  is to use a Diamond shape or gem.  I decided to use an idea I had for awhile but hadn't tried.  Last year I took some monthly classes at my local LSS to learn Iris Folding.  I have always thought it was so pretty and the teacher is also a Cricut fan so she designs many of her cards with Cricut shapes.   Now I don't expect anyone to learn how to Iris Fold by reading my tutorial.  I am just trying to introduce it to you and if you are interested encourage you to get a book or take a class.
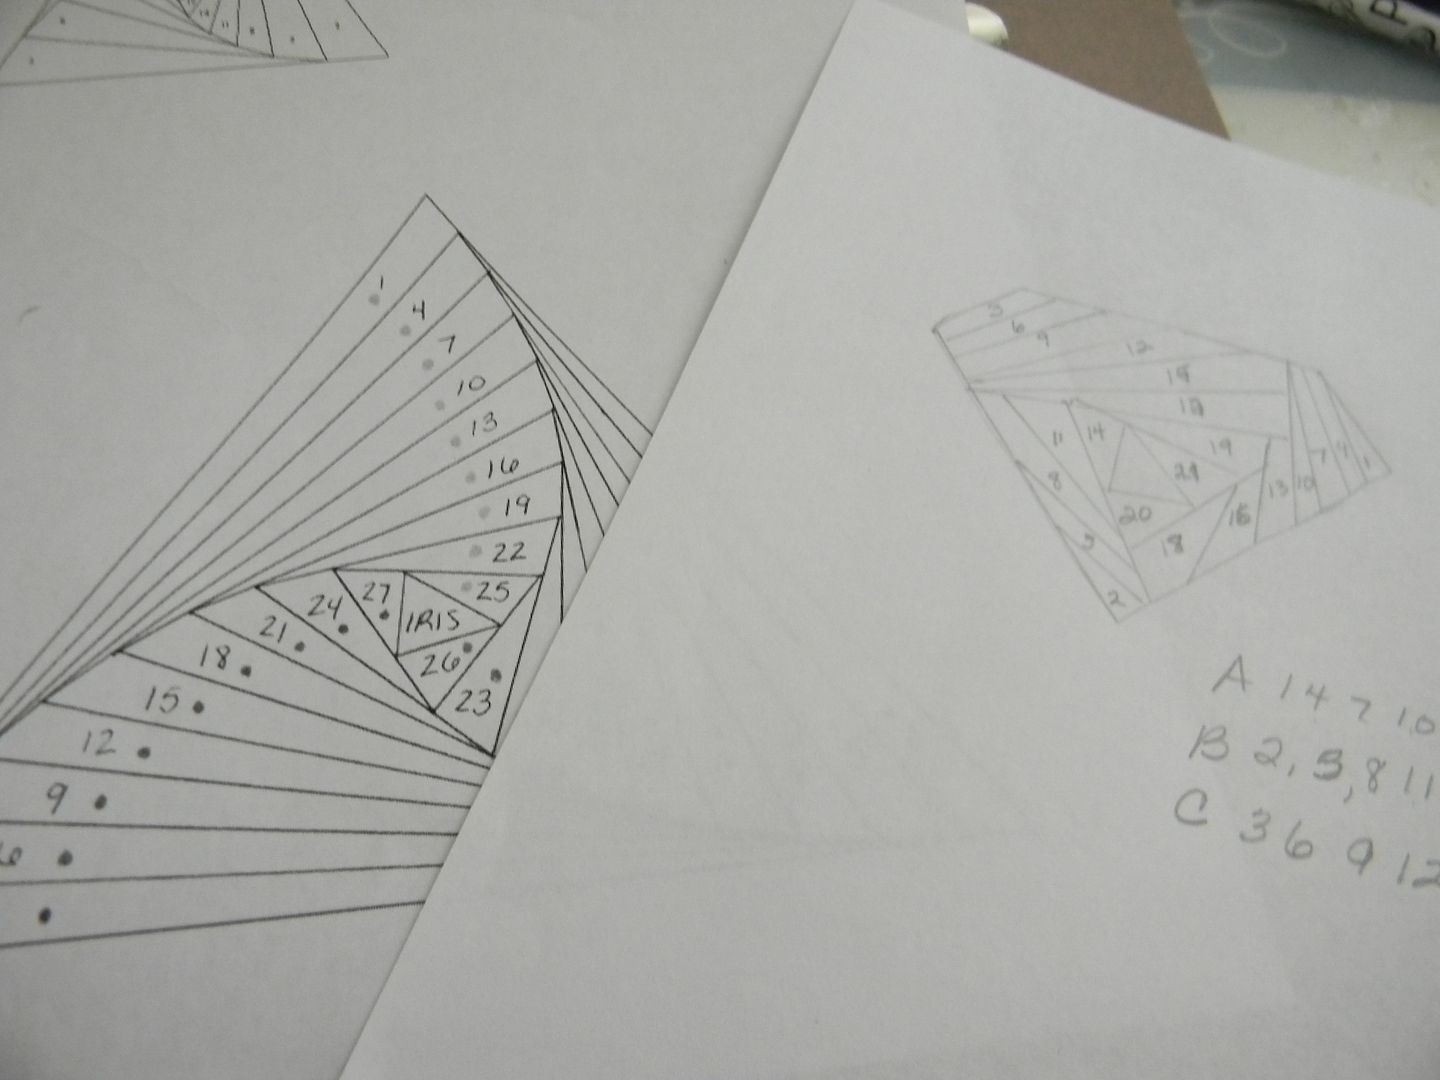
The last class we had at the LSS the teacher  showed  us how to make our own Iris Folding designs.  
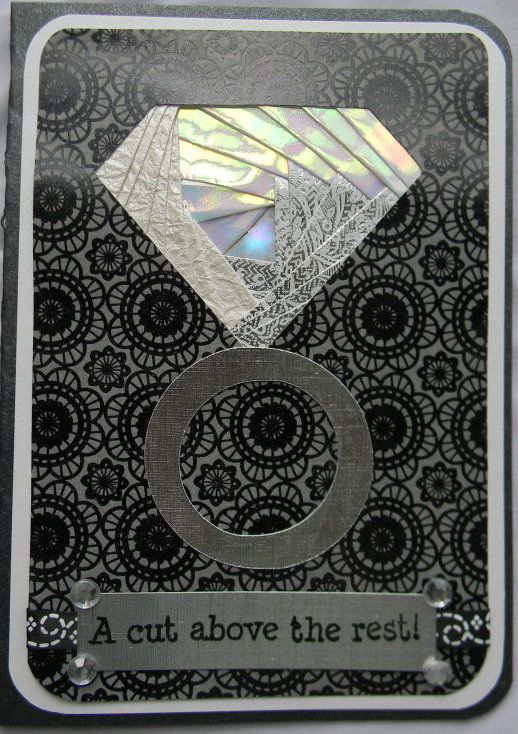
So I decided for the challenge to practice the things I learned and make a card with the ring from page 56 of Once Upon a Princess.  For the ring I cut the shape in the middle of a 5 x 7 rectangle and then used the ring portion of the ring.  
Here is the completed card
The stamp "A Cut Above the rest " is from a huge set of sentiment stamps I got at HSN.
Here is what the card and shape looks like cut out with the ring below it.  
The ring is cut out of silver shiny paper.  
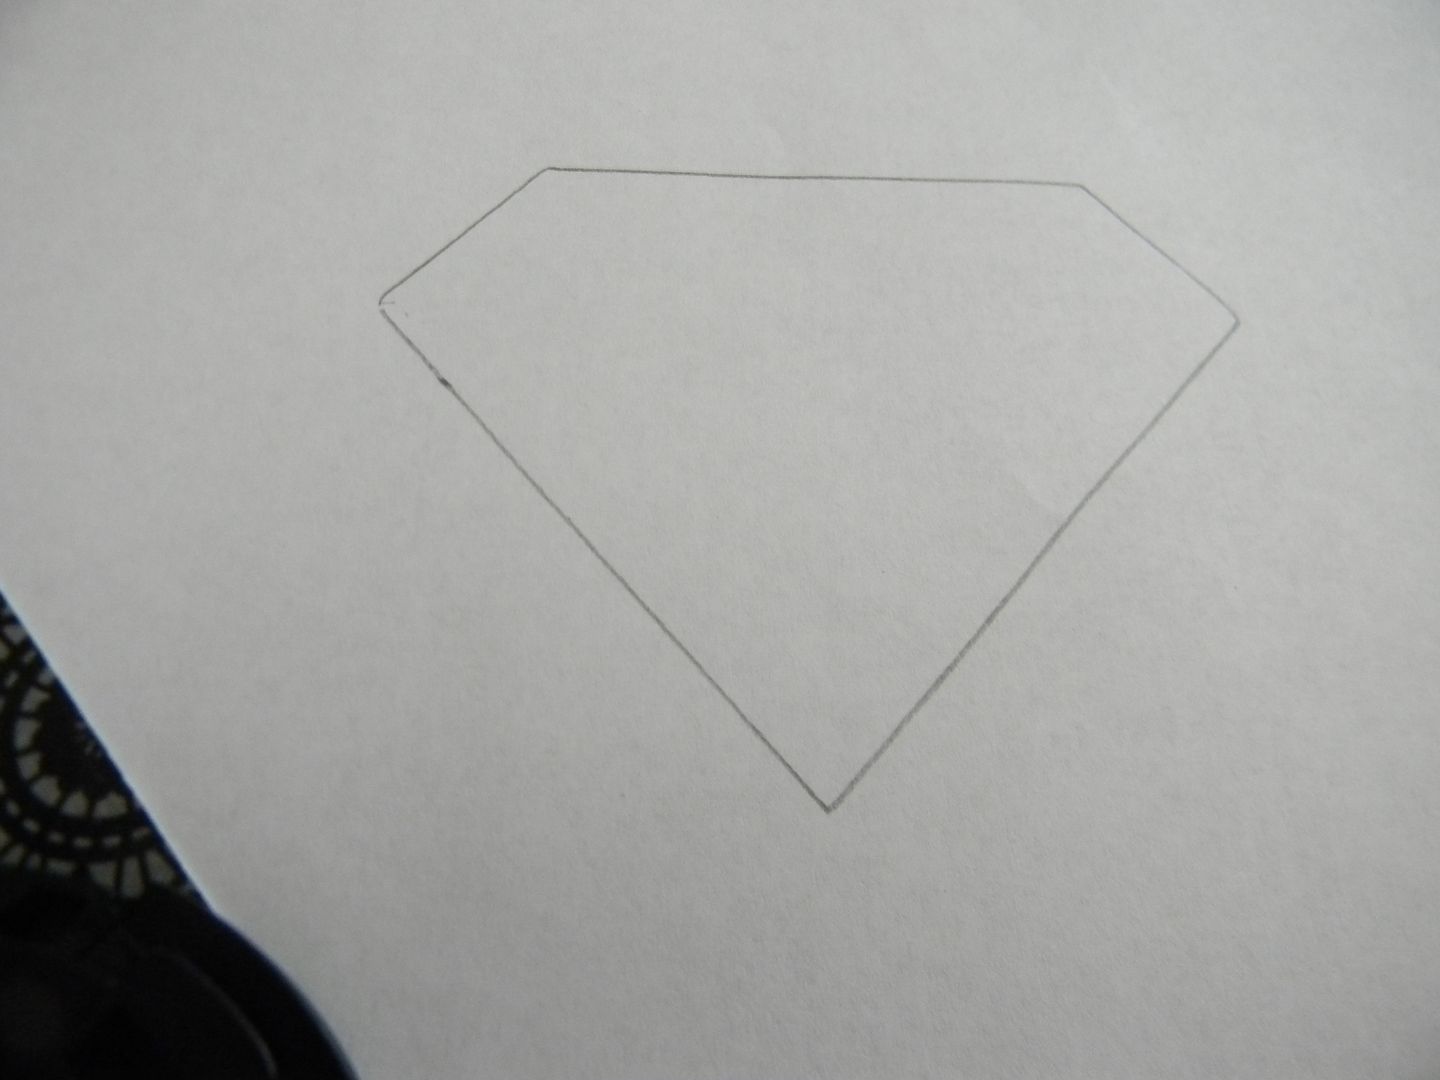
Next you trace the shape out  regular paper.  
There are then patterns that are common to Iris Folding.  There are a lot of great books on Iris Folding that have not only completed patterns but shape designs you can use.  

I lay the triangle pattern under the diamond tracing and copy the lines.  I then number the spaces starting at the right and going around and around till I get to the center. 
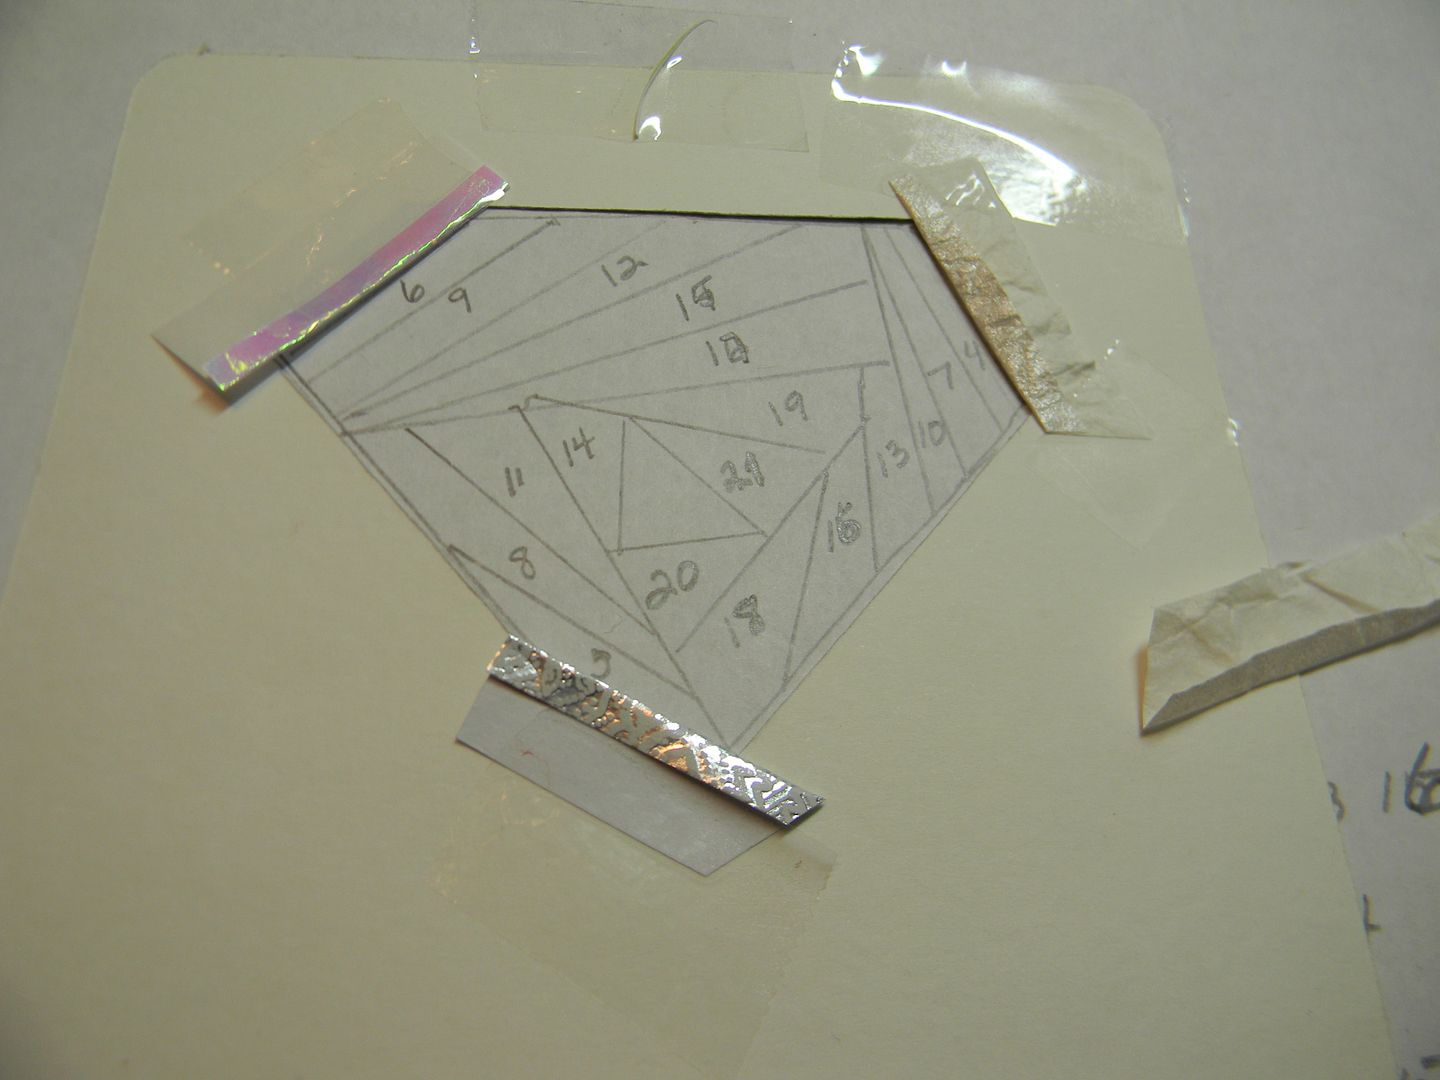
My pattern is then placed below the card face down  and taped together so it doesn't slide.  
I then cut different strips of paper to fold over and tape to design. The triangle design used 3 papers. 
This is how you start.
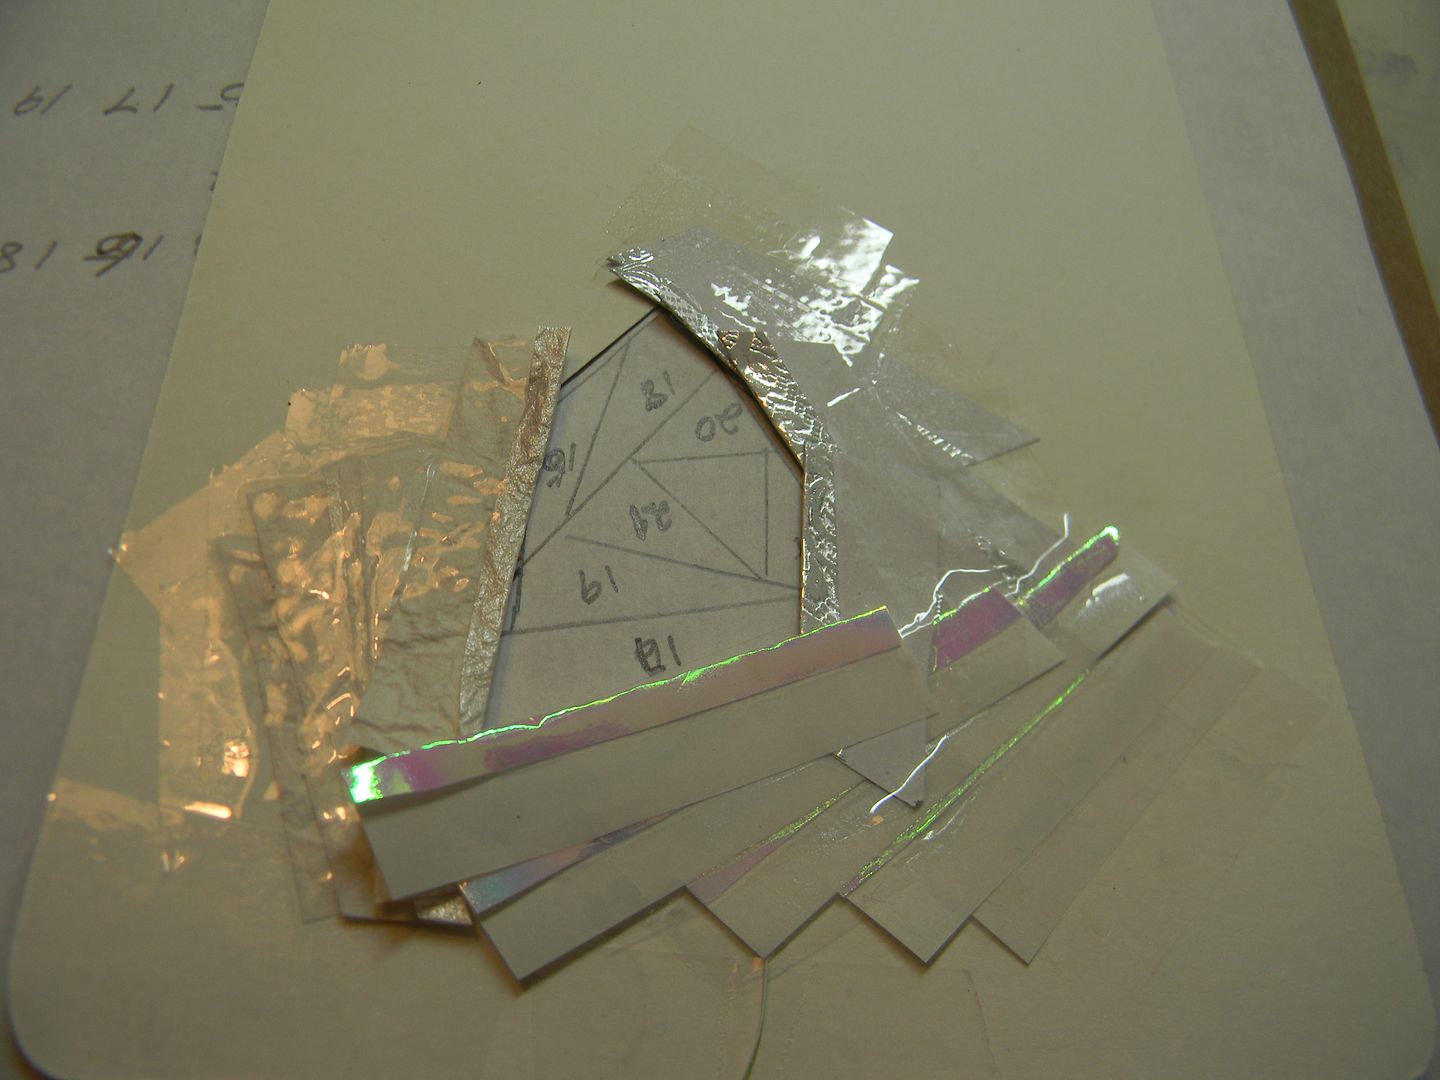
As you continue the pages overlap and you tape each down.  
At the end you tape a hologram piece of paper in the center.
I use pieces cut from gift bags or paper from the 99 cent store.
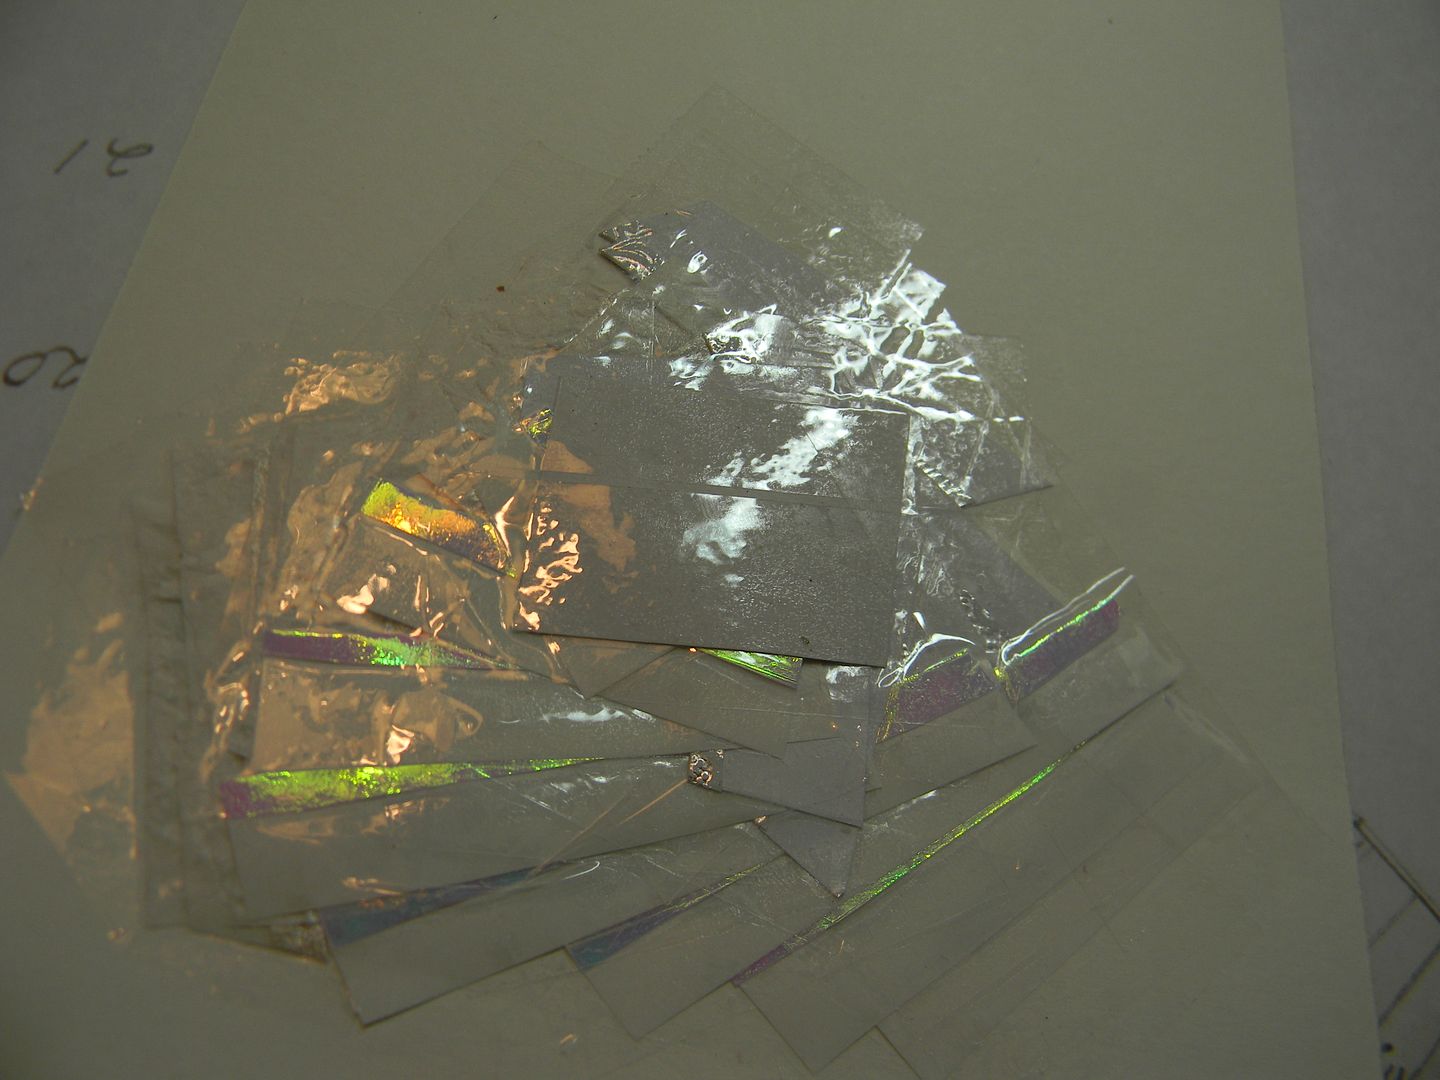
I tape down any lose ends.
This is what it looks like when it is turned over and I finished the card.  
I hope you found this interesting .  It really is a fun technique.  
I hope you will come back this week and see what all the designers at Sweet Sassy Diva create with the diamond shape challenge.  Happy Craftin!

Saturday, April 21, 2012

PWC and CWC Home Decor Blog Hop-There's no place like home


Welcome to Paper Crafting World (http://www.papercraftingworld.com) and Cooking With Cricut’s (http://www.cookingwithcricut.com) Home Décor Blog Hop!  Our Design Teams are so excited to bring you a two-day hop that focuses on projects for your home – that’s right no cards or scrapbook layouts in this hop!  You should have arrived here from visiting Kimmi - http://www.impressivelyyours.blogspot.com/  at.  If you’ve joined us in mid-Hop and would like to check out all the other fantastic projects head on over Melinda’s Paper Crafting World   (http://www.cookingwithcricut.com) and start at the beginning.

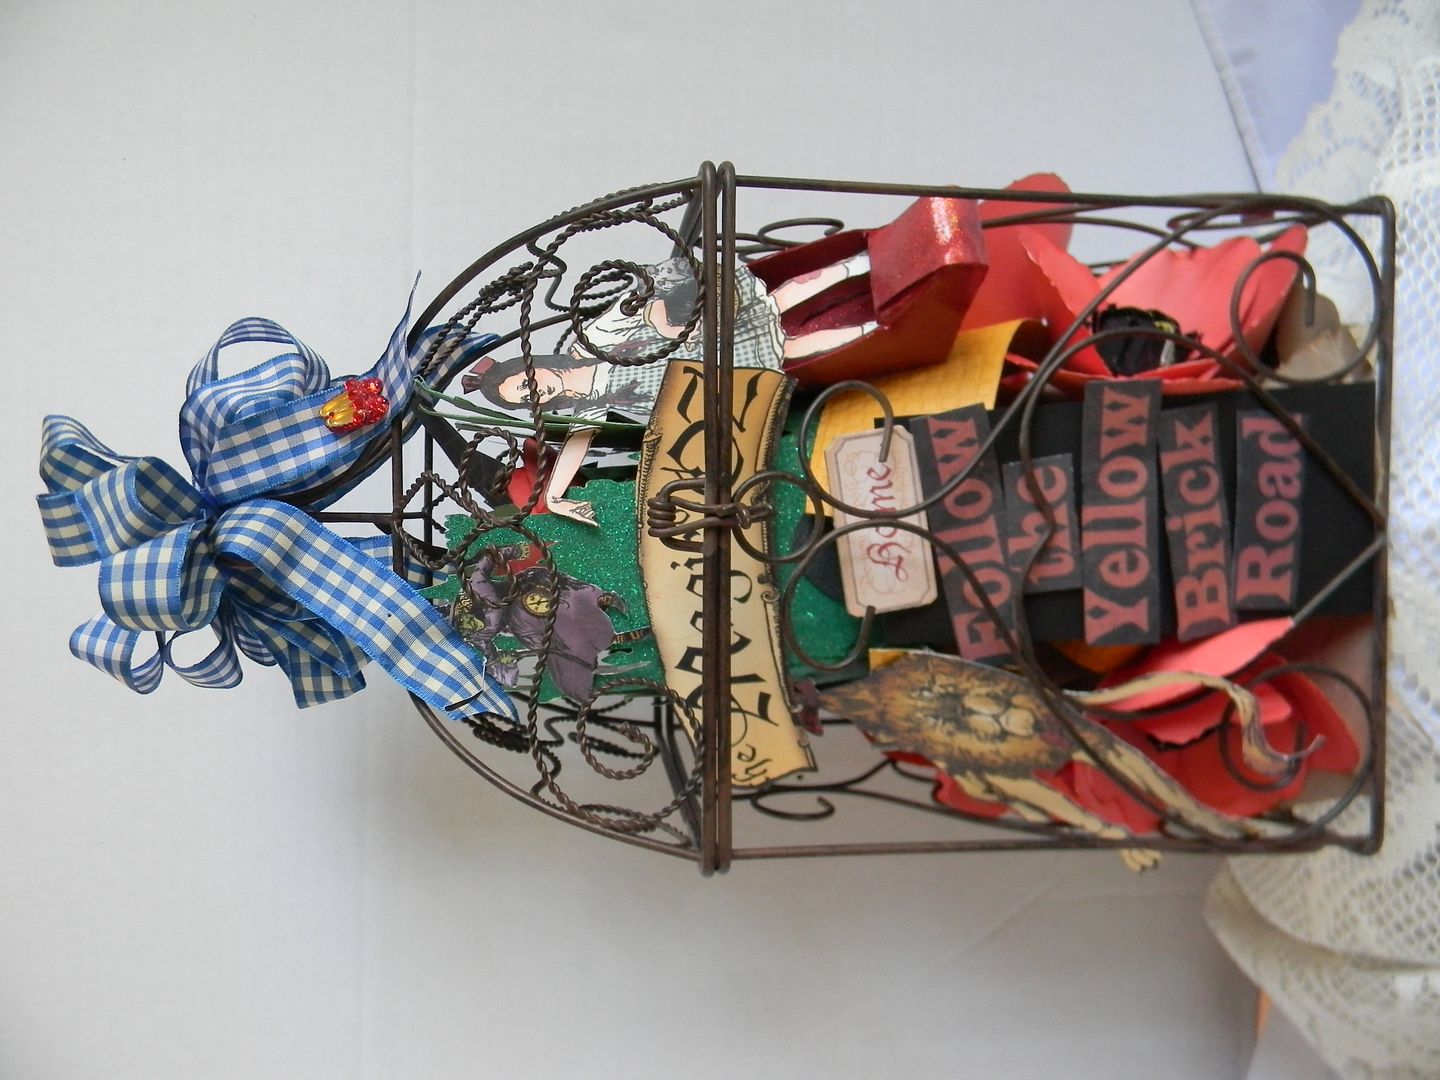
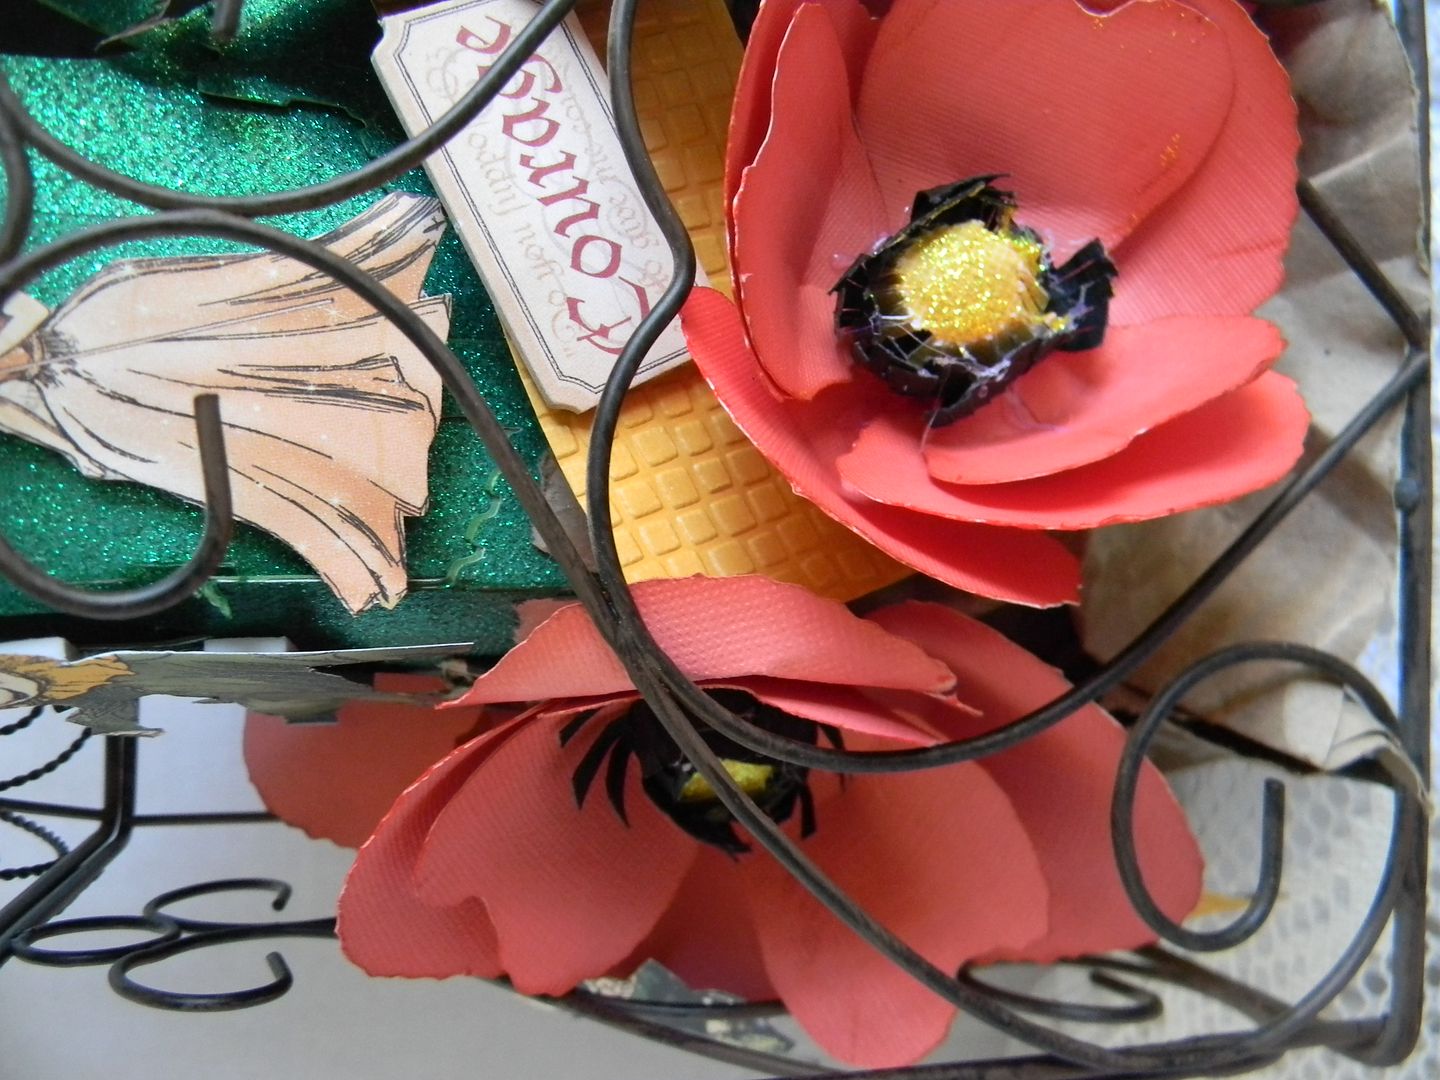
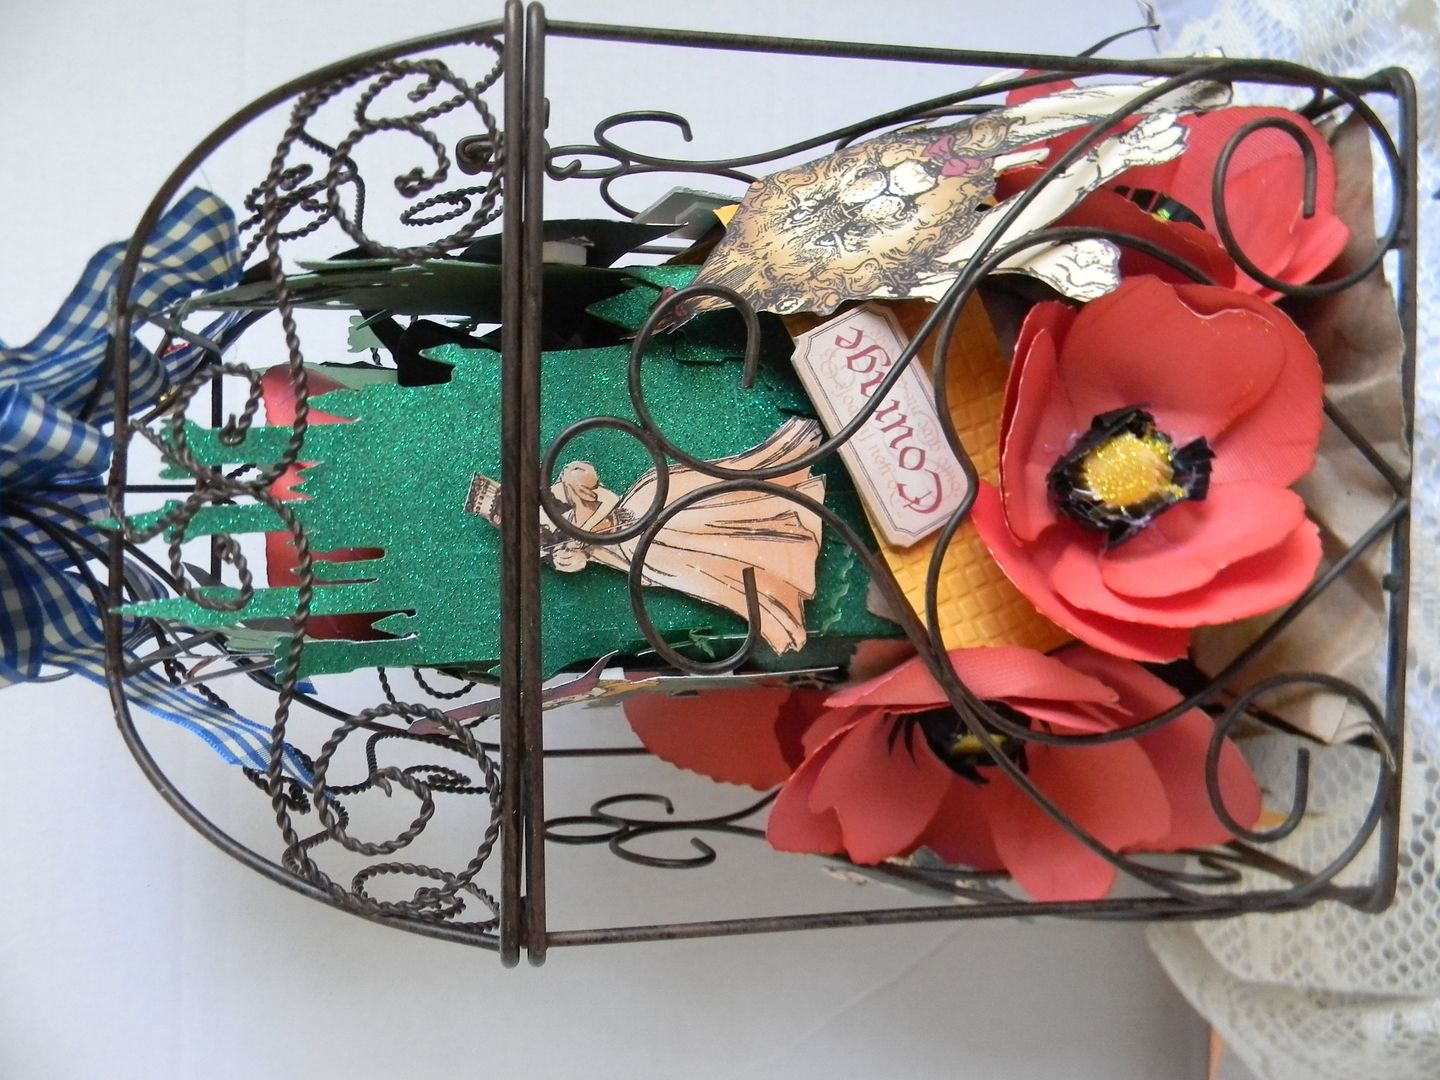
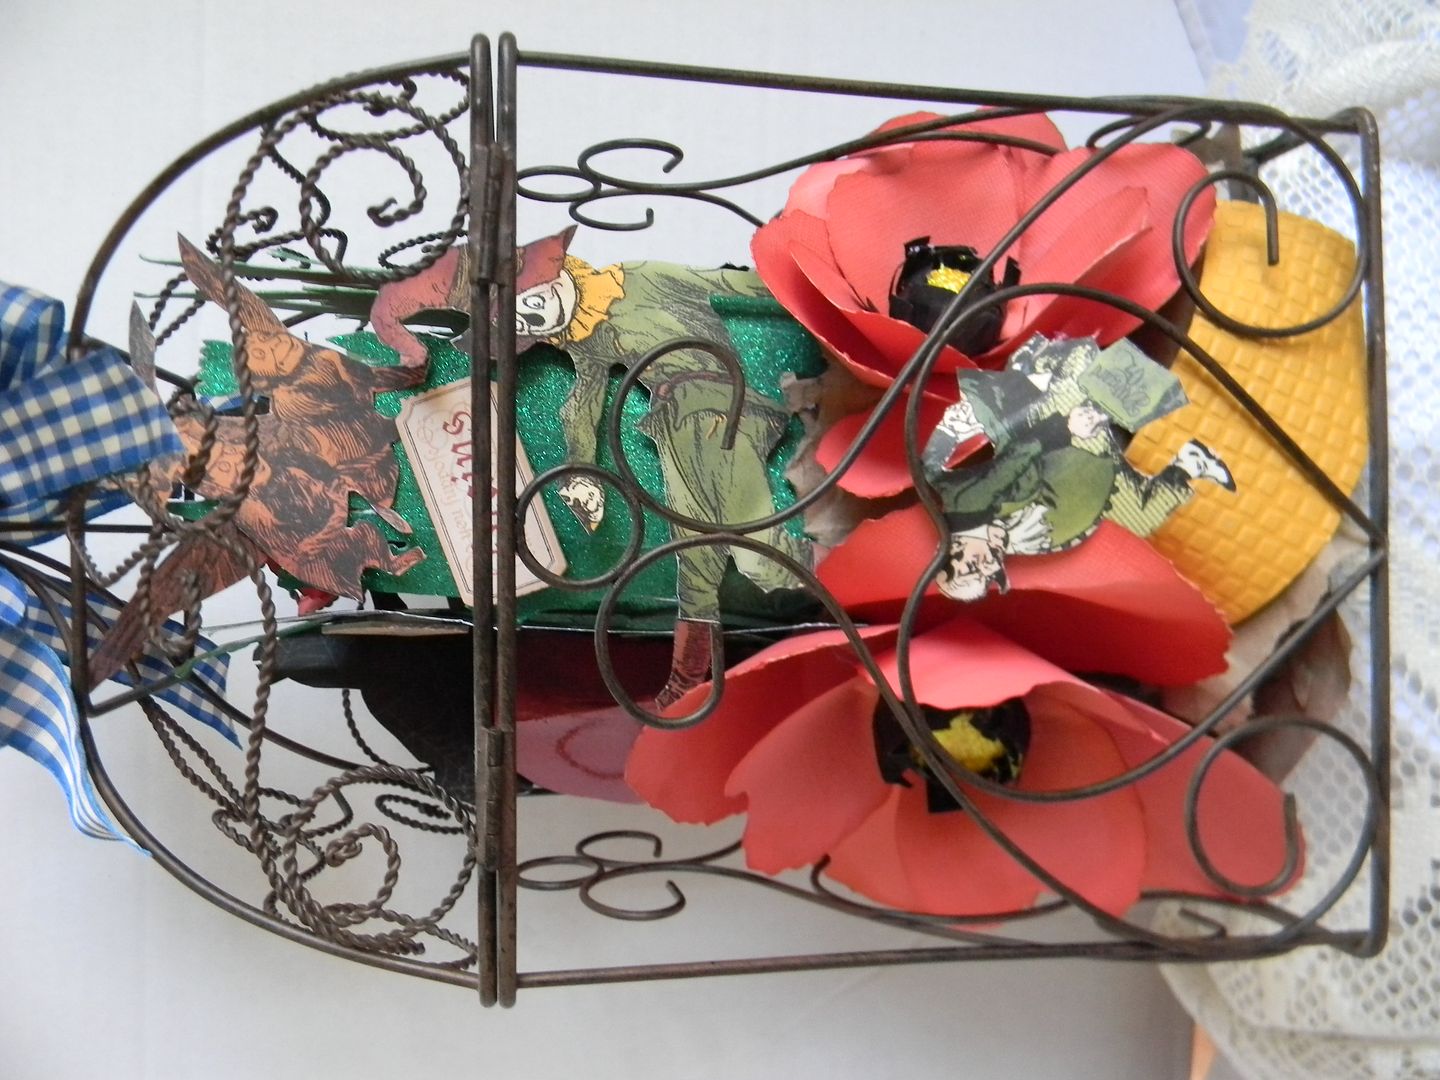
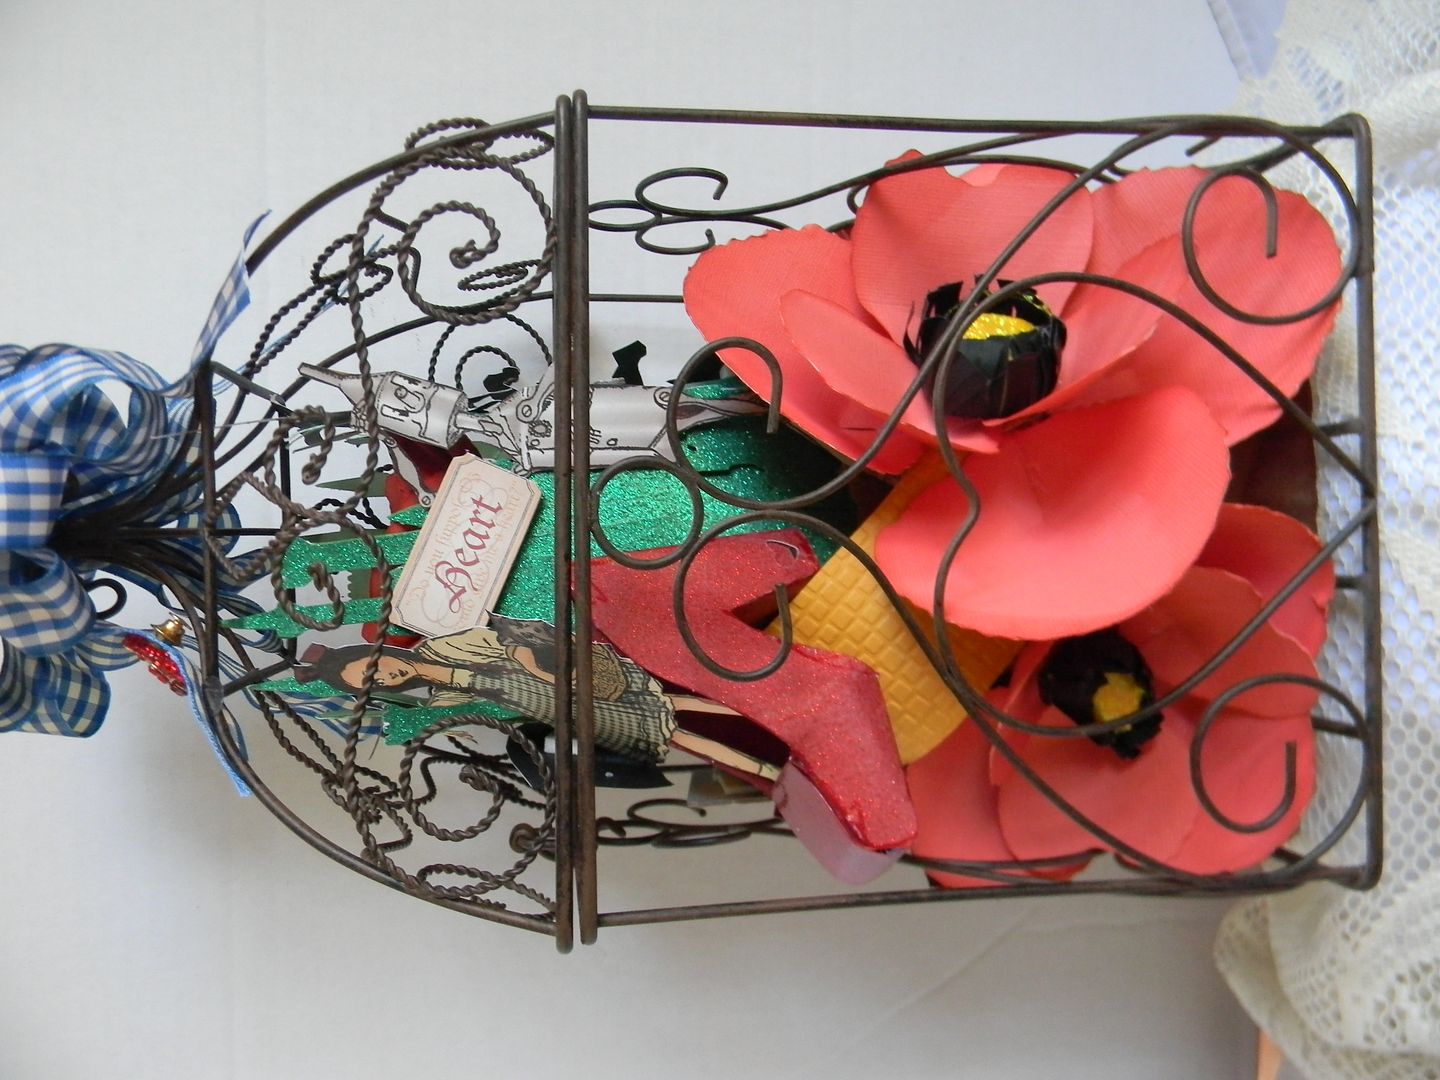
I am so excited about my project today. I got this bird cage on sale and planned to make a Spring Floral bouquet inside with some birds and butterflies. When I sat down to start with my Giant Flowers cartridge I decided I wanted to try the Poppy since it is the California state flower.
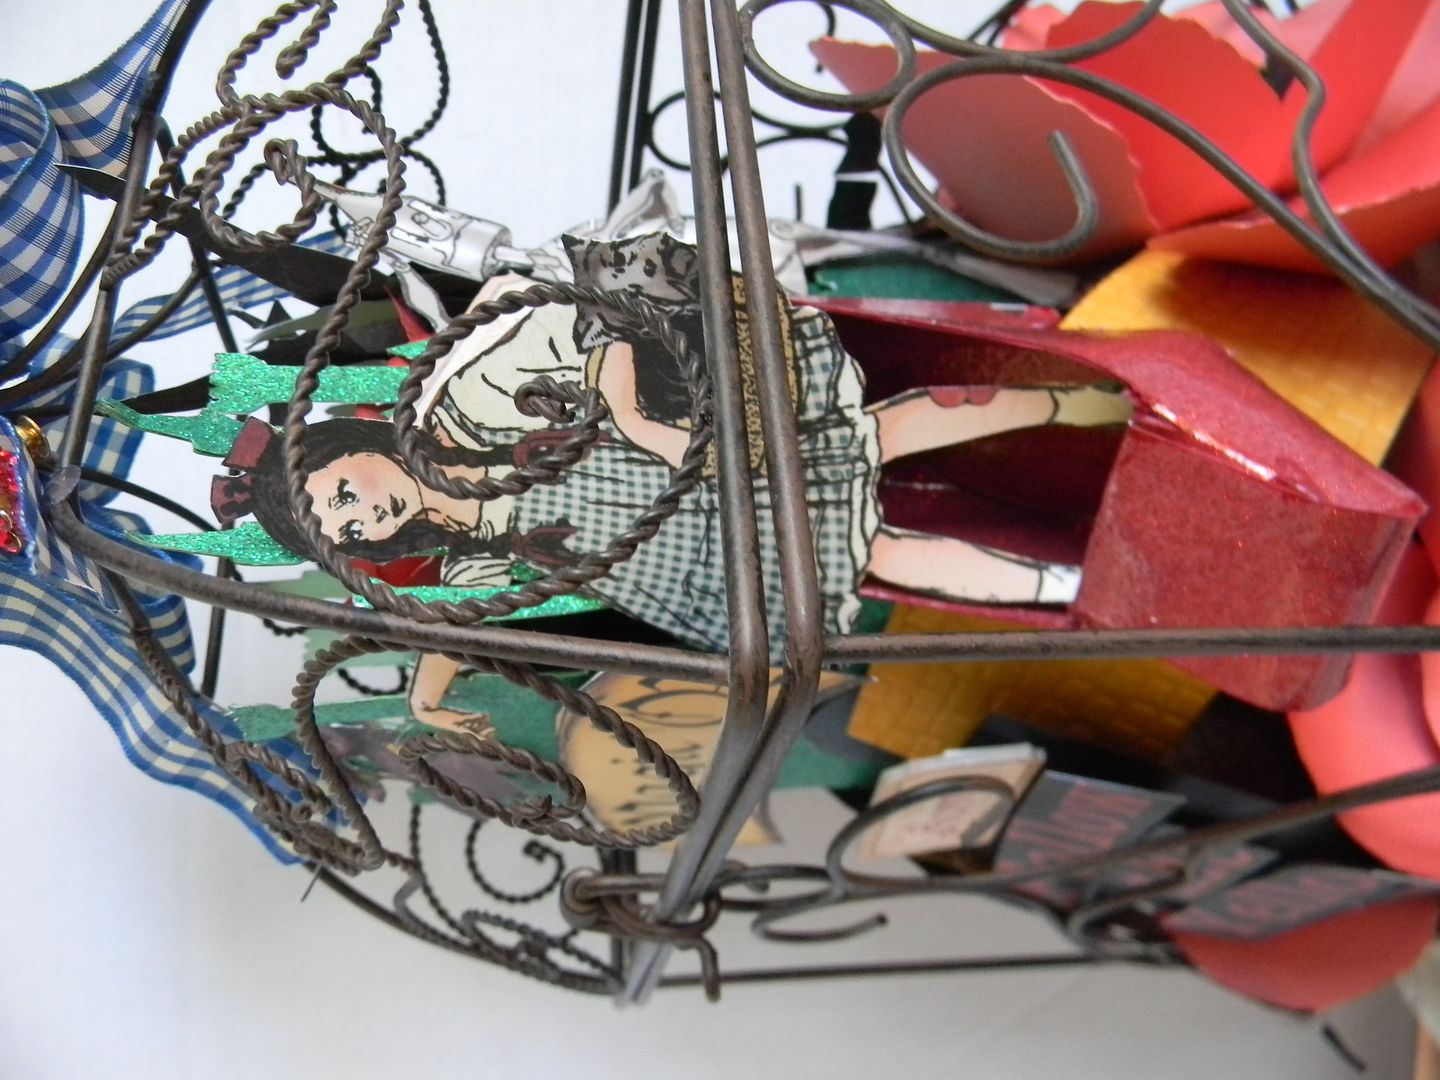
Well from there the next thing I knew I was doing an Oz theme and I finally cut into my Graphic 45 Wizard of Oz paper. I love Graphic 45 paper but it is always hard for me to cut into it for the first time.


Graphic 45 Wizard of Oz paper and chipboard pieces 
Pieces are fussy cut "hand cut" 
Poppys cut from Giant Flowers Cricut cart 4", 3 " and 2 1/2 "
Inked with Quick Quotes Ink 
Oz is the castle from Happily Ever After cut at 8 "  4 times
Dorothy's red shoe is from Princess Party and then I hand pieced the toe to fill it in.  
Yellow brick road is hand cut and embossed with Cuttlebug
The base is green oasis and the mountain is made with torn paper grocery bag and glued to base
Adhesives- Glue gun, Pop dots,  Dots, and Tacky glue 
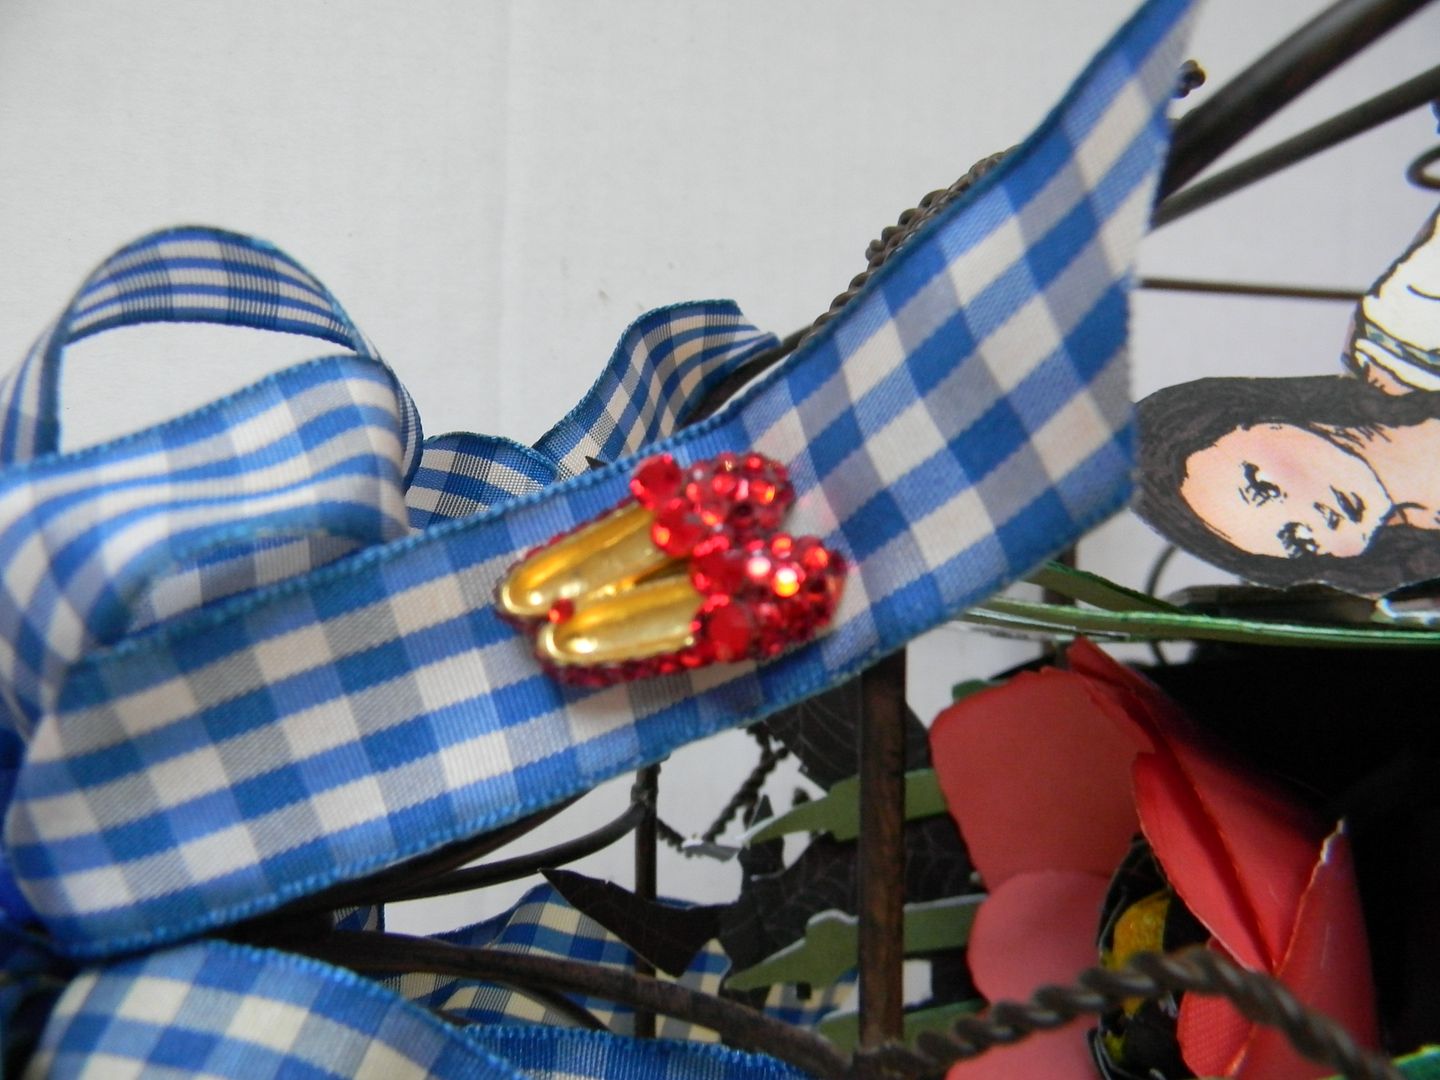
Ribbon was blue and white check to match Dorothy's dress
I wanted it to match Graphic 45 muted checks so rubbed Tim Holtz Vintage Photo ink on both sides.  
The last item was a red ruby slippers pin I have had for years that a friend gave me that I pinned to the ribbon.  
I am also entering this in the Cricut Circle Monthly Challenge " Center of Attention" 
and the Pink Cricut linking party 
Craft Junkie Too linking party
Also linked to Passionately Artistic linking party


We hope you’ll link up your Home Décor project for a chance at winning one of our giveaways.  One winner will be chosen by random draw and three others will be selected by the Design Team.  Head on over to Cooking With Cricut  (http://www.cookingwithcricut.com) for the guidelines and the link up. 

For my blog candy I will randomly select a winner from those who comment for a surprise goody bag. I would love for you to be a follower too. You have till Tuesday for me to select the winner.


Thanks for stopping by!  Head on over and check out what 
Natt - http://www.tinynatt.blogspot.com/  has cooked up! 

LINE-UPS: 

Saturday, April 21st Line-Up 


Sunday, April 22nd Line-Up

Friday, April 13, 2012

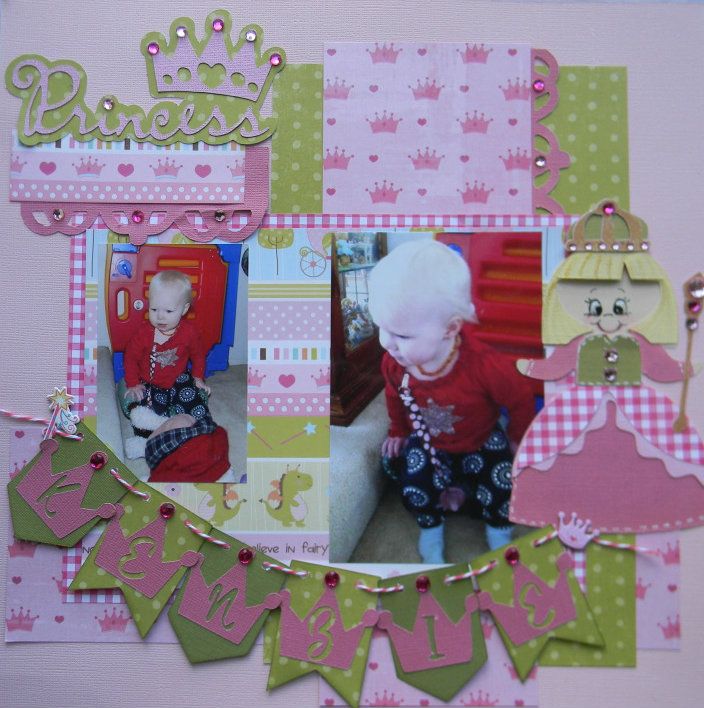
Princess Kenzie and her throne

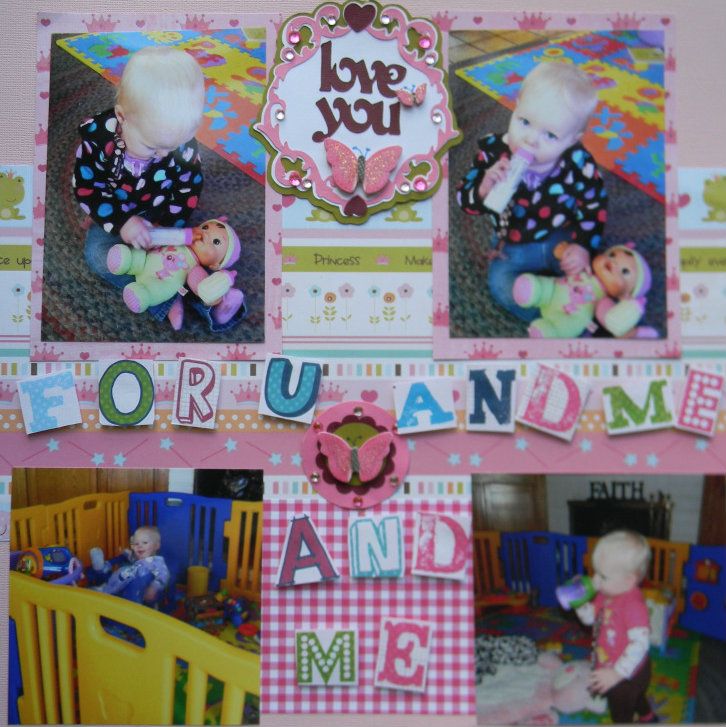
I have been sick all week and am actually under quarantine until Monday.  Great way to spend my week off from babysitting while my daughter is on Spring Break isn't it?  So I have been designing on my Gypsy and finally felt well enough to work in my craft room awhile today.  The pictures are of my granddaughter Kenzie. The first page is her sitting in one of my "bear chairs" and the other page is her feeding her baby doll and playing at Grammy's.  
I used Sketch #203 from Creative Scrappers for this page and am entering it in the challenge
I am also entering this a Bitten by the Bug 2  where the challenge is to use the word Princess
Paper Loving Gals challenge to use a banner
and Peachy Keen Challenge Anything Goes-Use a PK stamp
Recipe:
Once Upon A Princess-  crown border used crown cut page 68 4" x 10 " and cut in 1/2
Princess clothes page 33 cut at 5 " 
Princess body page 25 cut at 5 "
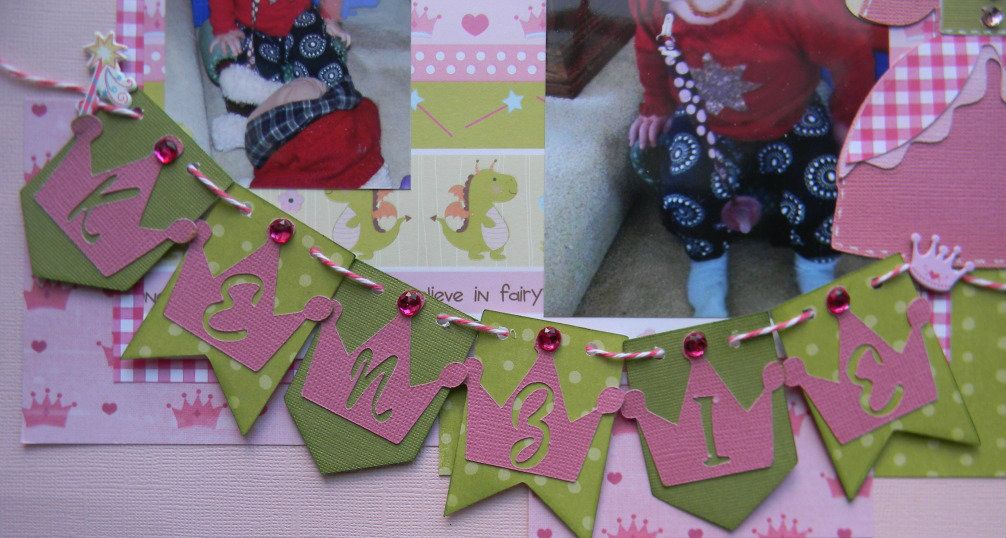
Crown letters on banners cut at 1.5 "
Birthday Bash- banner pieces cut at 2 "
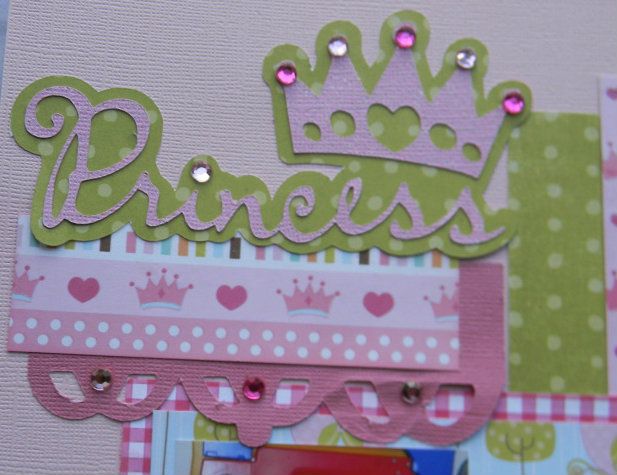
Three Birds on Parade-  Princess title and crown page 37 2 1/2 "

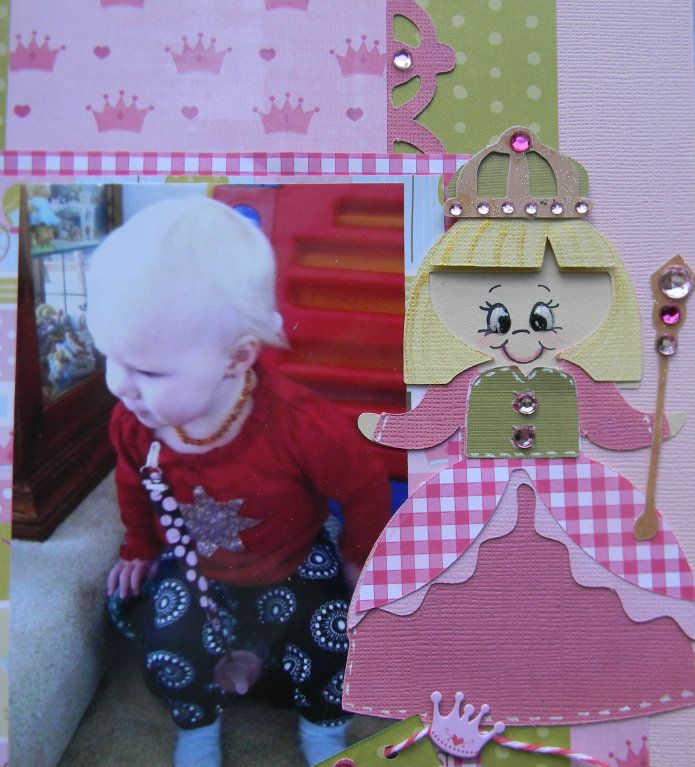
Detail of Princess with Peachy Keen face, Smooch Ink, Glossy Accents, Gel Pen for faux stitching.
Closeup of title
Closeup of banner- used twine, gems and scepter and crown brad 
This is the second page to go with it.  Using scraps from first page.  The love you and butterfly are from a card I had in my stash that got smooshed.  The letters " For U and me and me"  I cut out of a piece of scrapbook paper and pop dotted.  

Saturday, February 11, 2012

Cards for Emily Blog Hop Day 1

Scrappin' For Kenzie Blog Hop


Welcome to the Cards for Emily Blog Hop Day 1!!!

This is a 2 day hop so be sure to come back tomorrow for some more inspiration! :)
If you came from ***Enter name and link of person before you*** then you are in the right place! If you just happened across my blog and are interested in the entire hop and Emily's story, start back at Michelle's blog at Scrappin' For Kenzie!
Emily is a sweet little 6 year old girl that has battled Leukemia since before Chrstmas 2011. She has had to endure more pain in a few short months than most adults in their entire life. She has gone from Leukemia to Rotavirus, to pancreatitis, to kidney stones, then to shingles, not to mention over 300 pokes in her tiny little body! From chemo to blood draws to feeding tube. Her bone marrow is finally at 0.00% so she is now in remission and back at home! She is still going through 7 different chemotherapy treatments but is finally doing better! To read her full story and updates please visit the original Cards for Emily info post HERE

For this hop all we ask is that you hop through the list, then when you are done, link up your card for Emily at Scrappin' for Kenzie. The link up tool is in the left hand side bar under "Cards for Emily". You will see her picture right above it.

REMEMBER: There is no requirement to leave comments or even hop through all of the blogs if you don't have time. There will be no personal candy at any of the stops along the way. That way you can get maximum inspiration to make your own card and have enough time to link it up and send it away!

There WILL be however a giveaway to one lucky winner that links up their card by February 29th 2012. You can link up as many cards/projects that you would like. The more you link up and send the more greater your chance is of winning a.....

$20 gift certificate to

 Their etsy store has over 100 stamps to choose from!

Now on to my card for Emily!
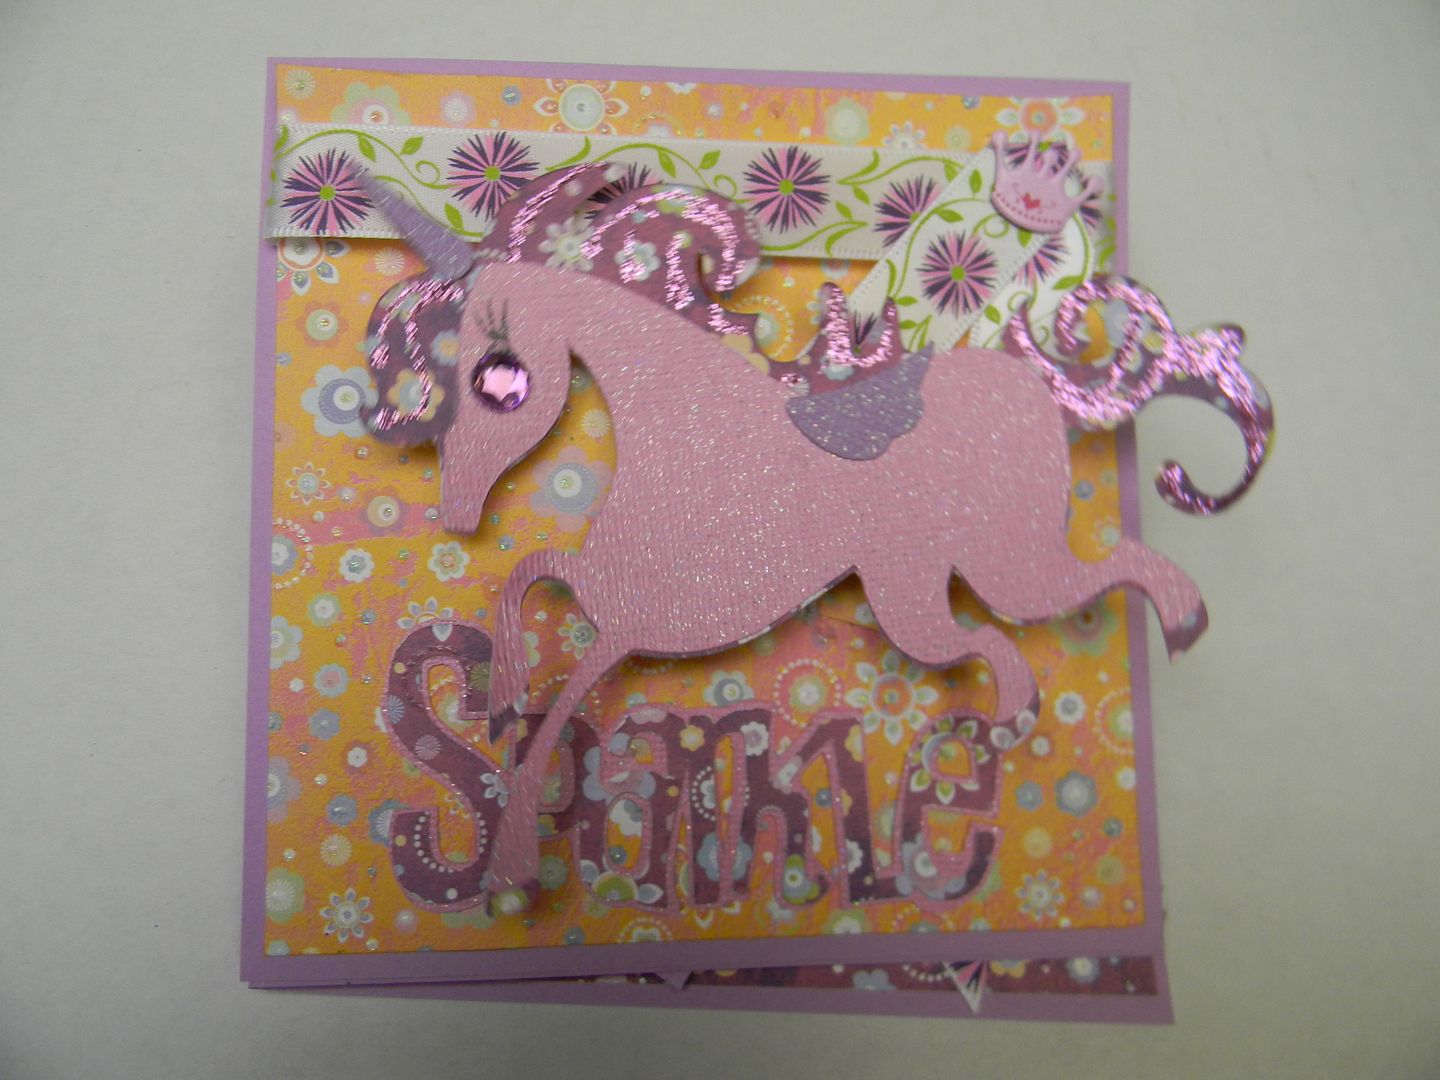
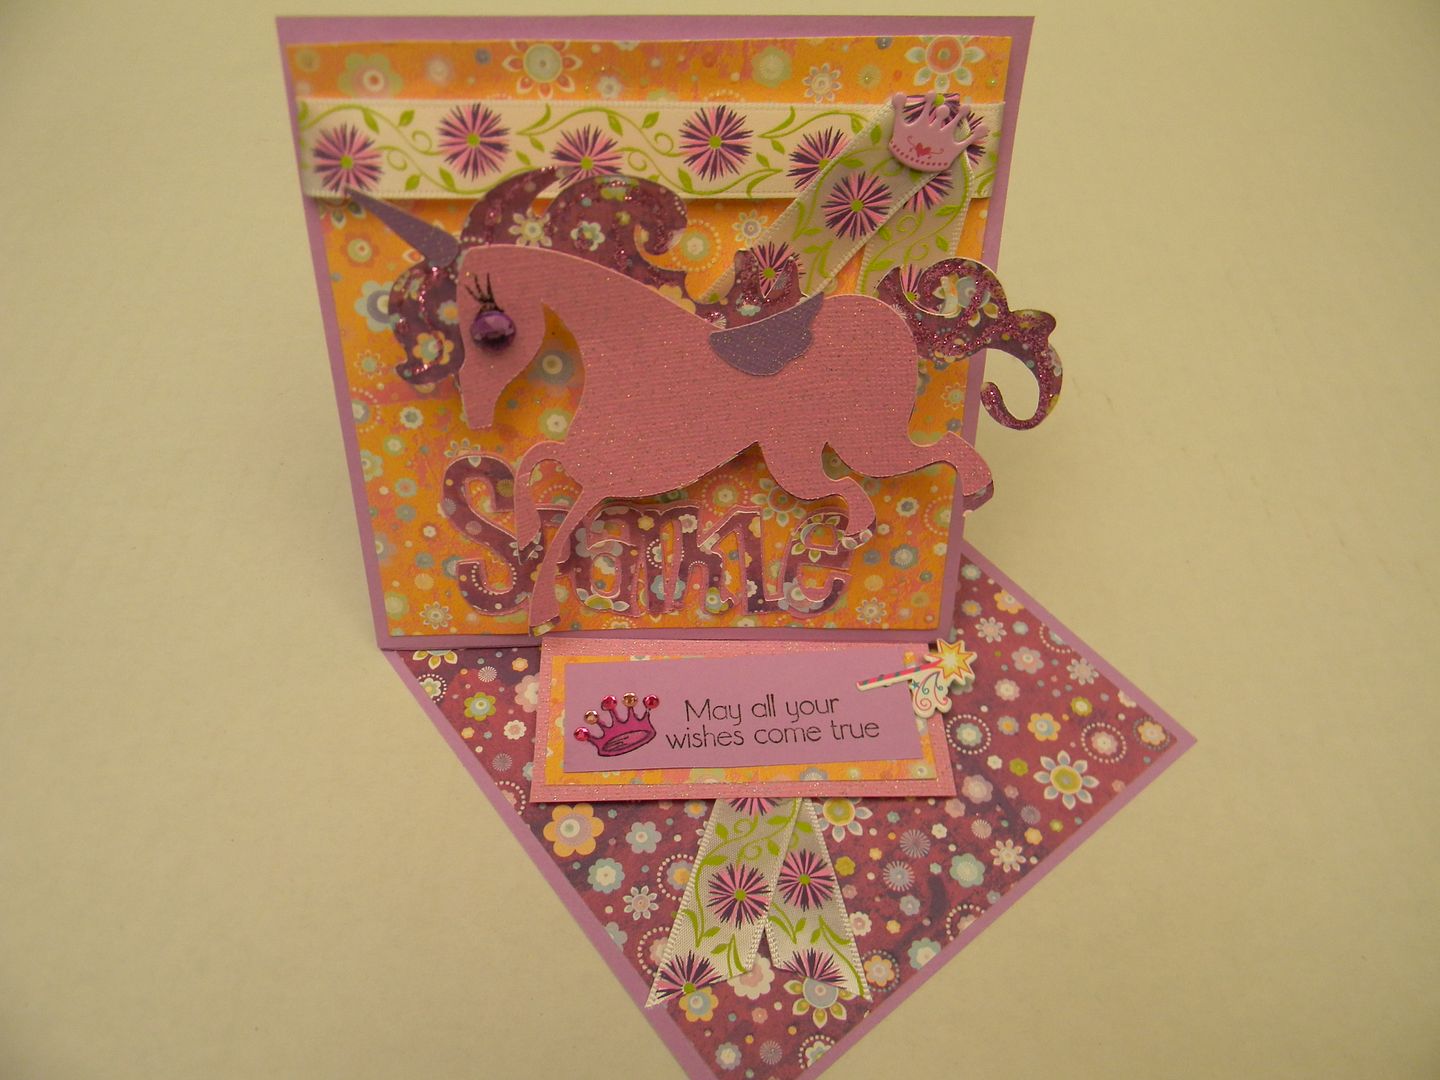
I made a  4 x 8 Easel card.
The unicorn is cut from Once Upon a Princess page 58 and Sparkle come from page 56.  I added Stickles, ribbon from my stash, a gem eye, Peachy Keen stamp for eyelashes, and some cute little crown and wand brads.
The other thing which you can't tell from looking at the card is I used a great tutorial by Amy at Love to Crop to make Wiggle wires.  Amy made a great tutorial which is quick and easy to follow.  so now my unicorn wiggles and wobbles.  I highly recommend you check it out.
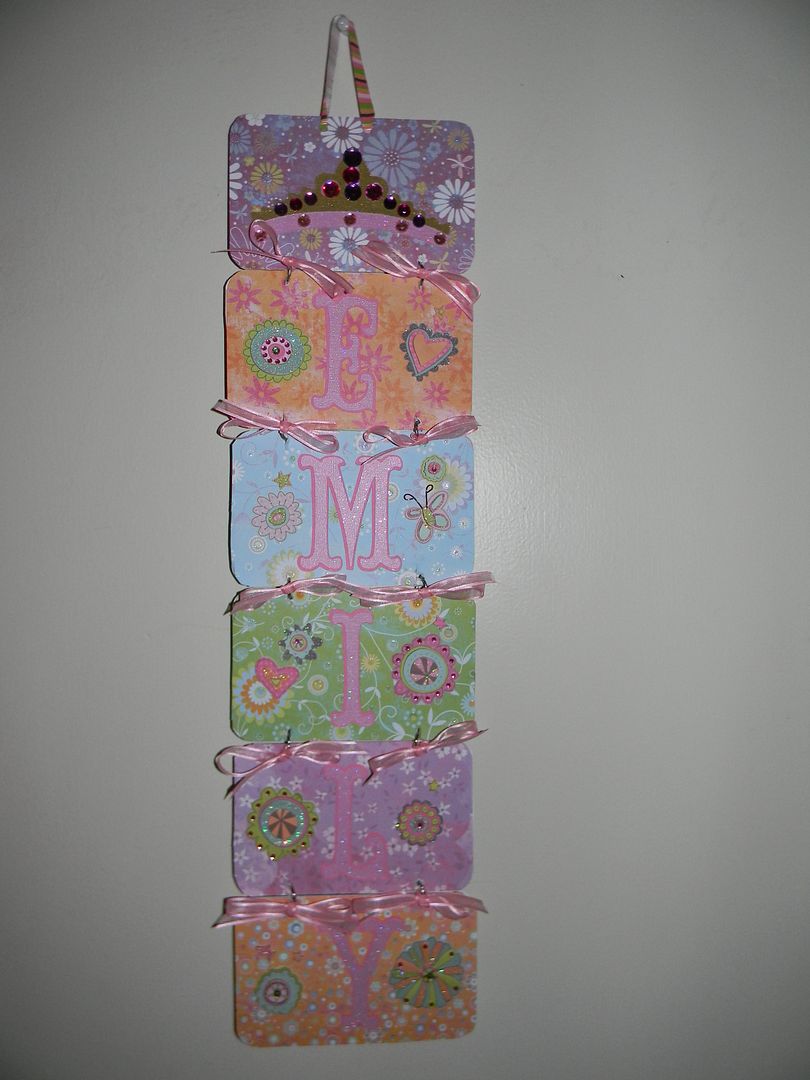
I then got the idea of also making Emily a banner for her door.  I used a cardboard mini book for the base and covered both sides with various flowered paper.  Emily's name and the crown was cut from Storybook.  I added ribbon, embellishments and a bunch of gems to bling out the crown.  


Thank you sooooo much for joining us in this great cause for Cards For Emily!! We REALLY REALLY hope you will participate and link up your card to put a smile on this very beautiful, very deserving little girl that Michelle is honored to call her niece. :)
Your next hop in the line up for day 1 is  Tina  

Happy Scrapping! Hope to see you again tomorrow!

Here is the line-up for Day 1 in case you get lost along the way. Be sure to come back tomorrow as we have all new projects and some new designers!

Michelle - http://scrappinforkenzie.blogspot.com
Faith Abigail - http://www.faithabigaildesigns.com/
Amy - http://www.lovetocrop.com/
Elizabeth - http://visionsofpaper.blogspot.com/
Marie -  http://ethansimprints.blogspot.com/
Michele - http://fishmememoriesandmore.blogspot.com/
Suzanne - http://cricutcraftingrammy.blogspot.com/
Tina - http://www.teenabugg.blogspot.com/
Jennasa - http://findtimetocreate.blogspot.com/
Teresa - http://scrappintplace.blogspot.com/
Jen - http://www.jenscraftcorner.com/
Beckie - http://justbcreativecrazy.blogspot.com/
Karen - http://www.creationsbykw.blogspot.com/
Brenda - http://friendscraftinwithfriends.blogspot.com/
Charlotte - http://alittlebitofdetail.blogspot.com/
Robin - http://robinscreativecottage.blogspot.com/
Lisa - http://indymermaid.blogspot.com/

Please come back tomorrow for more inspiration and I hope you will make a card to send to Emily and join with us in bringing some sunshine to this little girl and her family.
Entering card in Getting Cricky with K Andrew- Fantasy land Challenge
Love to Crop- Wiggle It 


Monday, September 5, 2011

Mag Challenge Fall treat bags

Today I finished the Mag Challenge which was to use
 Once Upon a Princess
Page: 66

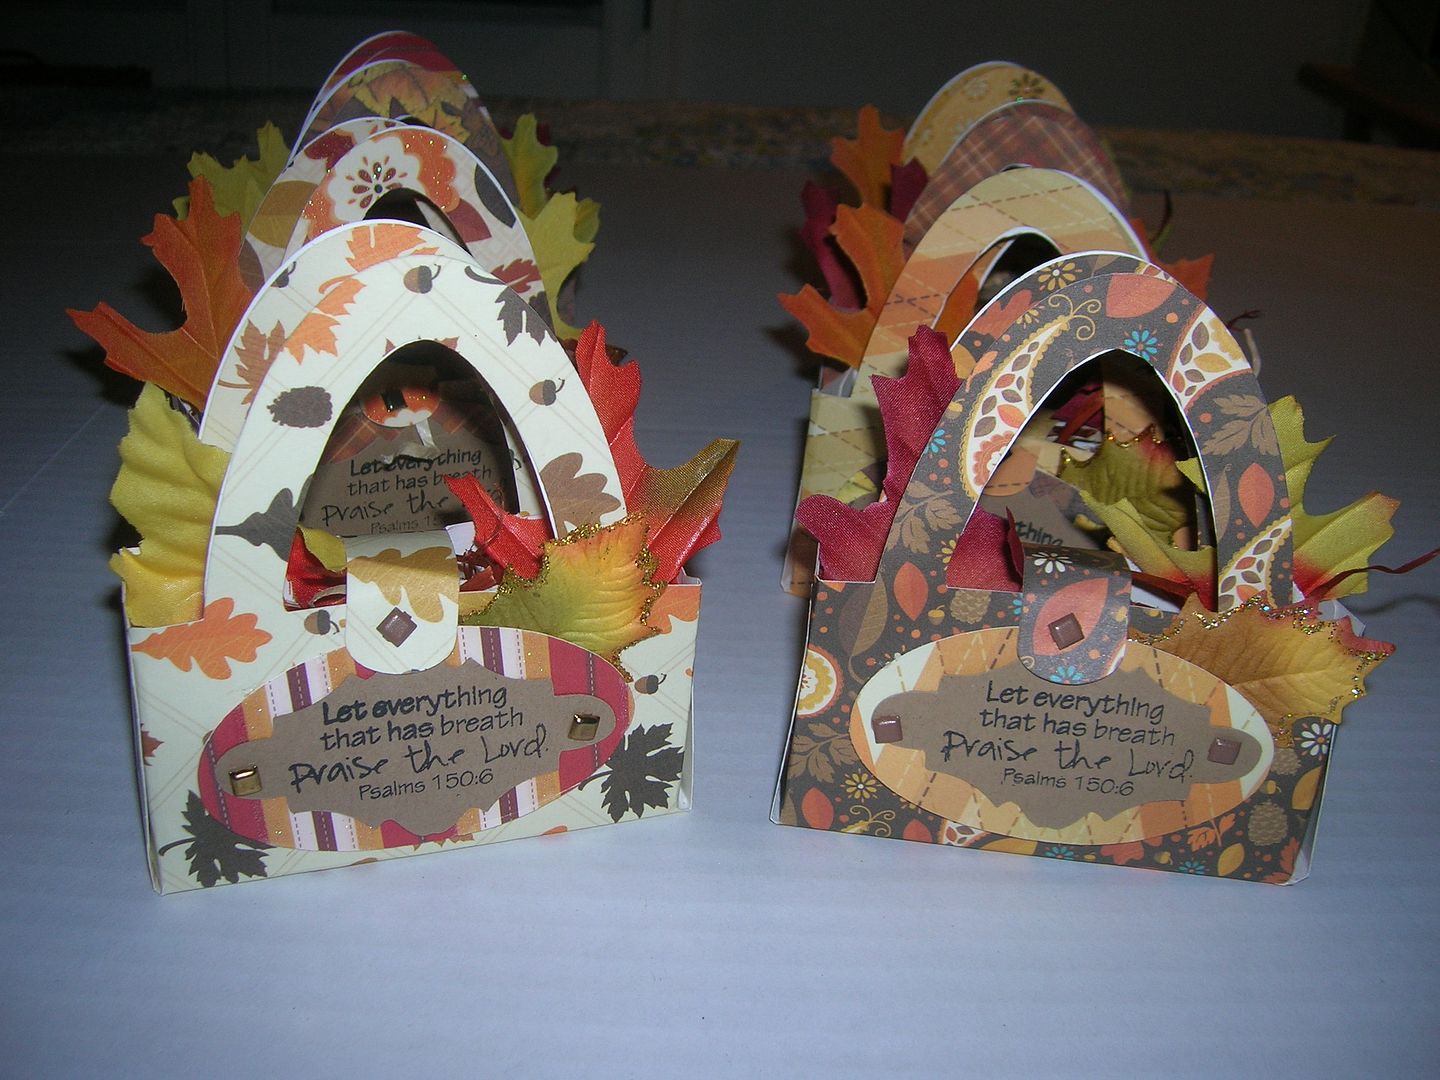
Right away I knew I wanted to make little bags for my MOPS (Mother's of Preschoolers) group which starts up again this month.  I am a mentor mom and have 7-8 moms at my table.  We meet every other week and I like to take them some little gift each time we meet.   I used the DCWV Fall Stack. I also used both tag cuts from the page.  I added raffi, leaves and will add candy when it is time to go.  The stamp is from the Pink By Design Faith set.  I used little brads on the ends of the sentiment and to close the strap.  I cut each purse at 10 1/2 inches and was able to cut the straps for reinforcement, and the pattern tag on one 12 x 12 sheet.  The other tag was cut from cardstock scraps.  

Tuesday, August 2, 2011

Blog Candy winner for July and Smiley Rainbow Twisted Easel card


Hello all my crafty friends and faithful followers.  I just want you to know you have blown my flip flips off this month.  ( I don't wear socks)  Since the 13th  when I posted my anniversary and 250 followers post  you sweet people have posted 276 times.  I am now getting very close to 300 followers.  Woo hoo!  I so appreciate each and everyone of your comments about projects and about what you like in a blog. Oh yes, and thank you for all the congrats on the new granbaby.  Everyone is doing great.
Well I used Random.org and the winner is Shawneelwho wrote I love to see your work. But mainly I look for tutorials, ideas, and inspiration. Which you definitely bring and then some. You are amazing and I am so blessed to call you my friend. Congratualations!!
 20Powered by RANDOM.ORG

Congratulations Shawnee and thanks to you and everyone else for all your awesome support.  Remember you can now also follow me on the Design Team for Sweet Sassy Diva  and Fantabulous Cricut Challenge Blog. 
I am going to send the card I made below  to Shawnee with her gift card.    Many of you know she has a lot going on in  her life and she is always the most positive God filled person.  Right now she just moved to Arizona with her 9 children as her husband was transferred with his job. Can you imagine moving in the heat of Arizona?   I wish them the best and am glad I have gotten to know her through the Cricut Message board.
So here is my card:
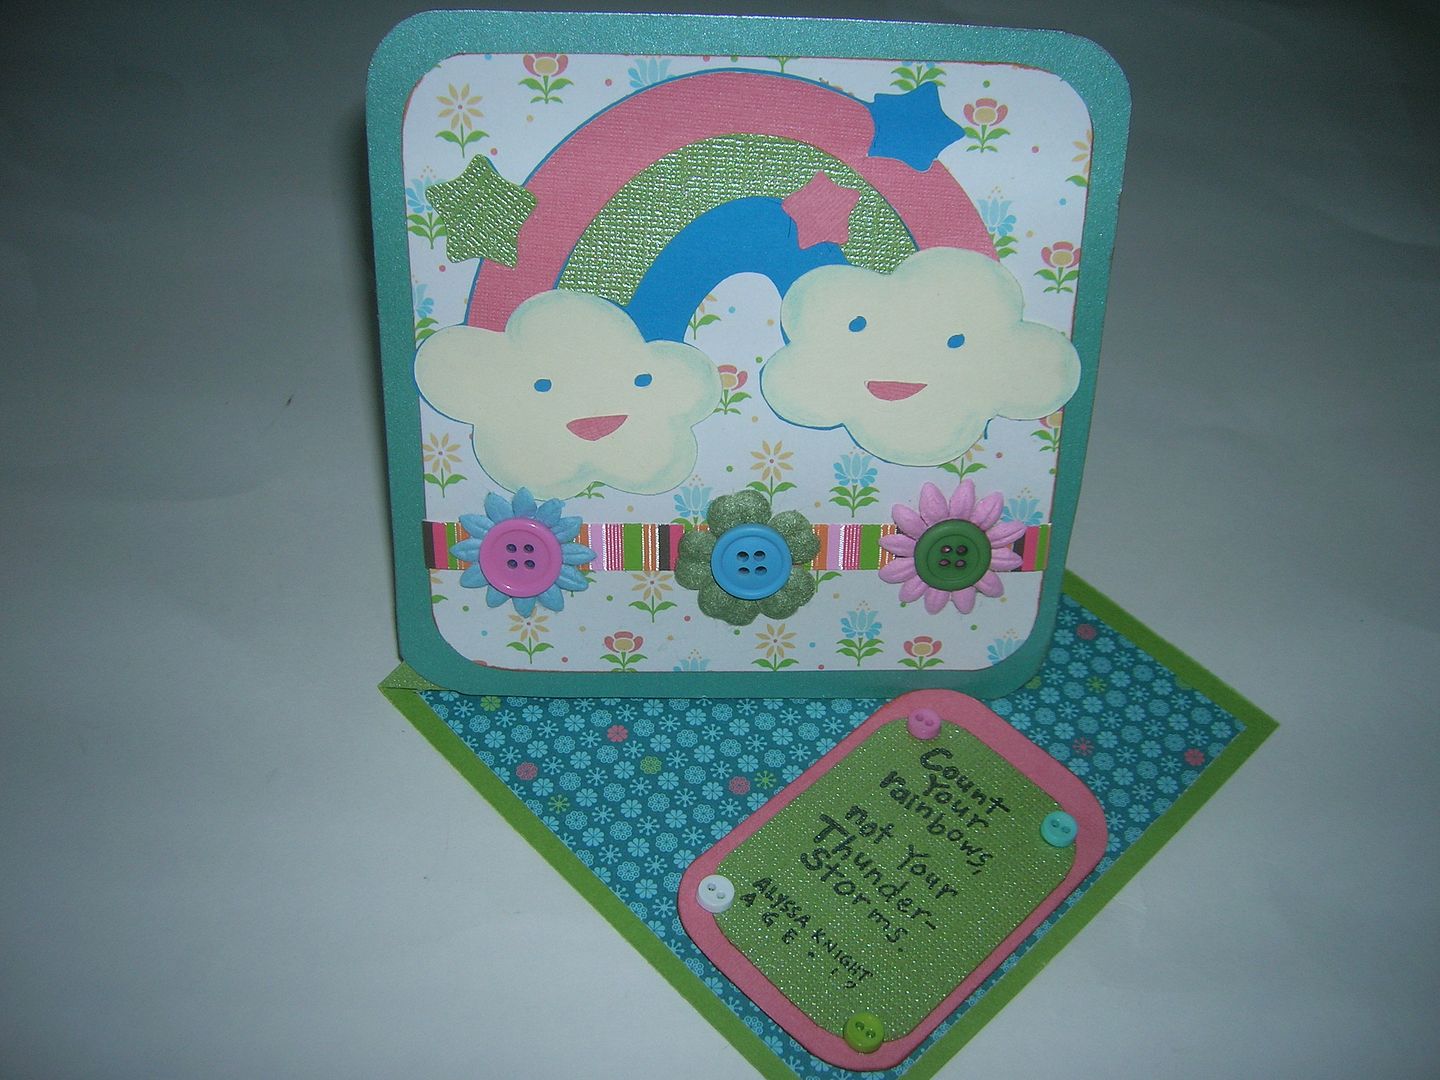
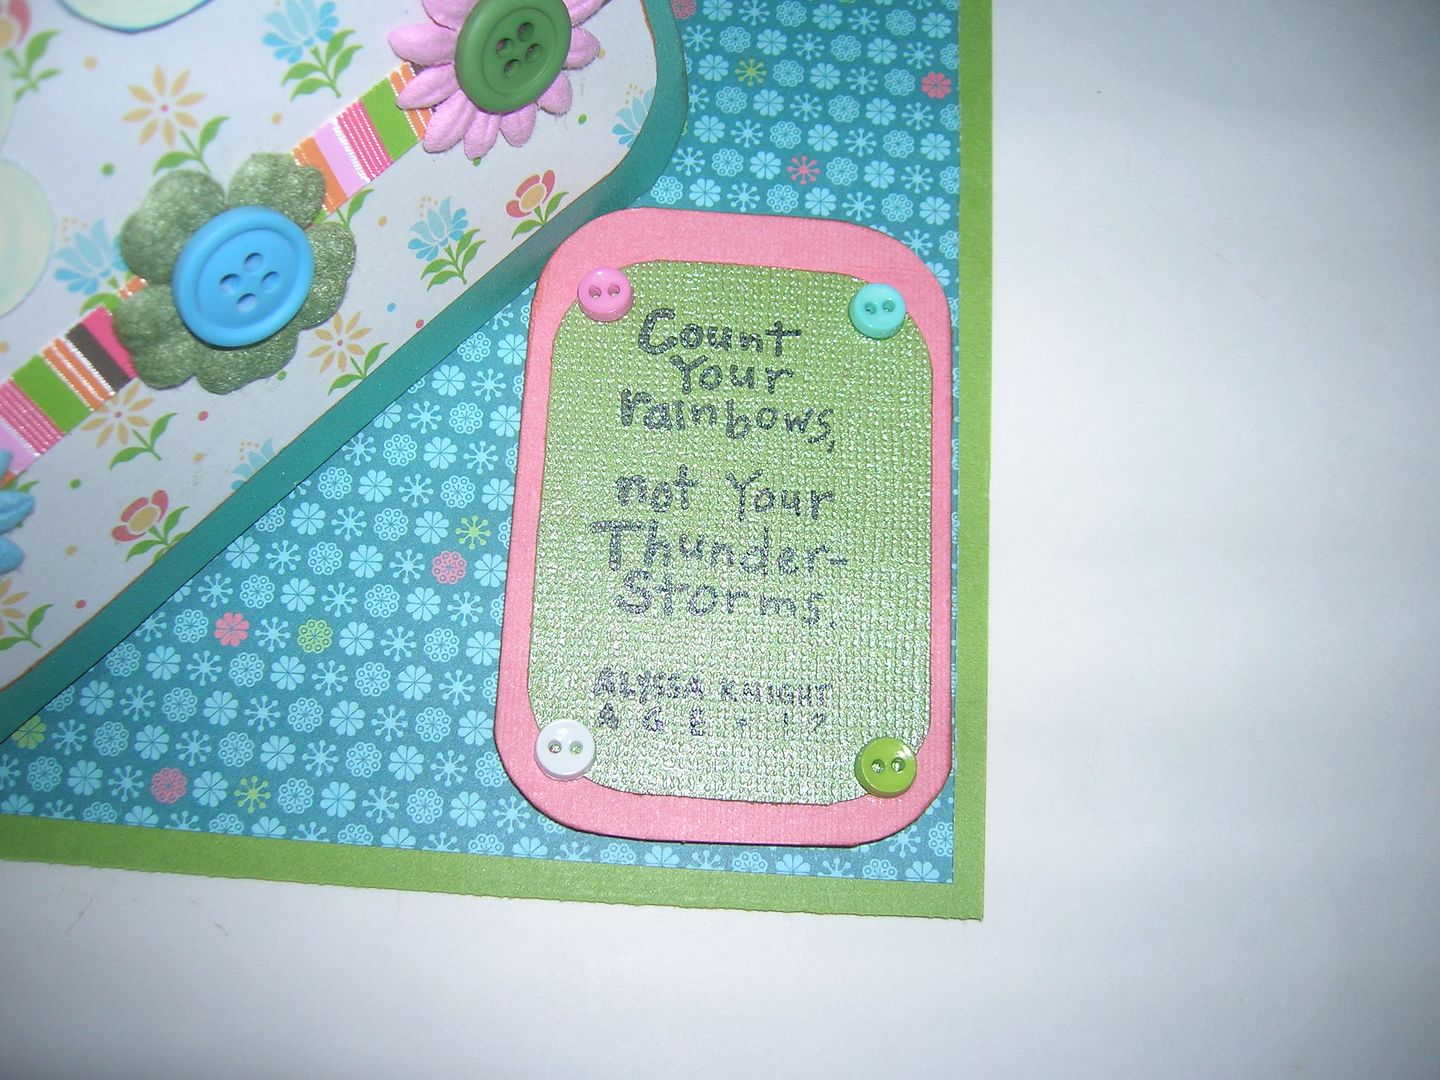
This week there were two blogs that asked for either a positive projects that would make your smile.    The two challenges are  Get Cricky with K Andrews do a positive projects--anything that encourages, uplifts, or puts a smile on your face and My Craft Spot  You Make Me Smile, I knew right away I wanted to use this stamp that I got in a set a Michaels. I decided to pair it with the cute little rainbow on Once Upon a Princess as it has such cute little smiley faces which went with the theme.  Made a twisted easel card with a  5" square. Added ribbon, flowers, buttons, and chalked the edges.  I think easel cards are great for a card like this as they can be set out on a desk or table to remind the person you are thinking of them.  Click here to view another twisted easel card and a link to the directions.  I also found a new challenge blog Whimsical Wednesday that has a challenge to do a card with fun folds.  
Get Cricky with K Andrews do a positive projects--anything that encourages, uplifts, or puts a smile on your face is welcome!
 and My Craft Spot  You Make Me Smile
Whimsical Wednesday  Fun with folds

Tuesday, April 26, 2011

BBTB2 and Craft Spot Challenge- Layout of youngest granddaughter

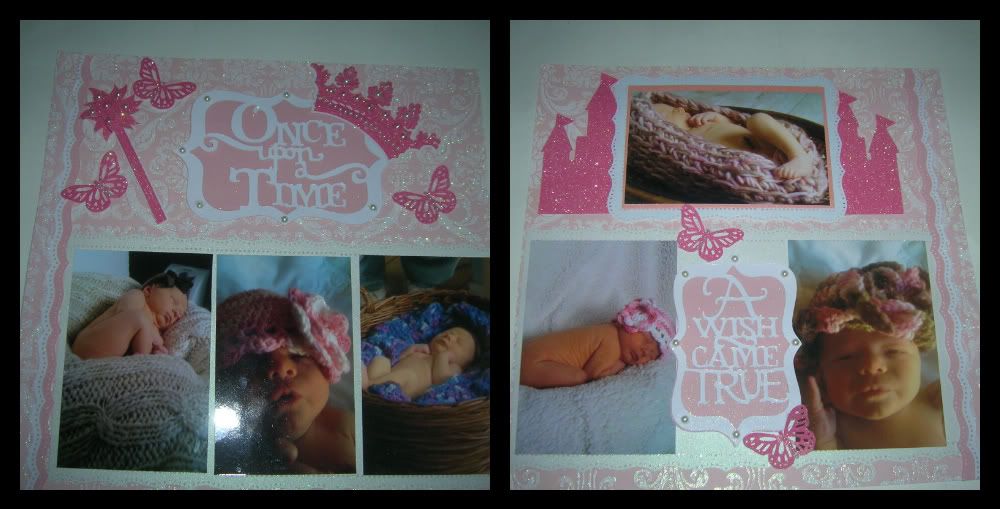
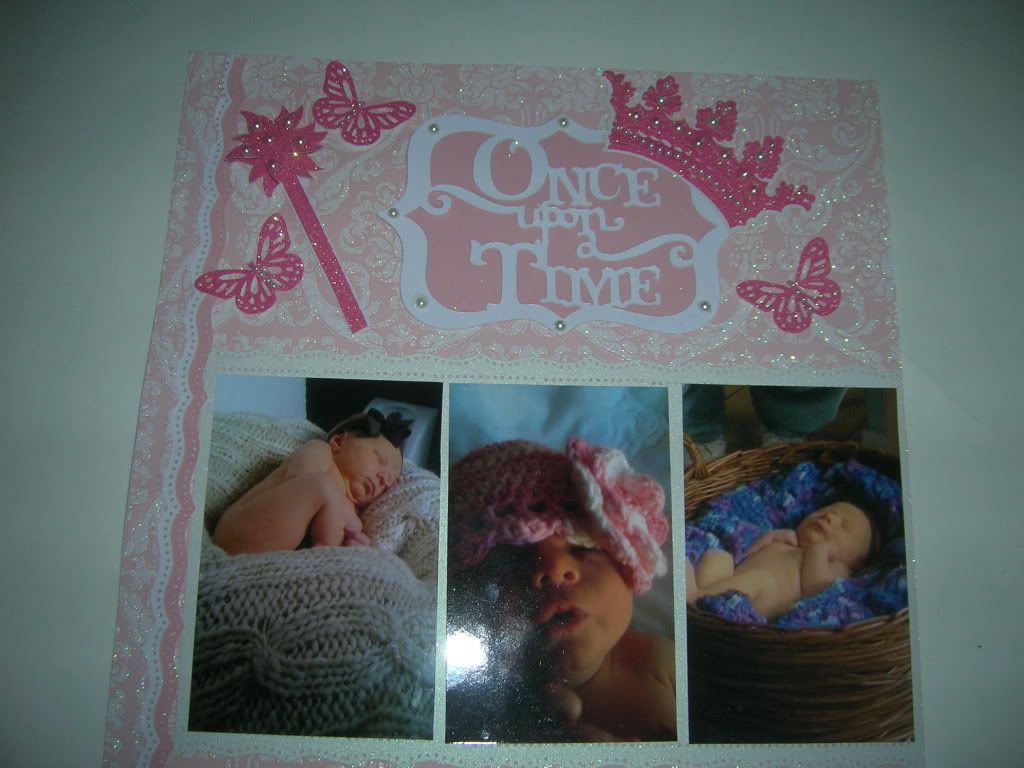
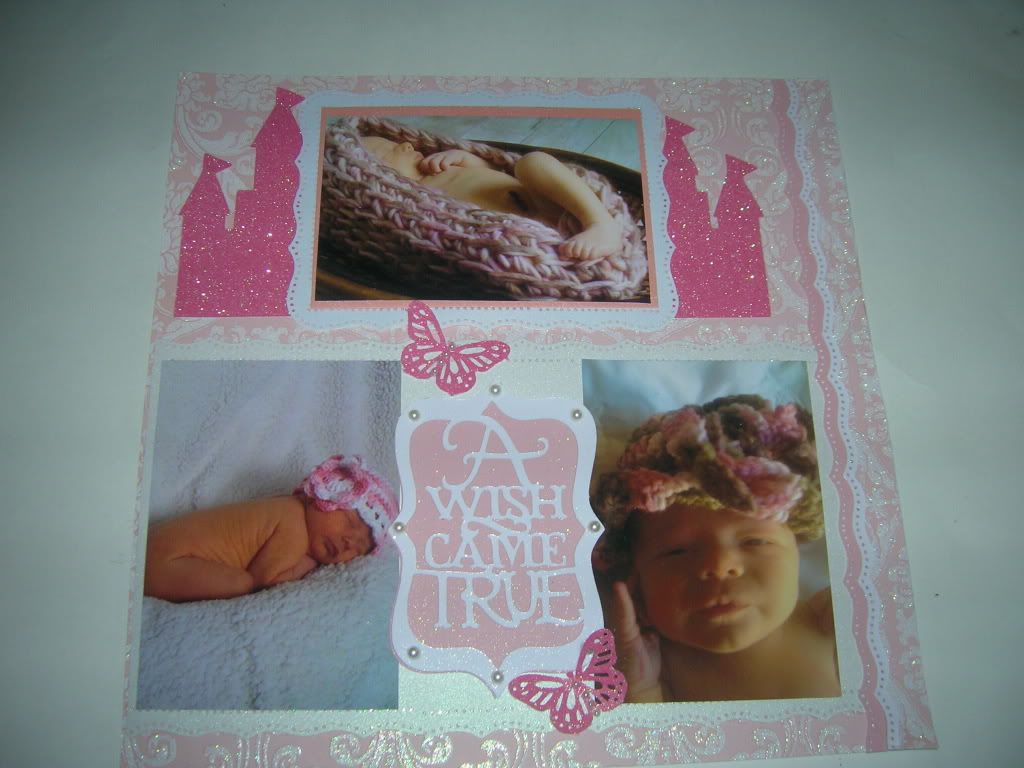
This week the BBTB2 challenge is to use one of the crowns from Home Decor.  The Craft Spot Challenge was to make something to welcome a new Bundle of  Joy.  This is the layout I did today welcoming my youngest granddaughter Kenzie  who we think is a sweet princess.  I cut out the Once Upon a Time and the A Dream Come True from Storybook.  The crown is from Home Decor and the wand and castle is from Once Upon a Princess.  I cut the castle in 1/2.  I used MS butterfly punch and PATP punch for sides and mats. I used glitter paper, shiny cardstock, and lots of pearls to decorate.  


Close ups of pages (Remember you can click on picture to make it larger also.)

Thursday, April 21, 2011

Five baby layouts of my granddaughter

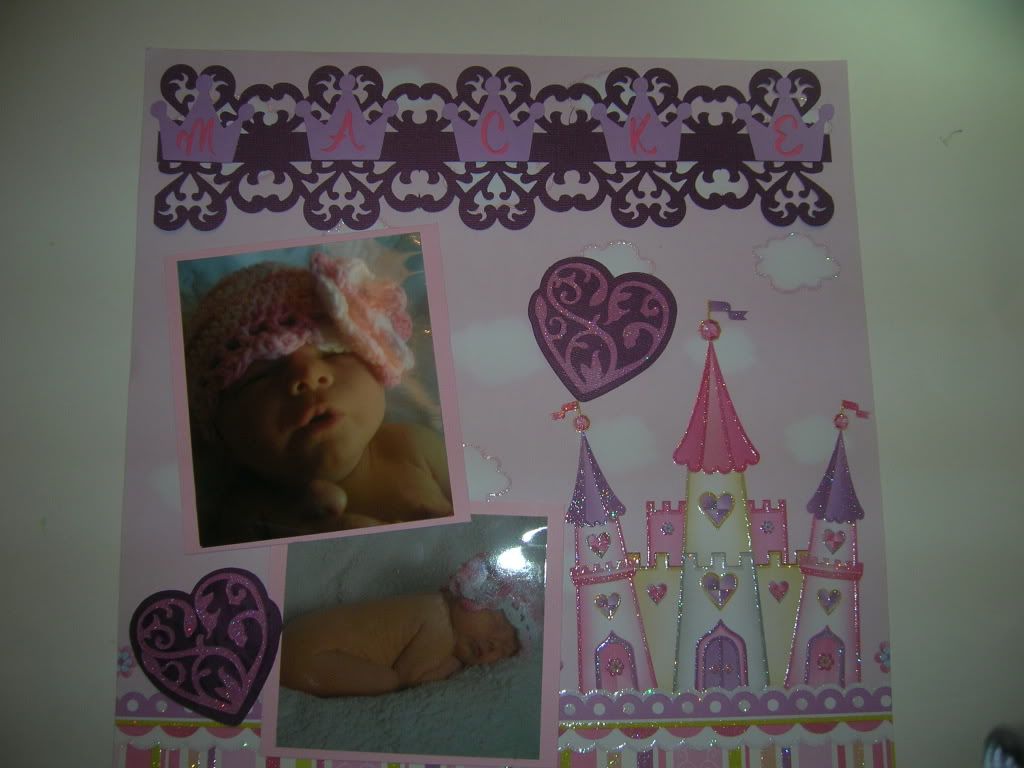
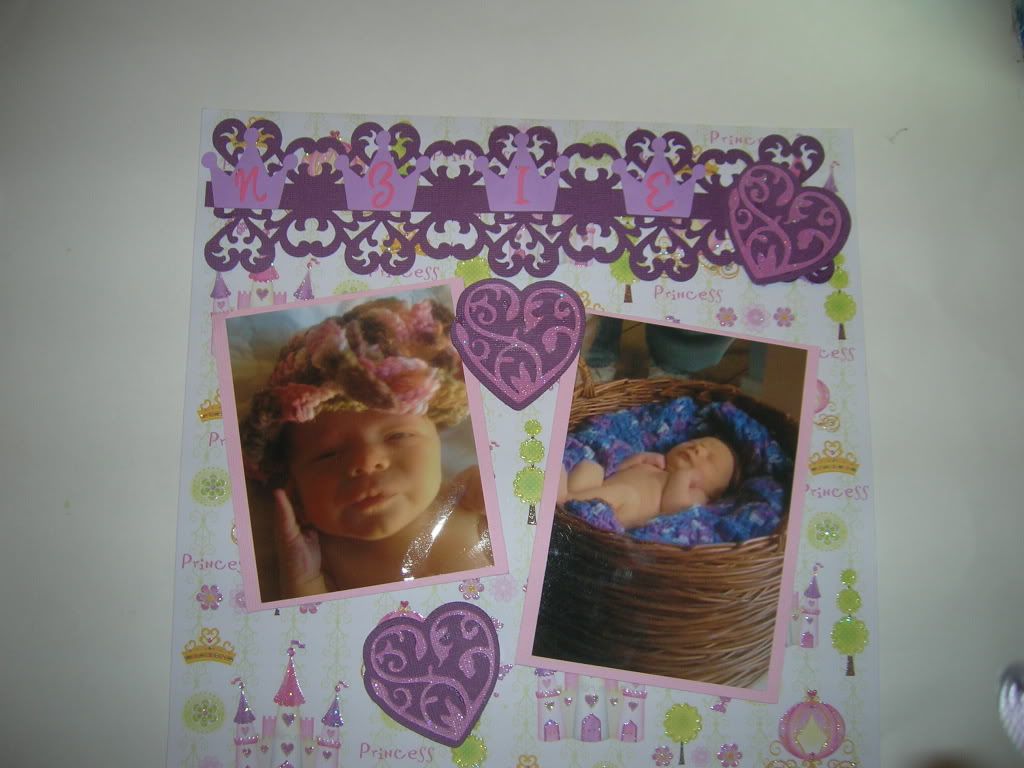
Trying to get going on grand daughter #2's album.  These are 4 pages I did yesterday.  The top of the first two layouts is a 3 inch strip double punched with a new MS punch.  I then found the scrolly hearts that matched as part of a design on Damask Decor.  The crowns are from OUAP and spell out Mackenzie.  
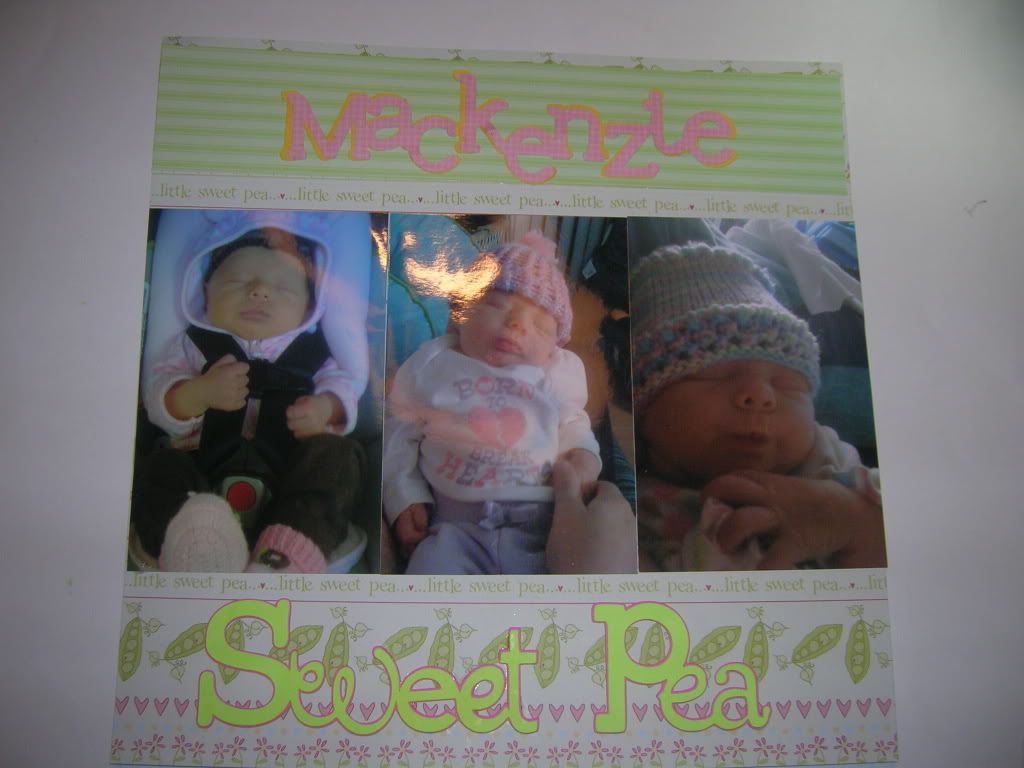
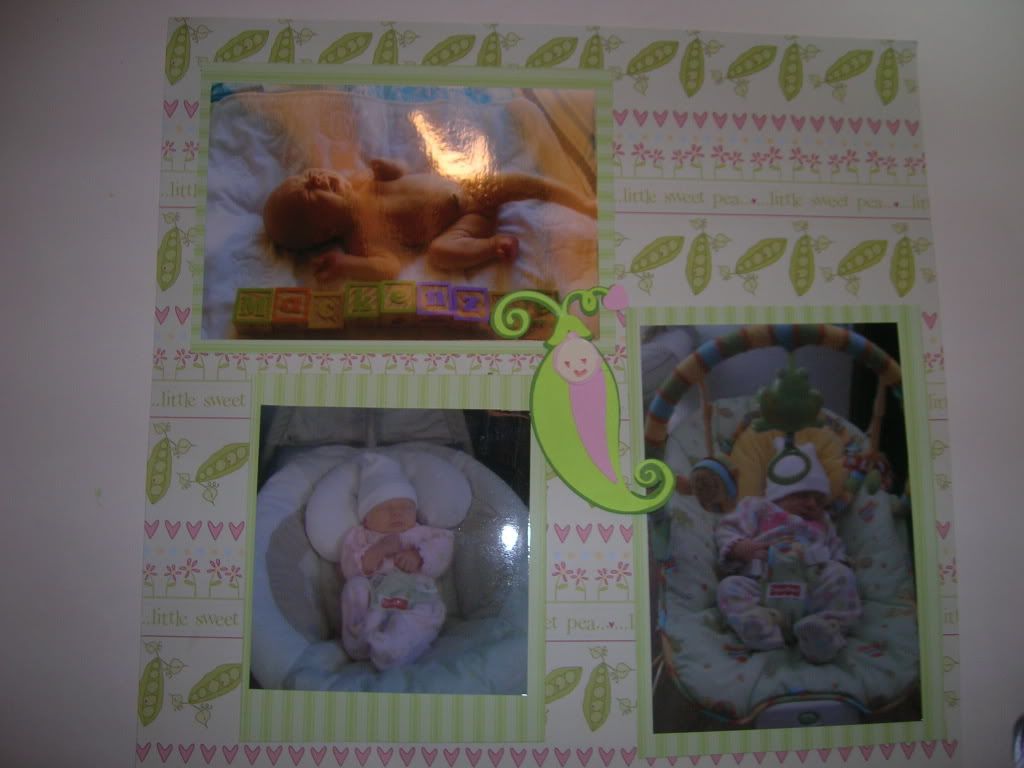
For the second pair of layouts I used this really cute Sweet Pea paper I got at Joanns.  I added the words and little baby in the  pea from New Arrival.  Mackenzies name was from her shower diaper cake.  
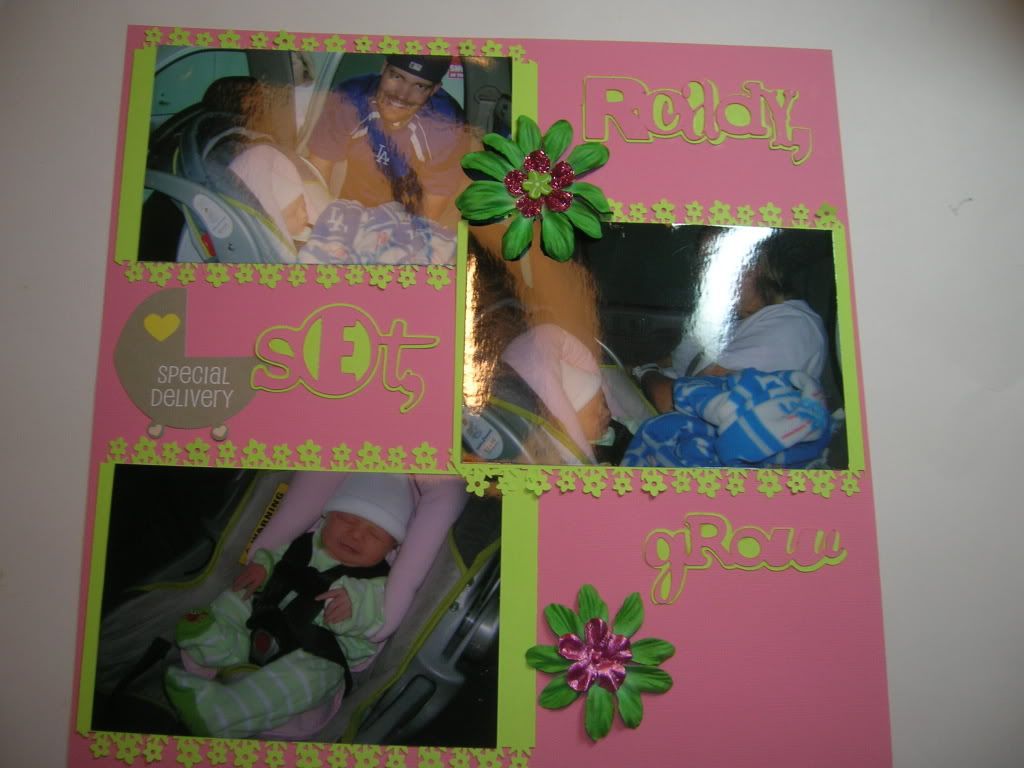
This page I was hunting for the words Ready, set, go but instead I found Ready set grow from Wall Decor and I liked that idea since they were leaving the hospital and babies grow so fast.  I added flower MS punches for frames and flowers.  

Sunday, March 6, 2011

Door hangars for CC Monthly Challenge

FEBRUARY MONTHLY CHALLENGE: CHILDREN AT PLAY!

“Childhood is the most beautiful of all life’s seasons.” This month we want you to create in honor of the children in your lives. Not only will you be creating something FOR a child, but you will be playing to win a prize for your local school. The winner will be playing to win aLightly-Loved Cricut Expression and FOUR Cricut cartridges (Provo Craft’s Choice) for your local school

The Challenge: Create a project (other than a layout or card) for a child using your Cricut machine. Project ideas include, but aren’t limited to: Gift item, toy, organizing solution, chore chart, item for schoo., stationery set, etc. Project must include atleast 2 different Cricut Image Cuts.

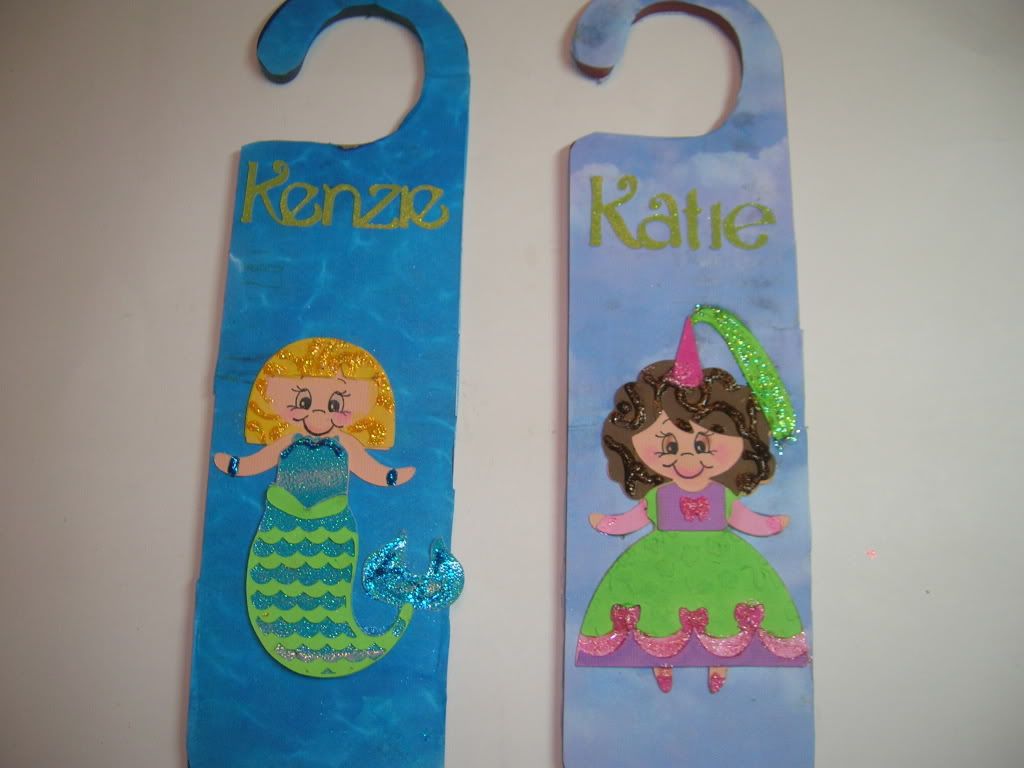
I made these door hangers today for my sweet granddaughters.  They are wood and belonged to my daughter when she was in college.  I traced then and glued paper  to wood.  I then Glimmer Misted the water paper on the left and the cloud paper on the right to give them more vivid color.  The two dolls were cut at 4 inches from Once Upon a Princess.    I have a couple more so will save these for grandbaby due in July and any future grand kids.
If my name was to be drawn for this challenge I would love to give and Expression to the school my daughter teaches at.  It is a school for children with Autism and I am sure they would love to have a Cricut machine.

Tuesday, January 25, 2011

Grammy and the princesses layout for weekly CC challenge

The challenge this week was called the BABY challenge.  We needed to use brads, aqua, butterflies and yourself as the subject.  This is my entry I made using  Lacey Labels and Once Upon a Princess.  I used small aqua brads to decorate small butterflies  I put on corners. Larger butterflies came from OUAP. I almost always do two page layouts.  The third picture  is to show tiny brads and details.   These photos were taken at Katie's birthday party.  Katie was turning one and Kenzie was 2 months.  Nothing better than being with my two girls.