Just Kitting Studio Items for Sale

Friday, April 20, 2012

Child's Play Wizard of Oz Challenge

I found a great challenge called Child's Play.  One of the challenges this week is the 
Wizard of Oz Challenge.  I love Wizard of Oz and had my 
Graphic 45 Wizard of Oz paper.  I just always have a hard time cutting into it but now  I have.  
I also used a
MS branch punch and the 
Poppy is cut at 3 inches  from 50 states Cricut cartridge 

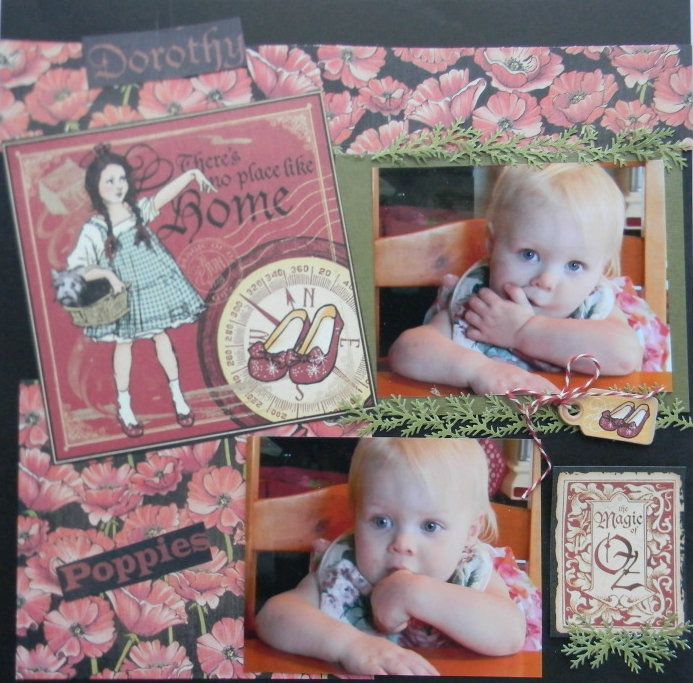
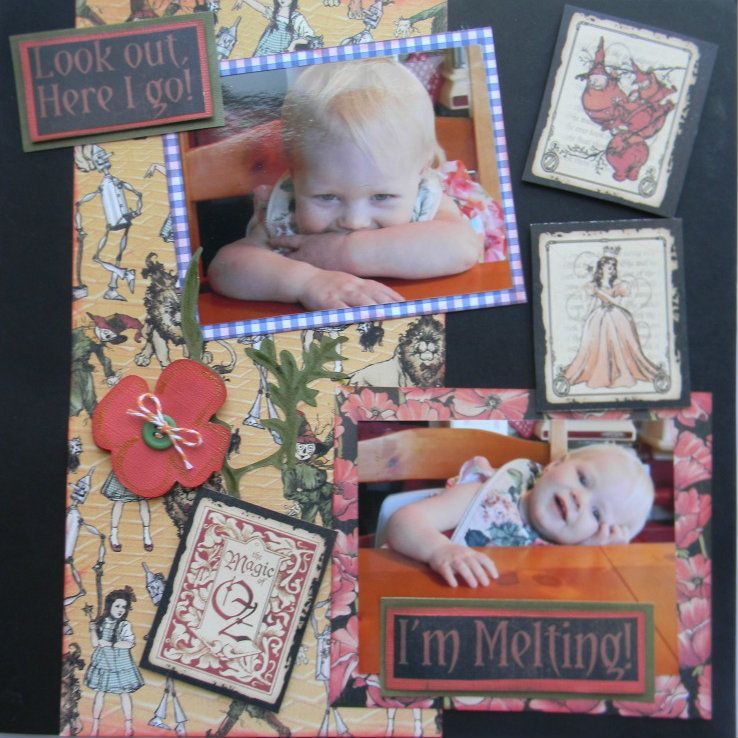
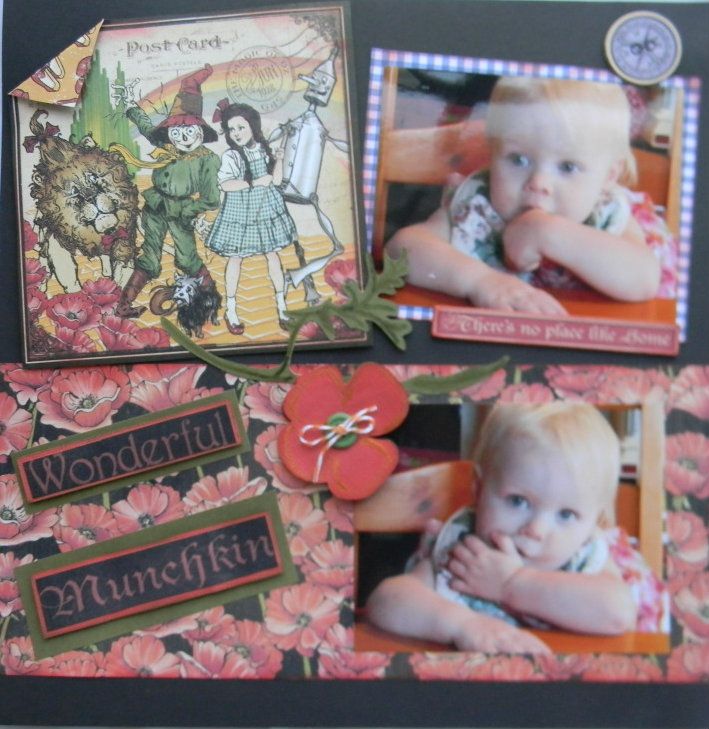
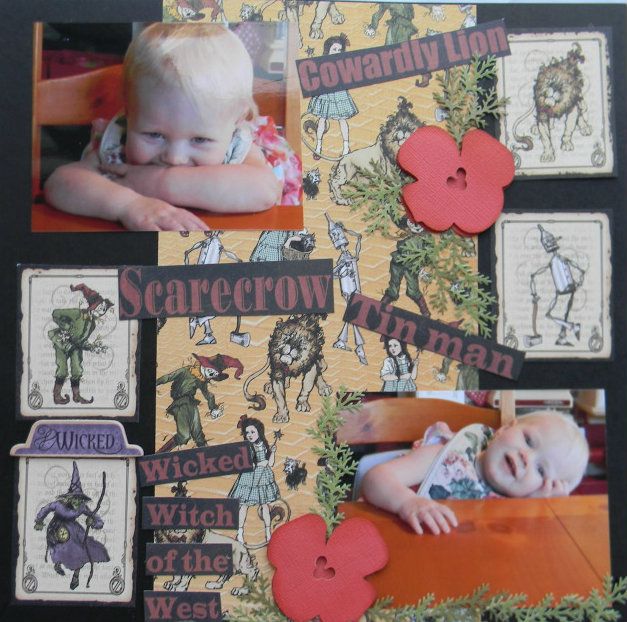
Now let me explain what you are seeing.  There are two sets of double page layouts- one for me and one for my daughter.   The pictures are the same.  They are of my granddaughter Kenzie at Easter.  First she was day dreaming as she was really tired.  Then once she caught me taking her picture across the table she got really silly.  
The papers are basically the same. But I changed the embellishements.  


Now that I used my paper finally I am sure you will be seeing some more Wizard of Oz things soon-like maybe even tomorrow.  Happy Craftin - Suzanne

Thursday, April 19, 2012

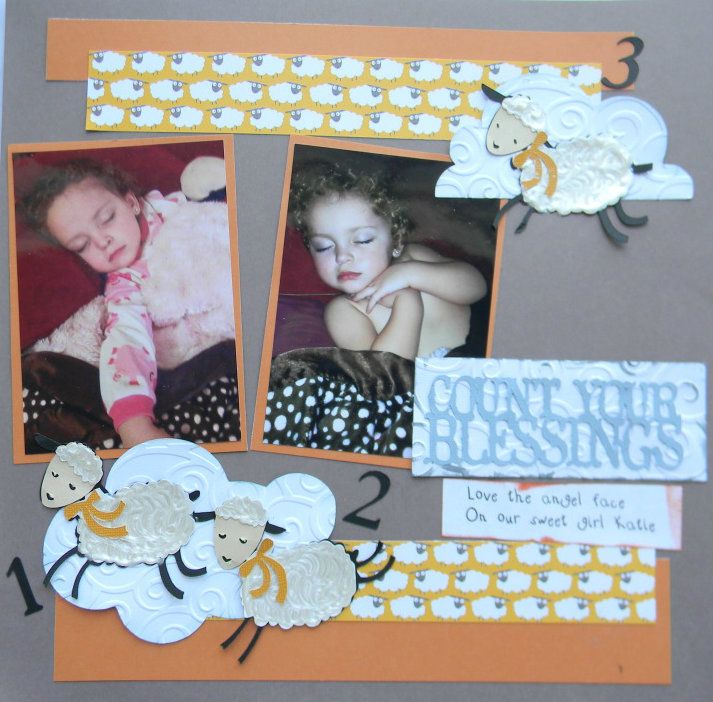
Creative Scrappers Challenge #204 Entry- Count Your Blessings layout

This layout page is for the Creative Scrappers Challenge #204 
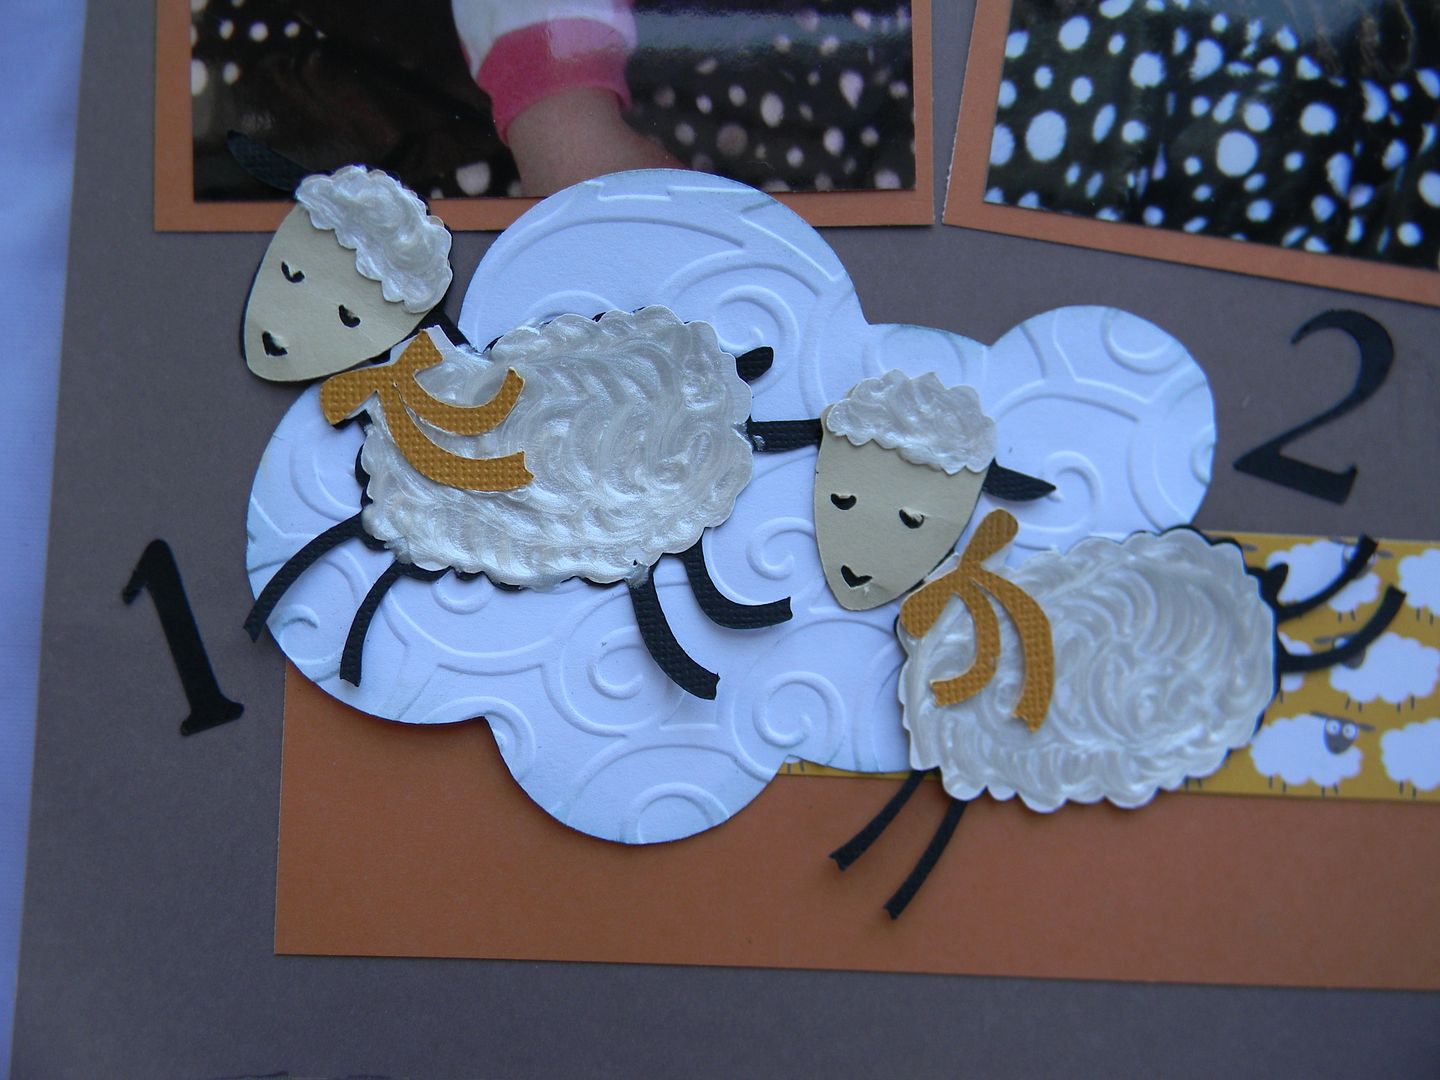
Sheep  are cut from Cricut cartridge Country Life 4 "
Count Your Blessings title  from the same cart 
Clouds are from Create a Critter 3.3 and embossed with Cuttlebug Divine Swirls 
Here is the sketch 
Closeup of sheep.Used a Pearl Ink Pen to make fleece   
Second page of double page layout. 
I used the SEI Zoo pals paper stack for both pages 
Sweet Dreams is  cut from Wall Decor 3.5
Hope you enjoyed my layout pages and Happy Craftin.  

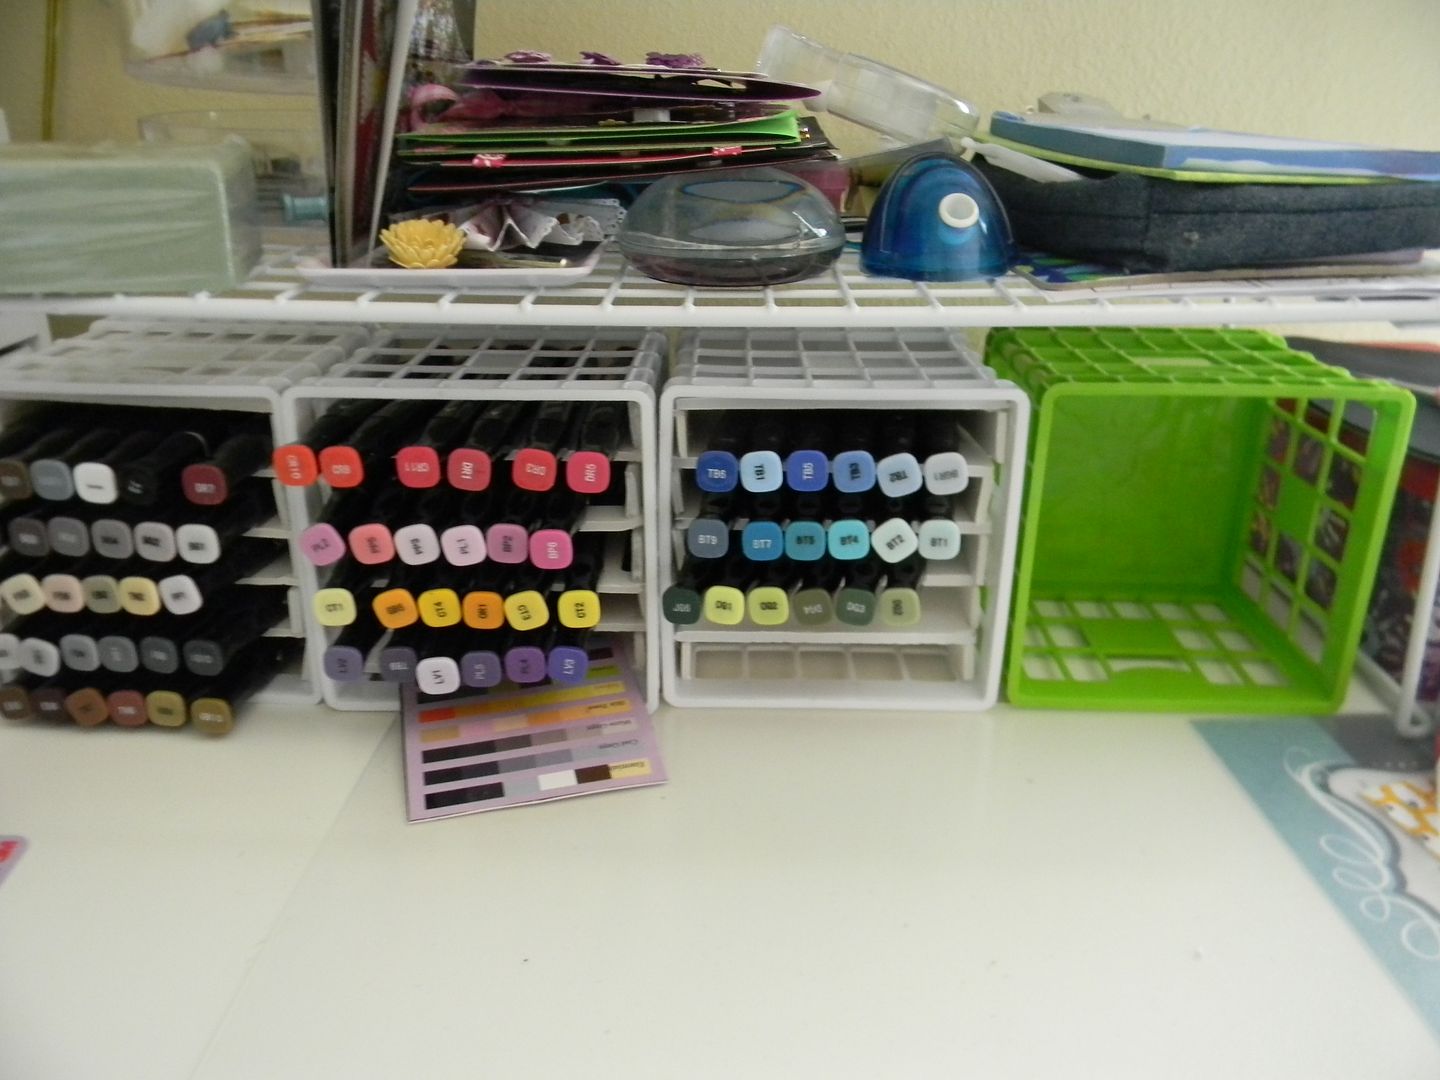
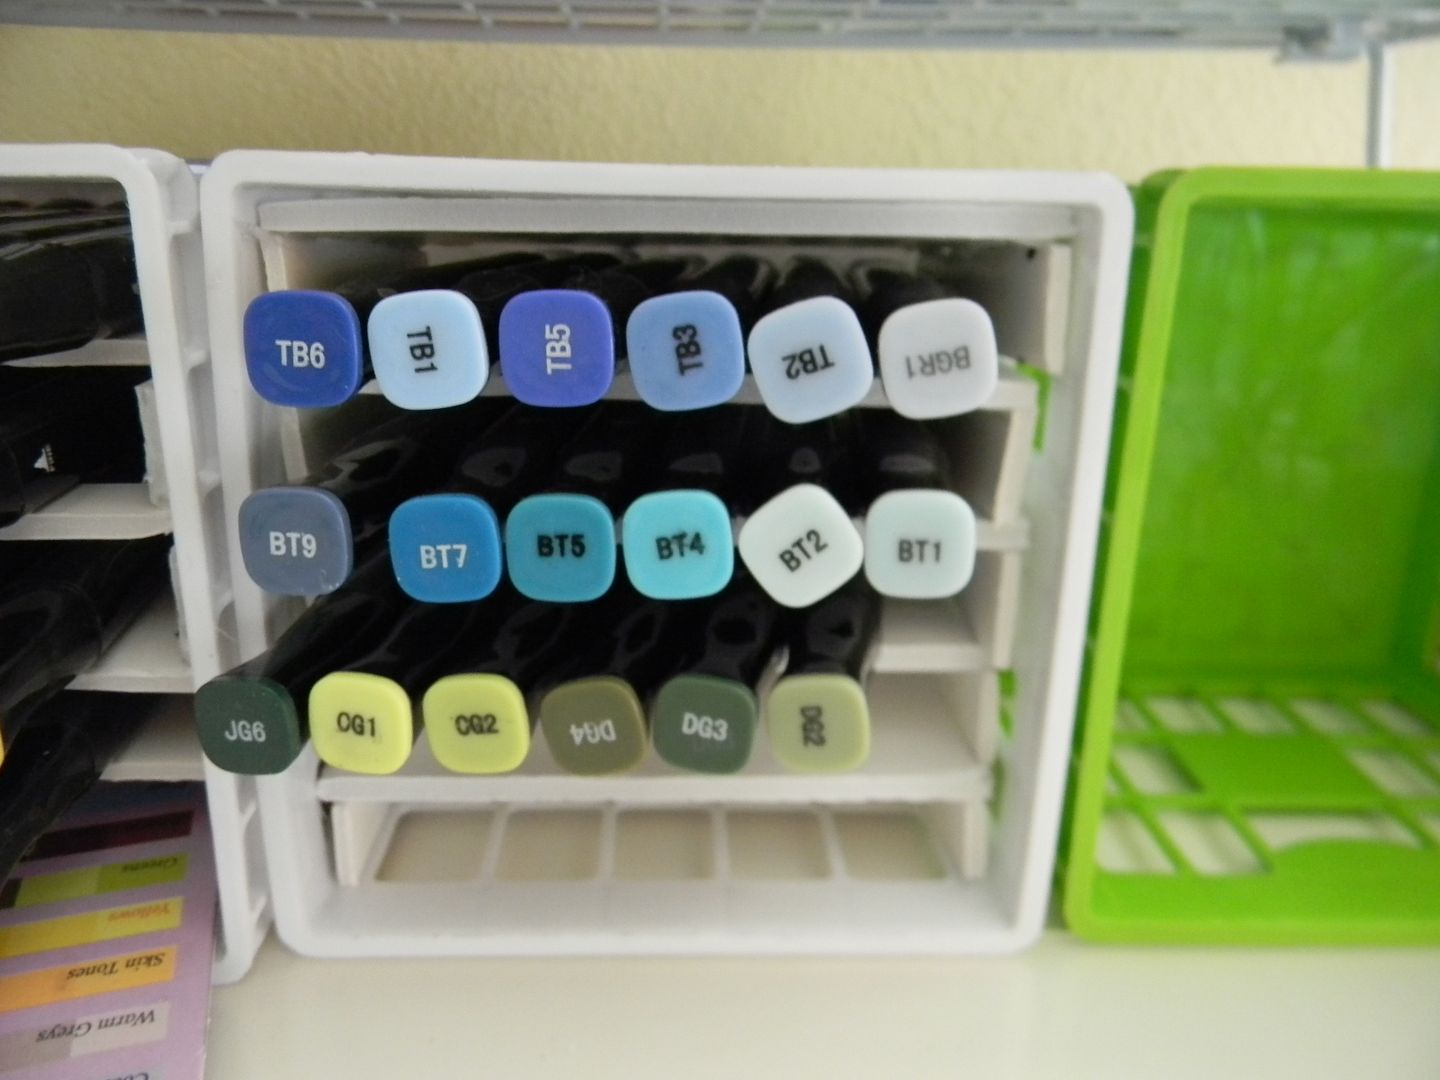
My storage for my Spectrum Noir pens

I have seen some wonderful ideas for storing Copics and Spectrum Noir Alcohol Pens over the past few weeks.    One idea was to use foam board to make a box, another to  use a cosmetic bag and cardboard,  and the other idea was for some little square boxes with an x in the center that I saw on the  Crafters Companion website.   I couldn't find the little boxes from the office store that Crafter's Companion shared but found these little boxes (slightly bigger than 5 x 5) at the dollar section in Target yesterday. I have also seen the same boxes at the office stores and dollar stores if you can't find them at Target.   
So I bought 4 of these and then took a piece of foam board and cut it to make dividers for my Spectrum Noir markers.  Each shelf is cut 5 inches x 4 inches and then the sides are cut at 4 x 3/4 inch.  I then glued the two  sides on each shelf piece with a glue gun.  Next each shelf and sides was placed in the box carefully to make 5 rows for my markers.  For all four baskets and the foam board on sale at Michaels this week it was only $5.   

DCWV Layout and card challenge

It's time for my post for the April Stack a holic Challenge for DCWV.  
I was so thrilled to have one of my layouts selected last month for the top 10.  There are so many wonderful creative layouts that are entered each month.  I love entering the challenges since I am a big fan of DCWV and for the great inspiration.  
This month DCWV not only have a sketch layout challenge but a card challenge.  
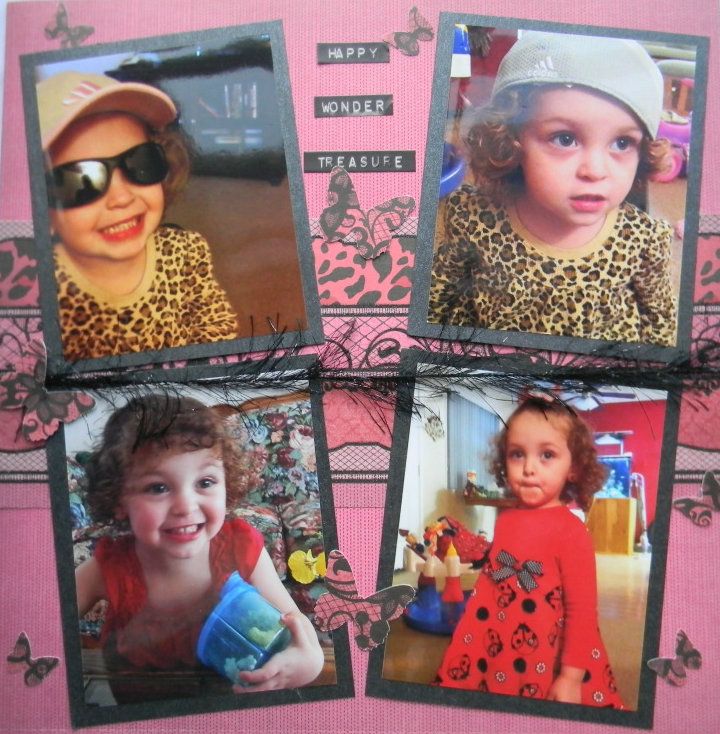
For the layout of my oldest granddaughter I used DCWV La Belle Rouge.
I also used words I cut out and black fancy yarn.  
This is my page for my April layout entry.

This is the sketch
This is the other side of the two page layout.
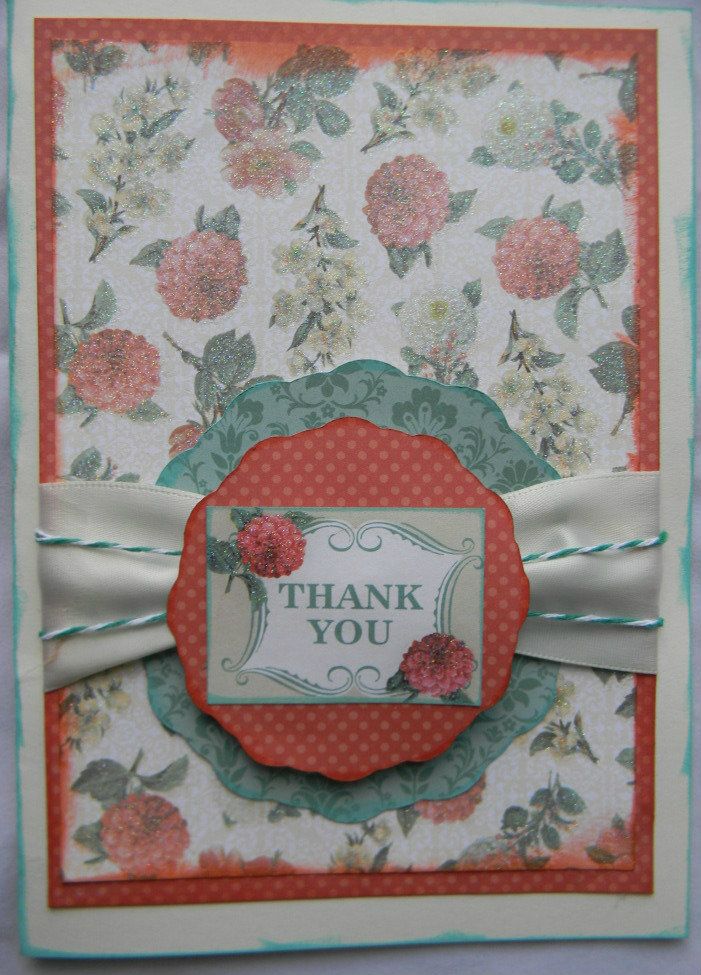
This is the sketch for the DCWV First Card sketch for April 
I made my card using the gorgeous Coral Couture paper, ribbon, twine and Quick Quotes ink.  
Hope you enjoyed my projects.  Happy Craftin.

Wednesday, April 18, 2012

Cooking with Cricut- National Card and Letter Writing

Hi everyone its time for another awesome Cooking with Cricut challenge and this week the challenge is "National Card and Letter Writing."  Make a card to send or create a scrapbook layout featuring a letter
 (i.e., a letter to a child or other loved one),
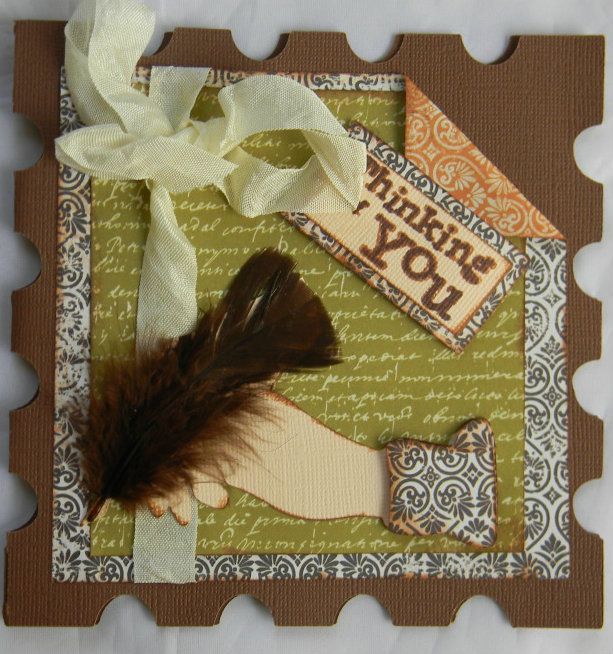
So the challenge inspired me to make this card.
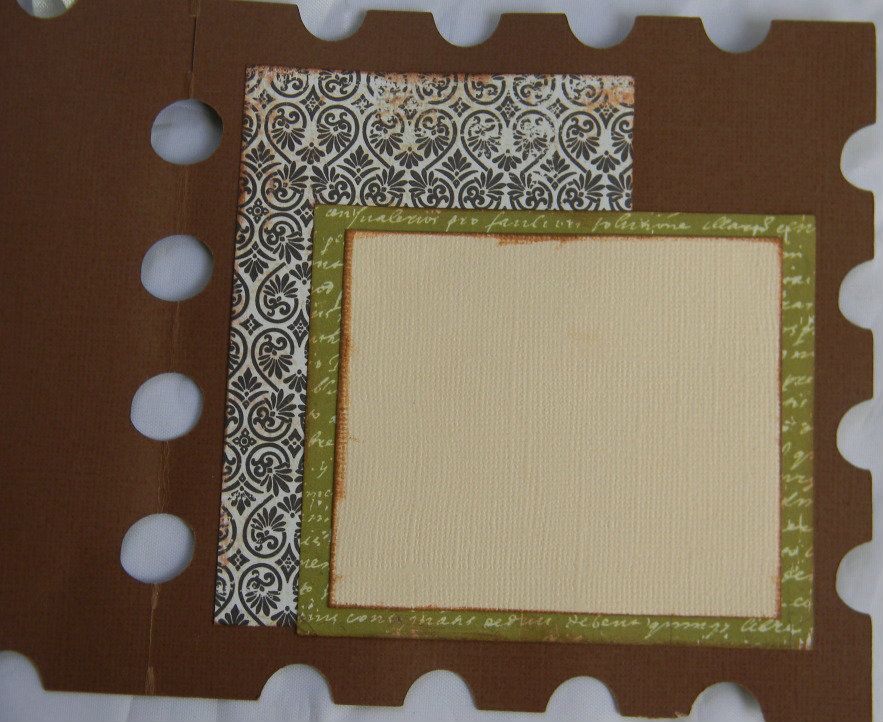
Here is the inside
The stamp card shape is from page 31 of Birthday Bash.  
I used the Gypsy and the size is 11.75 x 5.59 when open
The hand on the front comes from Sentimentals page 26 cut at 3 inches.  
I double cut the cuff and then added the feather 
Hope you enjoy the challenge this week. 
Don't forget to hope over and check out Paper Crafting World 
Melin has the most amazing Die cut patterns, Digital files, and Page kits.  There are lots of new things so check it out.  
I hope you will join us for the challenge this week at Cooking with Cricut 
 I love seeing what the Design team and the challenge participants  create each week.  
So join us for the fun.  

Tuesday, April 17, 2012

Decorate to Celebrate "All for the Teachers" Guest Designer Project

Hi everyone- I am so excited that Amy has asked me to be a Guest Designer at Decorate to Celebrate.  I have gotten to know both Amy and Rhonda through the blogging world and admire both of them and their talents.  I often participate in the Decorate to Celebrate challenges and find them a lot of fun. 
This week (starting April 18th) the challenge is "All for the Teachers!" (classroom parties, teacher gifts, etc.  I was really excited to be a guest designer for this challenge since  I was a teacher for 33 years before I retired.  I think it is really important to let teachers today know how much we appreciate all they do.  
Amy has graciously allowed me to post 
my project early as  Wednesdays are my Design Team day for Cooking with Cricut. So make sure you check out the Decorate to Celebrate post on Wed. 4/18 to see other ideas for the All for Teachers challenge.   

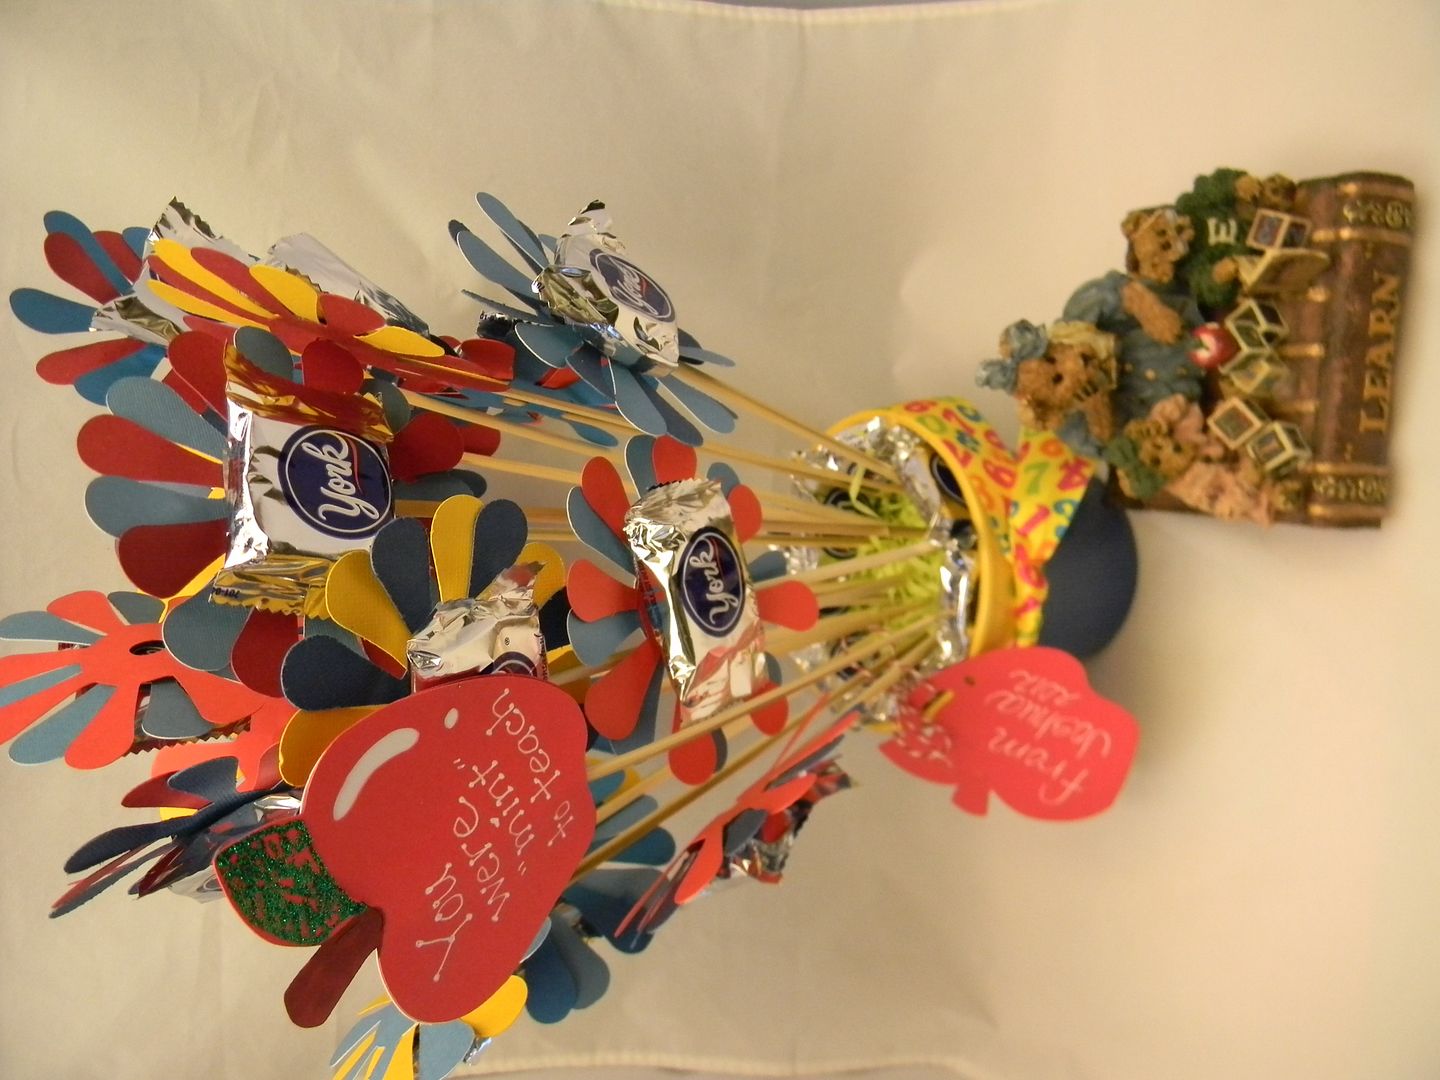
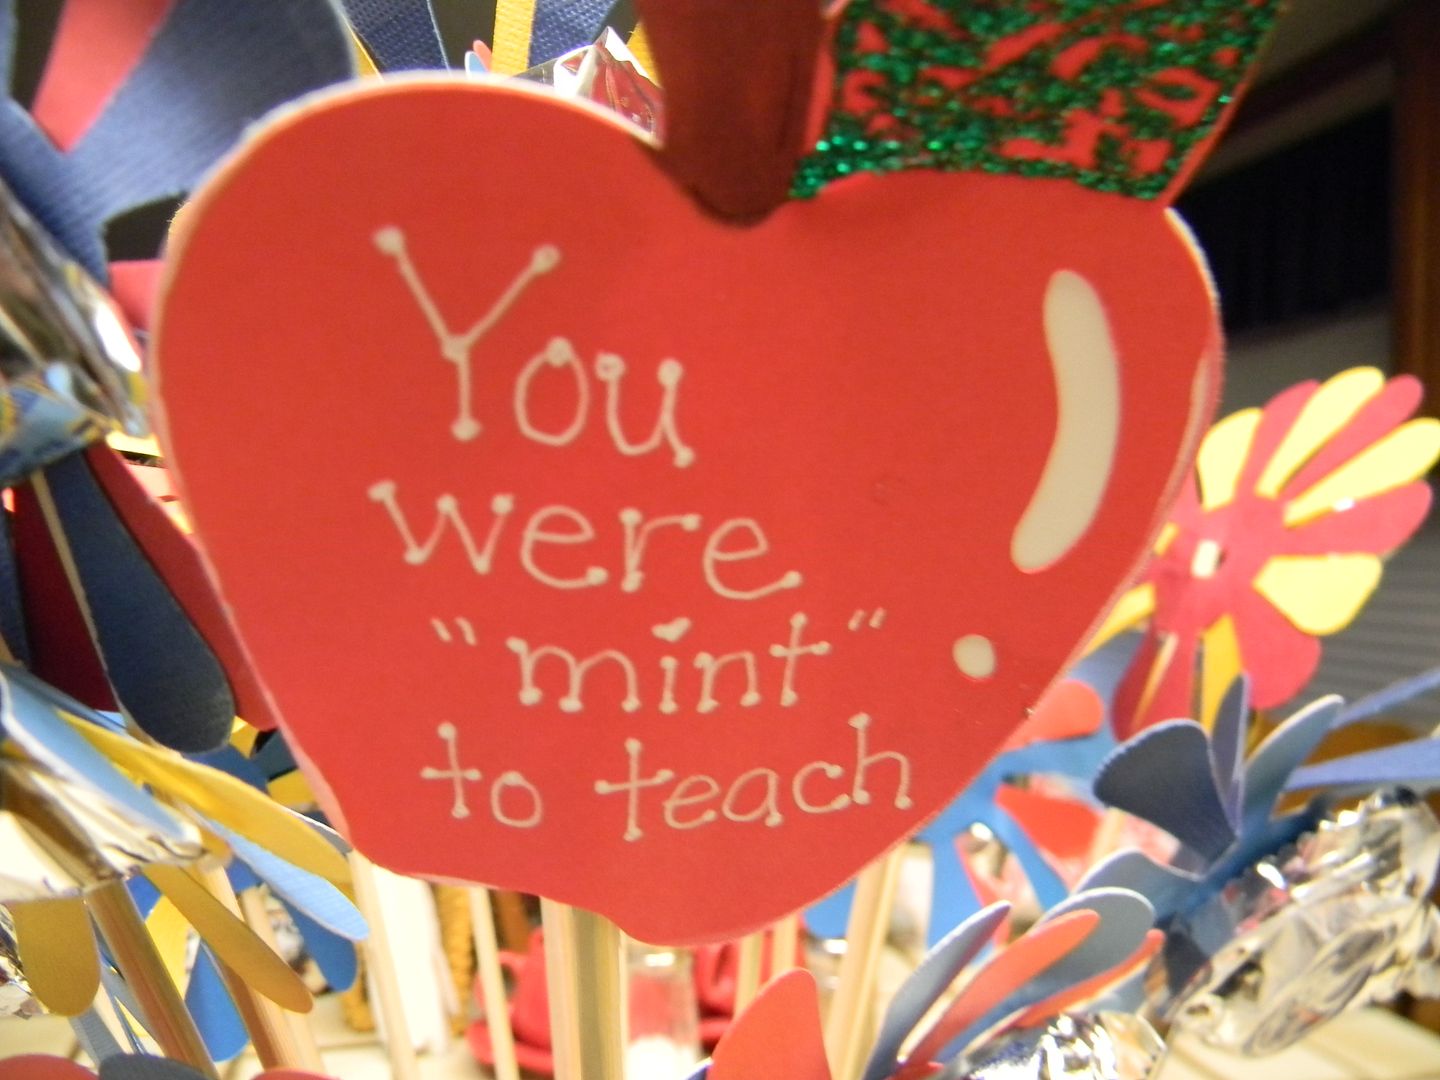
My project is a paper flower bouquet entitled "You were Mint to teach"  
The flowers were cut from Flower Shop page 20  at 4 inches which made 6 to a page.  
You could cut them 3.75 and get 9 to a page.  
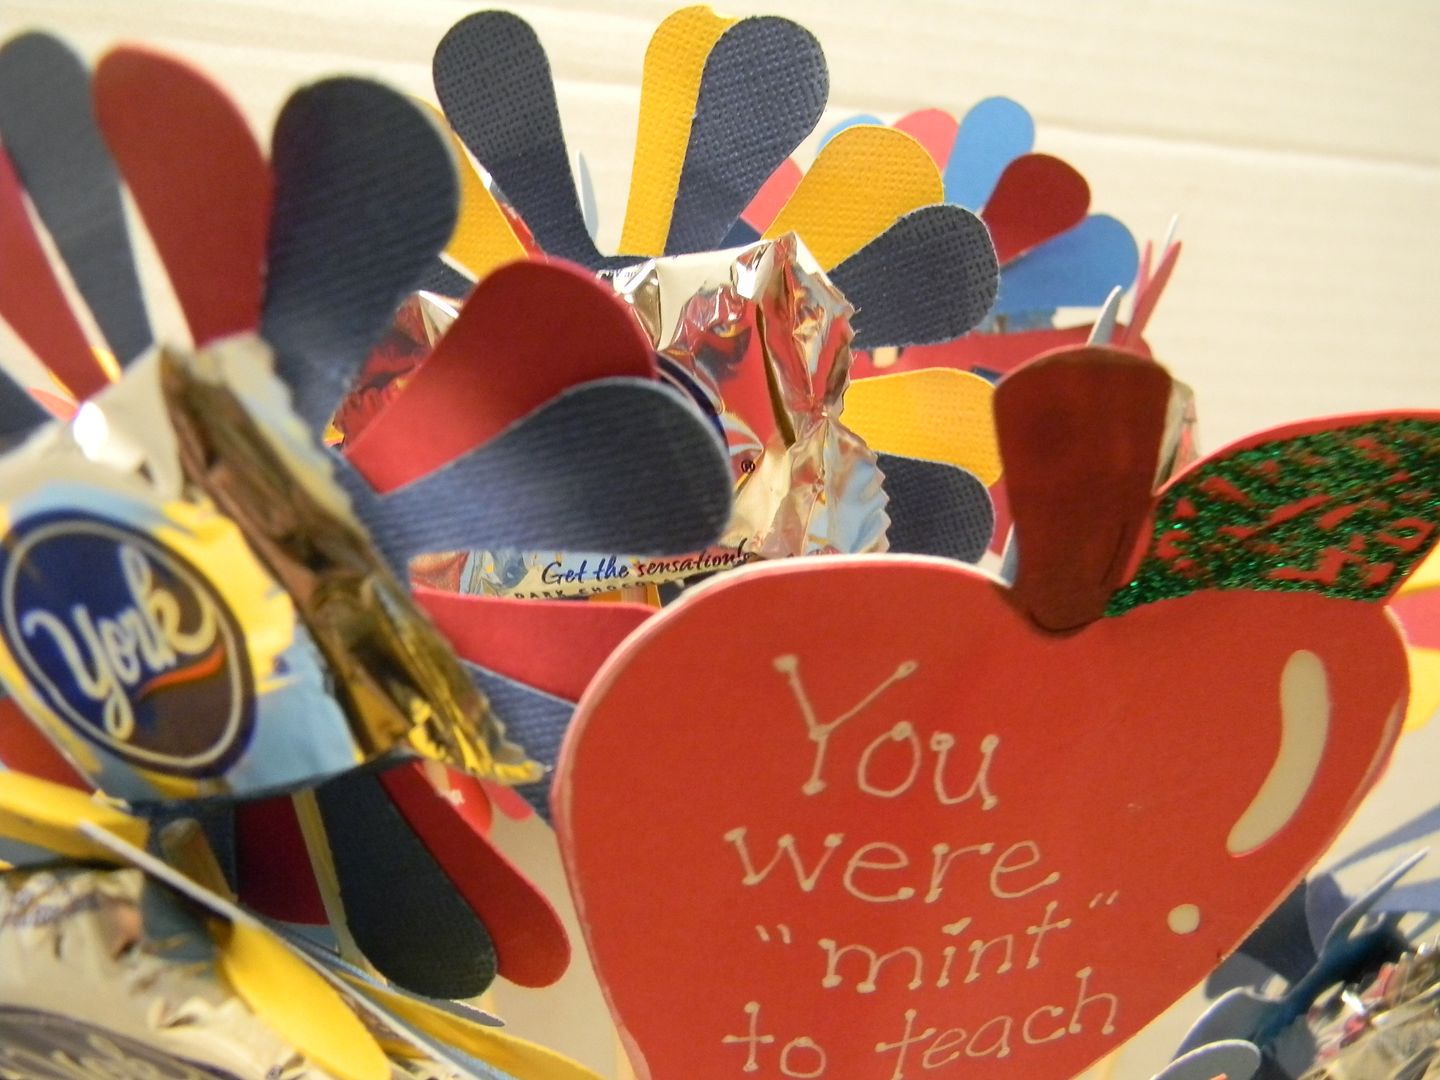
I used all primary colors- several colors of yellow, red and blue.  There are two flowers per stem.  
Each flower is edged with white chalk.  A little hard to see in the photo but definitely turned my white chalk a little pink.  
I used kaboob skewers for the stems and using Glue Dots adhered the sticks in the center of two paper flowers.  I then secured the Mints to the center of the front flower.  
The apple for the sign is 4 inches cut from Doodlecharms and I added the sentiment with a white gel pen.  I also added an apple tag for the signature.  
For the container I used a pot from the $1 section at Target.  Added a little oasis and topped it off with raffia.  I also edged the pot with mints to give the teacher more candy.   You can make these bouquets any size you want  and just add flowers till you feel it is full enough.  
Flower bouquets are great for any occasion so I hope you will give them a try.  
I hope you enjoyed my project.  
I am also entering this in the Weekly Cricut Circle Challenge " Teacher's Rock Challenge "- Use primary colors and chalk your edges.  
I hope you will join Amy, Rhonda and all the Design Team this week and create a project for teachers and link it up to Deorate to Celebrate.  

17- Sweet Sassy Diva =Card Sketch

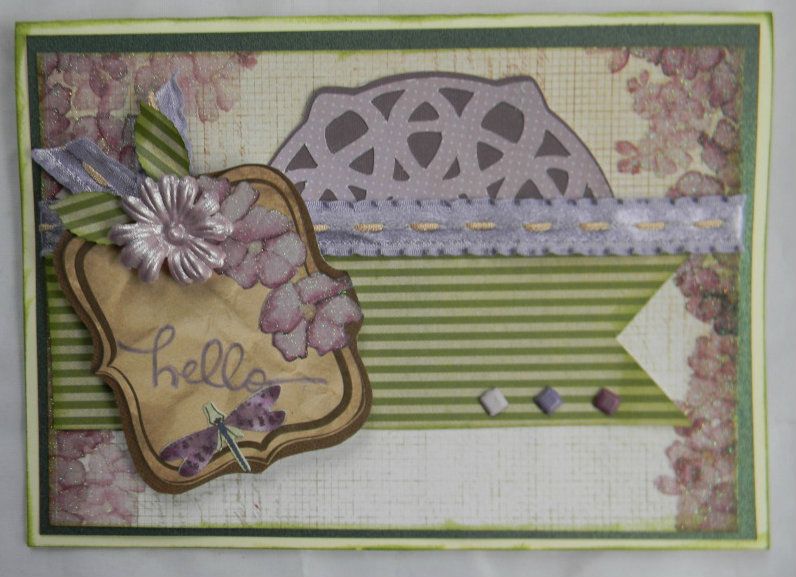
Sketches are always a great way to get one's creative juices going. This week for the Sweet Sassy Design Team we were asked to use a card sketch from Moho Mondays.  Right away I got out my DCWV Chateau Lavendar Stack I got from one of my dear crafty friends for my birthday last month.  It is the most gorgeous paper and can be found at Joann's.  All the papers came from either this stack or the matching cardstock stack.  Don't you just love the colors?  
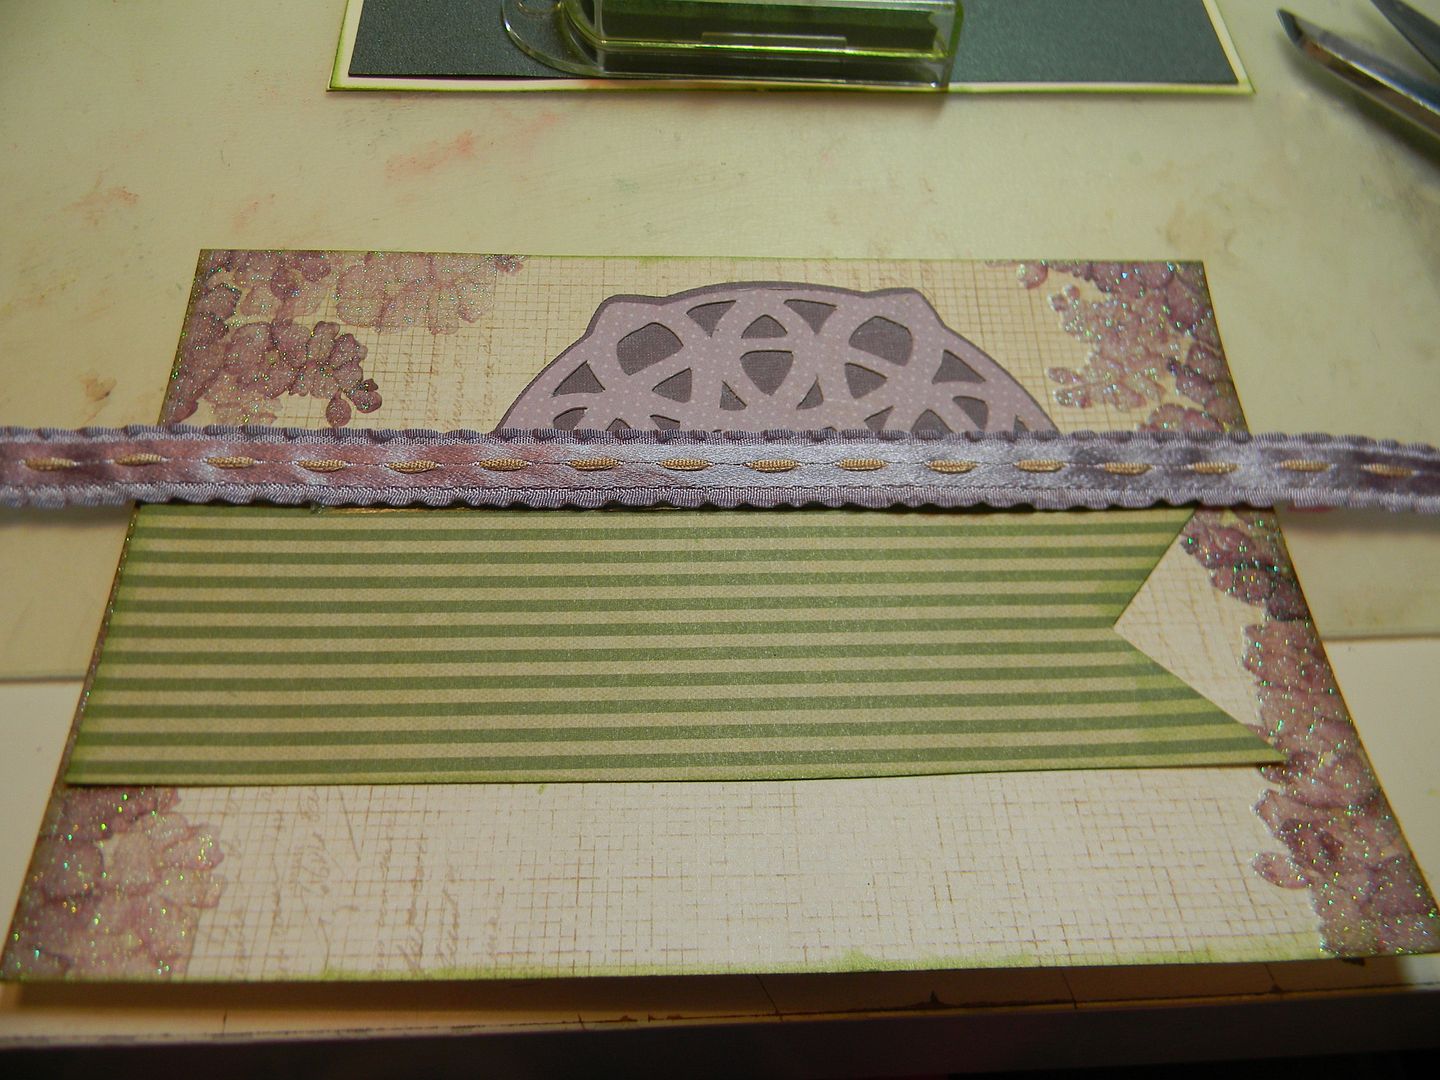
The card was glued to a card base of cream cardstock which I inked with green ink on the edges. The green and cream stripe is also another page and I cut the V into the end.  
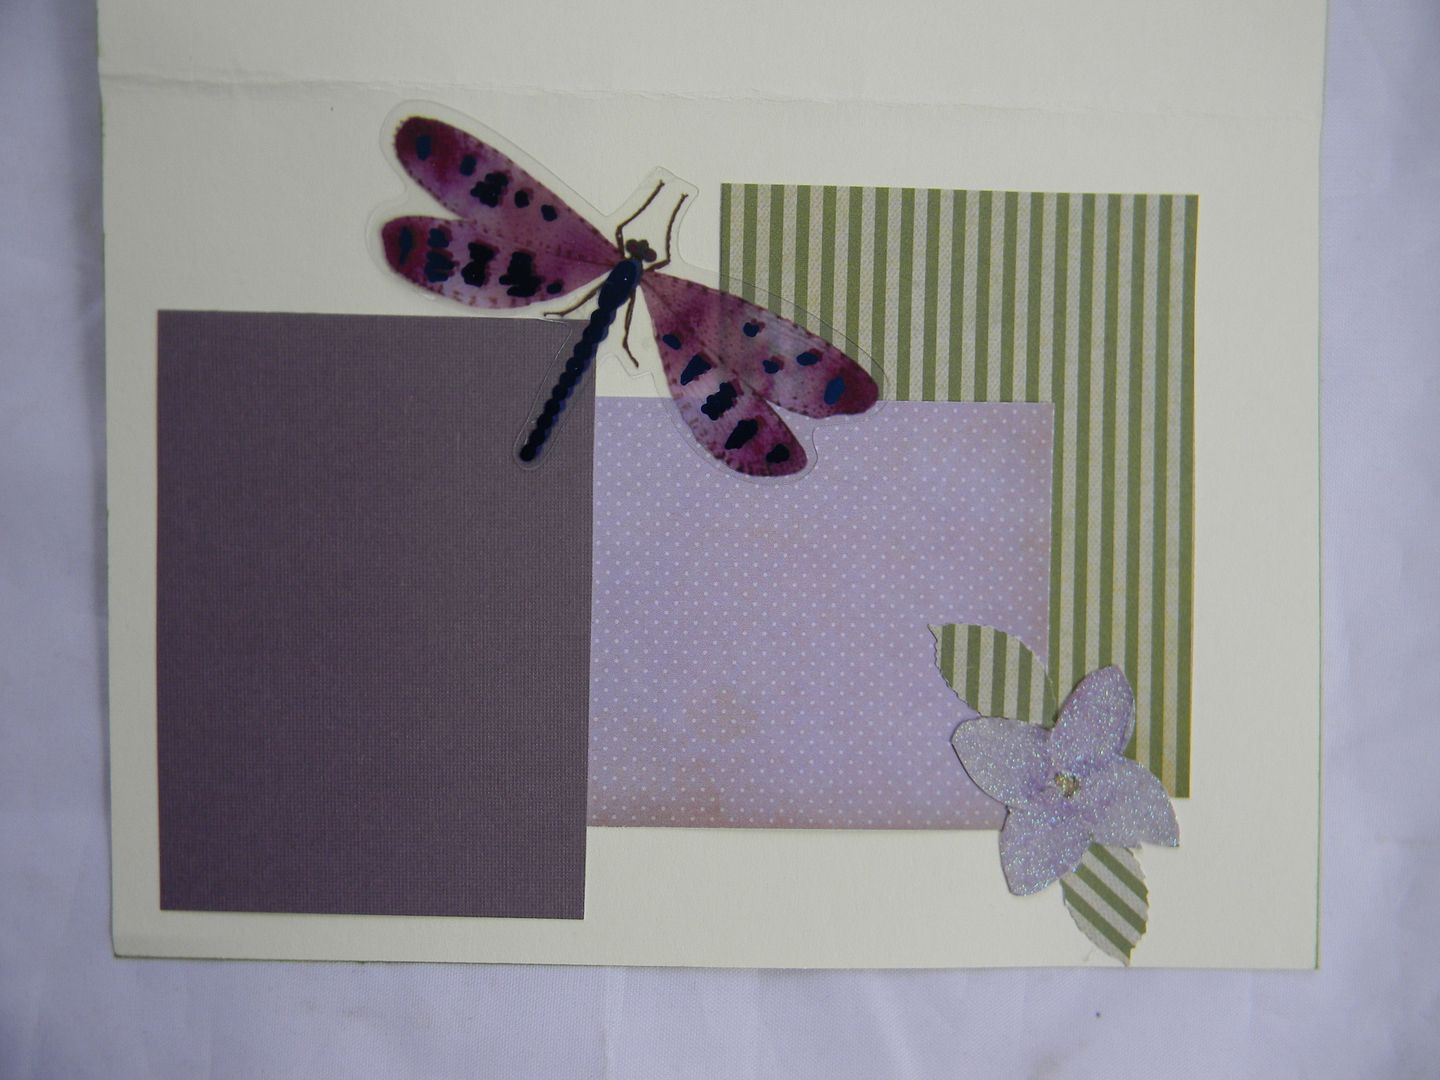
Even the little tag was from one of the pages with the cute flowers.  I added ribbon, MS punch leaves, a shiny flower from my stash, hello stamp, 3 brads and a K and Company dragon fly from an embellishment kit. 
The background fancy circle was cut from Paper Lace 2 page 23 with the shadow at 3.5 inches. 

Here is the sketch we used.

Here is the inside.  I used some of the scraps from the front and another dragon fly from K and Company.  
I left it blank so I could write on it when needed.  
This picture shows that I lay my ribbon out and attach to back with ATG gun.  Next I added brads before attaching the entire thing to my card.  That way the brad backs and ribbon do not show.  
I
I am looking forward to seeing what all the designers make with this wonderful sketch.  
Happy Craftin!