Just Kitting Studio Items for Sale

Monday, January 23, 2012

Preview of Card for Kids Valentine's Day Blog Hop Tomorrow Jan 24th

Got an email from Maggie at Passionately Artistic today and over 1,100 people have checked out my Valentine wreath I made as Guest Designer yesterday.   Would love for you to check it out if you haven't seen it yet.  
Also tomorrow I am participating in the 
This is a great opportunity to make cards for kids who are in the hospital during Valentines. So please come by and check it out.  There are also some great prizes.  
I sent Faith 5 cards and 3 will be posted tomorrow for the hop.  
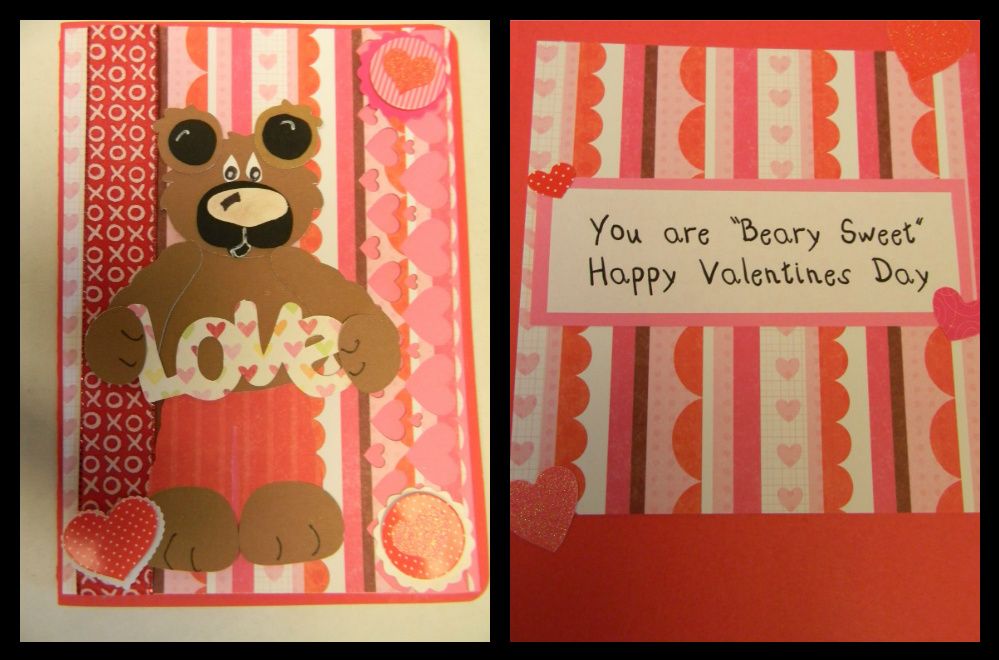
Here re two others I sent.  
The bear I cut out last year from an SVG file.  I found it in my Valentine stuff so made a card out of it.  
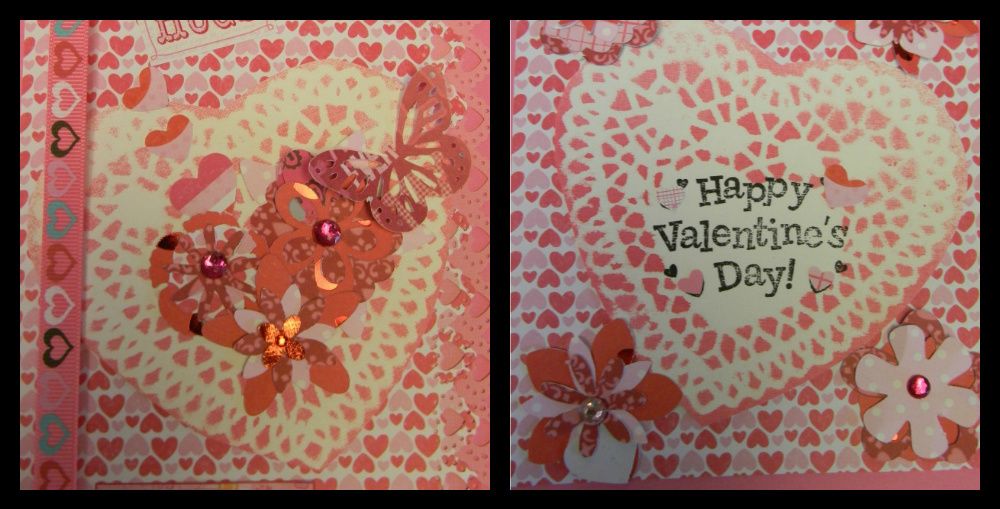
The lacy cards are not doilies.  I also actually kept them from last year.  
I had sprayed two doilies with Glimmer Mist and kept the paper underneath.  
So I cut them out and made another card.  The flowers are also left from Flower Shop 
last year and the butterfly is a MS punch. 

  So come by tomorrow and check out 
the Cards for Kids Blog Hop
                                                               

Sunday, January 22, 2012

I am a guest Designer on Passionately Artistic- Valentine Wreath

Woo hoo! After some computer glitches I am the guest designer at Passionately Artistic. Thank you so much Maggie for the opportunity to be the guest designer today and to share my project.  
If you are not a follower of Passionately Artistic check it out.  I often times participate and check out the linking parties.  So fun seeing all the amazing variety of craft projects.  
So this is my project for Valentines.  I hope you will click on the link and check out my tutorial.  I will share both how to make these flowers by hand or with Art Philosophy.  I would love for you to leave a comment.
Thanks again Maggie for having me and I hope you all enjoy the tutorial.
 Also linked this to Valentines linking party at
http://cheapcraftymama.com/2012/01/23/valentine-party/#more-1966
and An Original Belle linking party 

Valentine cards and February calendar page

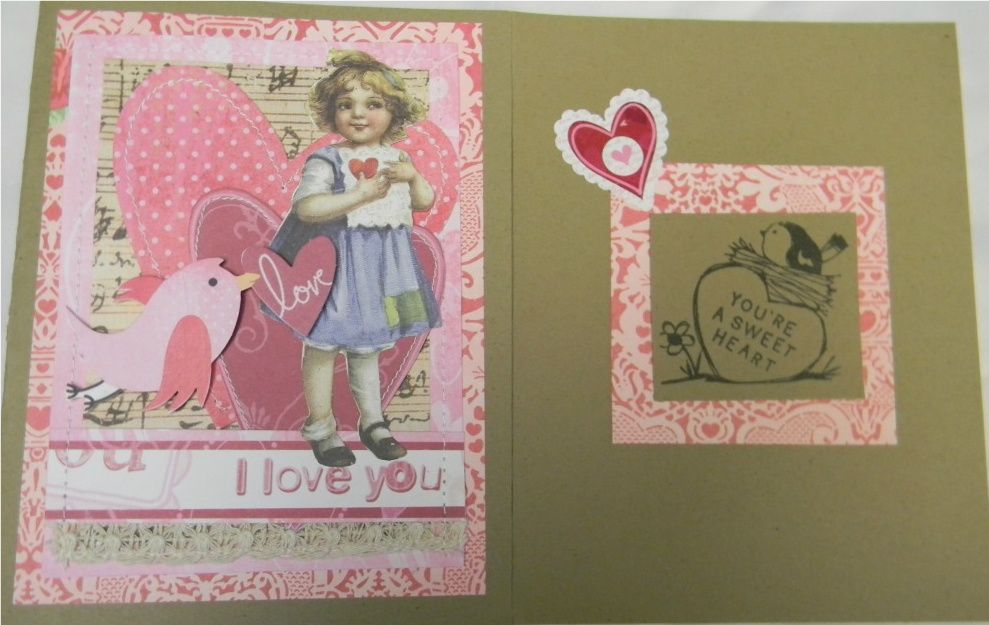
Michael's has these cute little vintage valentine cutouts.  I grabbed two bags which both had these cute little girls in them and when I got home realized they were different.  One was all cut outs and the other was a kit to make 4 valentines.  I made the kits into cards instead of postcards and added a stamp I had from the $1 bin last year.  Thought they would go good together.  
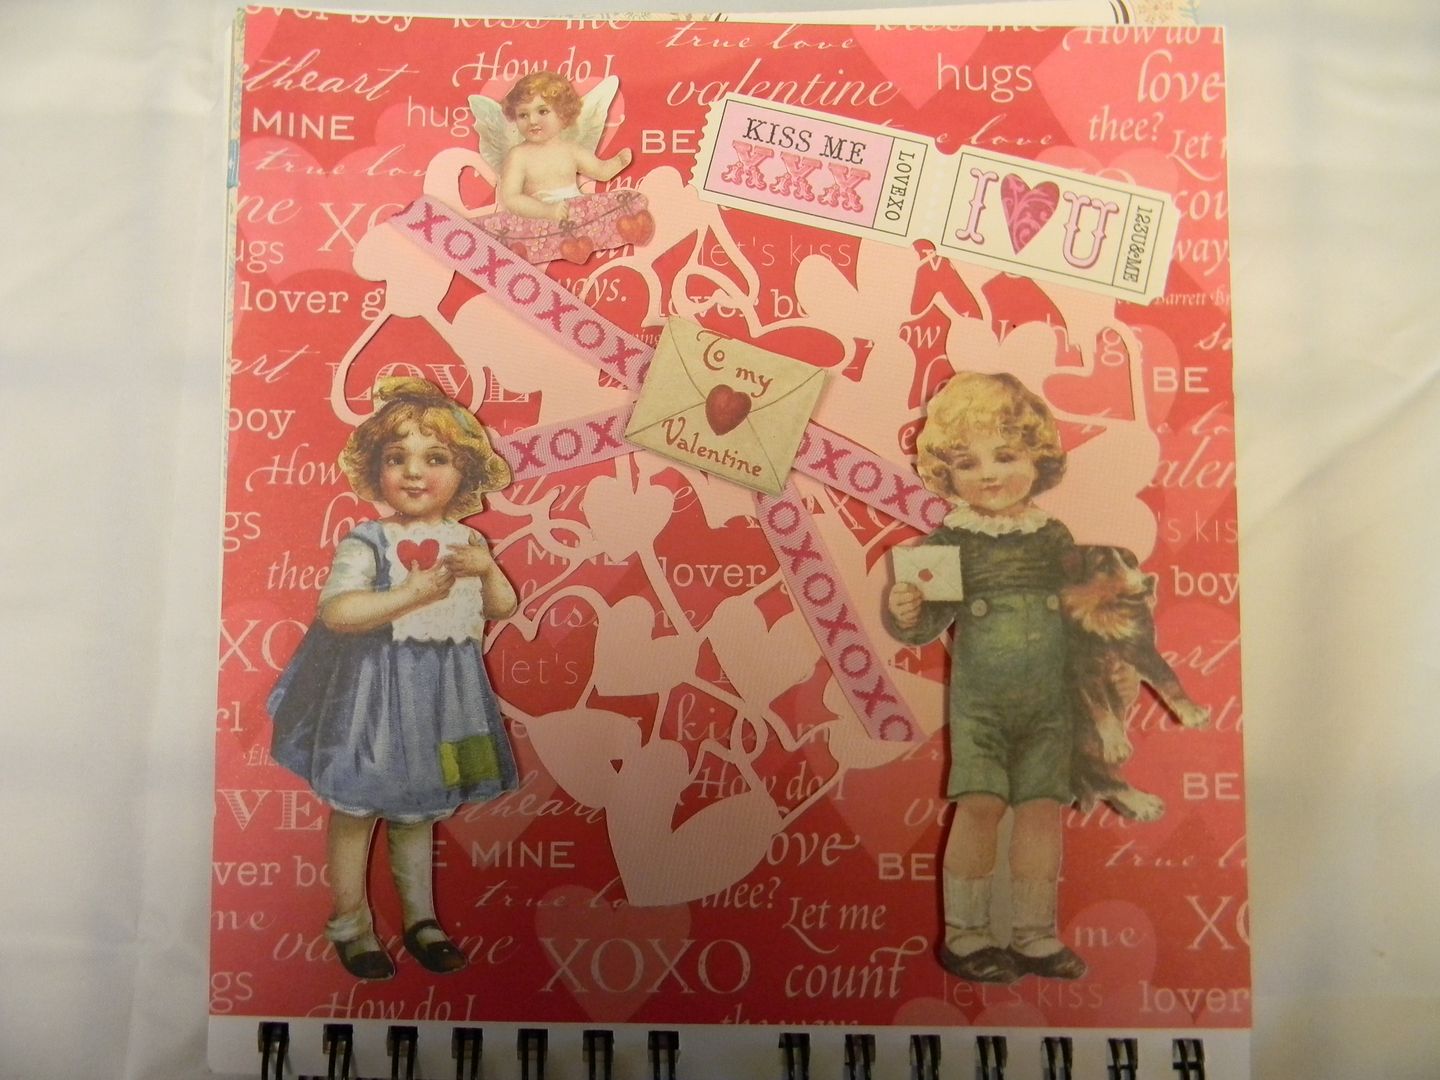
While working on Valentine projects today I decided to do my February calendar page.  I cut the heart out of Love Struck at 6 inches.  The calendar is 8 x 8.  The tickets, cupid, boy, girl and little envelope came from the K and Company die cut bag.  The paper is from a DCWV love stack from last year.  
The little boy and girl are pop dotted.  


Don't forget my blogaversary blog hop is coming this Friday and Saturday.  Hope you will stop by and help me celebrate.  I have an amazing line up of very crafty ladies to share with you.  


Lasting Memories Recipe Challenge.

Its's Sunday again so it must  be time for the Lasting Memories Layout Challenge.  This week the Challenge is "A Real Treat:".-  It's a recipe challenge, but not a crafty recipe!! We're going all out with REAL recipes this week!! We want you to share your recipes with us - food, drink, bath salts, body rubs - that sort of thing!!    Due date is Saturday, January 28th @ 9pm EST.
AND...We have another giveaway from Stacia this week!!  

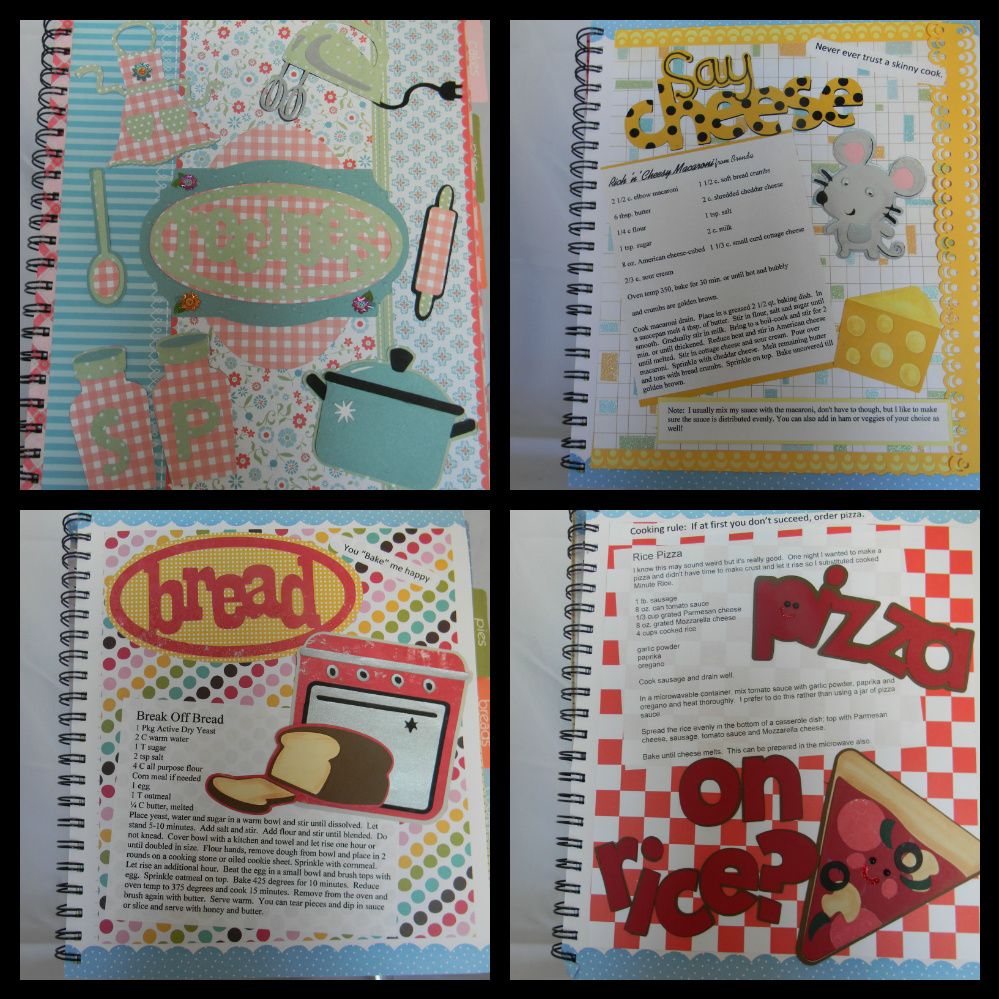
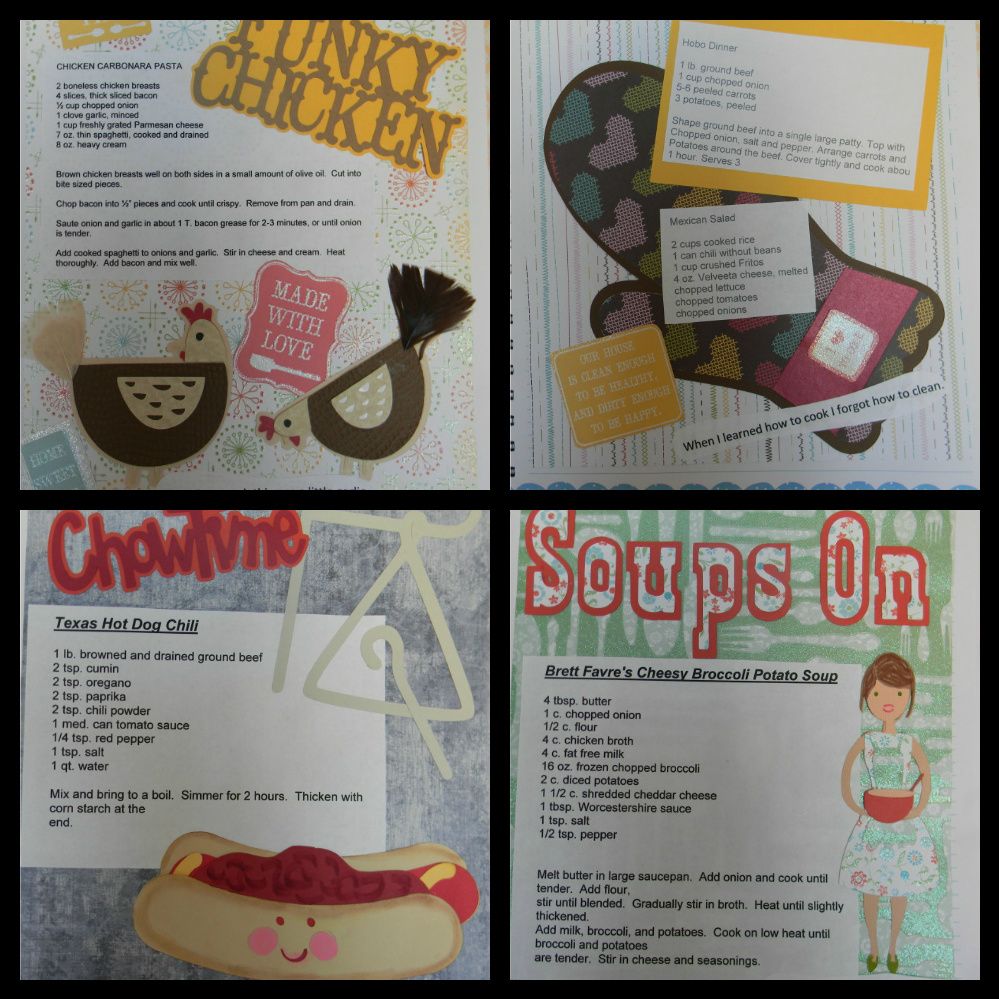
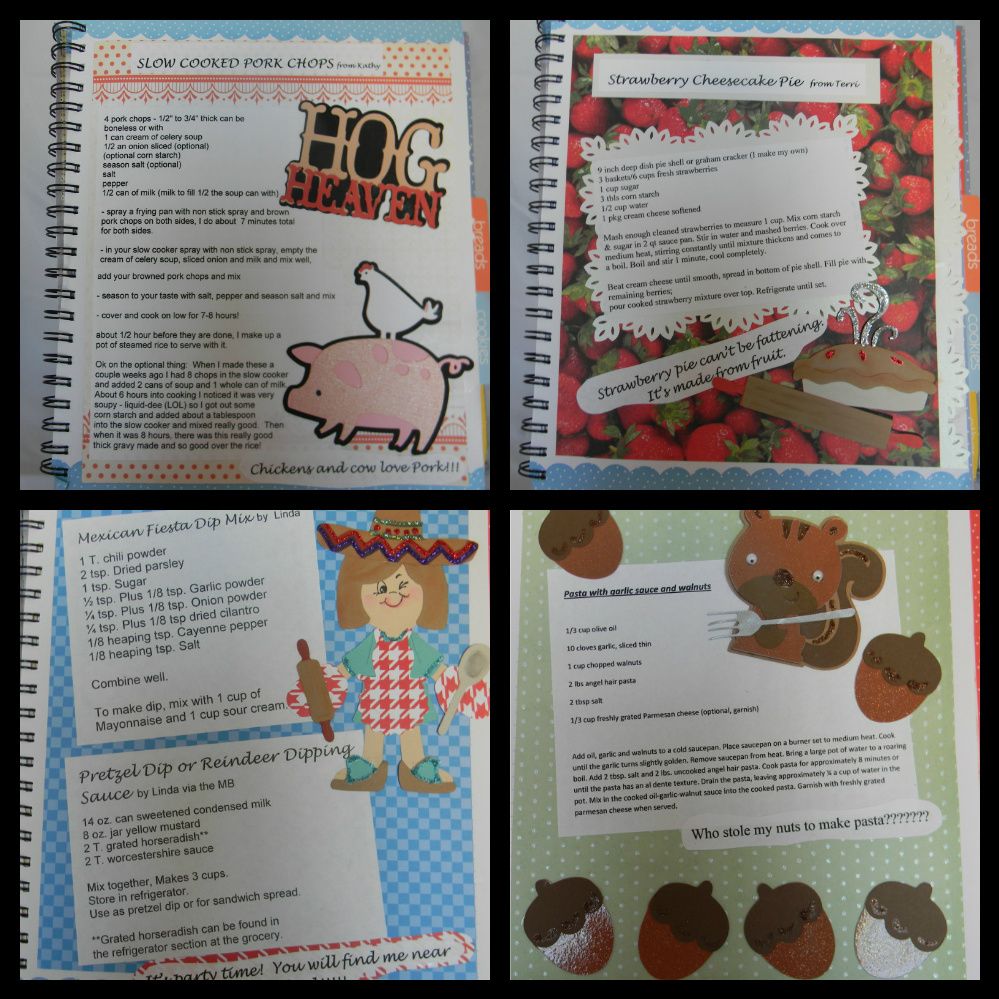
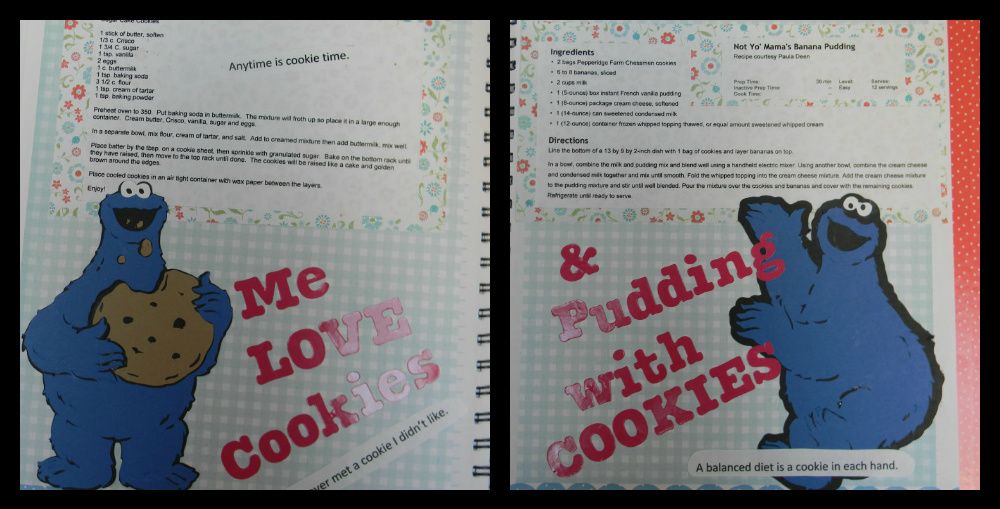
 This was an easy one as this past year I have been working on a recipe book with some of my Cricut friends on the Cricut Messageboard.  We have been sharing recipes and each of us has been scraping pages of the recipes.  This has been a lot of fun, not only getting new recipes, but finding Cricut cuts to fit with the recipes.  I couldn't pick just one so here are some of my favorites.  For my book I used a blank cook book that had stiff pages and dividers for a few dollars at Michaels on clearance.
It's  9 x 12 so gives me space to have fun and include the recipe.  
Hope the DT  pages have inspired you and you will join us this week for "A Real Treat" Recipe Challenge at Lasting Memories.   Looking forward to lots of creative layouts.  So check it out and Happy Craftin!

Saturday, January 21, 2012

Thursday Tutorial for FCCB-" Learn from my mistakes"

Hello everyone.  It is time for the Thursday Tutorial at the Fantabulous Cricut Challenge Blog.  This week the challenge is "Snow Fun" and you are to use a snowman or snowflake in your project.  I hope you are making a project to enter into the challenge.  It is always so fun to see the different projects 
and diecuts that people use. 
So for the Thursday Tutorial I wanted to share this new paper by Tattered Angels (there are some other companies that make similar paper. I got the paper at my LSS where I have taken several classes on using Glimmer Mist.  The paper starts out white with an embossed design and then when you spray it with the Glimmer Mist the pattern pops out.  One of the designs I found was a snowflake pattern.  
Now I am going to be honest with you my first project which is my tutorial project did not come out real well so I tore it apart and redid it into this finished product.  When I realized how bad my project looked  I was going to post a video or something else.  But then the teacher came out in me and I remembered saying to my students "We learn from our mistakes too."   I know we have all had times when our projects don't come out right for one reason or another so I am sharing my tutorial to show you what "NOT"  to do.  
For my original card I cut a card from page 47 of the Art Philosophy Cricut cart at 5 x 7 with a window.  
I then repeated the cut with plain blue cardstock so I would have a liner.  

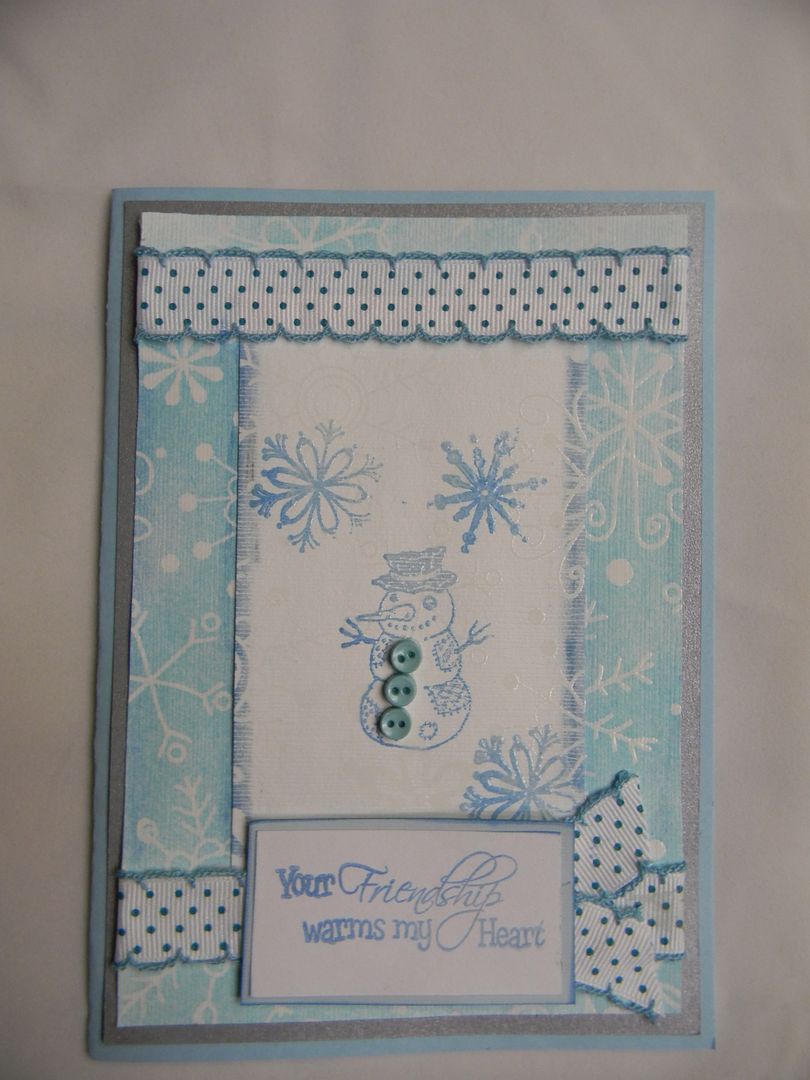
The first two pics are my completed first card  outside and inside. 
The paper wrinkled as I glued the pieces together before the Glimmer Misted paper was really dry.  
(Also its a lousy picture but that's another problem.)
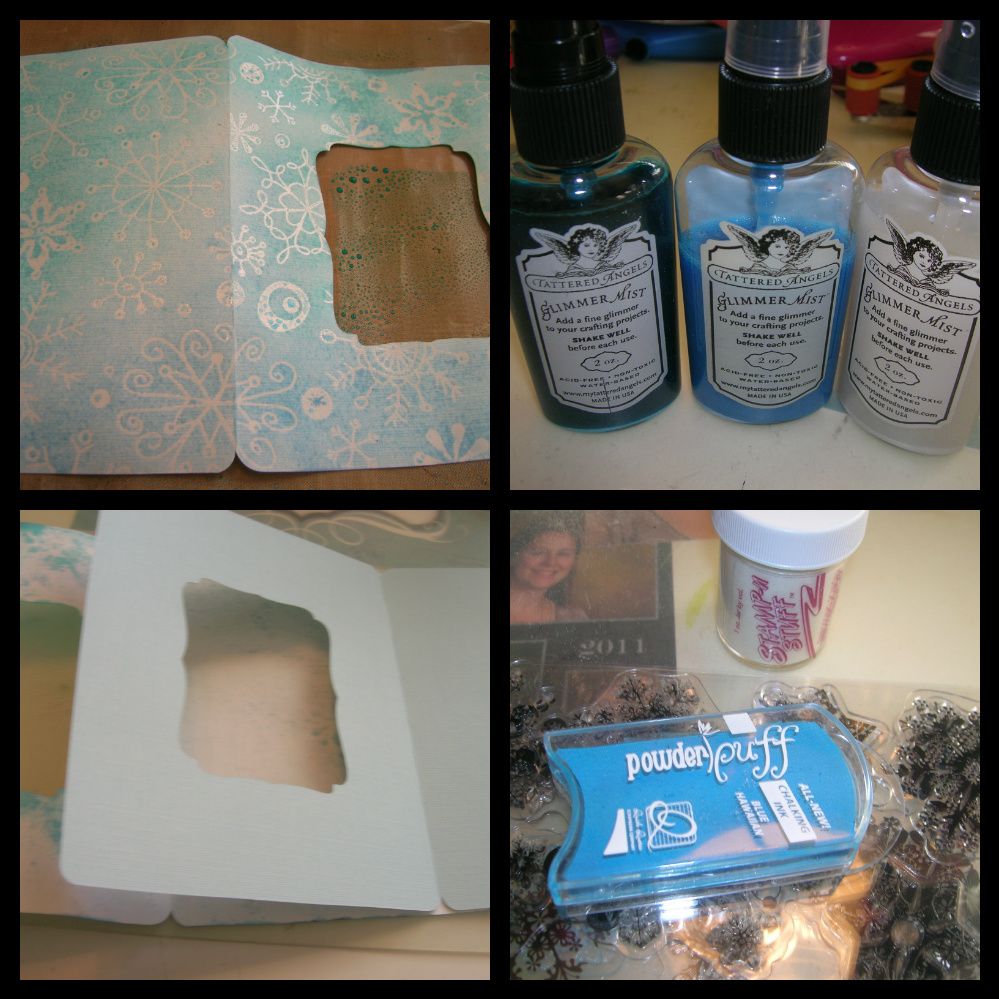
Picture three is the cut on my E2.  Picture 4 is the cover piece cut out.  You can save the inside piece for the inside of your card or for another card later. 
I then lightly sprayed the card cut with Glimmer Mist.  I used Patina , Blue Skies and a little bit of Dazzling Diamonds.   I should have let the piece dry really well before gluing the inside lining to it.  It also is good to flatten it with books or I use 12 x 12 tiles that I have in my craft room to put vinyl on to press the paper flat.  
Even though I put a lot of ATG tape on the card it puckered and no amount of pressing it helped.  
I then added Snowflake stamps and Quick Quotes chalking ink.  I also heat embossed the stamps to give more dimension.  I added a snowman stamp with some tiny buttons on the inside to pick through the window.  
The stamp Friendship Warms My Heart is from Robins Creative Cottage.  
So after taking my pictures and realizing I would never use this card, I carefully pulled it apart.  
This card was make using the backside, the ribbon and the inside piece.  I also reused my sentiment piece.  
The front window piece is now being pressed so I can salvage it too.  
So there is my tutorial on "Do as I say and not as I do." or "Learn from my mistakes."
I hope you will find some time to craft this week and join us for the Thursday Tutorial.  It would be "Snow Fun"  to see what you create.  

Thursday, January 19, 2012

Thursday Tutorial for FCCB- "How to Learn from my Mistakes"

Today is the day I do the Thursday Tutorial at Fantabulous Cricut Challenge Blog.  This week the challenge is "Snow Fun".  I hope you will join us with your creations.  This card is actually the second card I made for the tutorial.  As you can see the Tutorial is titled "How to Learn from my Mistakes".  Hop on over and check out why the tutorial is called that.  Click here 
I am entering this card in the following challenges 
My Craft Spot- Snow Much Fun
Getting Cricky With K Andrew- Let Snow with embossing

Wednesday, January 18, 2012

Birthday layout

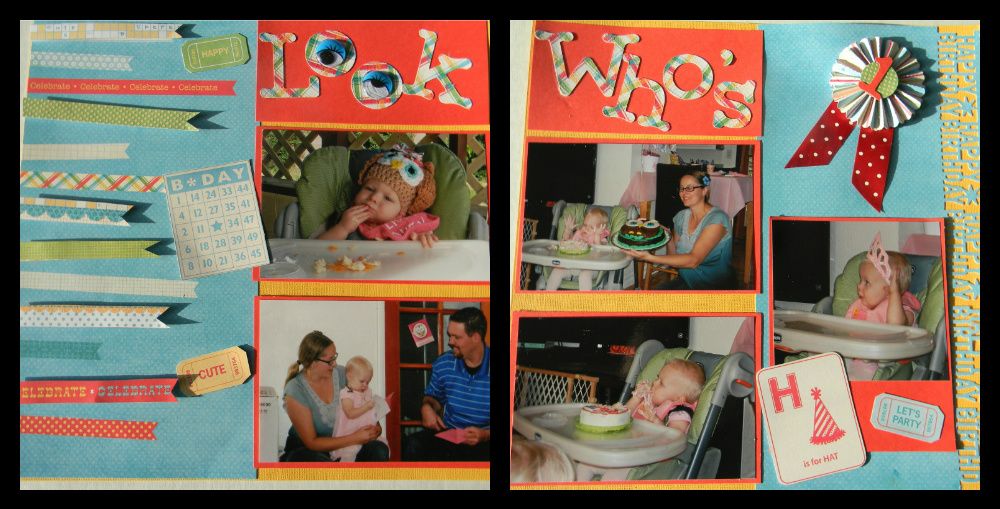
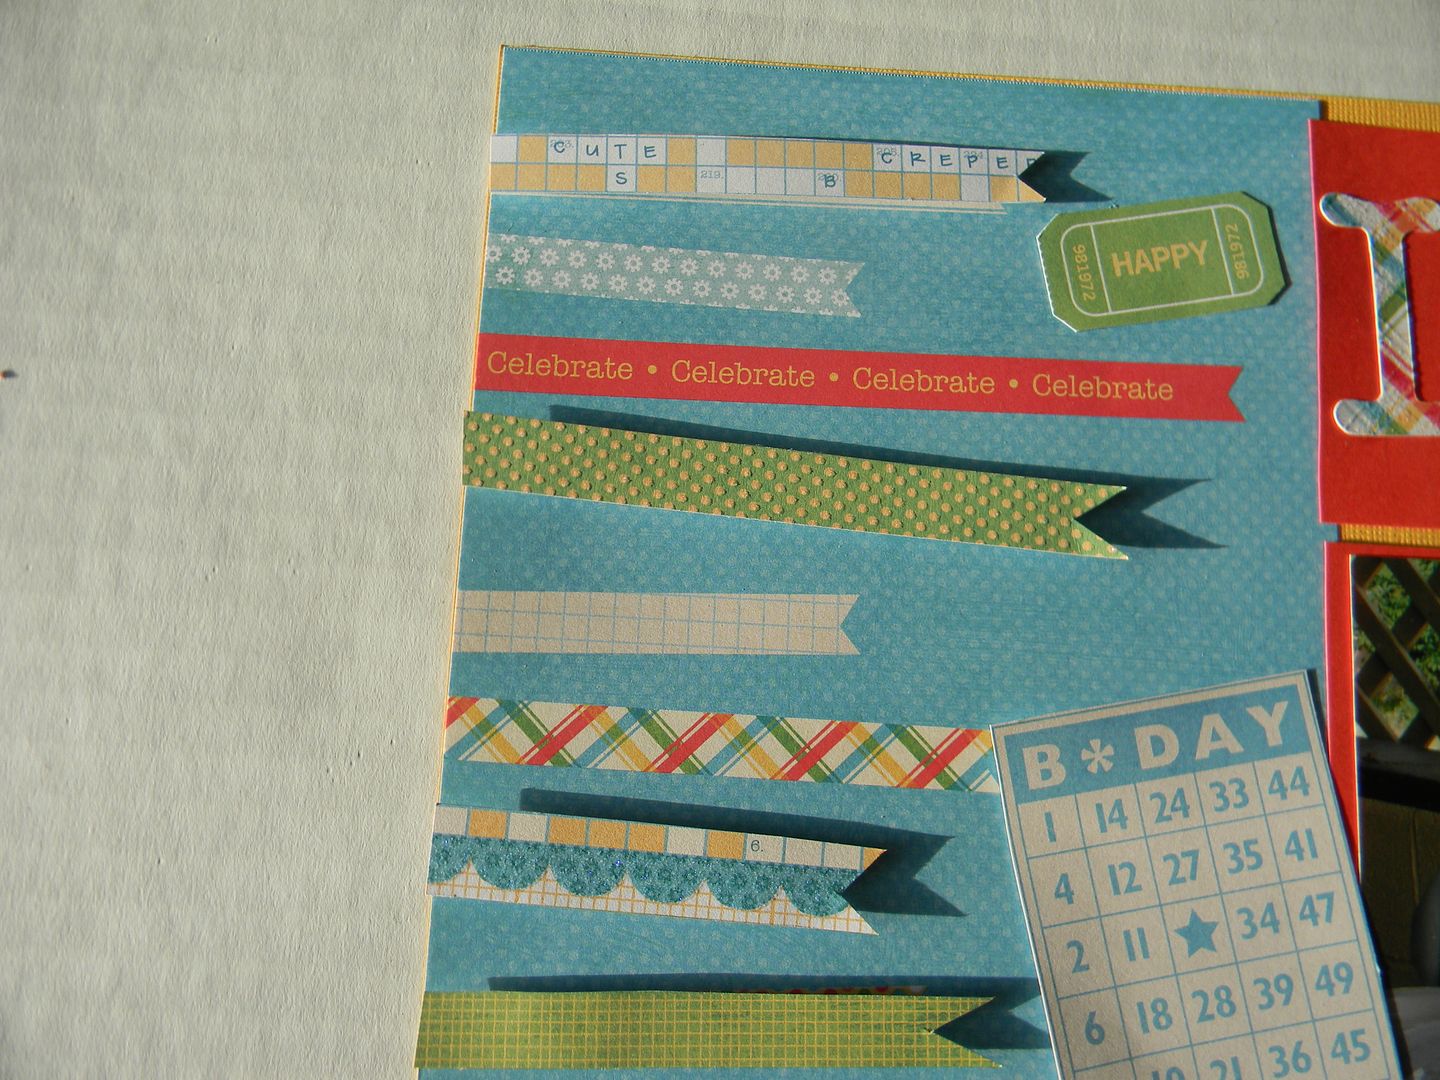
Yesterday I was organizing pictures and checking out blog challenges.  I found several I wanted to enter and I could incorporate into much needed  birthday layouts.  I have a bunch as we had one granddaughter turn 1 in November and one turn 2 in January.  One of the challenges was to use the colors red, yellow, blue and green.  So I hunted through the DCWV stack called Celebrations.  I decided I really liked the piece you see on the left. I only had one piece so I cut it in 1/2.  On the right side I punched it with a MS Happy Birthday punch. The strips on the left also had orange in it so to stick with the challenge  I cut some pieces to cover those and pop dotted them to give more dimension.  The title Look Who's 1 was cut from Cricut Alphabet on my E2 Machine. The letters at 2 inches and the number 1 at 1 inch.  The rosette was made from the Tim Holtz rosette die.  The little bingo card, H card and tickets were from the DCWV  
I used red polka dot ribbon and added giant googly eyes to the oo's in look to match my granddaughters owl hat.  (Her birthday was an owl theme-Guess who's one?)
Closeup of the eyes. This is really red although it looks orange.
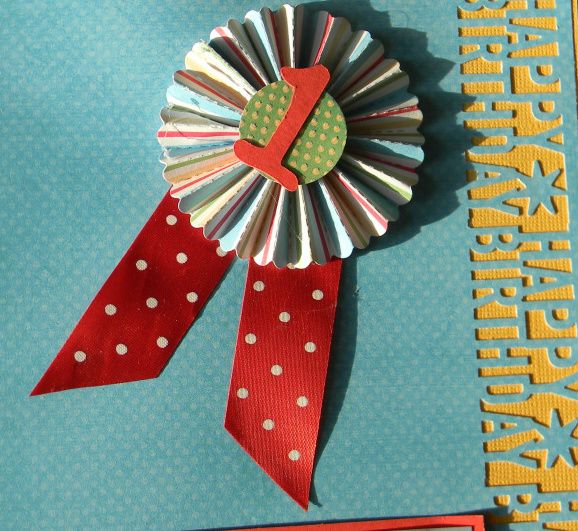
Closeup of rosette
Closeup of ribbons.  
I am entering this in the following challenges
BBTB2- Use a number ( I used the number 1)
Celebrate the Occasion -Polka Dot (on ribbon, blue background paper and paper strips)
Shes a Sassy Lady- Birthday Card or layout
Exploring Cricut - red, blue, green, yellow and white
The Paper Variety- Fan fold ( Rosette)