Just Kitting Studio Items for Sale

Showing posts with label Winter Woodland. Show all posts

Wednesday, January 30, 2013

Chilly Celebrations Challenge at My Paper Crafting

This week the challenge at My Paper Crafting for the Craft with Cutters Challenge is Chilly Celebrations - make a project for a winter birthday, anniversary, wedding or shower. 
For my card I made a 6 x 6 easel card using my favorite winter paper Bo Bunny Powder Mountain.  
The title Frosty Kisses was cut at 2 inches from page 65 Winter Woodland.  
I used a Bob Bunny embellishment, twine, and a Happy Birthday stamp.  
Quick and simple.  

Open view

Closed view 
I hope you will join us this week for the challenge.  We would love to see your creations here at My Paper Crafting.  Happy Craftin to all!

Monday, January 21, 2013

BBTB2 "Fontastic" Challenge

This week at BBTB2 it is my turn to select the challenge.  I decided to make it the "Fontastic"  challenge - to create a project using a favorite font.  There are so many great fonts from simple to fancy.  So break out those Cricut cartridges and lets see your fonts on your projects and link them up to BBTB2. 
I gave my daughters both an Elf on a Shelf box this year to use with my grandkids.  They had a lot of fun creating mischievous places for the elves to be around the house. 
 I thought it would be fun to create a layout of this elf fun.  
For my Project I used the font from Winter Woodland cut at 3 inches for the title  Elf on a Shelf. 
I cut the top layer in dark green and the shadow layer in red.  
I then highlighted the letters with a white gel pen to make them pop. 
The elves were cut from  Jolly Holidays cut at 5 inches.  
Closeups of elves 
So make sure you stop by and see what all the designers at BBTB2  have created and what great fonts they have used.  Then add your creations to the link at BBTB2.  
I am also going to link this up to Lasting Memories for the Christmas Challenge.  

Wednesday, January 16, 2013

My Paper Crafting challenge- Bundle up baby It's Cold Outside

This has been one crazy week.  I was so lucky to go to my first CHA in Anaheim  over the weekend.  I had a total blast and saw so many amazing things.  If you would like to see pictures from CHA I took almost 500 and you can find the link on my blog post yesterday. 
So now on with today's challenge at My Paper Crafting.  Today the challenge is Bundle Up Baby It's Cold Outside  which is to Create a project with winter attire. Mittens, scarves, boots, etc.
For my project I created a winter layout of pictures of two of my granddaughters sledding on the snow hill at the local zoo.  The snow was trucked in and they were having so much fun!!!!!
The mitten was cut at 5 inches from Simply Charmed page 65 and the 
title Winter Fun was cut at 4 1/2 inches page 71 from Winter Woodland.  
I added snowflake embellishments and some snowmen chipboard I had in my stash.  Then I used some fur trim for the bottom of the mitten and made Stickle stars on the Fun part of the title.  

Detail of Stickles on title 
Detail of pen stitching and fur trim
I hope you will join us this week for the Baby Its Cold Outside Challenge here at My Paper Crafting.  You have a week to join in and link up to My Paper Crafting.  

Monday, January 7, 2013

1/7 BBTB2 Snowflake Challenge

Welcome back to BBTB2 for the first challenge of 2013.  Make sure you check out the new blog design at BBTB2 and grab the new button for your blogs.  
Susan has asked the design team and those who wish to join in 
to create a "Snowflake" project for the challenge.  
I figured I would make a card being I leave in Southern California but then my youngest daughter sent me these great snow pictures.  This is still sunny Southern California at the zoo in Santa Barbara.  Each year they bring in truck loads of snow for the kids to play in.  
The girls had a blast and I had some fun pictures for my project.  
Project Recipe

Snow Day title was cut at 1 1/2 inches from Winter Woodland 
Snowflakes were cut from Art Philosophy  page 30 at  9 inches and page 22  at  5 inches
I then cut out the center of the smaller snowflake and placed a Graphic 45 cup inside with  snowflakes confetti in blue and silver and white.  The top snowflake borders  are  made using a MS punch.  More confetti was glued to the page and I used Stickles on the title.  
Blue and white buttons were added that I got last year  and had in my stash.  

We hope you will start at the year with us and bring on the snowflakes, Remember you must use a Cricut cut for your creations and link up to BBTB2.

Monday, January 9, 2012

"Winter Blues" Challenge for SSD January 9

This week the challenge at Sweet Sassy Diva is "Winter Blues".  Even though I live in Southern California I love using snowmen, snowflakes and penguins on winter layouts.  This layout was made using my Imagine and the Cricut Cart Snow Angel.  I love the  cuts on this cart.  The background paper is from a Recollections Christmas stack I got at Michaels which was the perfect blue background.
I collected pics of my two oldest granddaughters wearing hats.  
The ones on the right are all made by my oldest daughter. 
Here is the double page layout  
Closeup of first page.  The title Snow Cute is from Winter Wonderland  Cricut Cart and cut from colored cardstock.  The brown background mat is from Snow Angel cart printed paper. Cut 6 " and used other piece on 2nd page.  Mittens and booties are pop dotted.  Snowflakes on corners are precut from a package.  
Closeup of 2nd page
Closeup of hat, ribbon, and snowflakes 
The cuts as I said were made on the Imagine and I did them in pieces 
so I could pop dot the hats and scarves.  For my mats I used a EK corner punch.  
then I glued everything on the page and added ribbon and snowflakes.  
Hope you will come back this week and join all the SSD Design Team for their take on "Winter Blues" challenge.  Happy Craftin!
Also please mark your calendars for my first Blogaversary Blog Hop coming this month.  
Happy Craftin 

Monday, January 2, 2012

January calendar page for several challenges


If you are here to see the post for FCCB click here.

Today while cleaning and organizing my craft room I found a calendar I bought a couple years ago. For each month there is a page with the month and one other page to use.  Then there are stickers for the dates, holidays.  I have always wanted to do a calendar but never seem to get it done so I decided I would do my first page today and then continue as the year goes on.  
The brown polka dot paper from the calender I used for the skates from Winter Woodland cut at 4 inches and the snowflakes from When It's Cold Outside cut at 2" and 1.5 ".  I then added white glittered snowflakes on top of cut out ones.  The branch is also from Winter Woodland and was cut at 3 ".  The ribbon is left from my Christmas stash and I used Stickles on the branches and snowflakes.  I punched holes and tied the laces with twine and hung them over the branch.  
I am entering in the following challenges
My Craft Spot- Winter Wonderland Must use glitter
BBTB2- Skates from Winter Woodland

Tuesday, December 20, 2011

Sweet Sassy Diva "Let it Snow" Design Team Project

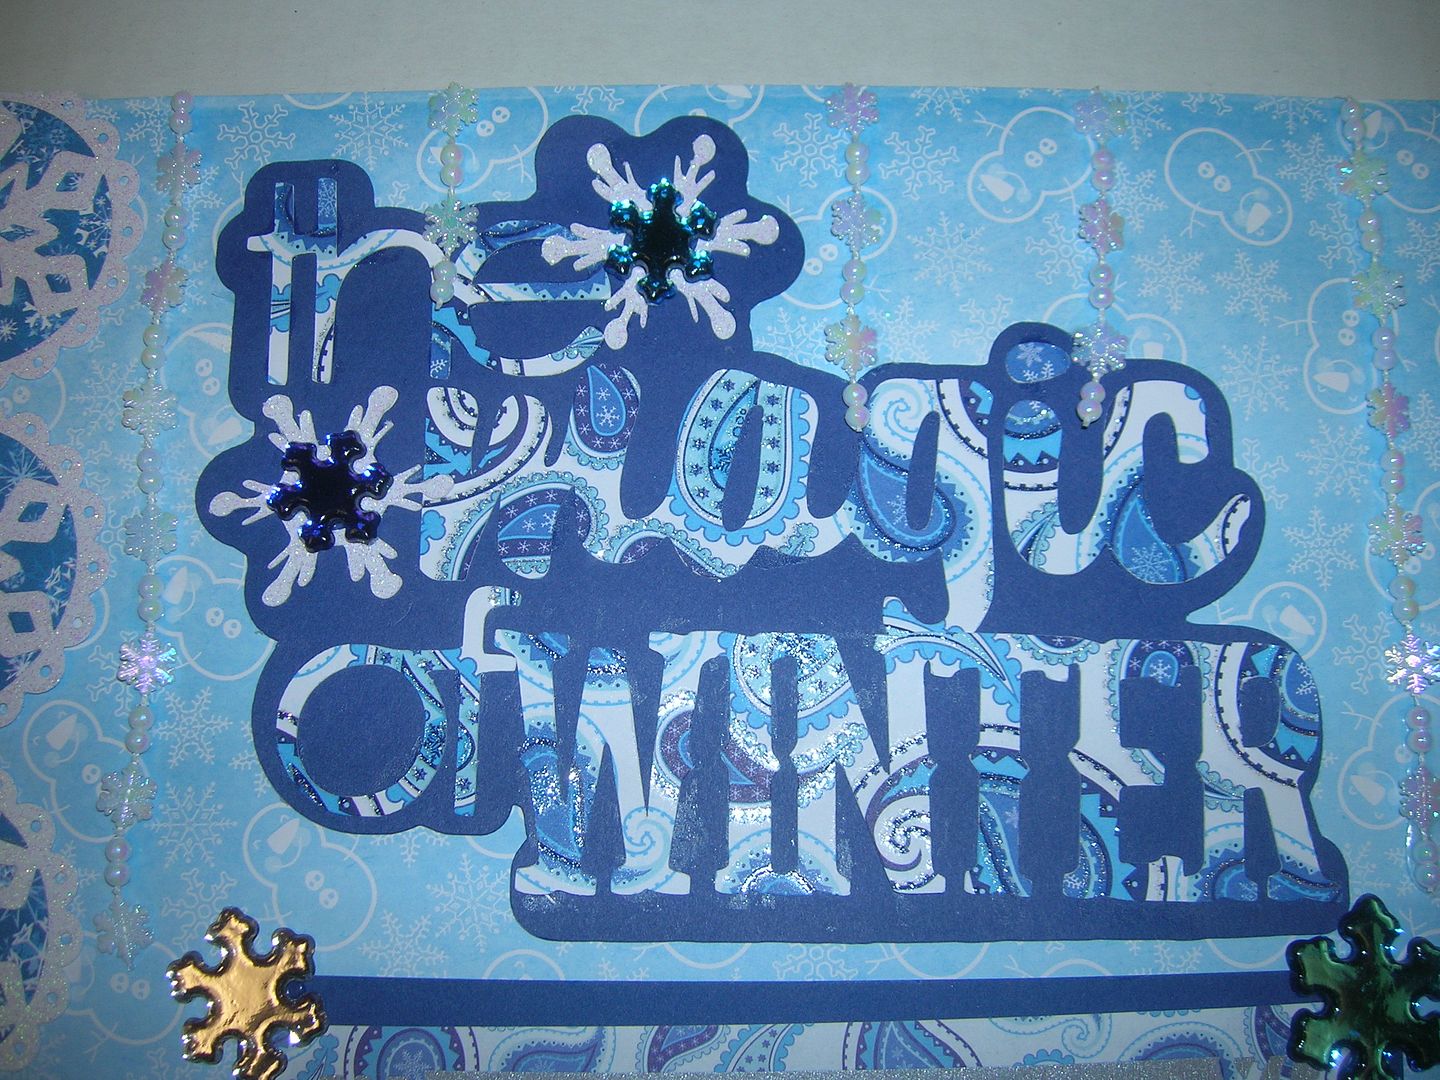
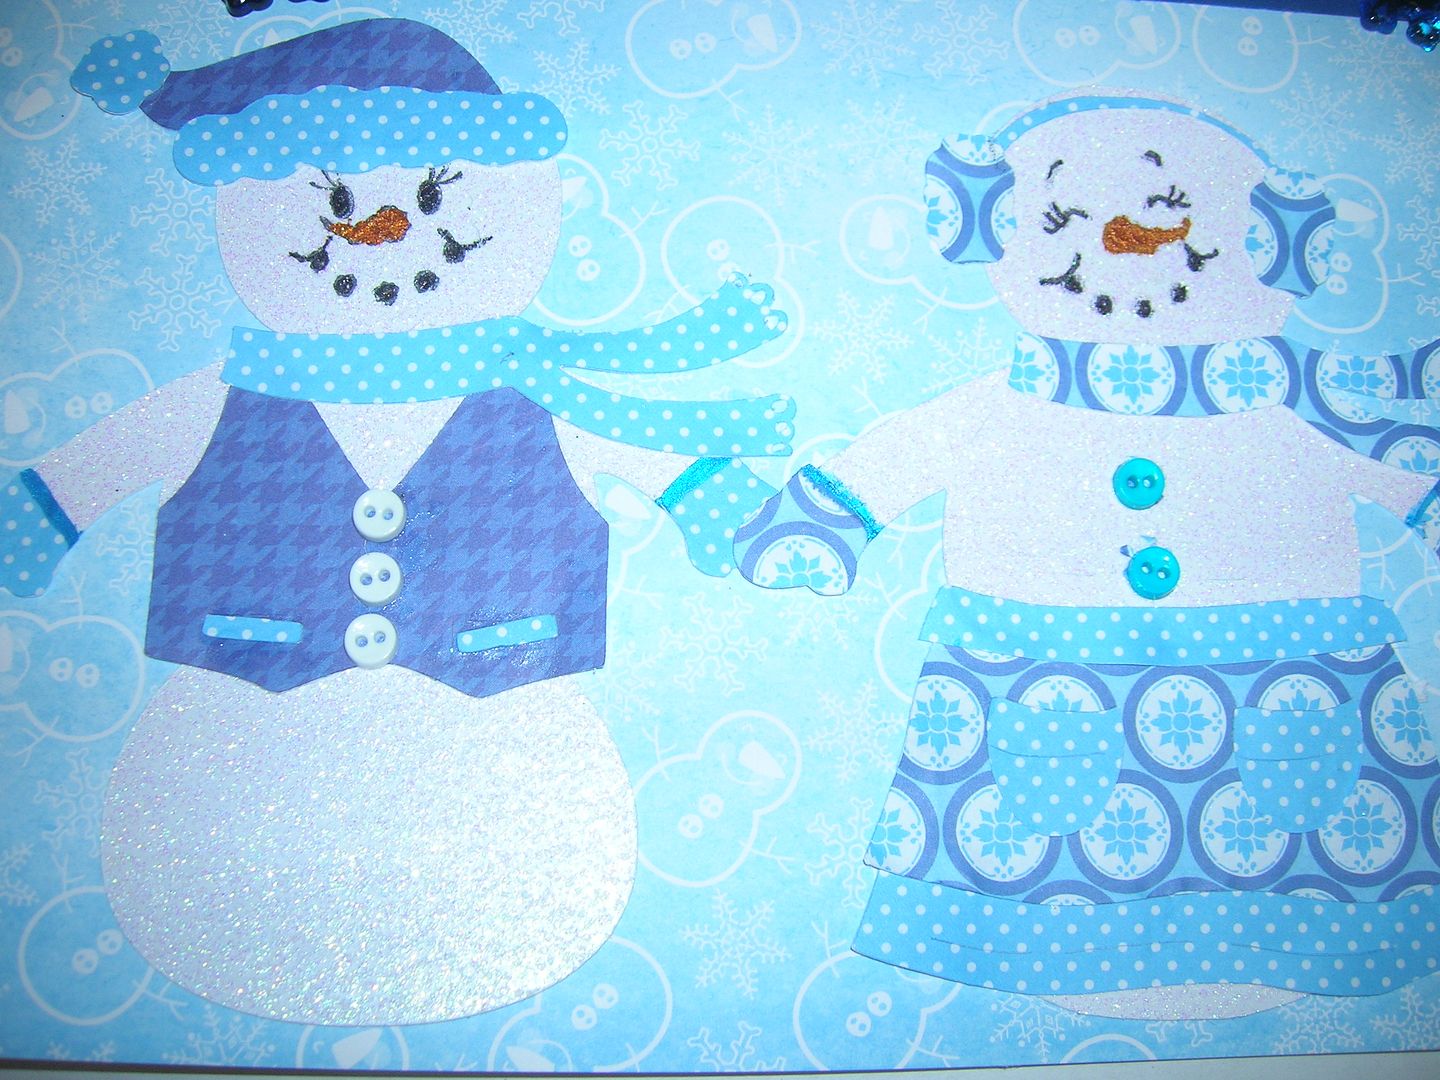
Hello Sweet Sassy Diva followers and a Merry Christmas and Happy Holidays to you.  This week the challenge is "Let it Snow".  I tell you when I see all the beautiful pictures of snow my fellow crafters post I am a little jealous but I think I will stick with my Southern California weather.  That doesn't mean I don't love to pretend and make layouts of snow, snowflakes,  and snowmen.  
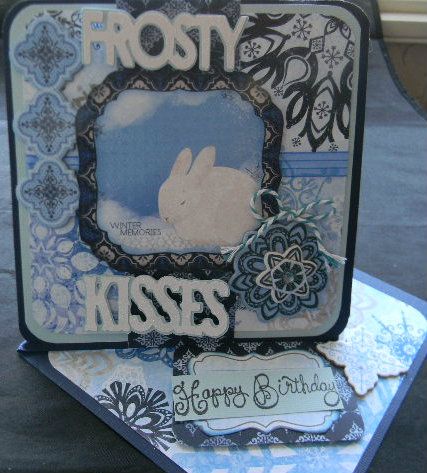
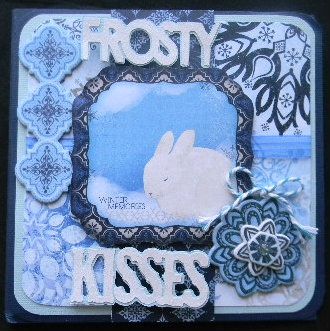
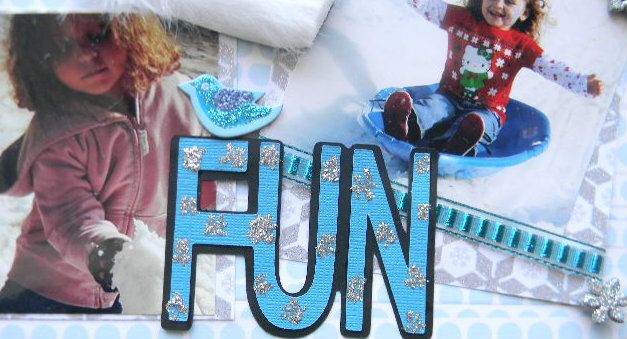
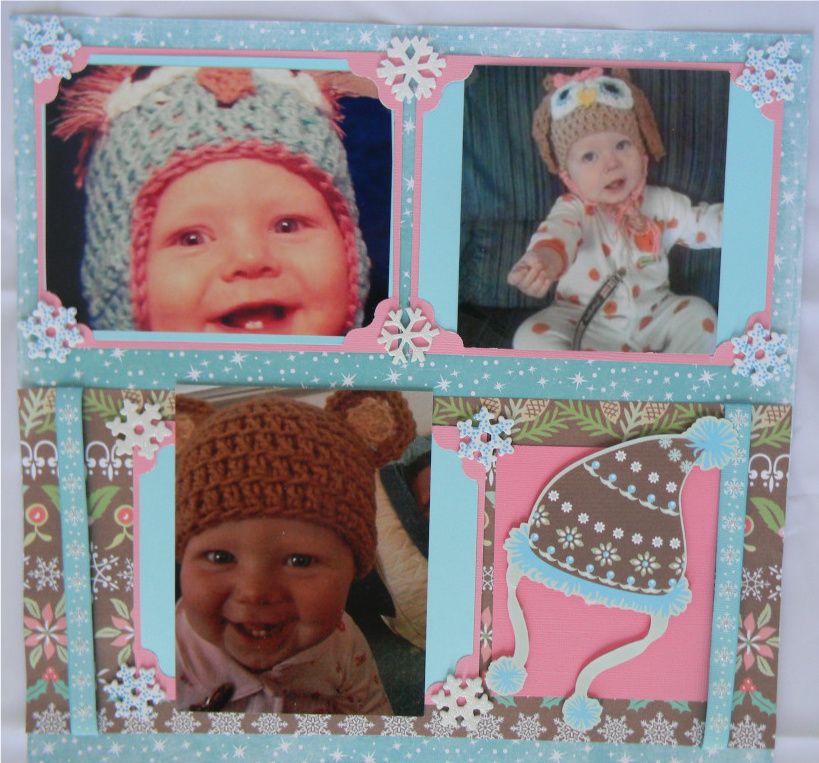
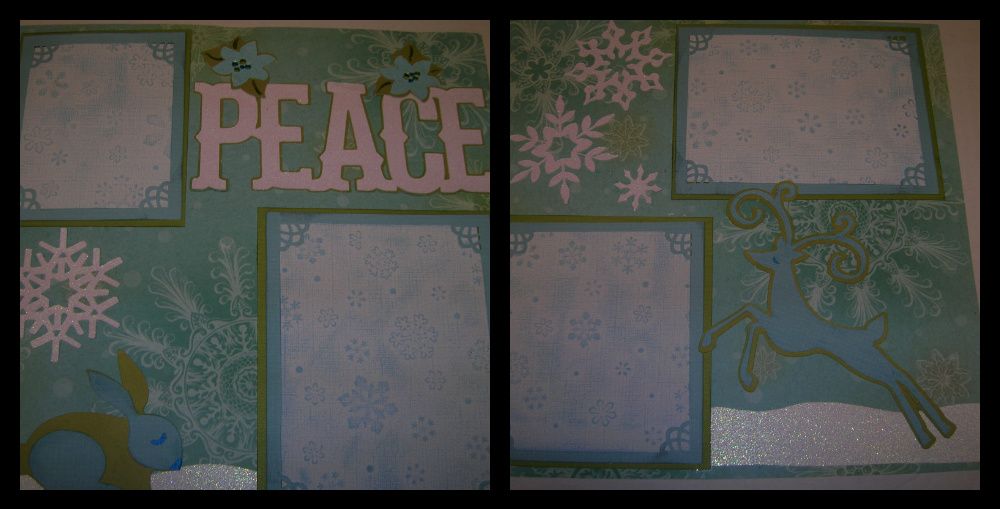
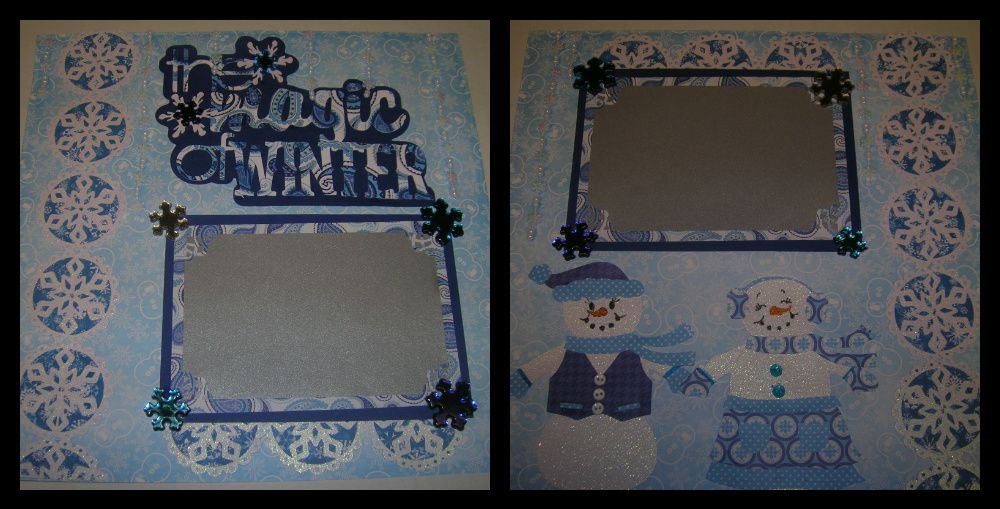
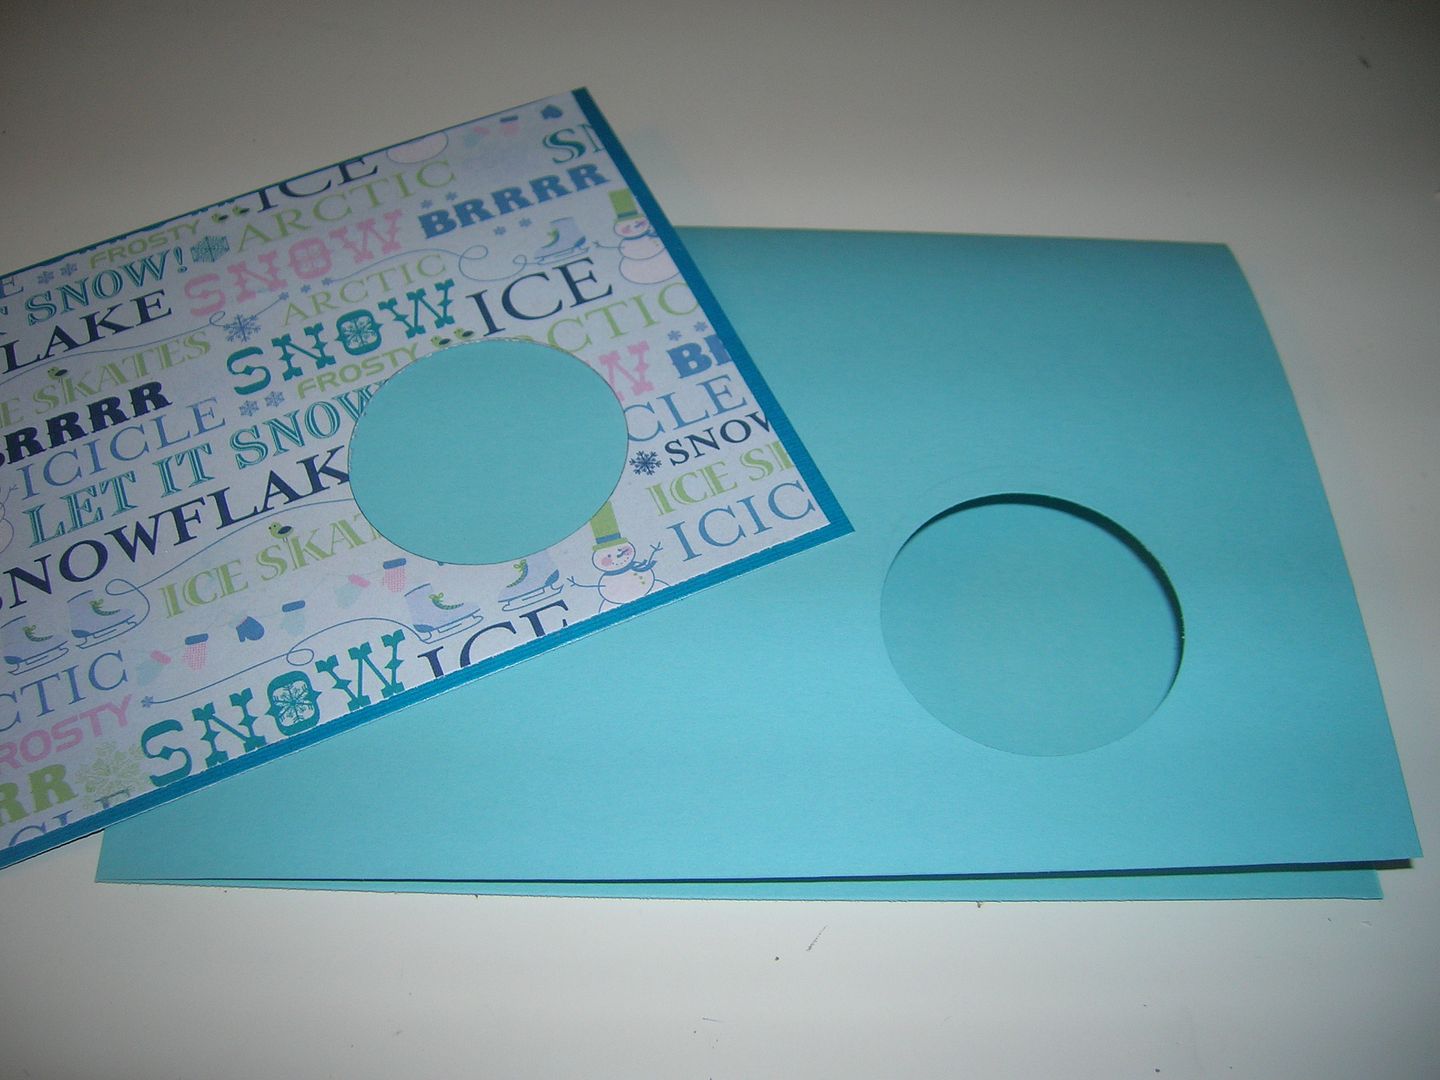
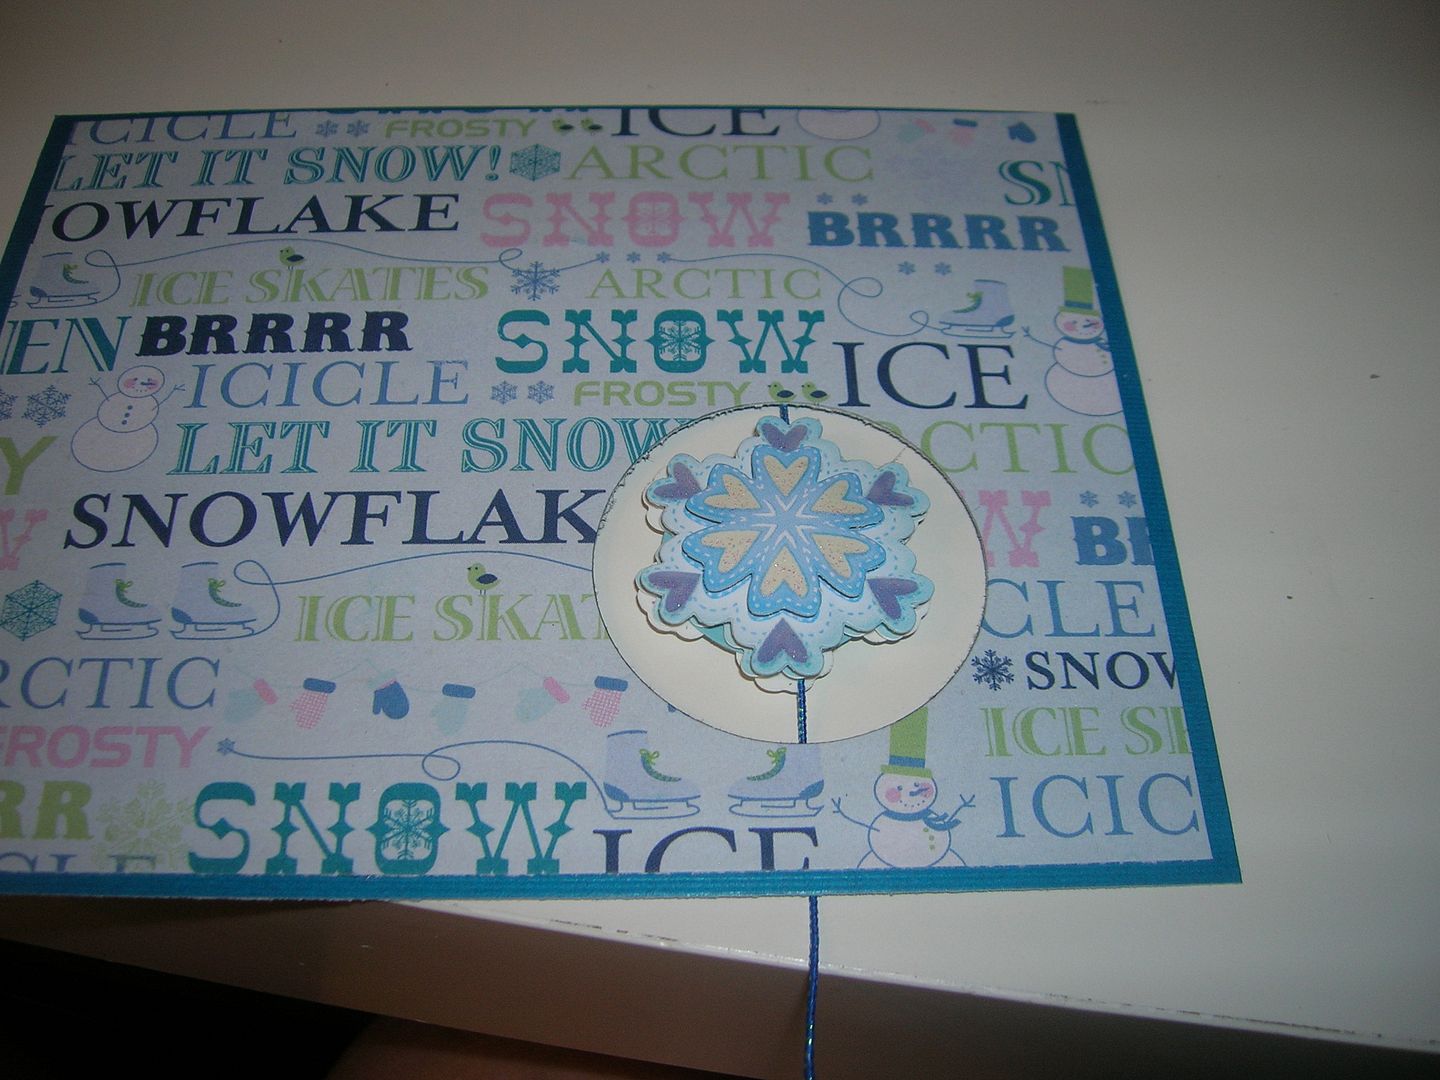
This is a fairly simple double page layout where I highlighted the paper which I had been saving from last year.  I loved the light blue with a touch of green and white snowflakes.  
Recipe:
Art Philosophy 
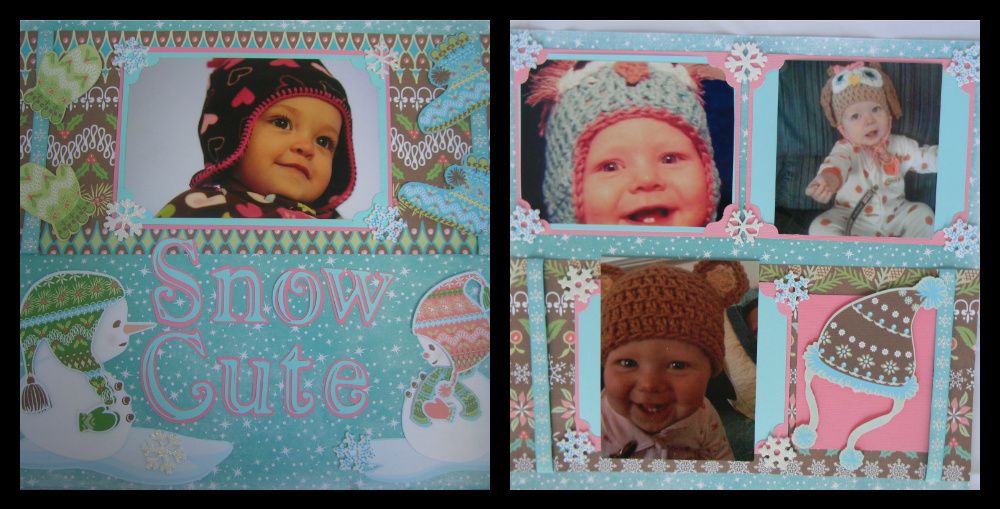
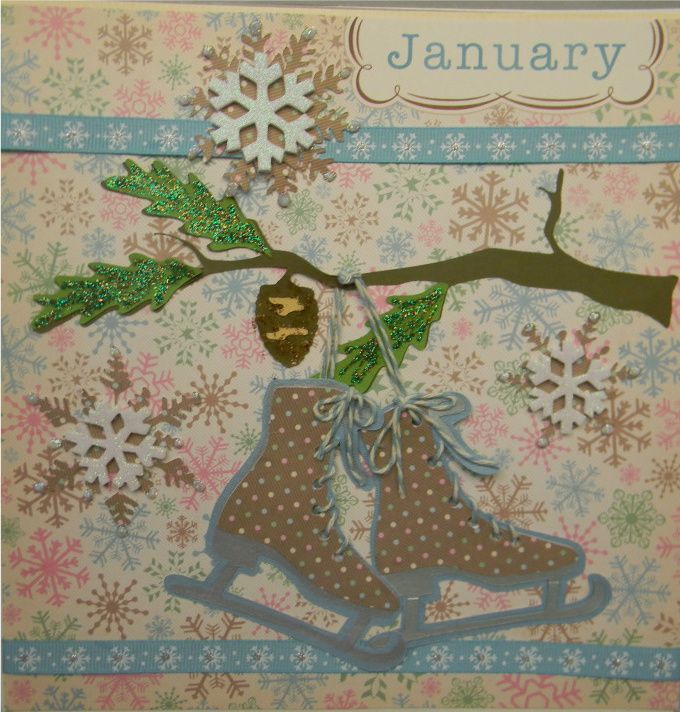
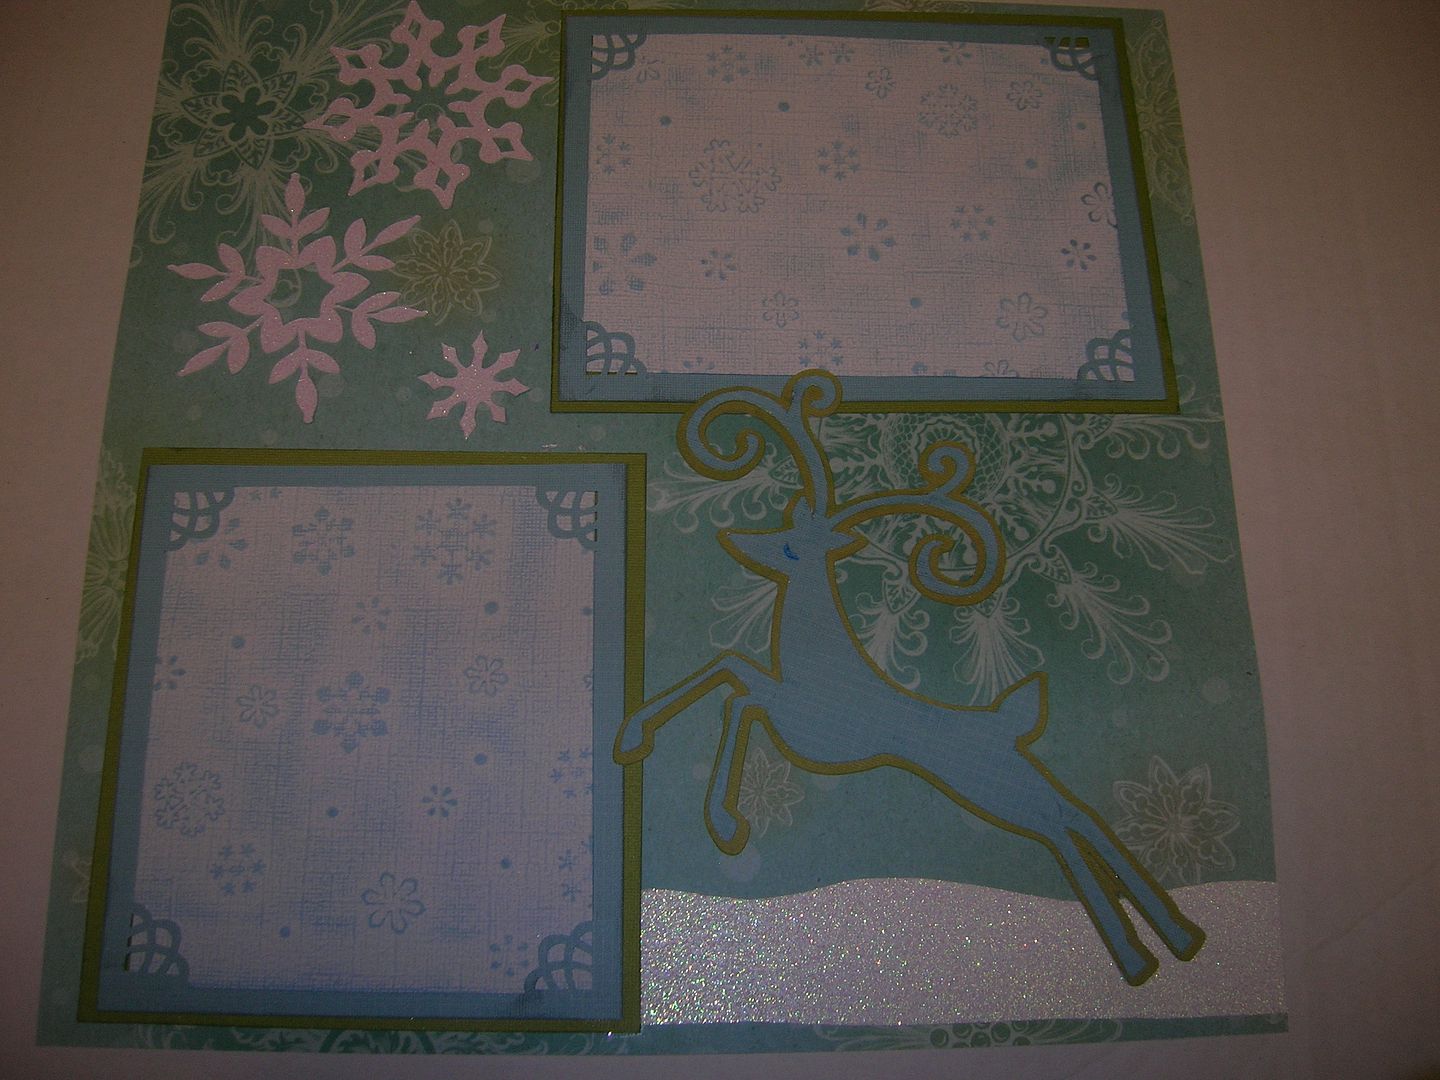
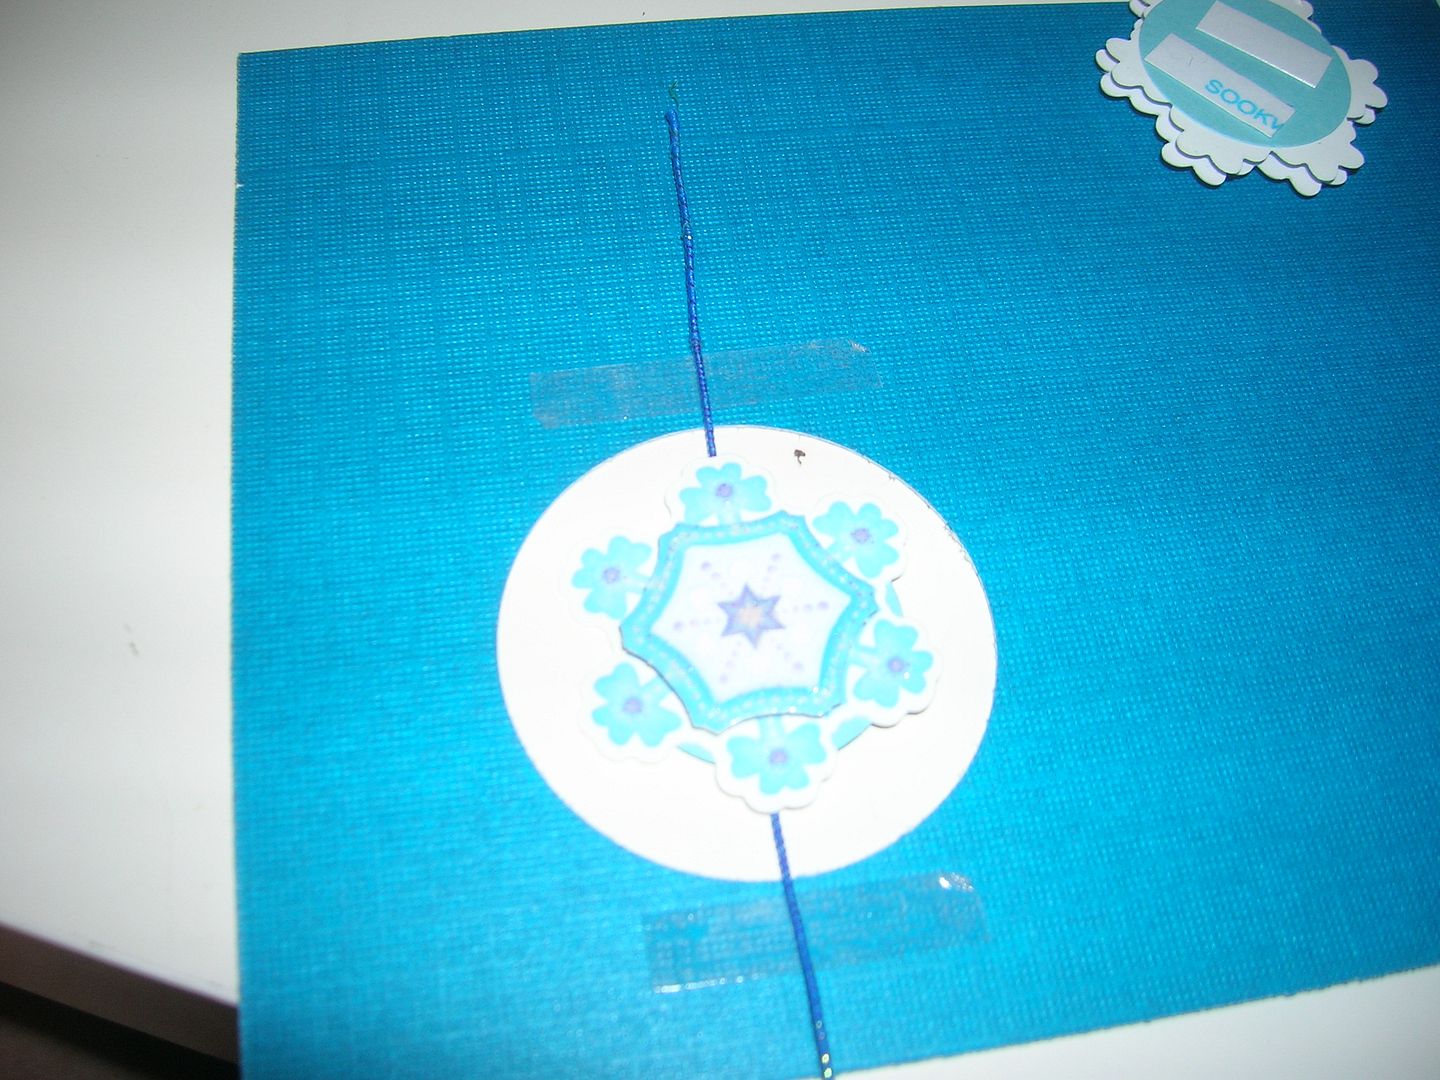
Snowflakes cut at 3" white glitter paper page 22, 27 and 30 
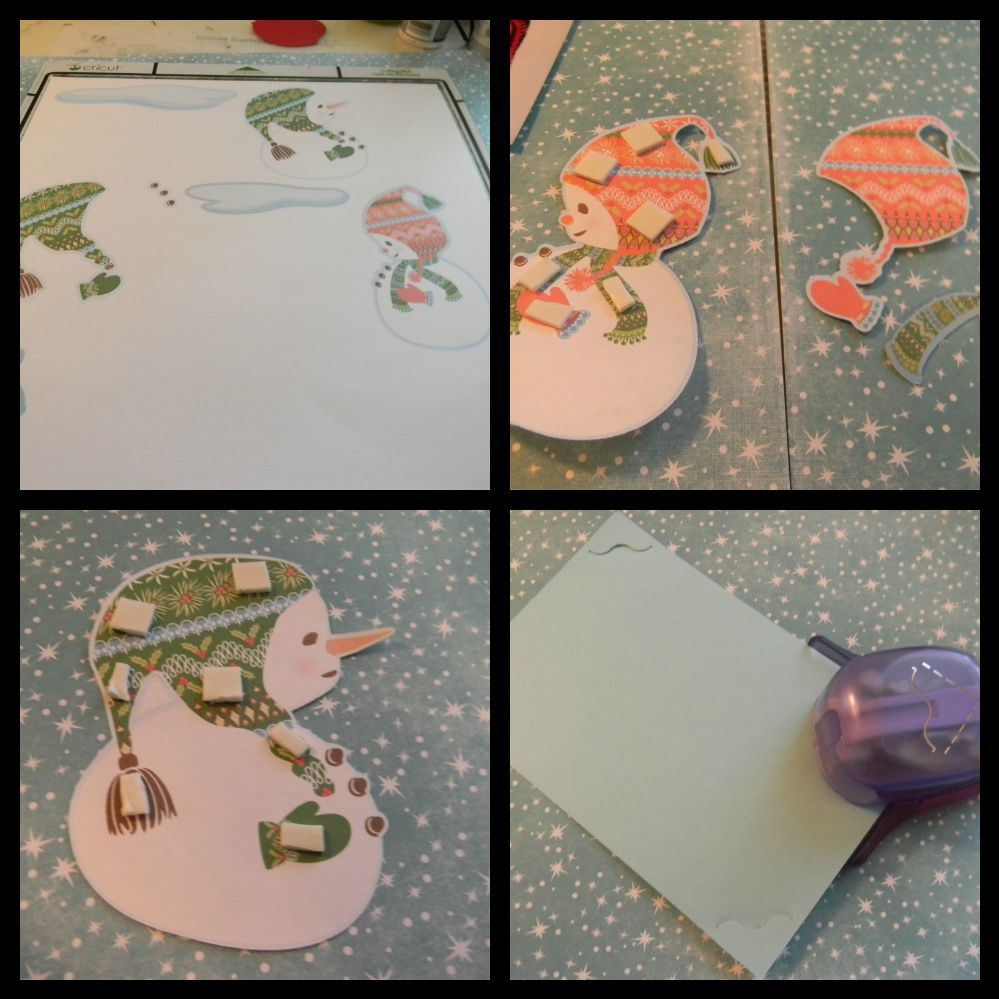
Winter Woodland
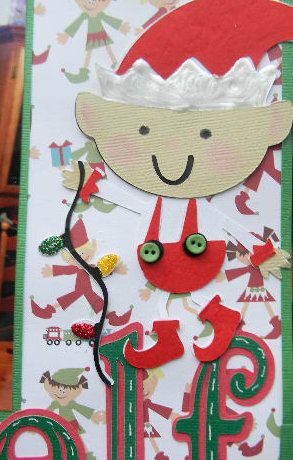
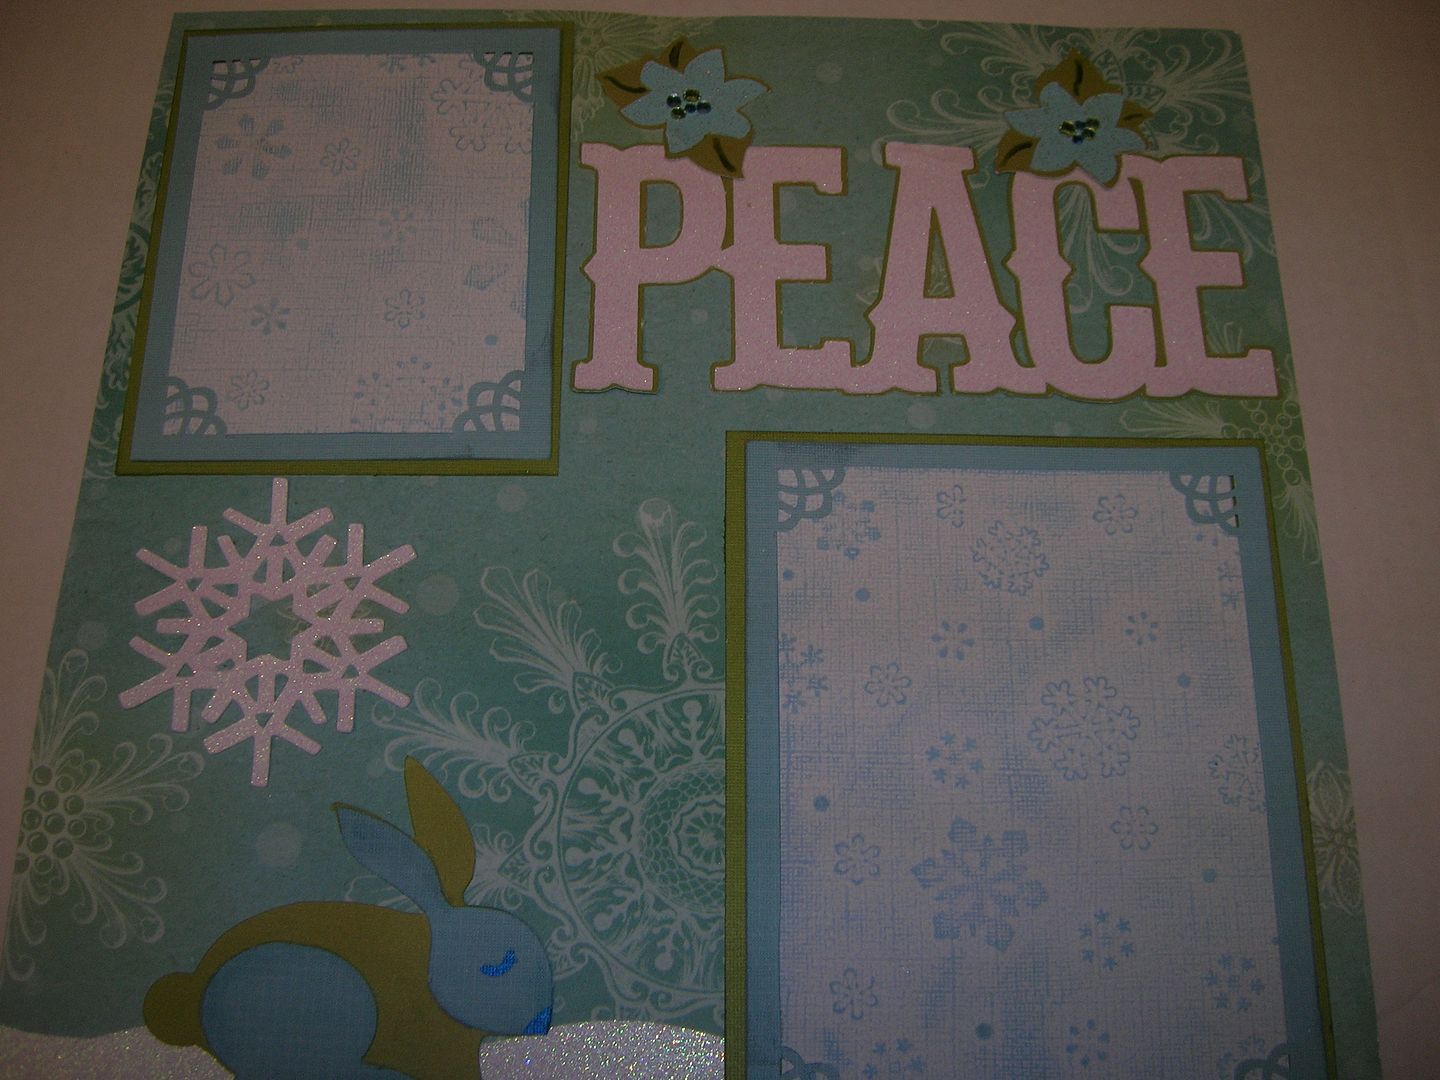
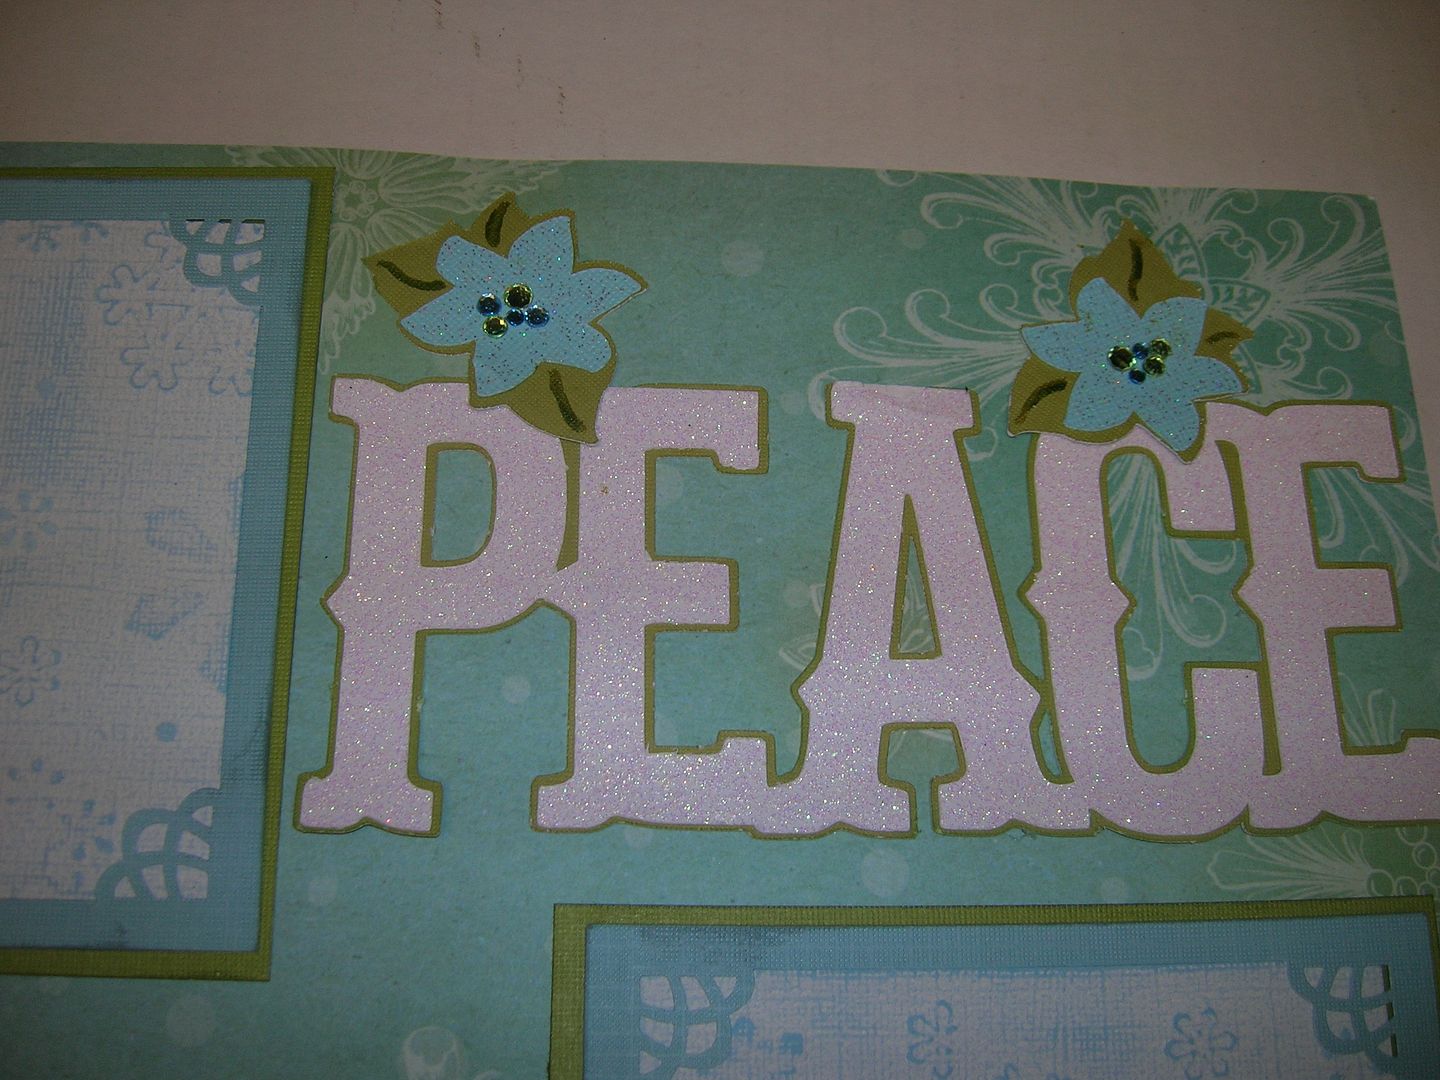
Peace cut at 3 "- page 64 white glitter paper and green Bazzil
flowers on Peace cut at 2 " page 64 green and lt. blue Bazzil
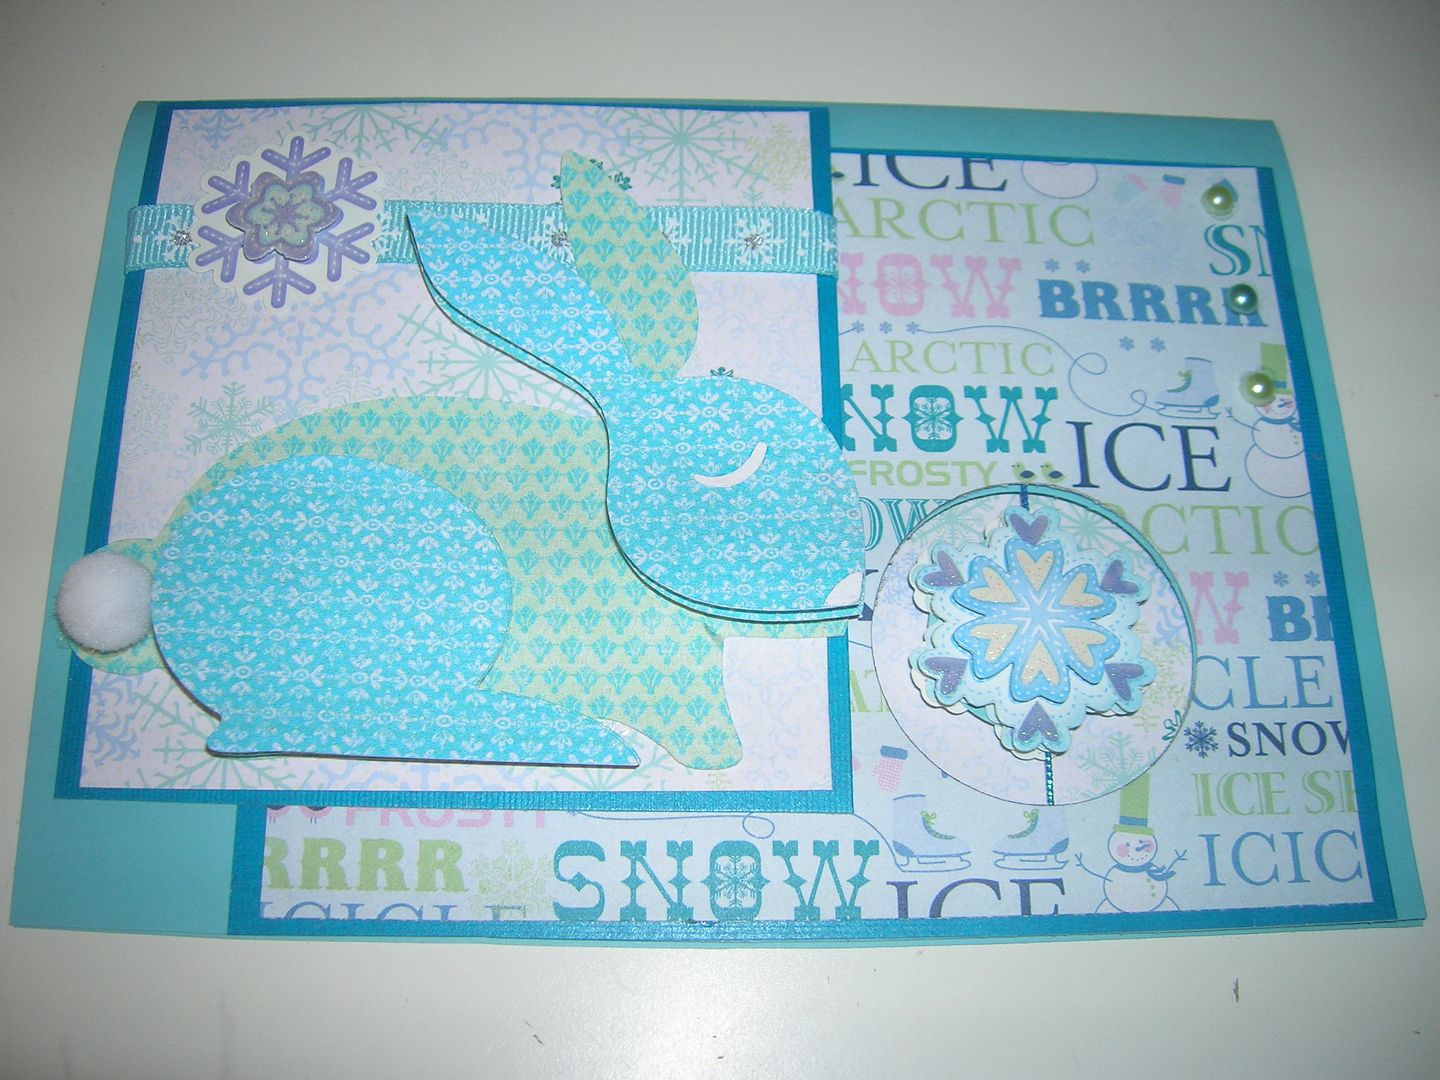
Rabbit page 58 cut at 3"  green and lt. blue Bazzil
Deer page 55 flipped and cut at 6 '' lt. blue and green

Mats 
White inner mat cut from Recollections pre-embossed core paper and sanded
2 cut at 4 x 6, 1 cut at 4 x 5, 1 cut at 3 1/2 x 4 1/2
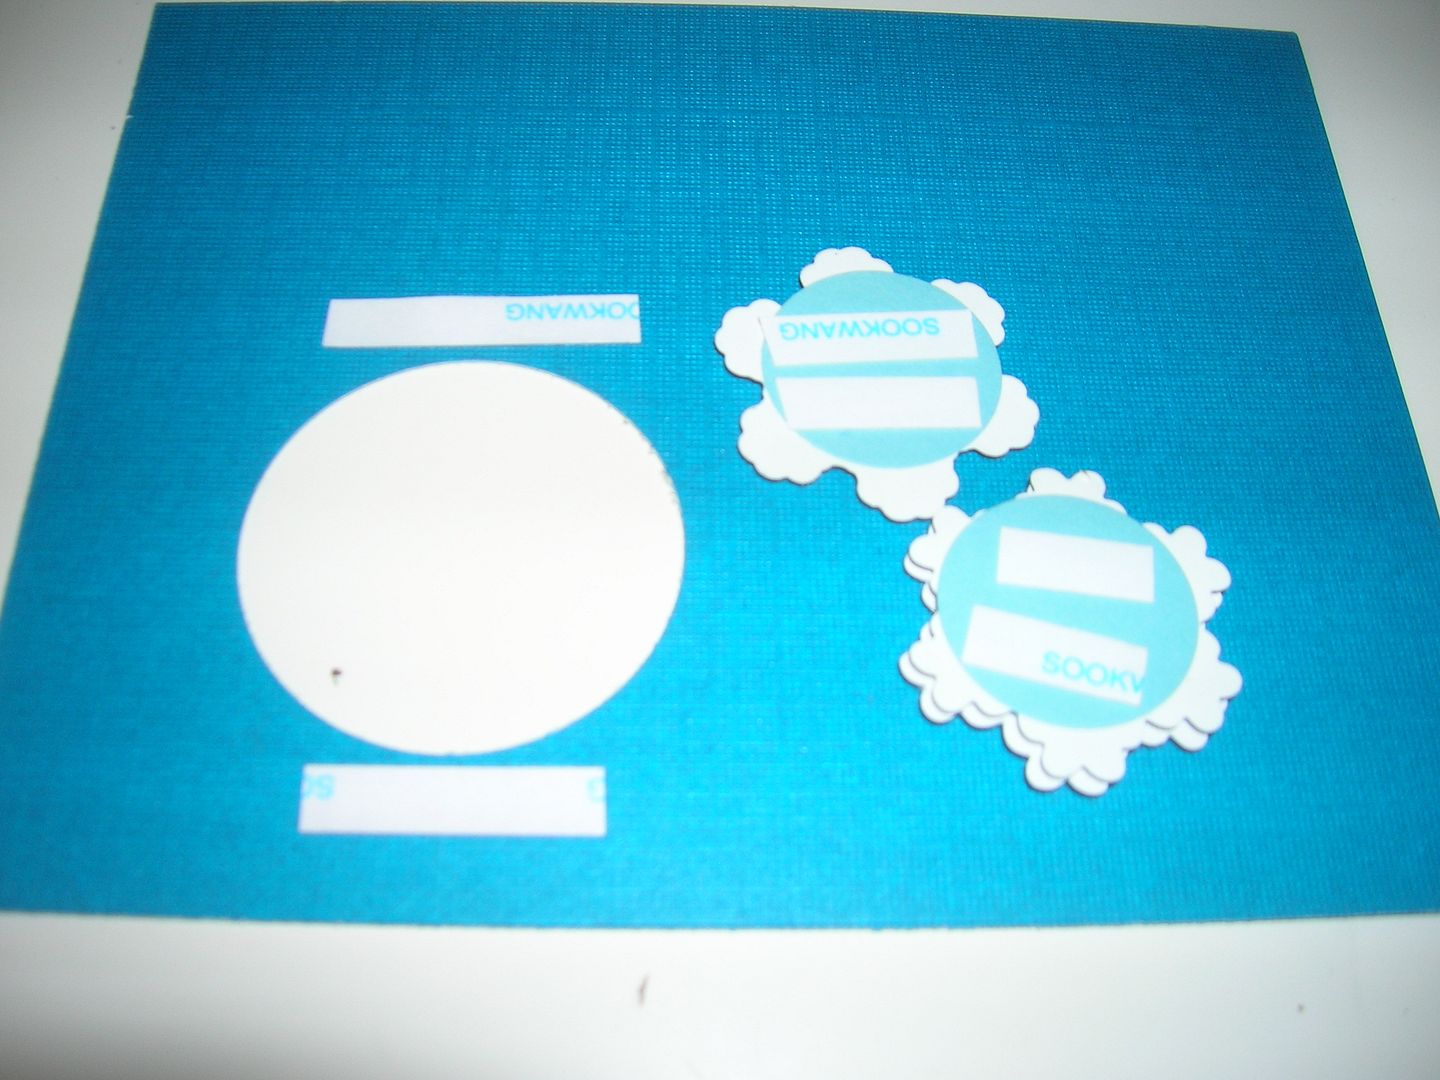
Cut blue mats 1/2 inch bigger all sides and punches corners with EK sucess corner punch
Green mats cut 1/4 " bigger than blue
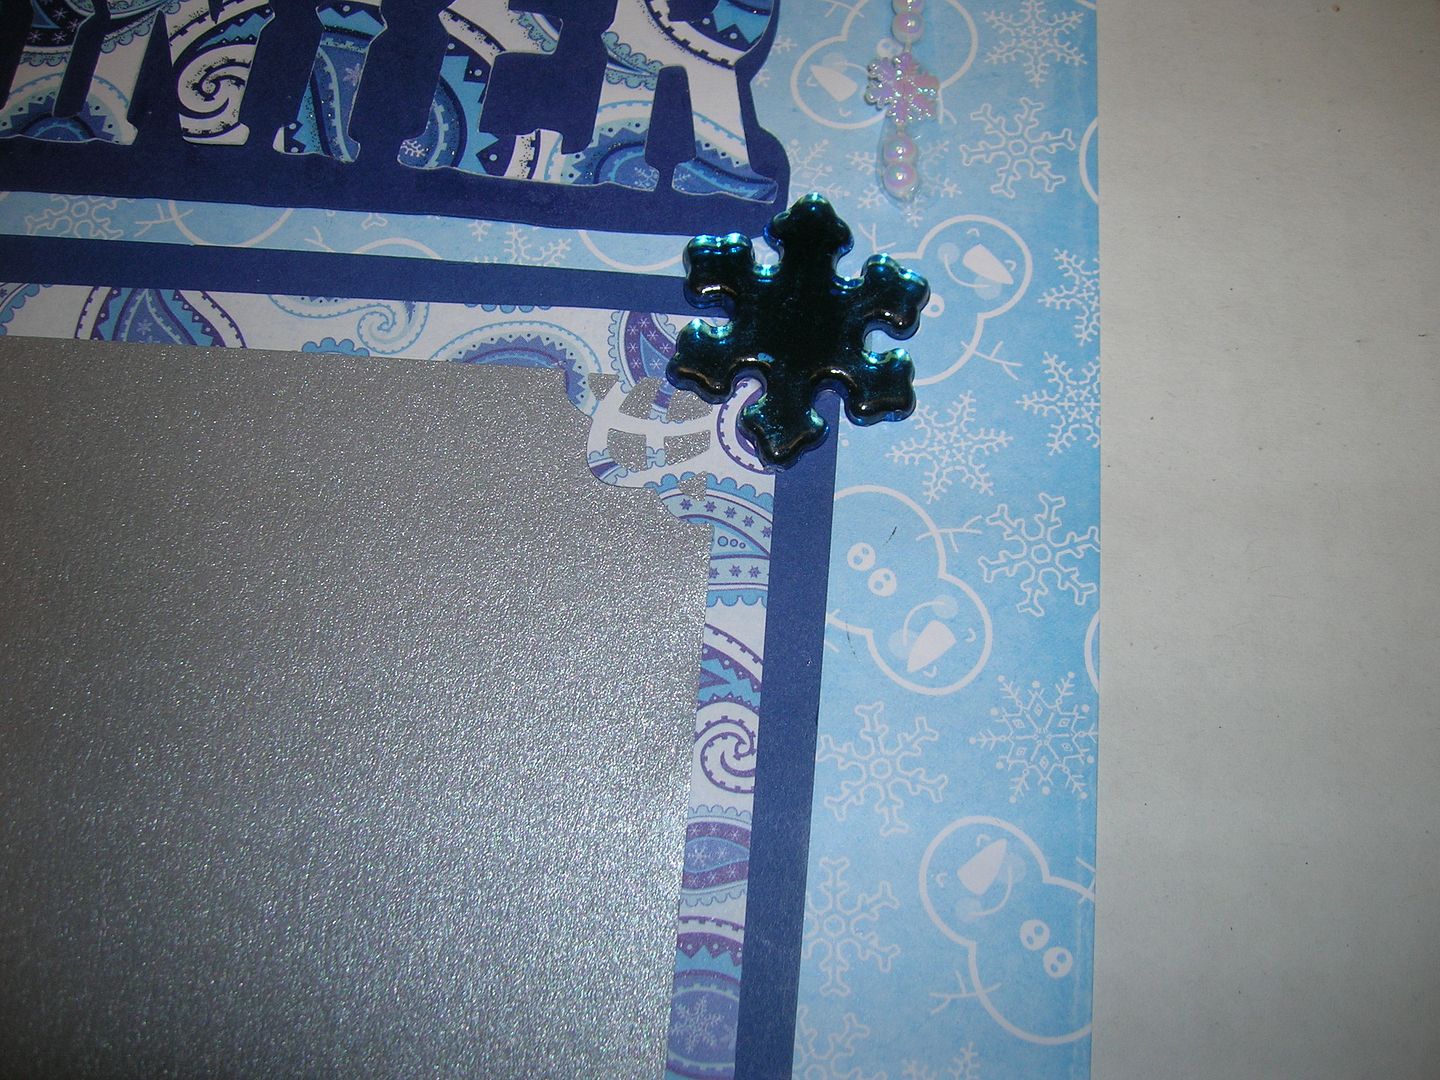
I added some tiny gems to the flowers and Smooch ink 
to leaves and eyes on deer and rabbit.  
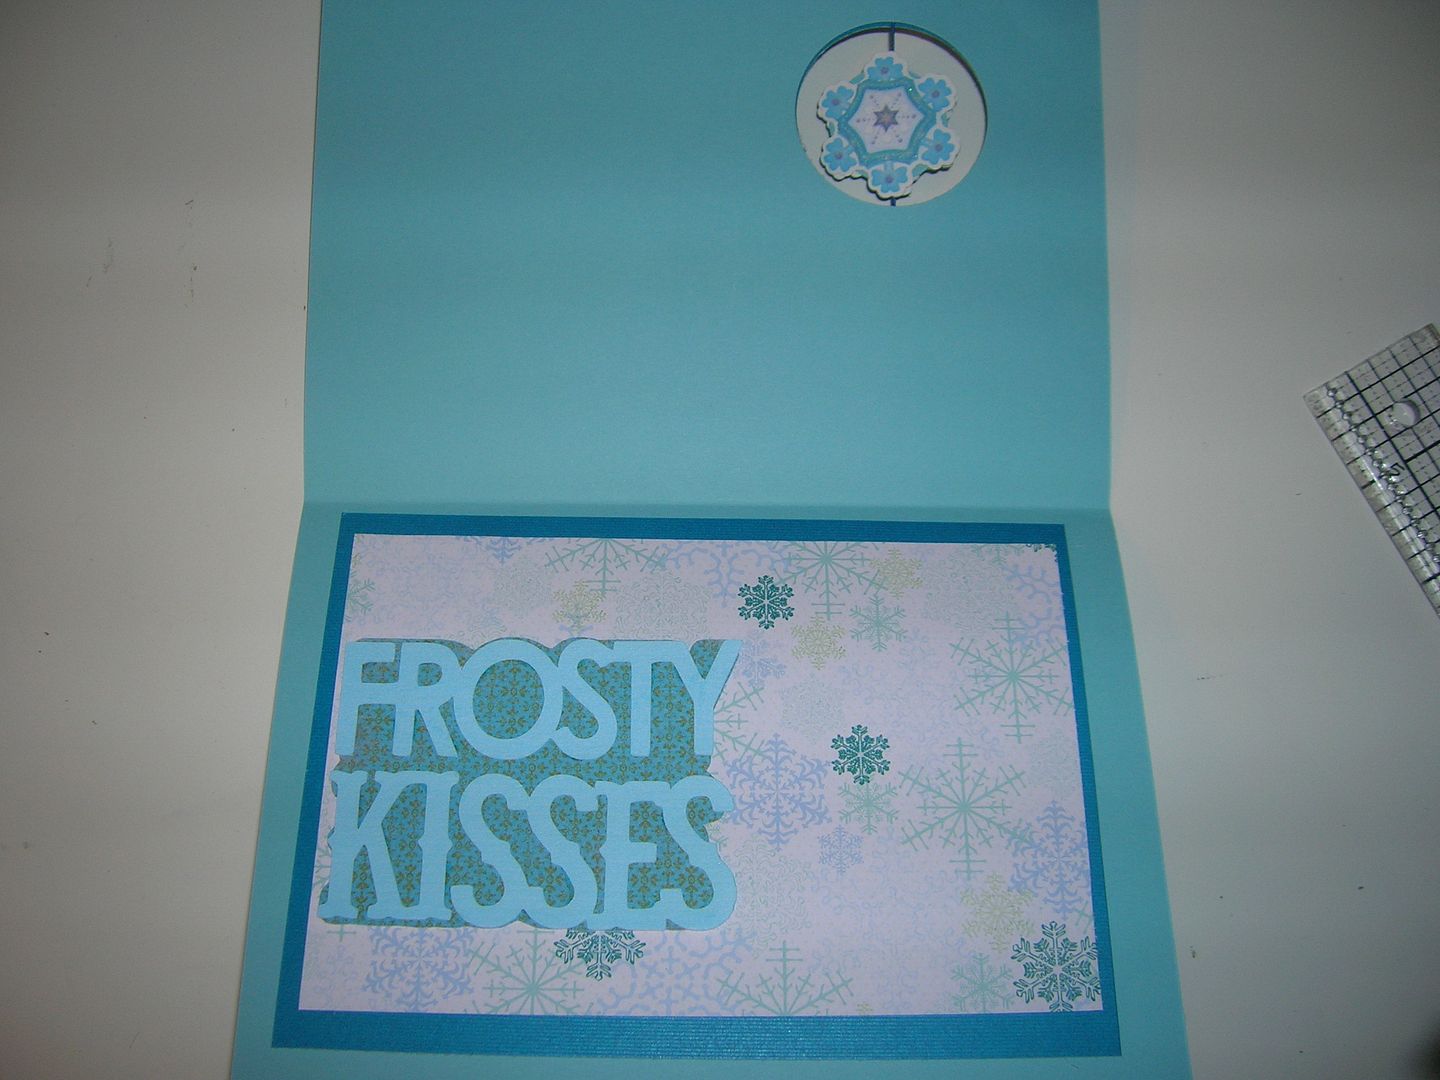
Hope you enjoyed the layout. Please come back all week to see what all the designers have made.  
 Wishing you all Happy Holidays and Happy Craftin
Also posting at the Paper Playtime- Anything Goes with a Sentiment

Monday, December 5, 2011

Alcohol Ink Monogrammed Ornaments

I bought these glass ornaments to make for the Mops (Mothers of Preschoolers) ladies  I mentor at church.   I planned to color them  using the floor wax technique but never seemed to get the floor wax.  So instead I tried dropping Alcohol Ink and really loved the way they came out.  When I dropped the ink it poured around edges and pooled at bottom which made cool effects.  I used two colors on each one.  
Closeups
Here are all the ornaments laid out drying.  
The letters are cut from Winter Woodland at 3 inches.  
The  Tags from Winter Wonderland cut at 2 inches page 41  and I then added mini roses to top.
For the Cricut Circle challenge this week we were to use purchased flowers.  Well I purchased these flowers over three years ago for my daughter's wedding and we still have 100's.  

Enter ornament- Paper Variety 
CC weekly challenge- Flower Fusion Challenge using  purchased flowers

Then I needed to make boxes to put each ornament in. 
I used Sweet Tooth Boxes  page 60 cut at 11 inches 
I then made Tim Holtz rosette, used K and Company  embellishments 
and Graphic 45 tags cut from paper and Michaels ribbon.   
I used to make  a box like this by hand so I was thrilled how quick they cut and went together.  
Entering in CC Monthly challenge- Holiday Gift Wrapping Challenge   
My Craft Spot- gift wrap challenge

Sunday, November 20, 2011

Lasting Memories DT Photo Inspiration Challenge- Magic of Winter

The challenge this week at Lasting Memories is to choose one of three inspirational photos.  I loved all three photos but blue is my favorite color so went with that one.  I decided to make a a winter layout.  The title the Magic of Winter comes from Winter Woodland and the little snow people are from SnowFriends.  I also used a new MS snowflake punch.  It actually makes 1/2 a circle so I cut strips at 2 1/2 inches to make the entire round punching it on both edges.  I added circles underneath ( 2 inches cut from George) to let the border pop.,.  I also added the 1/2 border under the two mats.  I used Peachy Keen stamps for faces and Smooch Ink for noses.  The paper is all from a DCWV stack Winter Wonderland from last year.  
Closeup- Used EK Success punch on corners.  Pictures will slide in where silver paper is.  
Magic of Winter Winter Woodland page 68 cut at 5 inches

Love these little snowmen.  Snowman and Snowlady cut from  Snow friends at 5 inches
I hope you will join us with the challenge this week.  Check out the three pictures and get your creative juices flowing. We would love to see what you made.  Have a Happy Thanksgiving and see you next week at Lasting Memories or you can join me sooner on my blog.  
 Happy Craftin!

Sunday, August 21, 2011

Interactive Card Blog Hop Day 2- Suspension Card


Hi everyone get ready to see card after card after card. With  so many different types of cards out there sometimes it gets difficult to keep up with. So I have gathered a group of fab ladies who will show you samples of cards from  a waterfall card to an elaborate suspension card. This hop is 2 days long with different samples on both days so you wont want to miss either day. Be sure to leave a comment and become a follower on every hop in order to be eligible to win my grand prize. Some ladies will be offering individual blog candy and their rules may be different so be sure to read the specifics and make sure you have fun along the way.     The blog starts at Monica's blog


WOW!  Yesterday was such a great blog hop.  So many great cards. Thank you for all the great comments on my twisted easel cards.  
Today I am sharing a card I  made for the first time- a Suspension Card.  It was a lot of fun and easy using the tutorial I found on Splitcoast Stampers.  Click here  I have added some pics of my own here. 
This is my finished card.  I used my Imagine to make the rabbit from Winter Wonderland.
This is the inside- Frosty Kisses done with the Imagine and the rest of the papers are from Christmas last year. 
I used a punch for the circles
I used some embellishments I bought on clearance last year and double sticky tape, 
You can use dental floss, fishline, string, thick thread, embroidery thread or any kind of thin cording.  
Tape across close to circle edge and tight. 
Trim and finish card.  See beginning pics. Make sure you glue around circle edges so it doesn't pop up.

For my blog candy I will send one winner selected by Random.org a sticker pack.  So please become a follower and leave a comment both the 20th and 21st so you double your chances to win.  
Now your next crafting inspiration comes from  my friend  Amy Jo.  We are both designers for Fantabulous Cricut Blogspot Challenge join us on Mondays for a new challenge each week and daily for inspiration.   Now hop on to Amy Jo-  Click here 
Thanks for joining us.  I will choose the winner tomorrow before noon.