Just Kitting Studio Items for Sale

Showing posts with label Pumpkin Carvings. Show all posts

Wednesday, September 12, 2012

Cooking with Cricut Challenge I Feel the Love Challenge


This week at Cooking with Cricut its time for the I Feel the Love Project.  I love participating in the challenge and Madison asked me for a suggestion for this month so this is what I came up with.  
Mission statement taken from the Casa Pacifica webite: "We meet kids and families at the most challenging times of their lives and help them overcome some of life’s most difficult circumstances – abuse and neglect, complex emotional and behavioral issues, and family crises. We restore hope, help children find joy in daily living, and improve families’ chances at making a better life for themselves and at finding a place in their community where they can be successful. Casa Pacifica is committed to children unconditionally over time and through all of life’s ups and downs.


Headquartered on a rural 24-acre campus five miles from the Pacific Ocean, Casa Pacifica serves abused and neglected children and adolescents, and those with severe emotional, social, behavioral, and mental health challenges. Our primary service area is California’s Central Coast, but referrals come from all over. We provide a comprehensive array of state of the art services to meet the varied and complex needs of children, youth and emerging adults in our care..."


It was learned that there are currently around 200 kids who attend school at Casa Pacifica and approximately 70 kids who live at the facility.  When I was teaching I had several kids who were at Casa Pacifica and I visited their several times.  


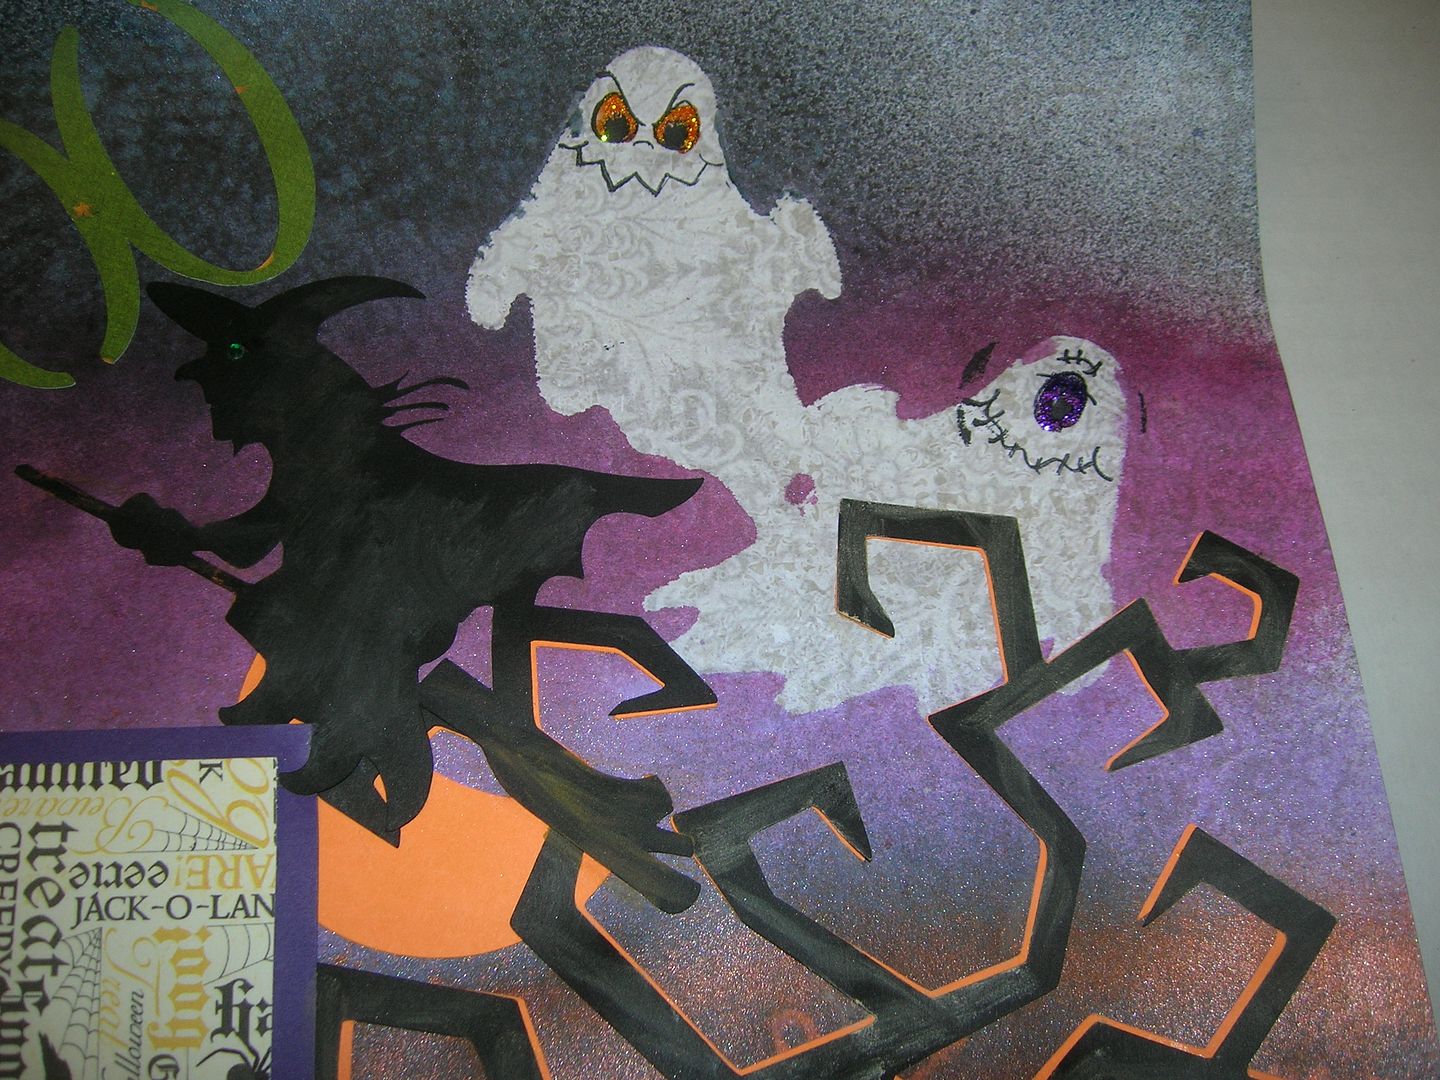
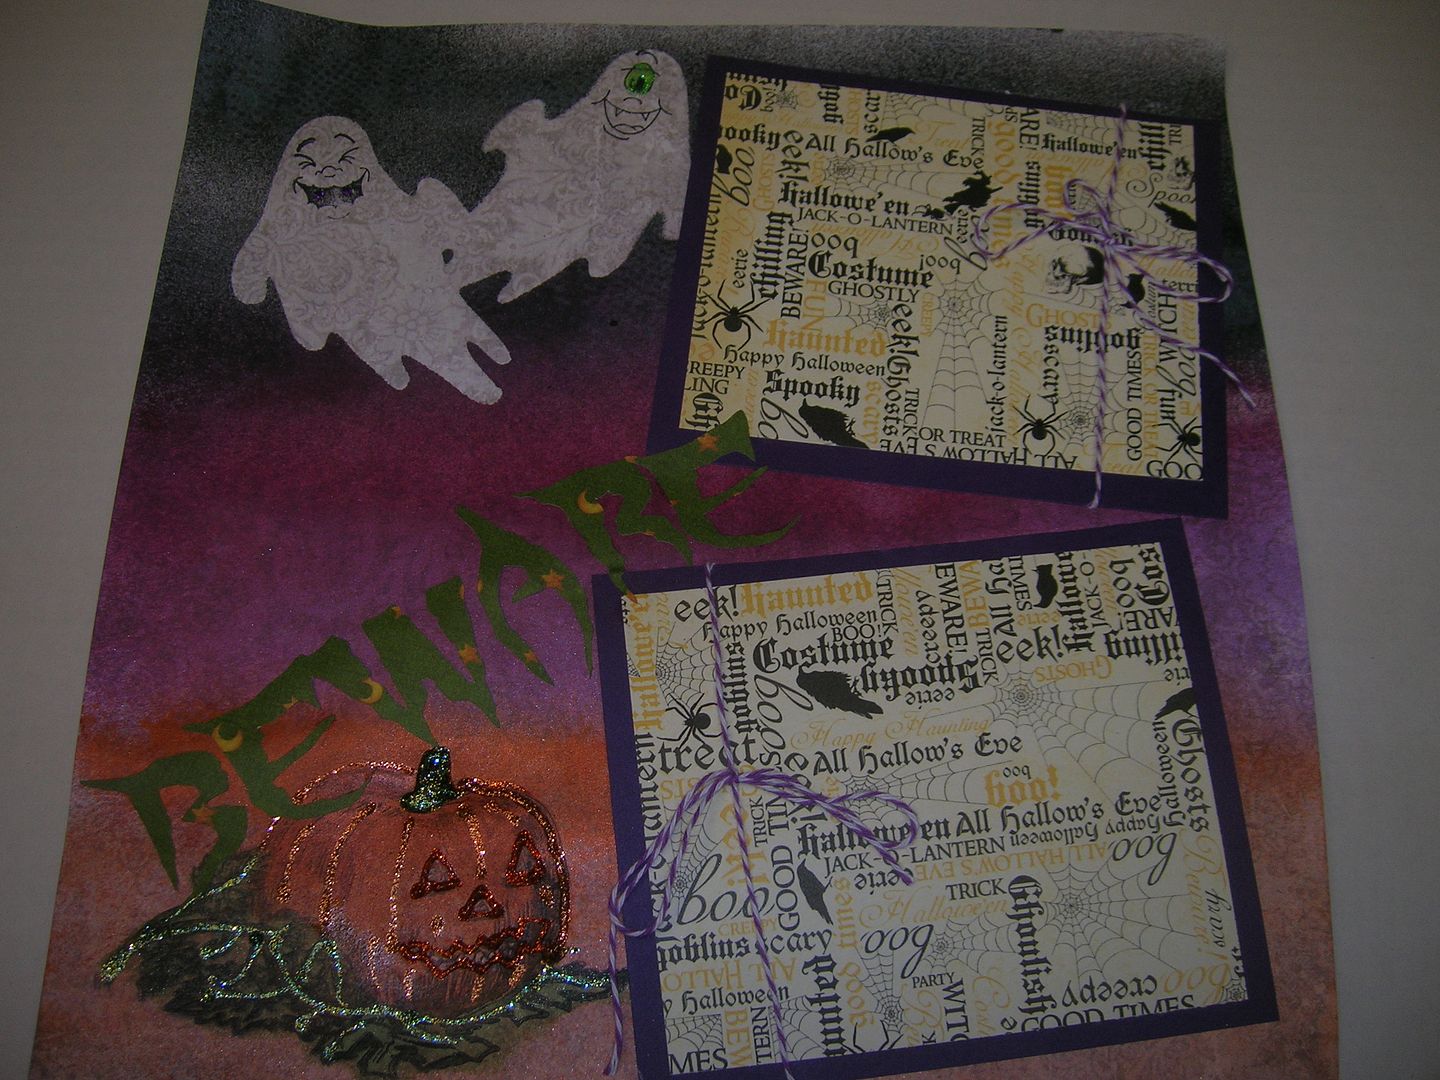
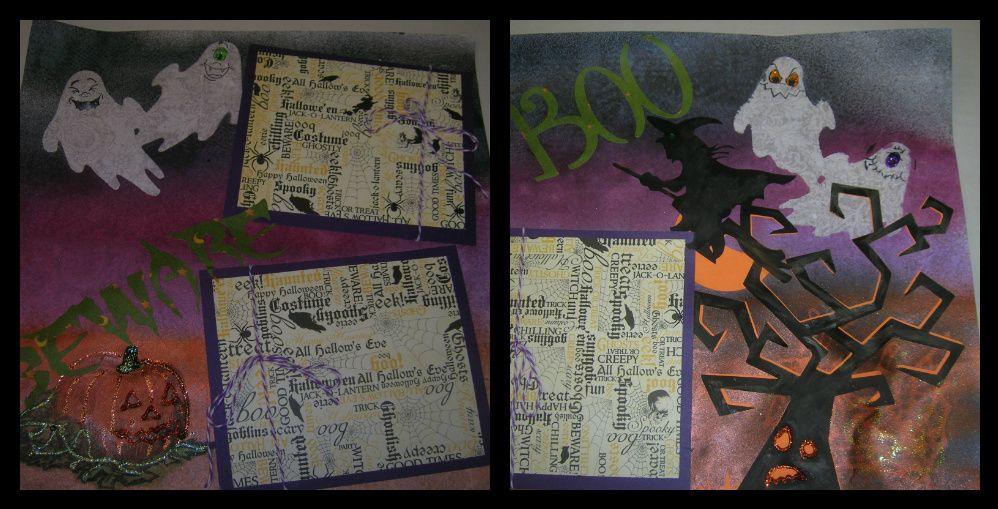
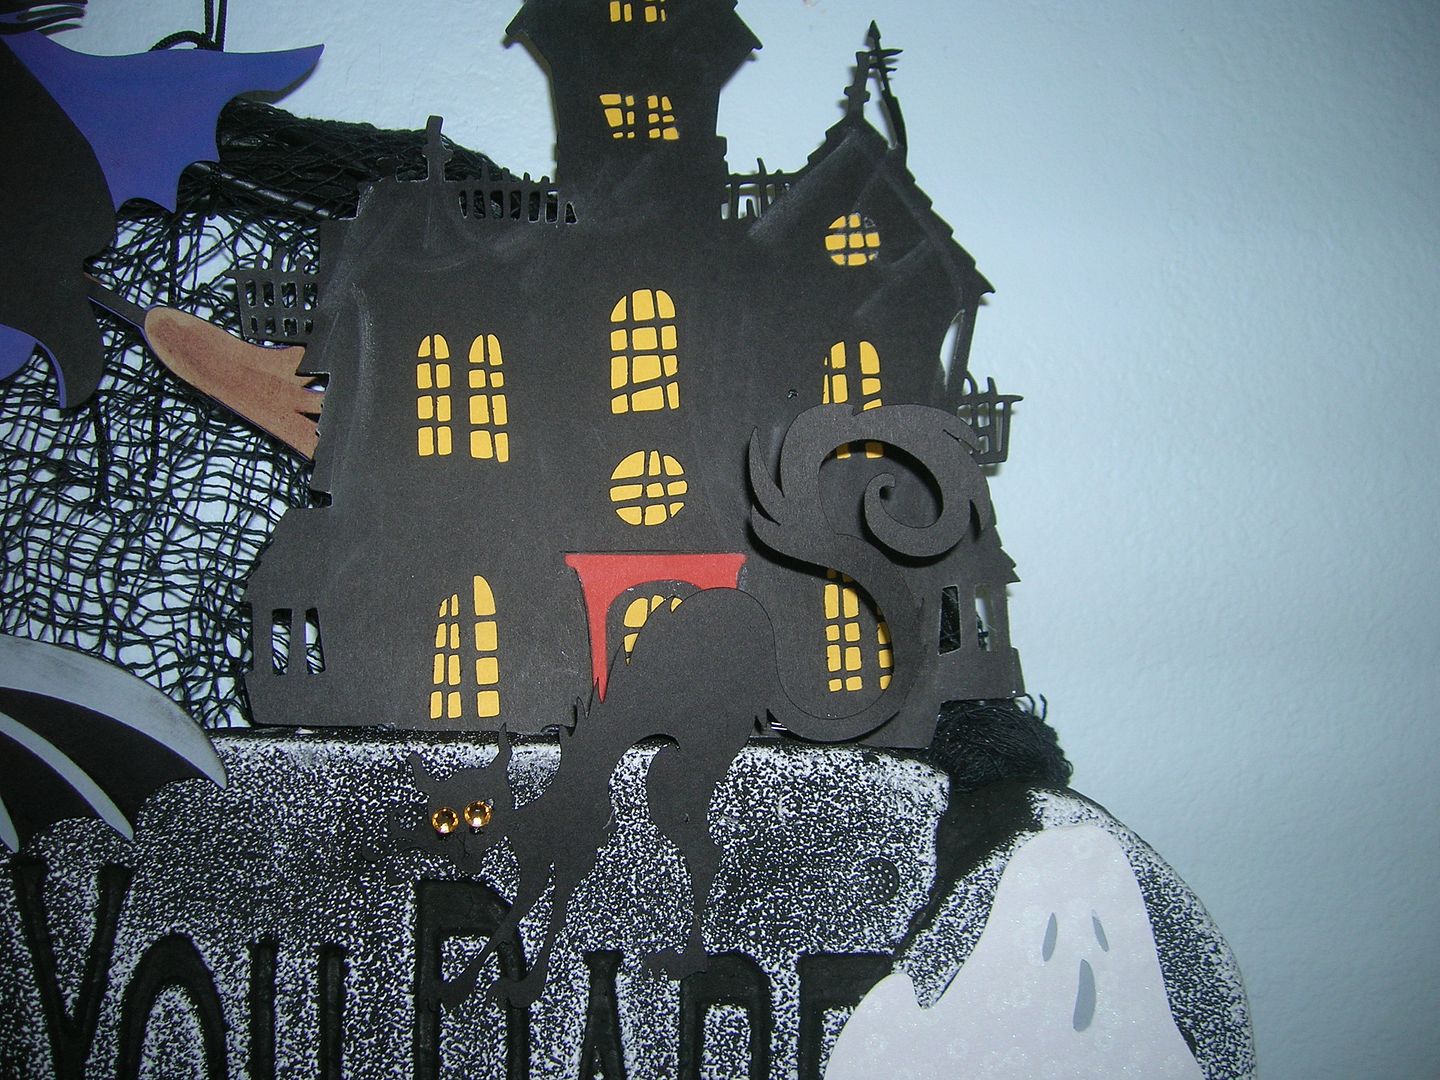
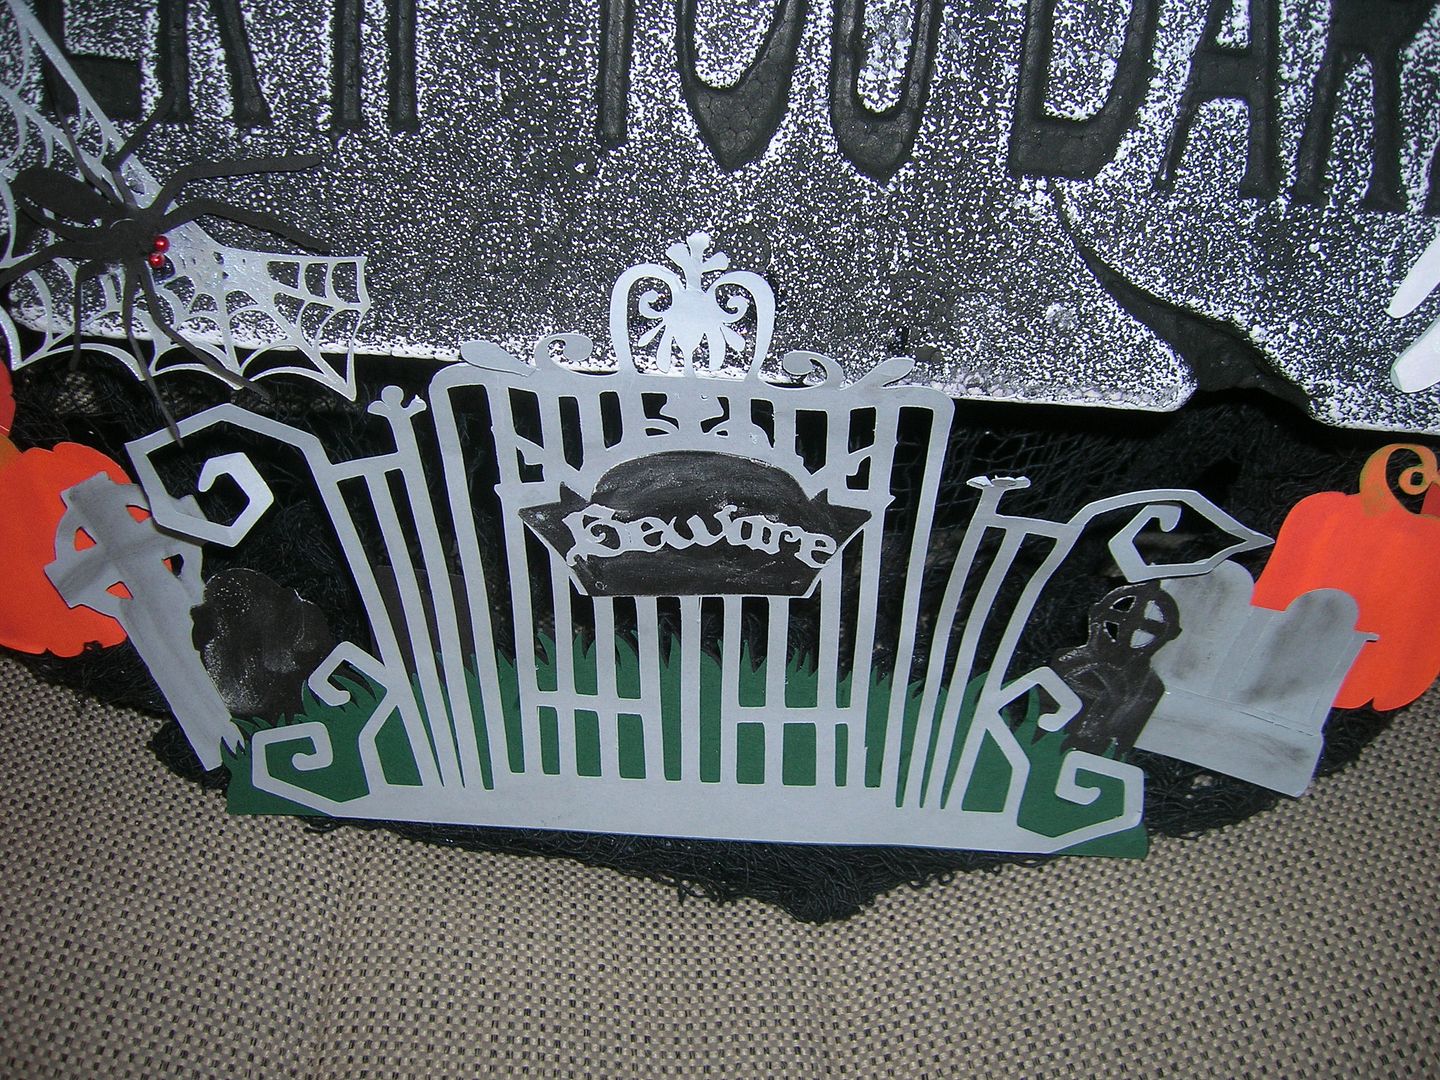
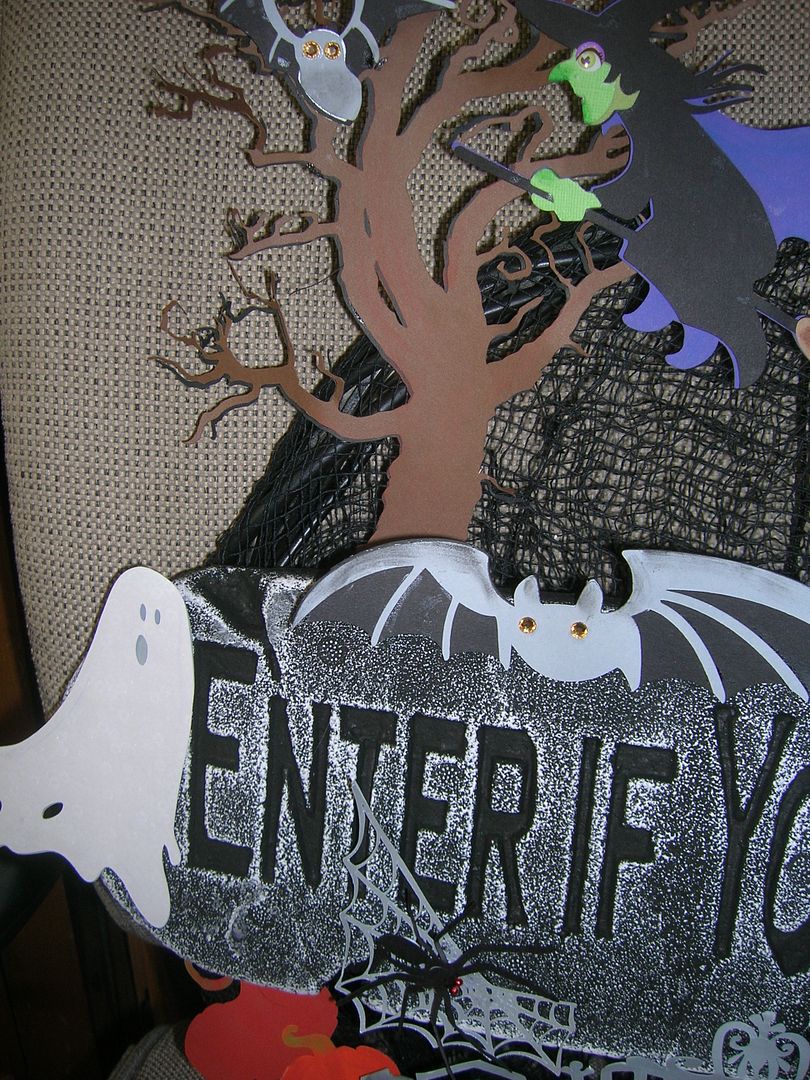
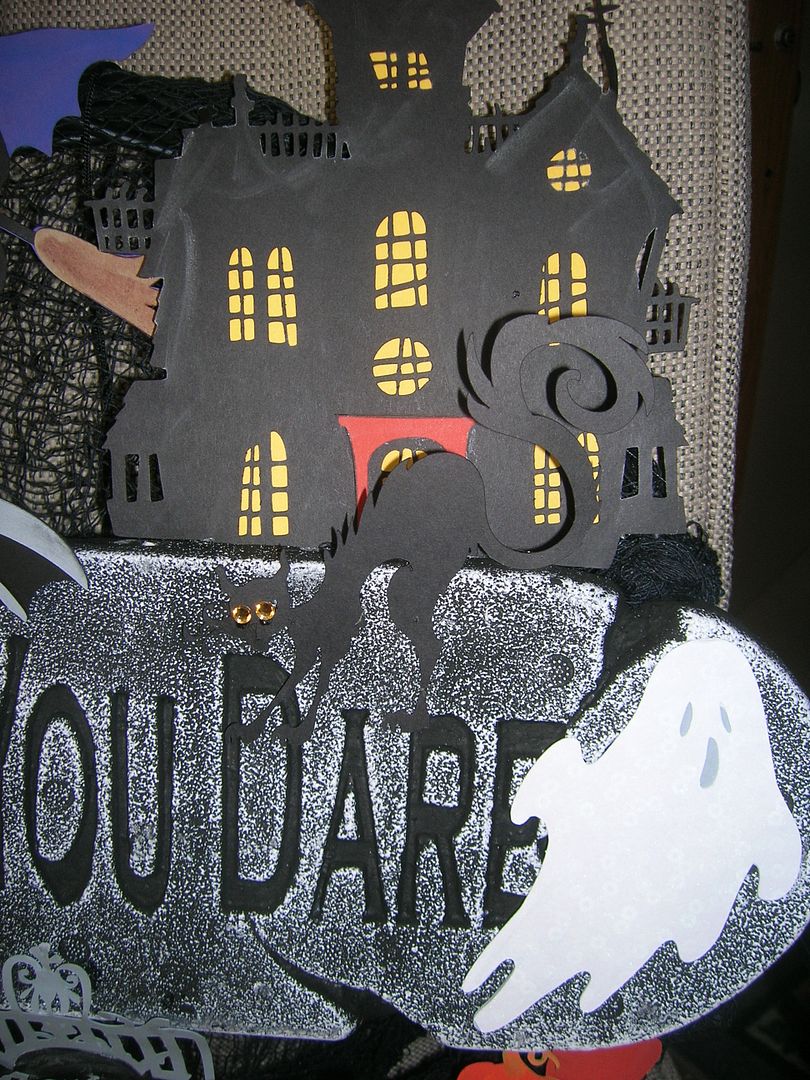
The I Feel the Love Project will be making Halloween Cards during the month of September (handed out during the month of October) to be given to the kids who live at Casa Pacifica. Each year the facility has an amazing Halloween party for the kids. It is our goal to send a card to at least each child who lives there to help celebrate this occasion.  We will need to make at least 70 cards.  I know we can do this!!  These kids deserve our love and support!  (Please keep cards fun and cheery, nothing scary or evil).

All you need to do is:

 Submit your card/s by September 30 to:
Madison Womack
(IFTL) Funky Cards
P.O. Box 1203
Atascadero, CA  93423
                                Project #14

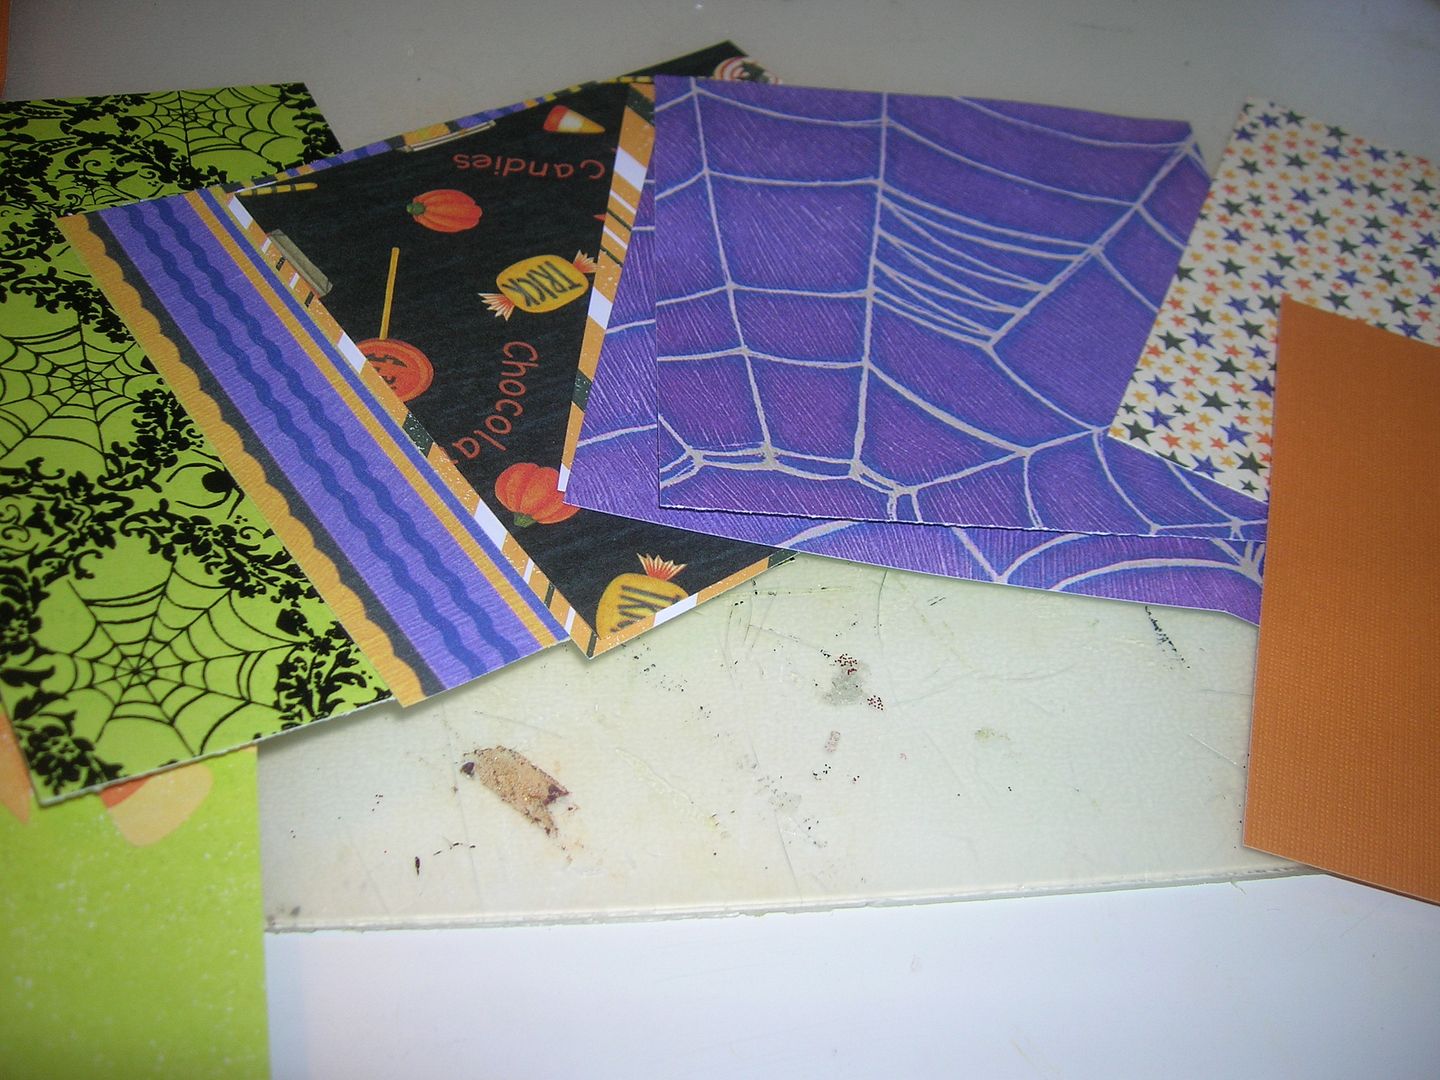
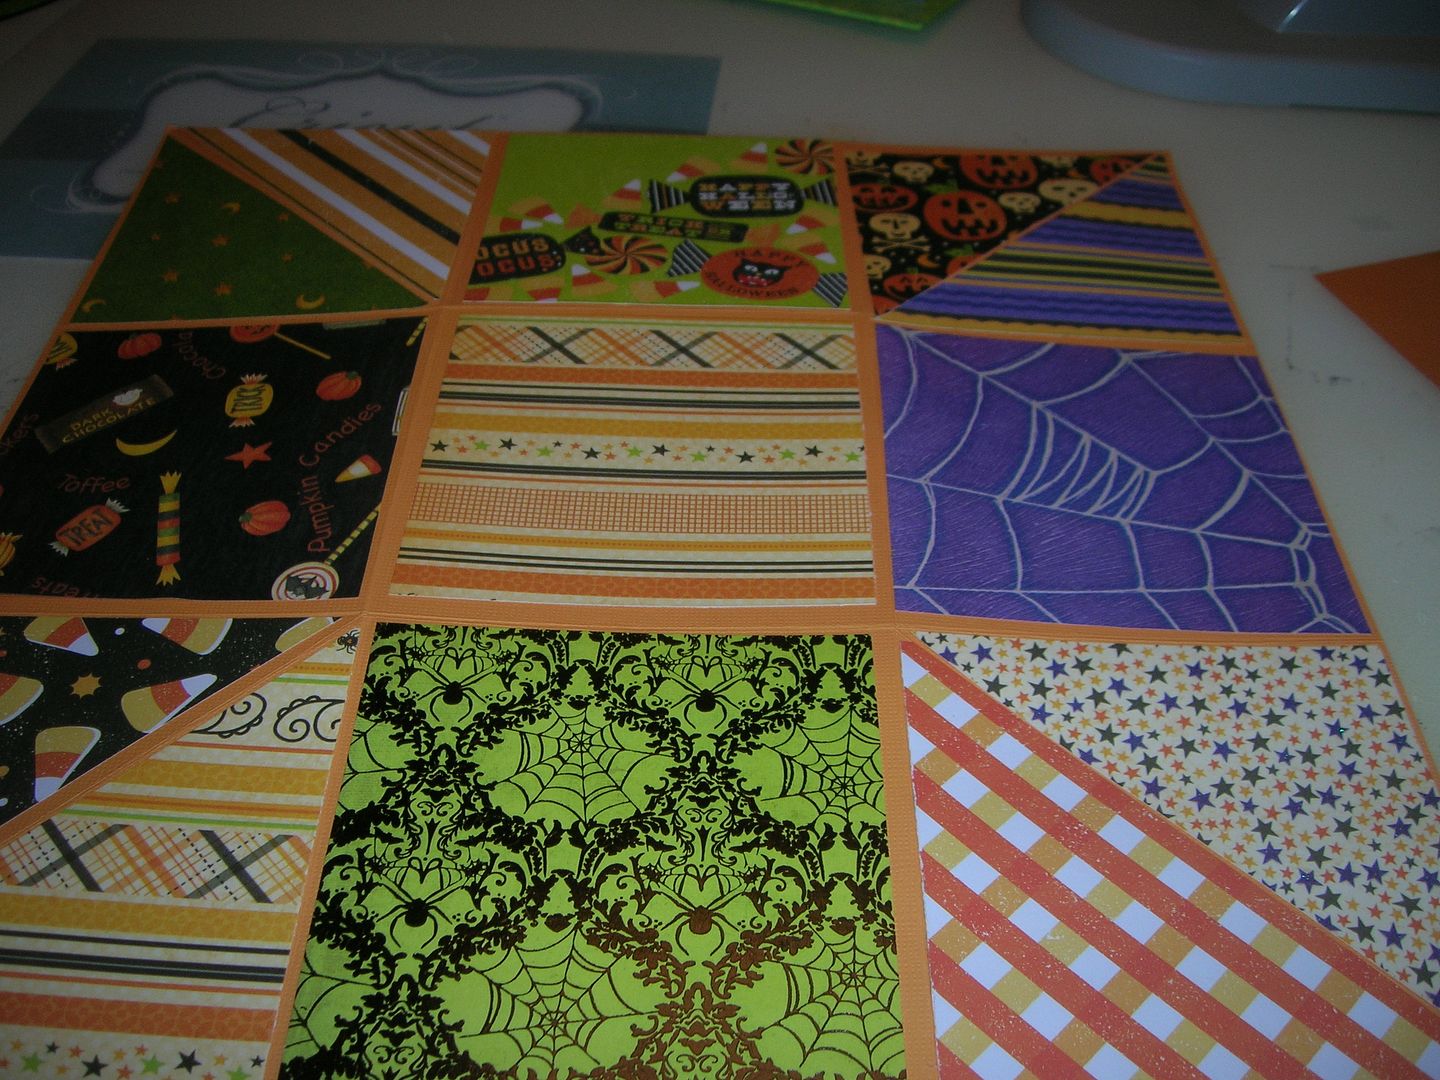
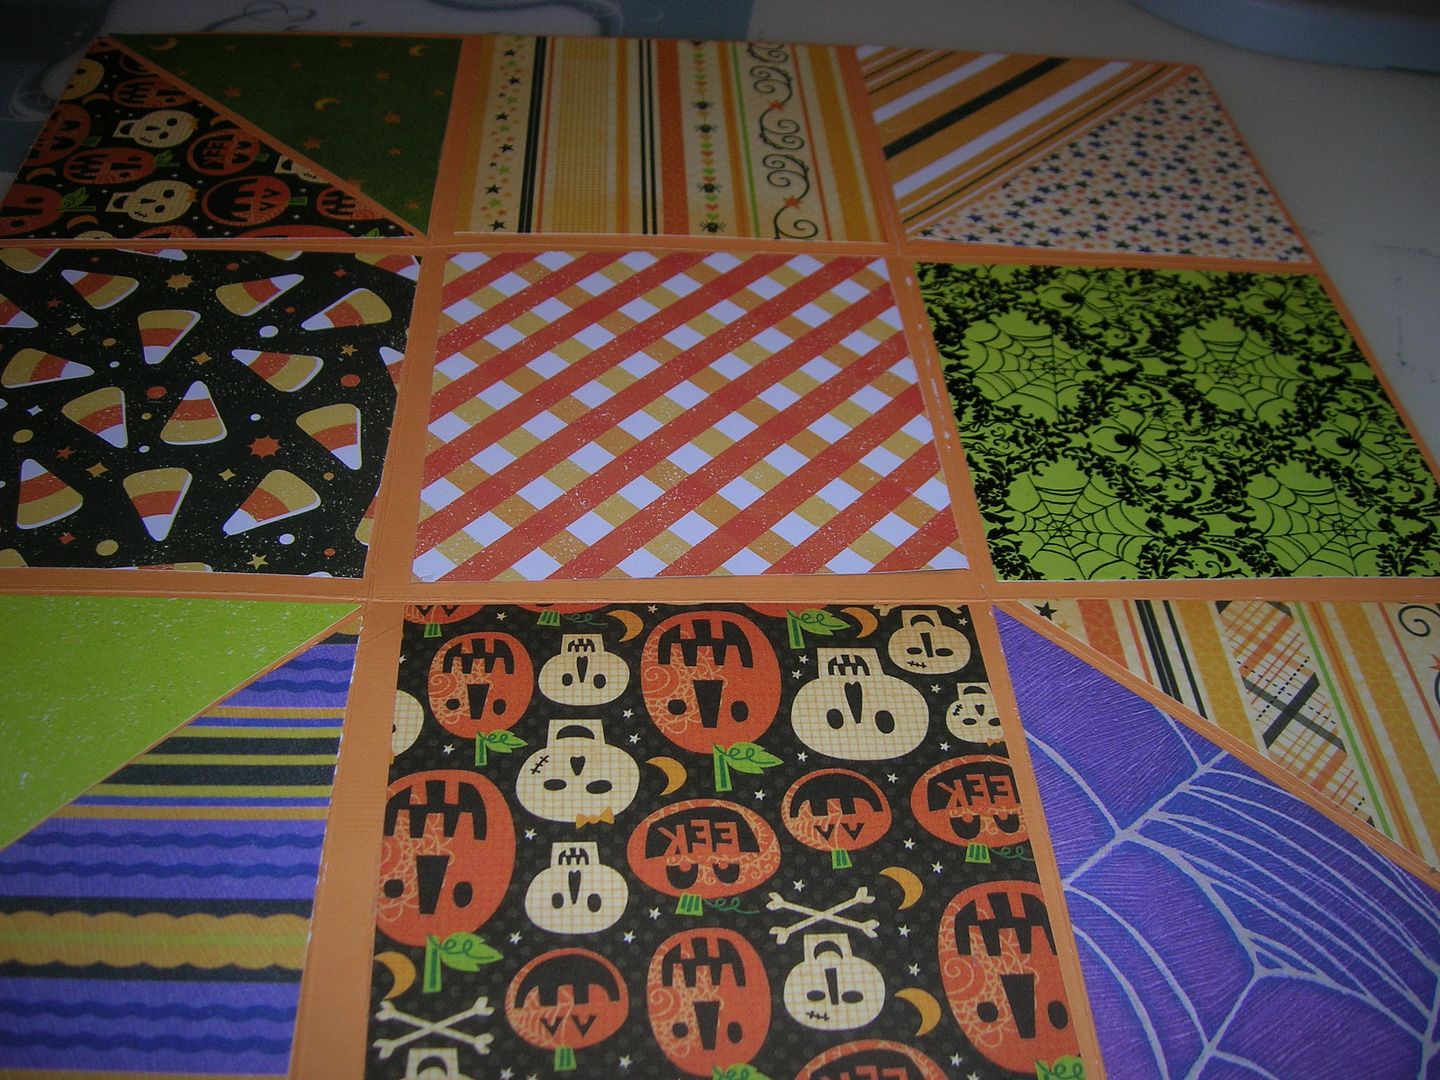
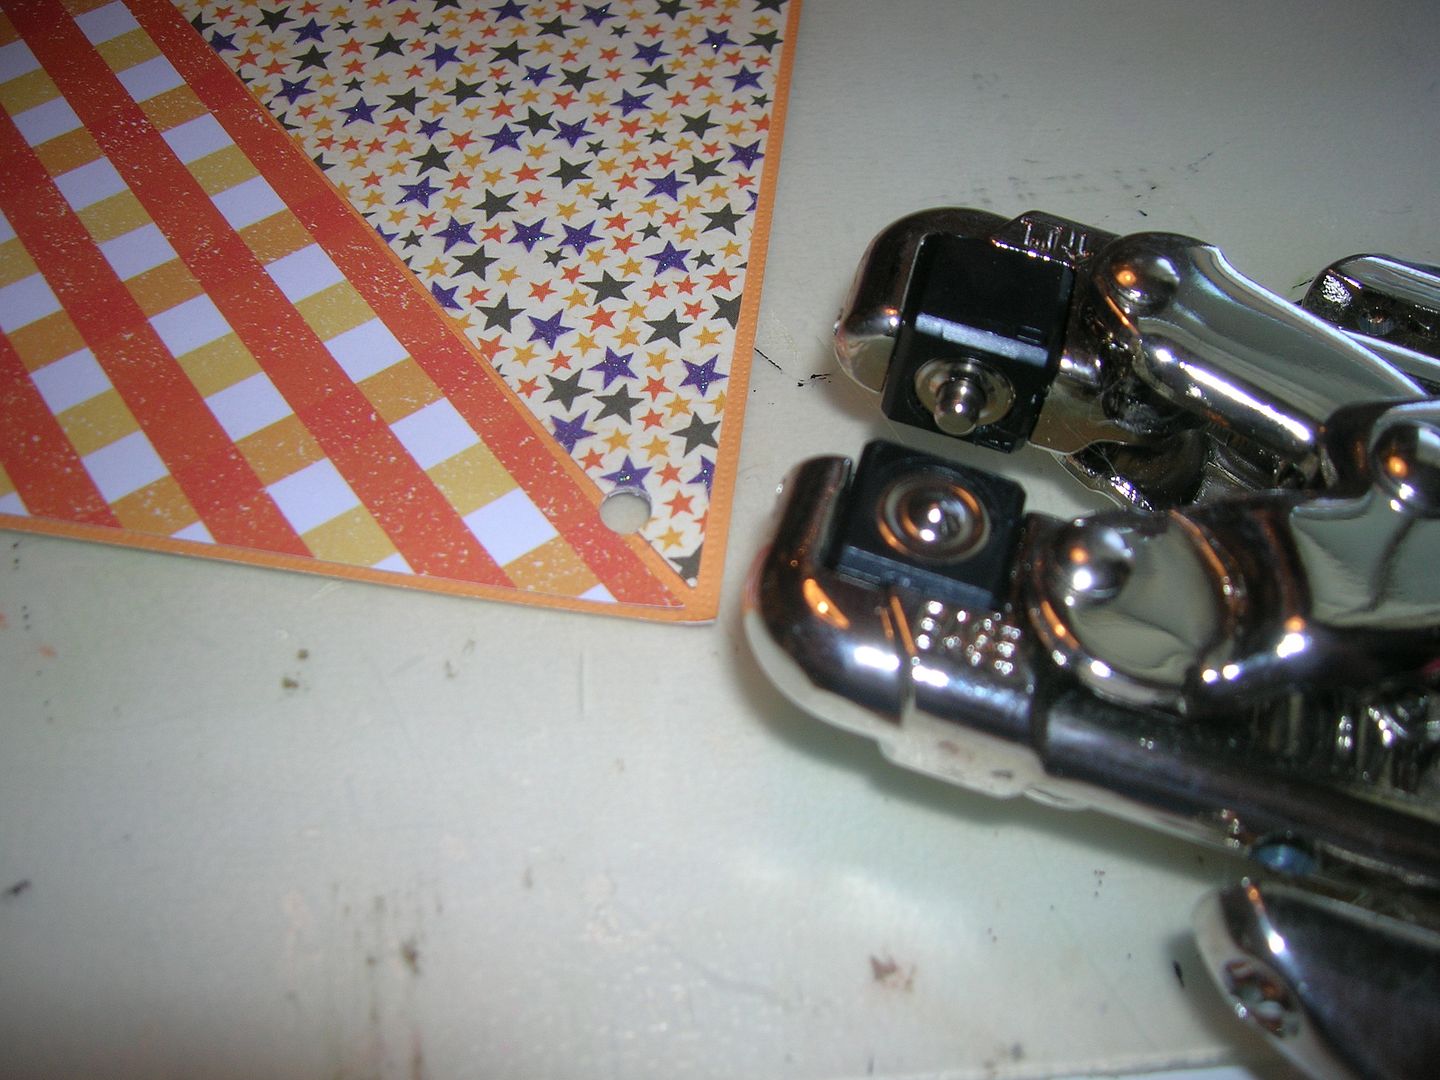
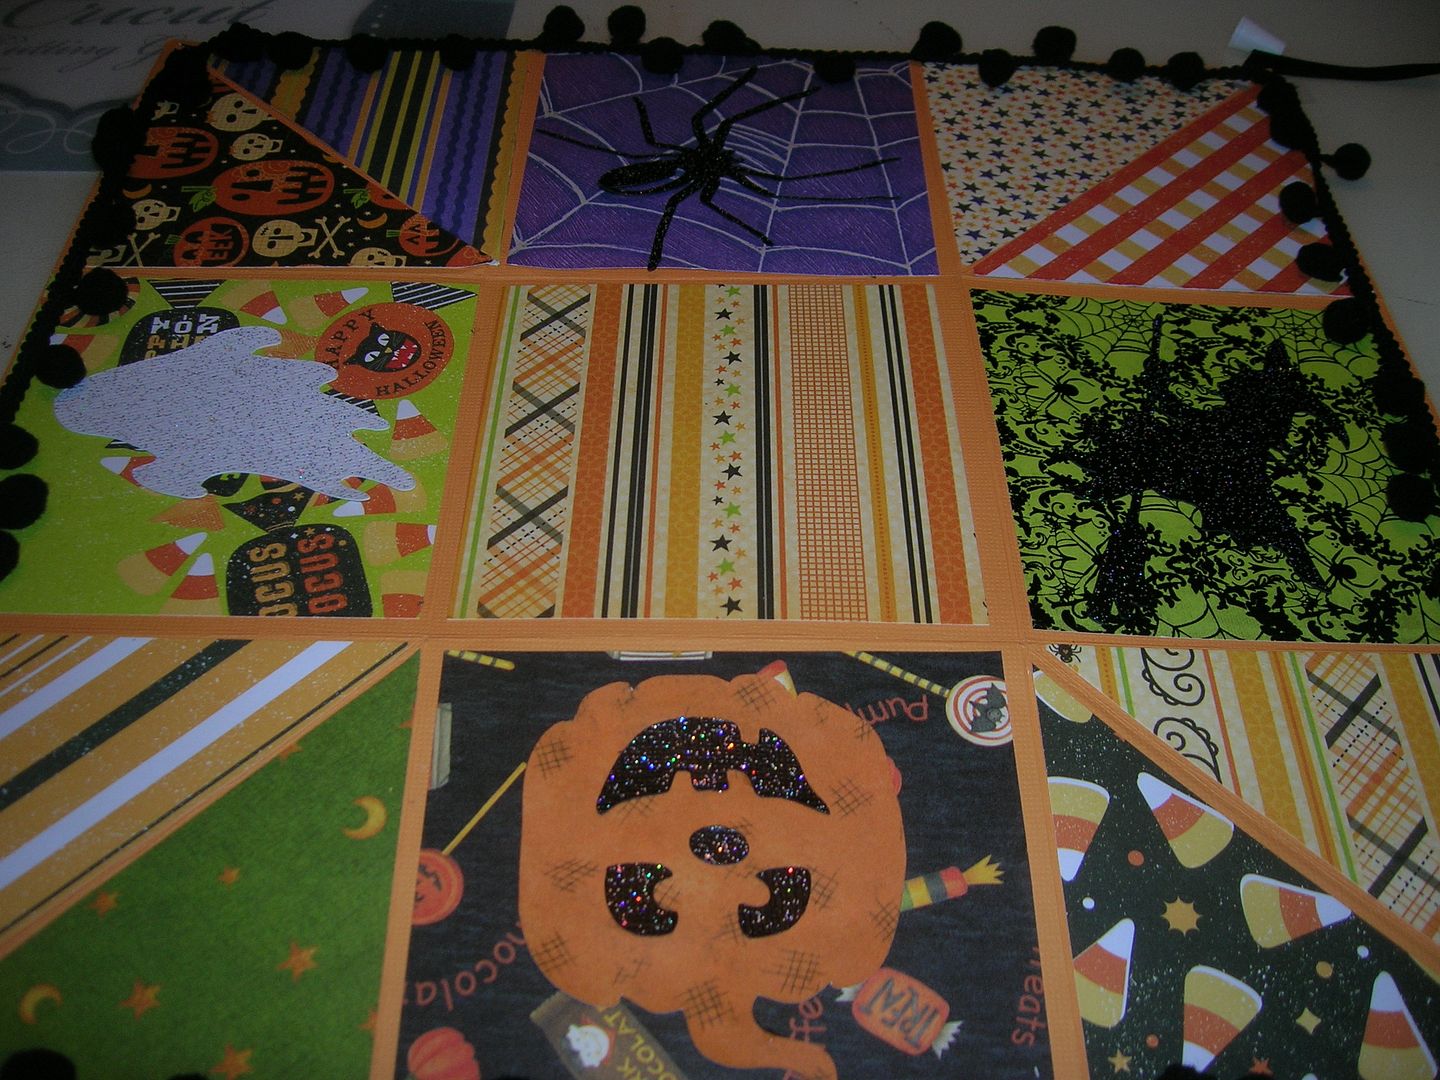
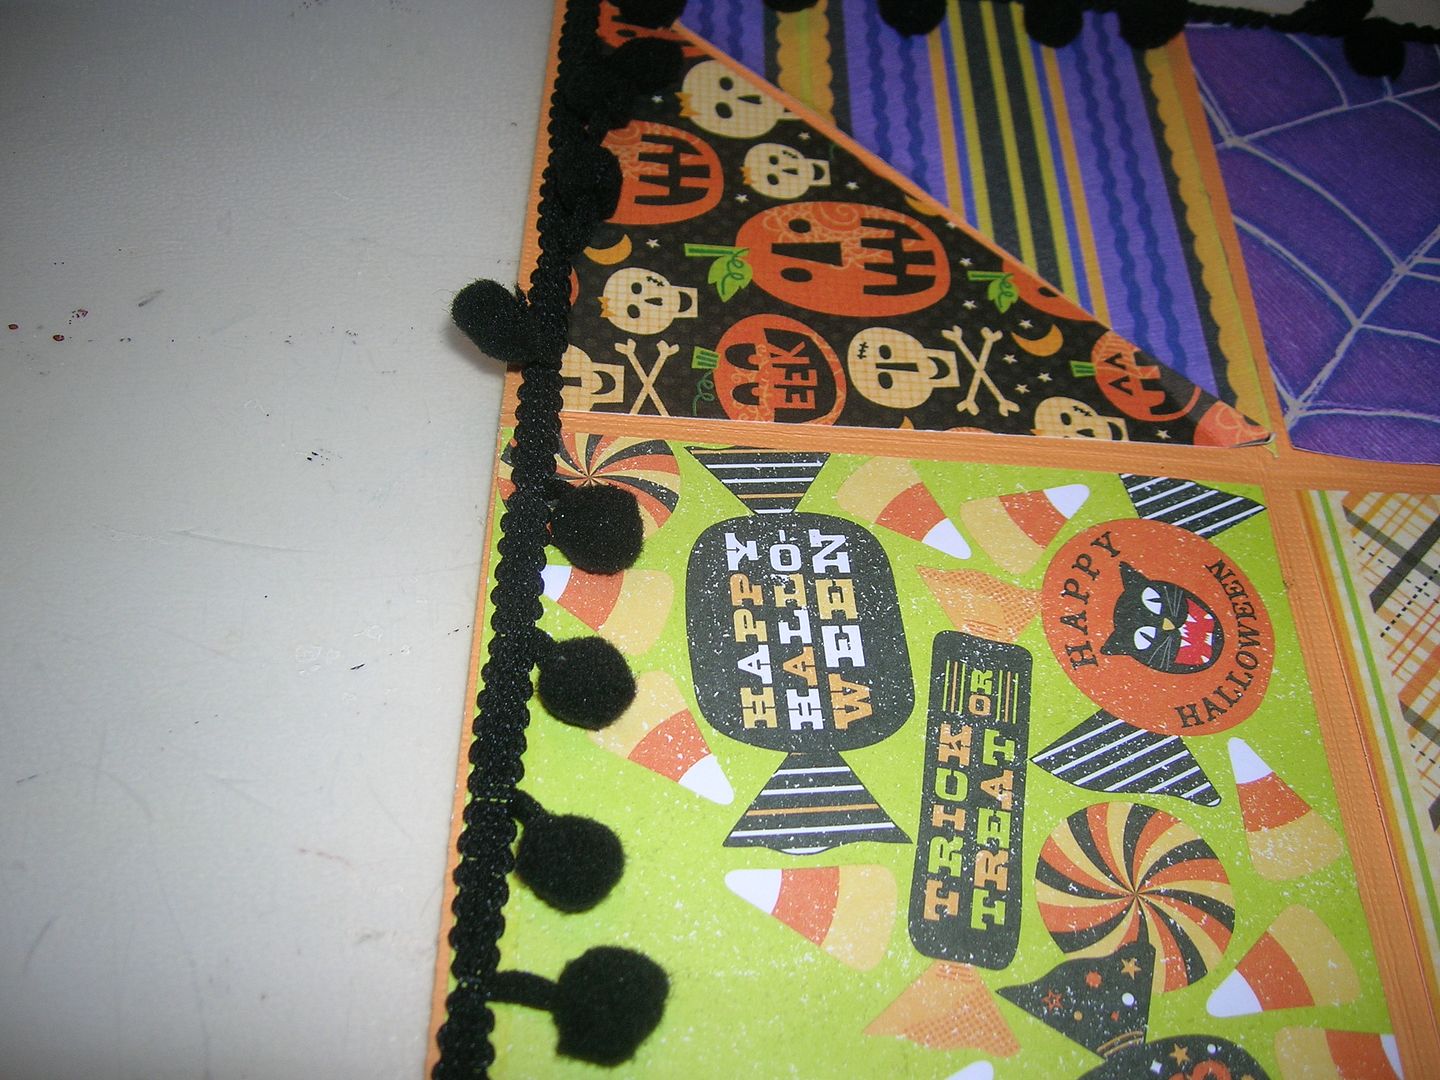
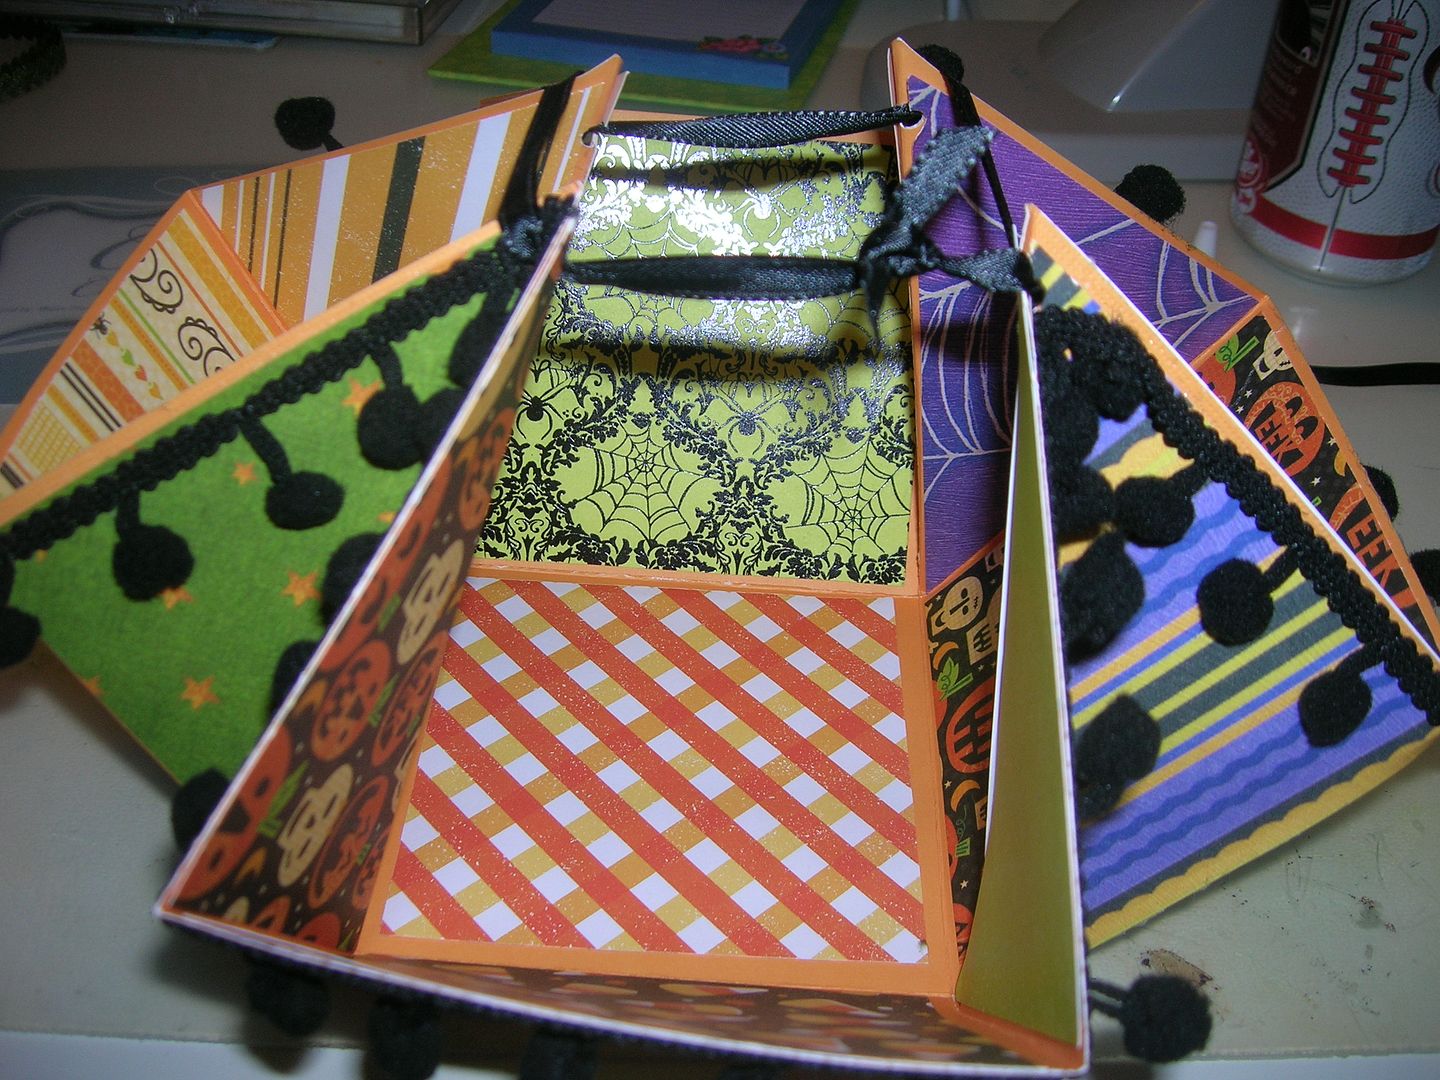
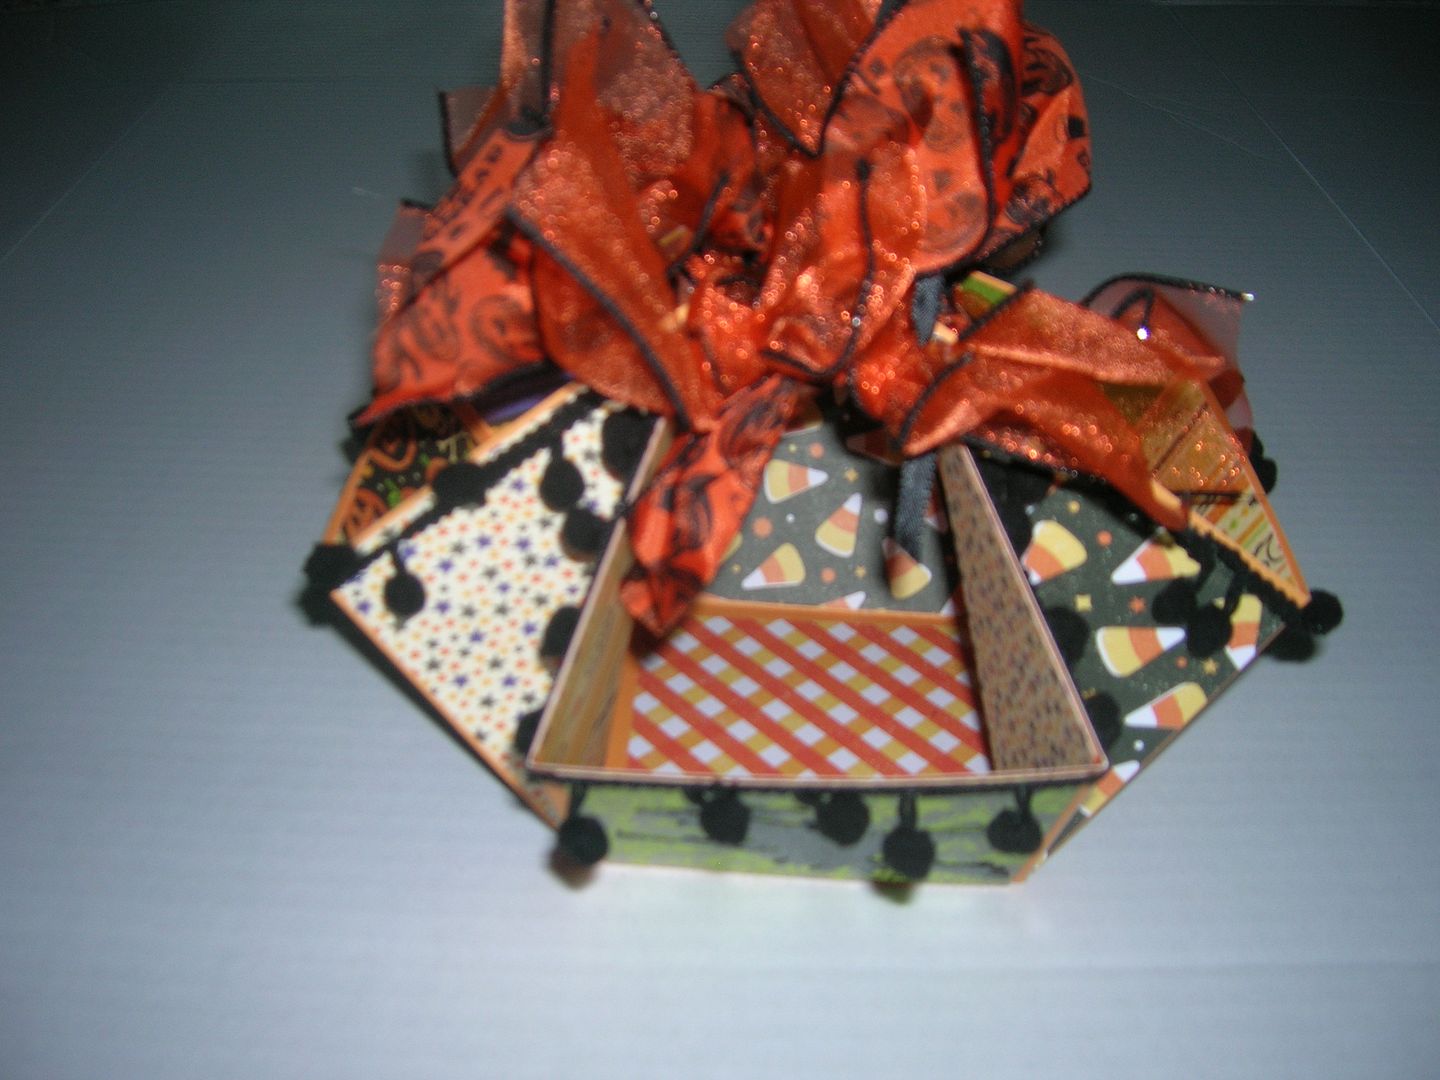
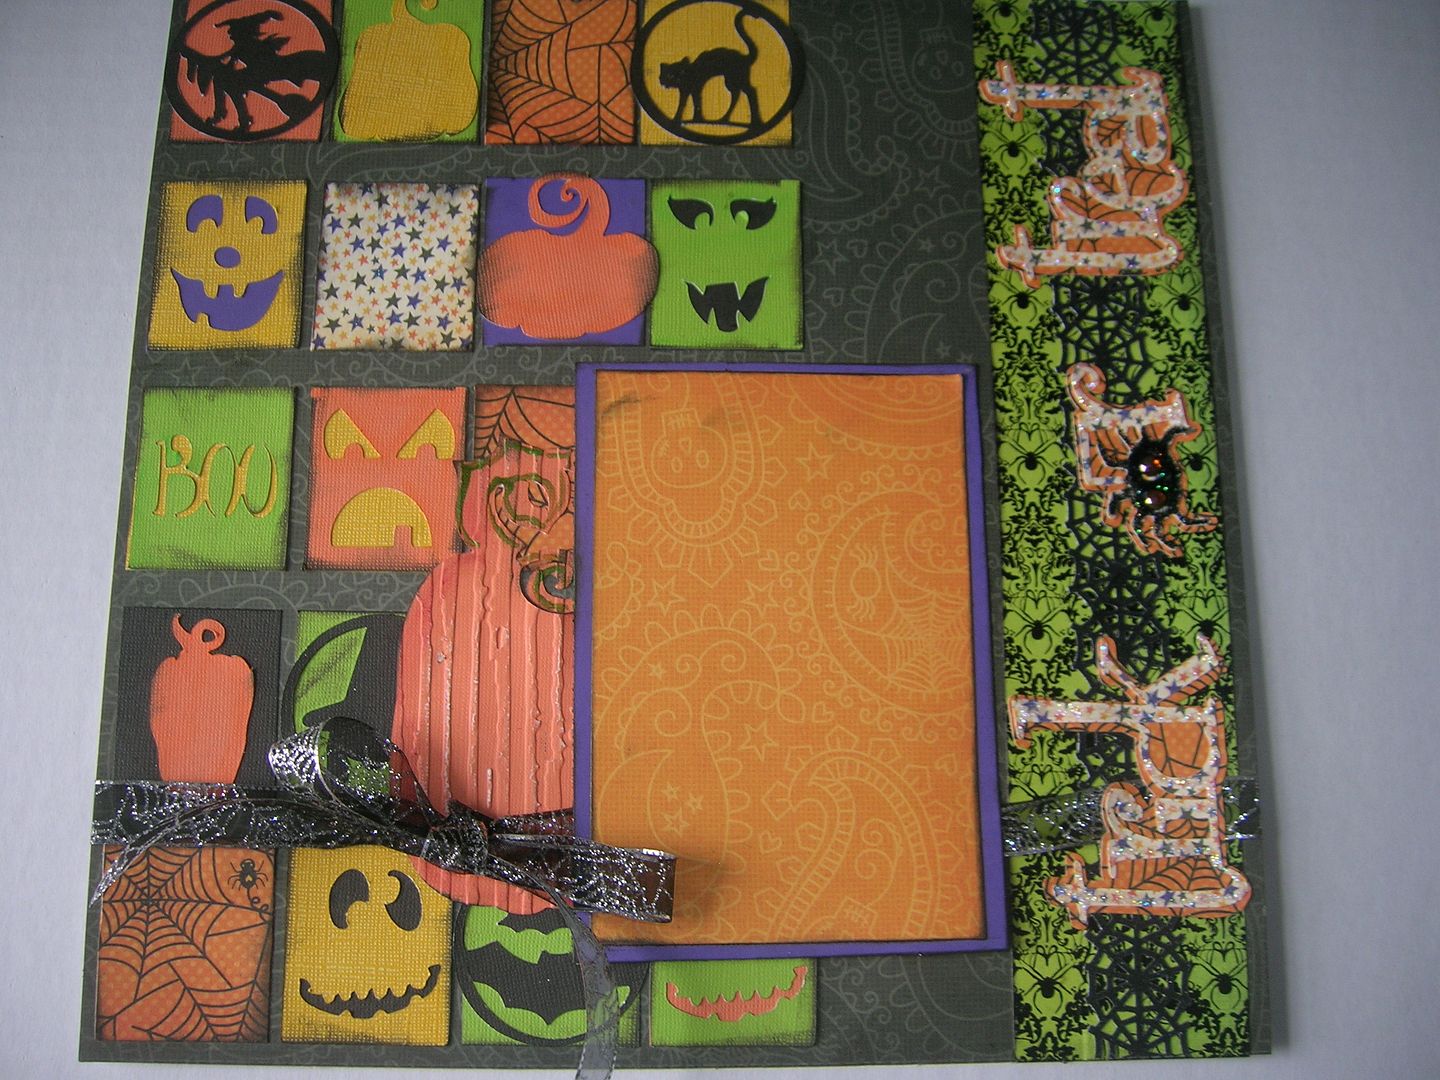
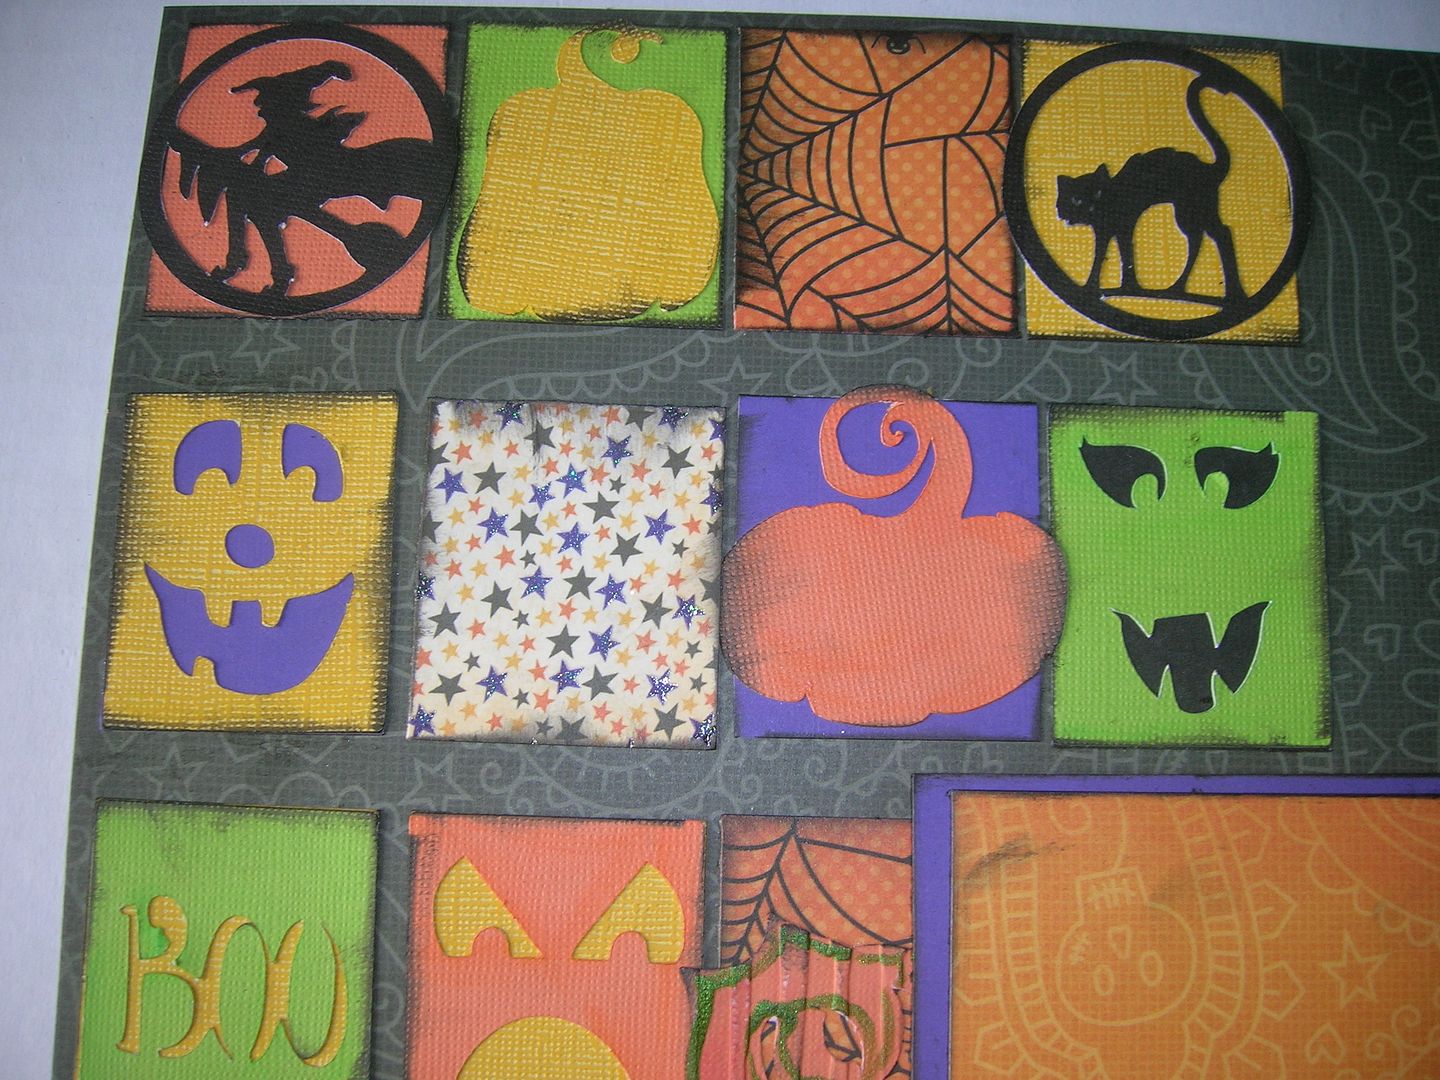
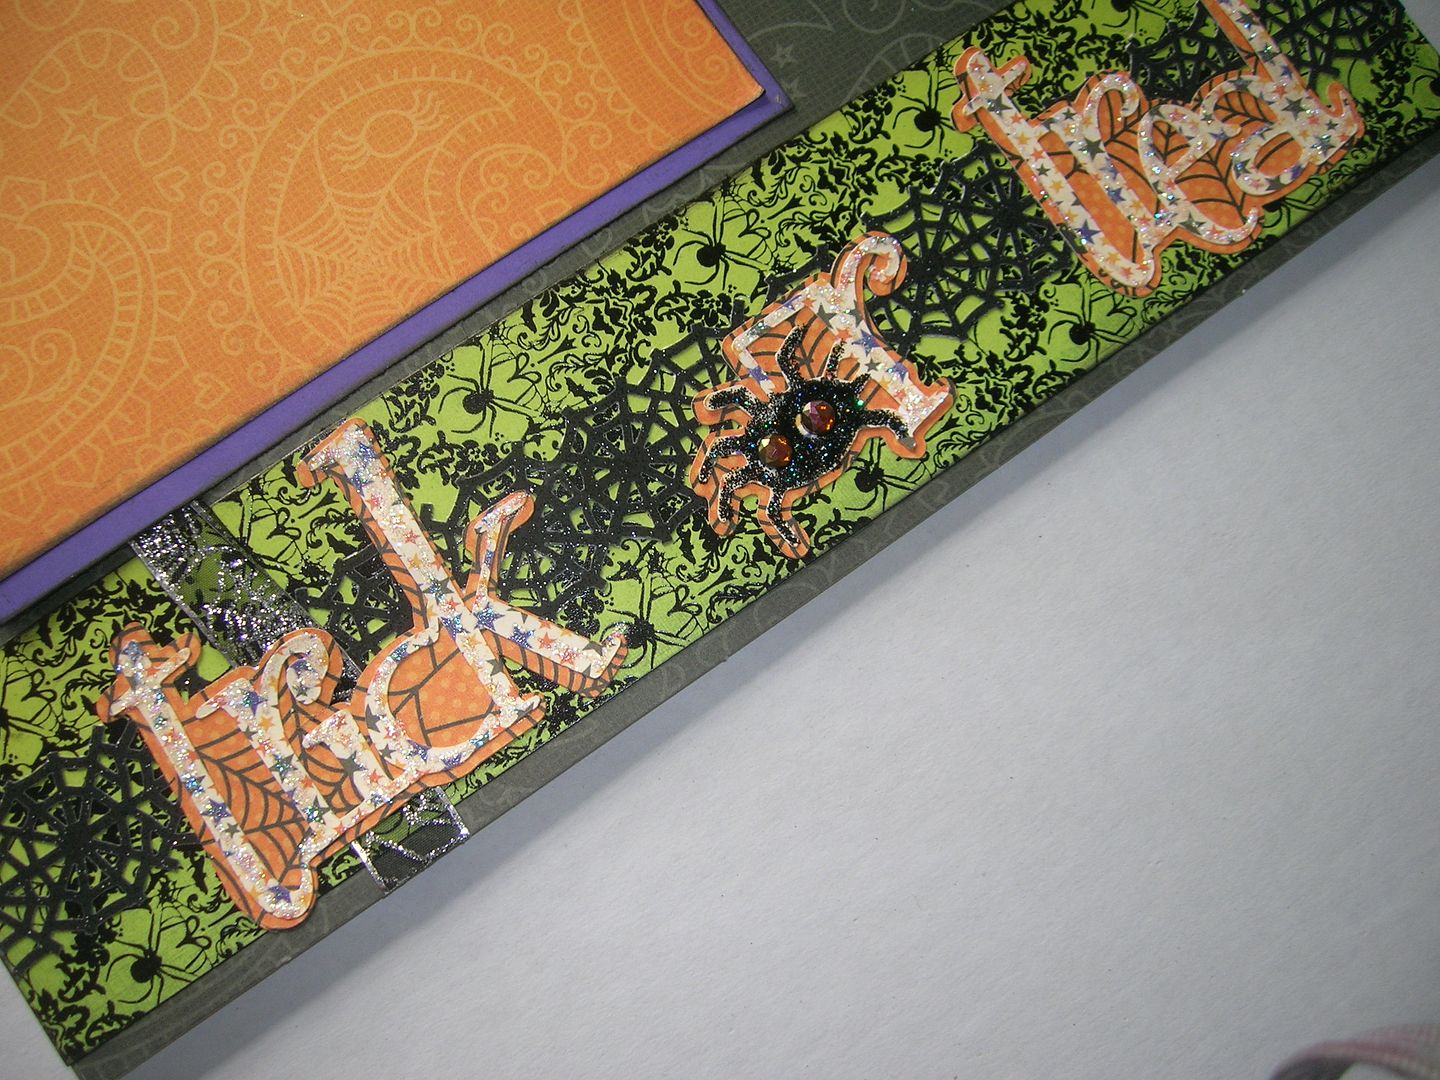
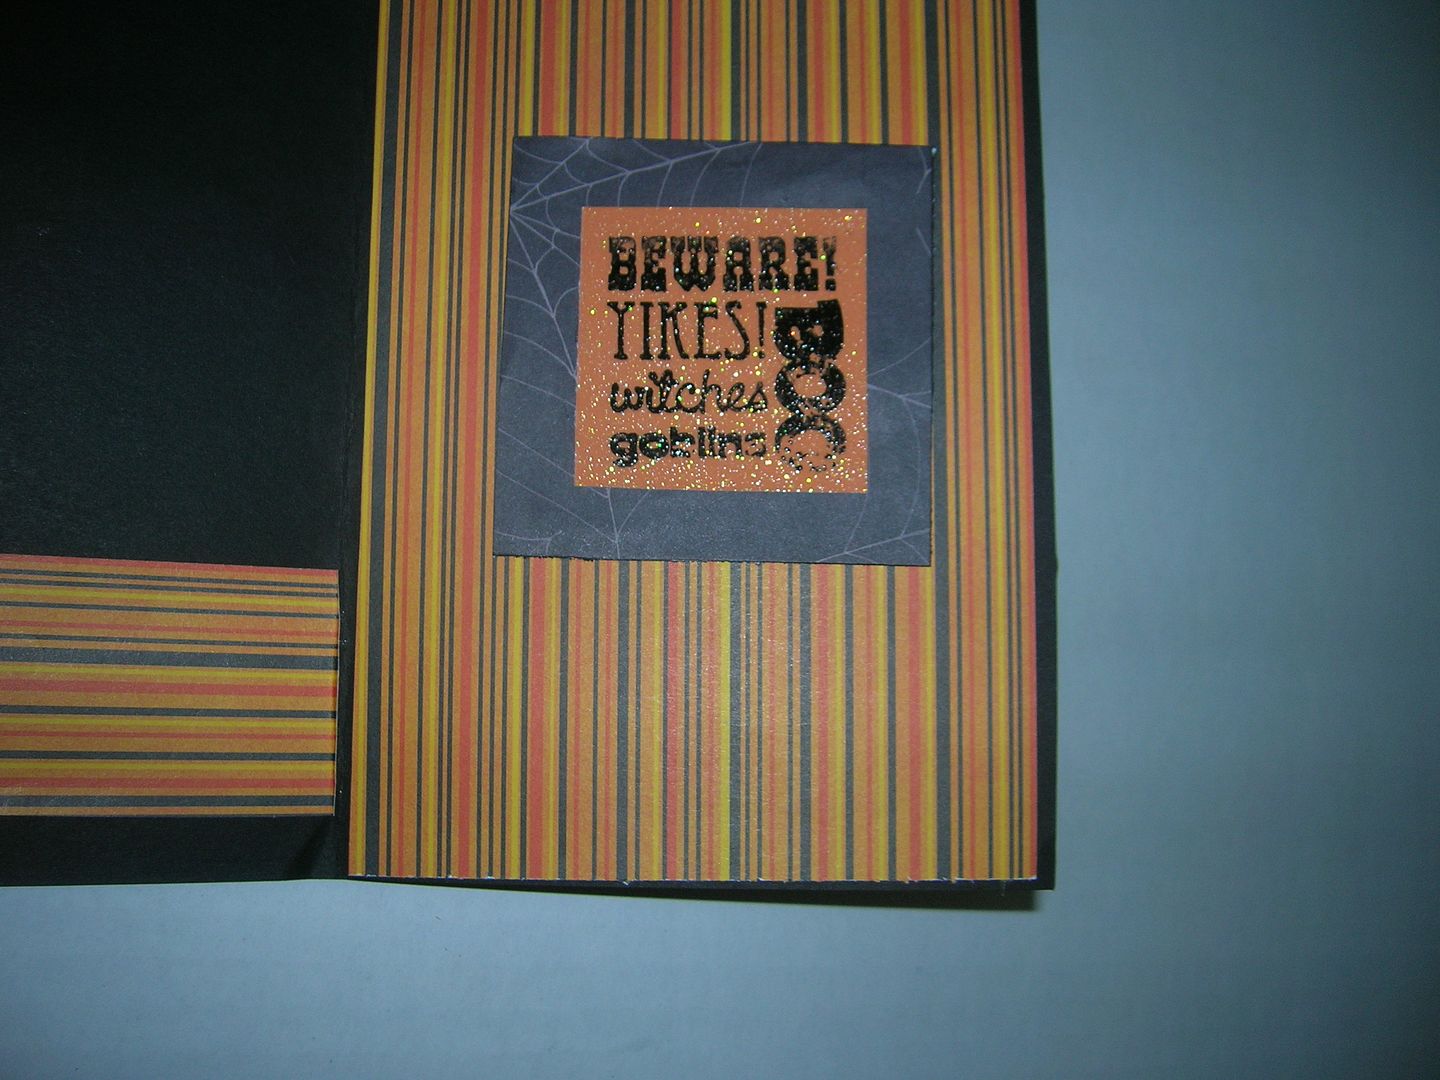
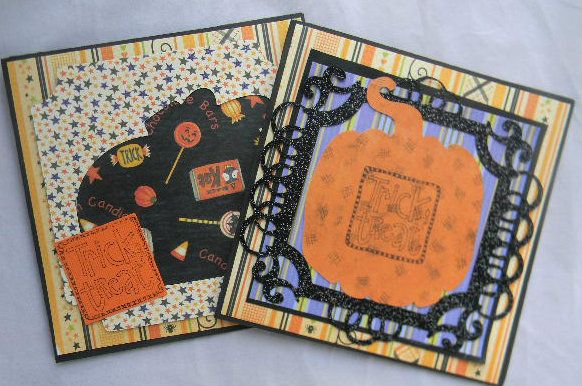
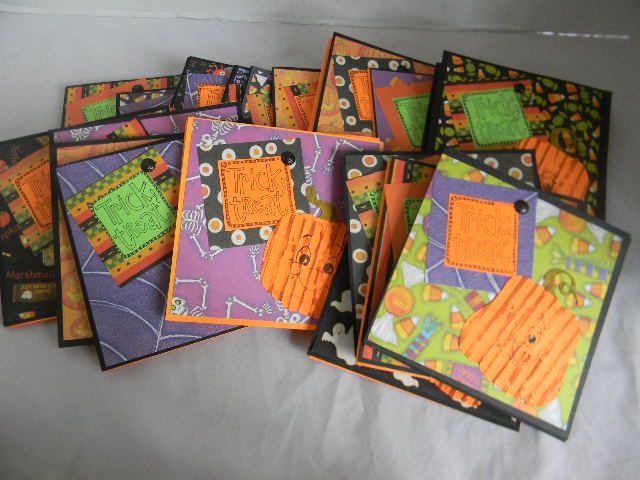
I have made a total of 30 cards for the I Feel the Love Project  this month.  The first two cards I made from scraps and cut outs I had in my Halloween box from last year.  
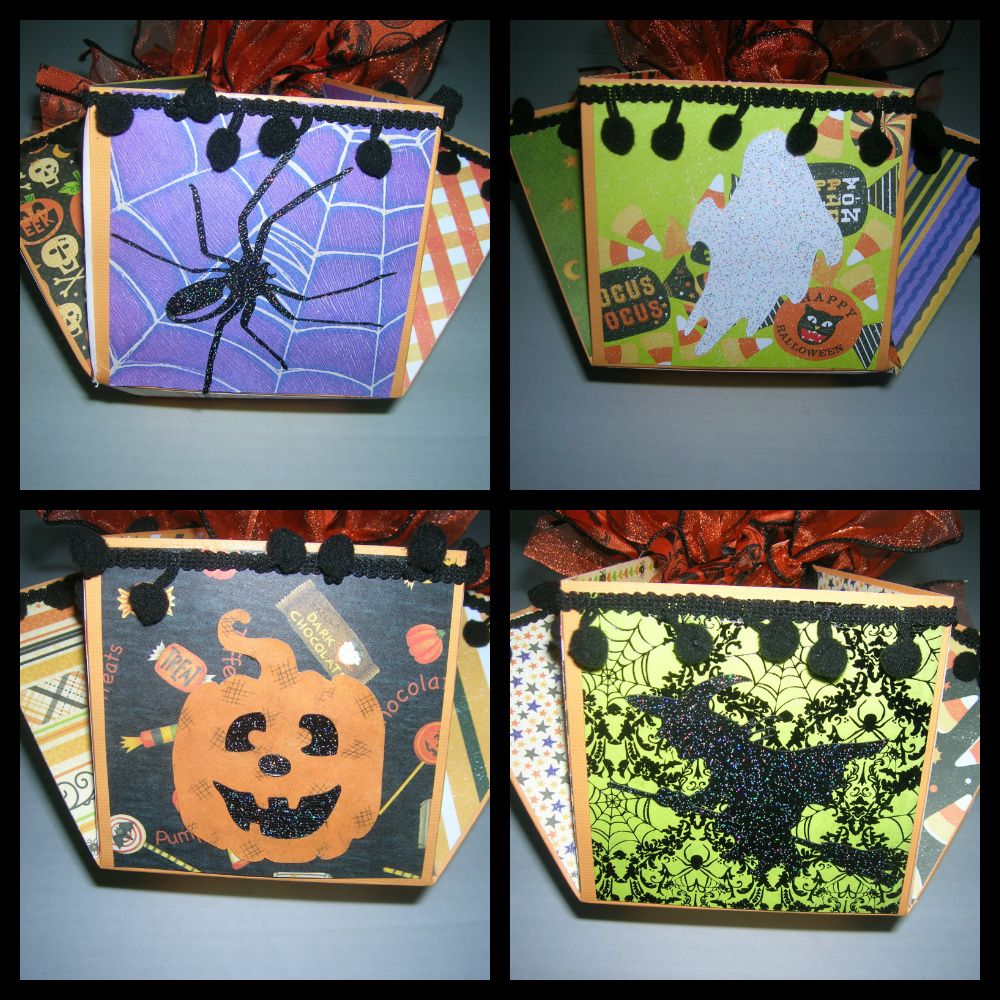
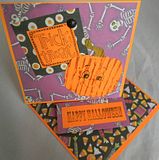
I also made a whole pile of twisted easel cards using Pumpkin Carvings.  
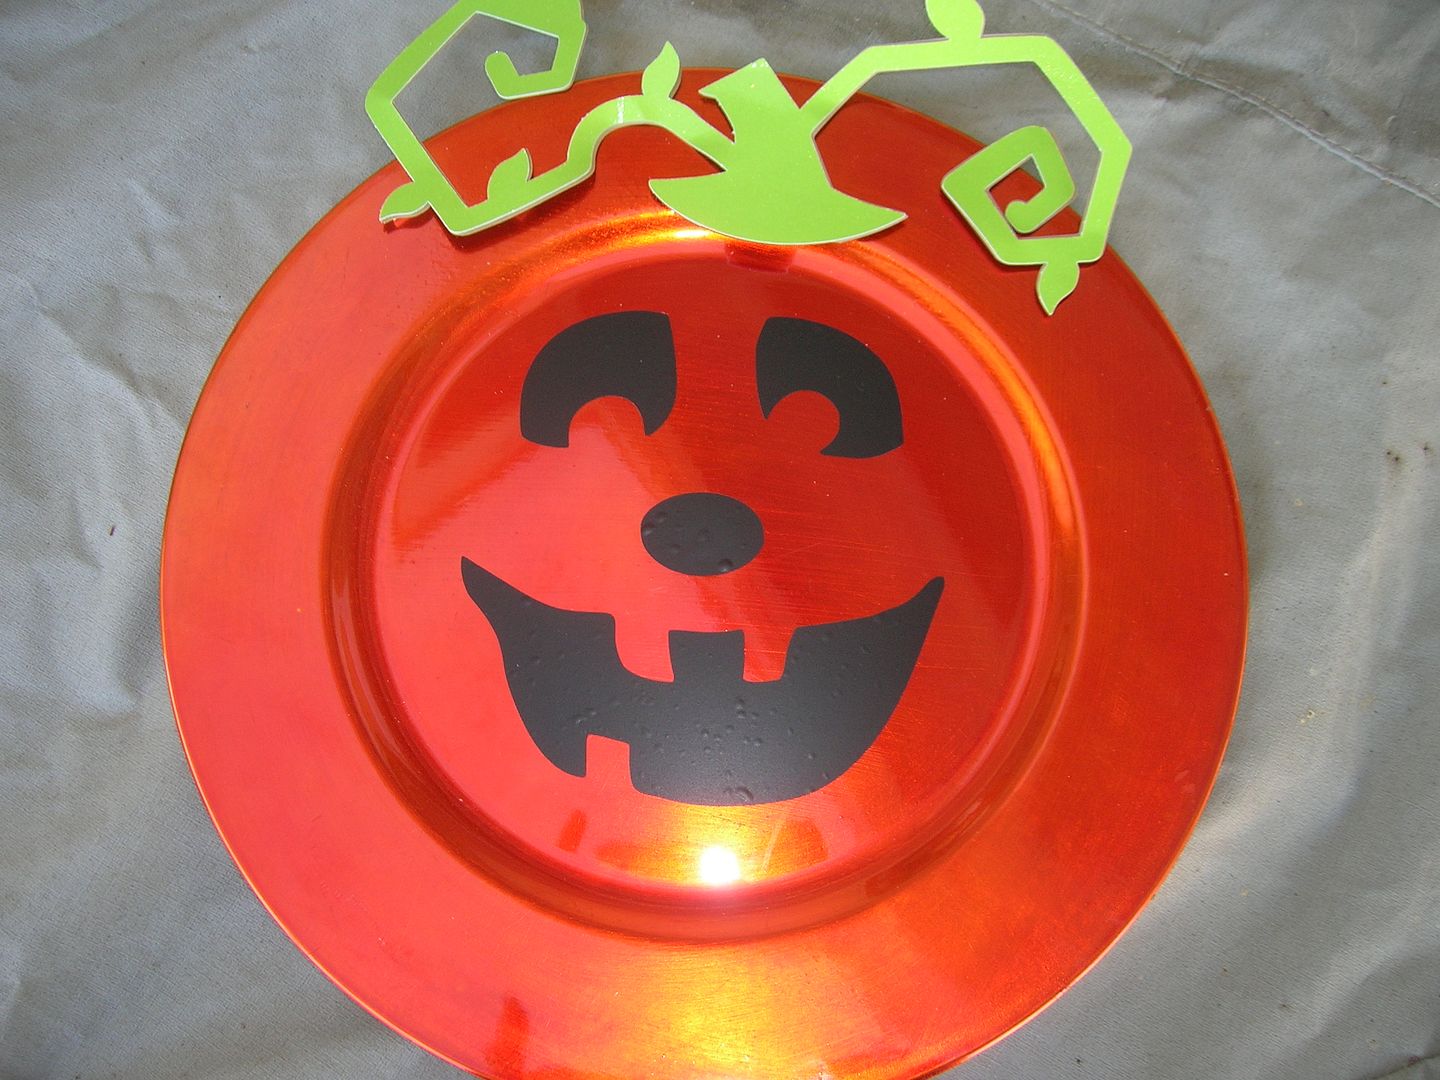
I embossed the pumpkins, colored the stems and used stamps and paper from last year.  
Oh and of course my Peachy Keen faces 

I hope you will join us for the CWC challenge  and help us get lots of cards for these precious kids.   Happy Craftin!

Thursday, October 27, 2011

Please check out the Thursday Tutorial at FCCB- Masking and Glimmer Mist

Today is my day to post the Thursday Tutorial at Fantabulous Cricut Challenge Blog .  Today I am sharing a tutorial on how I made a mask using my Cricut to make this layout.  Please come over to FCCB and check it out.  Also I would love for you to leave a comment.  I will also be sharing other projects and tutorials on how to use Tim Holtz inks and other stamps.  

I am also entering this is Die Cuttin Divas- orange, black, purple and green challenge,
The Paper Variety Halloween challenge, BBTB2 challenge to use the Happy Hauntings Witch  and
More Than Favors challenge- Anything Goes.
Patches of Pink Linking Party and Craft Junkie 2 Linking Party

Tuesday, October 18, 2011

Folded Treat Box for Sweet Sassy Design Team

So excited to find out the project I did last week for Sweet Sassy Diva wreath challenge was highlighted in the Cricut Chirp this week.  Here is the link if you missed it.   This week at  Sweet Sassy Diva  we were asked to make a Halloween treat goody bag or gift of some kind.  Well here is my treat box.  I love making these boxes and have made them for all sorts of occasions.  They are perfect to fit with candy or other goodies.  I often fill them with goodies from the $1 bins or stores.  
So here is the finished product.  
 Please stop by and leave a comment at SSD's blog.  I would really appreciate it.  

Directions:
You start out with a 12 x 12 piece of  good cardstock.  
You then score or fold at 4 inches and 8 inches both ways so you end up with 9 squares. Make good creases with a bone folder or ruler and then open up.   
Next score each corner at a diagonal to the center square corners.  See picture.  Make a good crease on these corners.  First I fold them out and then in so they have  good crease.  
Next you cut 18 square at 3.75 x 3.75. I used scraps from other Halloween projects but you can also use  paper and make a pattern.  It's up to you.  
Five of the squares you will glue to squares on one side.  Four squares you will cut diagonally in 1/2 to do corners.  keep paper from overlapping fold lines.  
Turn over and do the same on the other side.  
Now you are ready to punch a hole at each corner.  Do not punch to close to edge as it will tear.  I used my Crop a dile but you can also use a regular punch.  
You are now ready to decorate the side if you wish with die cuts, ribbon, etc.  I used a pumpkin from Pumpkin Carvings cut at 3 inches.  The witch 2.75, the ghost 3 inches and the spider 3 inches were cut from Happy Hauntings.  I also used some trim to decorate around the edges.  Make sure you put trim on outside top and  face diecuts down towards center square.  
For this next step take thin ribbon and thread through the holes and tie.  I leave about 3 inches between each hole when I pull it together.  Tie a knot and trim.  
Here are the four sides of the box.  
The last step is to add ribbon.  Wired ribbon works the best but I have used regular ribbon.  I cut each piece to 9 inches and tied a single knot.  There are three pieces on each side.  If you use wired ribbon you can then fluff it up.  The wired ribbon I used is from the Dollar Tree.  

Now you are ready to fill your box with treats, candy or whatever you wish.  Hope you enjoyed my post and tutorial. Please drop by Sweet Sassy Diva  this week to see what other great treats the Design Team comes up with.
I am also entering this in the More than Favors-"treats"challenge and the Frosted Designs Fancy trims challenge.

   I love followers and comments.

Monday, October 10, 2011

FCCB Challenge #81- Wall Decor - Pumpkin Charger plate with vinyl

Hello everyone!  It is time for a new challenge at Fantabulous Cricut Challenge Blog.  This week the Design Team was asked to create a project that is Wall Decor- something that could be hung on a wall.
I decided to do a charger plate decorated for Halloween.  I decorated a lot of these last year for a Christmas boutique and they were very popular.
The Charger plate comes from Michaels and have been on sale 2 for $3. The black vinyl face was cut from Pumpkin Carvings at 7 1/2 inches.  I used the Gypsy to delete the square around the face.  The stem was cut from Happy Hauntings in glitter paper with two layers of cardstock to keep it thicker. Now I just need to get it hung up on the wall.  They have wall plate racks or you can add a  sticky hangar to the back to hang on a nail.
Doesn't this happy face make you smile?  Also if you check out my post from yesterday I made a Halloween wreath Click Here with some finds at the Dollar Tree store and Cricut cuts from Happy Hauntings, October 31st and Pumpkin Carvings.  I can't wait to see what you all design this week for the challenge. Happy Craftin!
I am also entering this in the Made It Myself Monday Linking Party.

Sunday, October 9, 2011

Enter If You Dare Halloween Wreath- Sweet Sassy Diva DT project

Today is my day to do the Design Team post at  Sweet Sassy Diva .  This week we were asked to make a wreath.  Please stop by to see more pictures and the directions for  this wreath.  It was a lot of fun to make.  

I went to the local Dollar Tree store and bought a wood wreath, foam sign and cool black netting for $1 each.  I spray painted the wreath with black paint and 
then  I wrapped and tied the netting to the wreath.  I then glue gunned the sign in the middle.  
Next I made my cuts with the Happy Hauntings, Pumpkin Carvings and October 31st cartridges.  
Here are detail pictures.  I used a lot of chalk on the edges and used white and light gray chalk to give the appearance of spider webs on the cuts.  
The recipe is as follows:
Happy Hauntings
cemetary gate 6 "
haunted house 10 "
witch and ghost 5 "
bats 3 and 2 1/2 "
October 31st
tree 10"
grave stones 3 "
cat and spider web 3"
Pumpkin Carvings
pumpkins 3"
I am also entering this in the Craft Junkie Too linking party, Passionately Artistic Link and Paper Issues Challenge for 31 days of Halloween.   
Made It Myself Monday  Linking Party 
Also the Cricut Circle Monthly Decor Challenge

I hope you enjoyed my wreath and will come back this week to SSD to see what the other designers create.
You are also welcome to stop by my blog anytime.  I love visitors and comments. Thanks for looking and Happy Craftin.

Sunday, September 25, 2011

Halloween layout for DCWV September Stackoholic Challenge

I was in the Halloween mood today so decided to do a Halloween Layout for the DCWV September Stackoholic Challenge.  I used the sketch (see below) and the Halloween stacks from DCWV I got at Joann's.  The diecuts are from Pumpkin Carvings.  The web from a MS punch.  The title trick or treat from Pumpkin Carvings.  I inked the edges with black ink and added Stickles to spider and some googly eyes. The ribbon has shiny webs on it and is from Michaels.   
Closeup of squares
Closeup of title and spider
Sketch

Tuesday, September 13, 2011

Two cards for challenges

Today I made a Halloween card for the Cricut Circle Weekly Challenge which was to use their sketch, bling and glitter.  I used Pumpkin Carvings for this one.  
I am also entering it in the Getting Cricky with K Andrew- Halloween challenge.  
This is the inside.  
I also made the criss cross card for the Birthday Sundaes challenge this week.  I had never made a criss cross card before.  There are directions on Splitcoast Stampers.  I really liked making it and actually made two- one for a friend and one for my stash.  Butterflies done with MS punch.