Just Kitting Studio Items for Sale

Showing posts with label Ornamental Iron. Show all posts

Tuesday, November 8, 2011

Sweet Sassy Diva Design Team- Stain glass window Christmas cards

This week at Sweet Sassy Diva we were asked to create Christmas Card with a tutorial. 
Before I start I want to explain that I do not have my boxes of Christmas crafting supplies all in the house yet.  Last year I packed them up to give me more room and I need my hubs to get them down from the attic.  This gives me more room during the year.  So luckily I had some scraps and a few goodies but will have to add stamped sentiments labeI have made several Christmas cards using Ornamental Iron and love the look.  This time I decided to make stain glass effect using Alcohol Inks.  
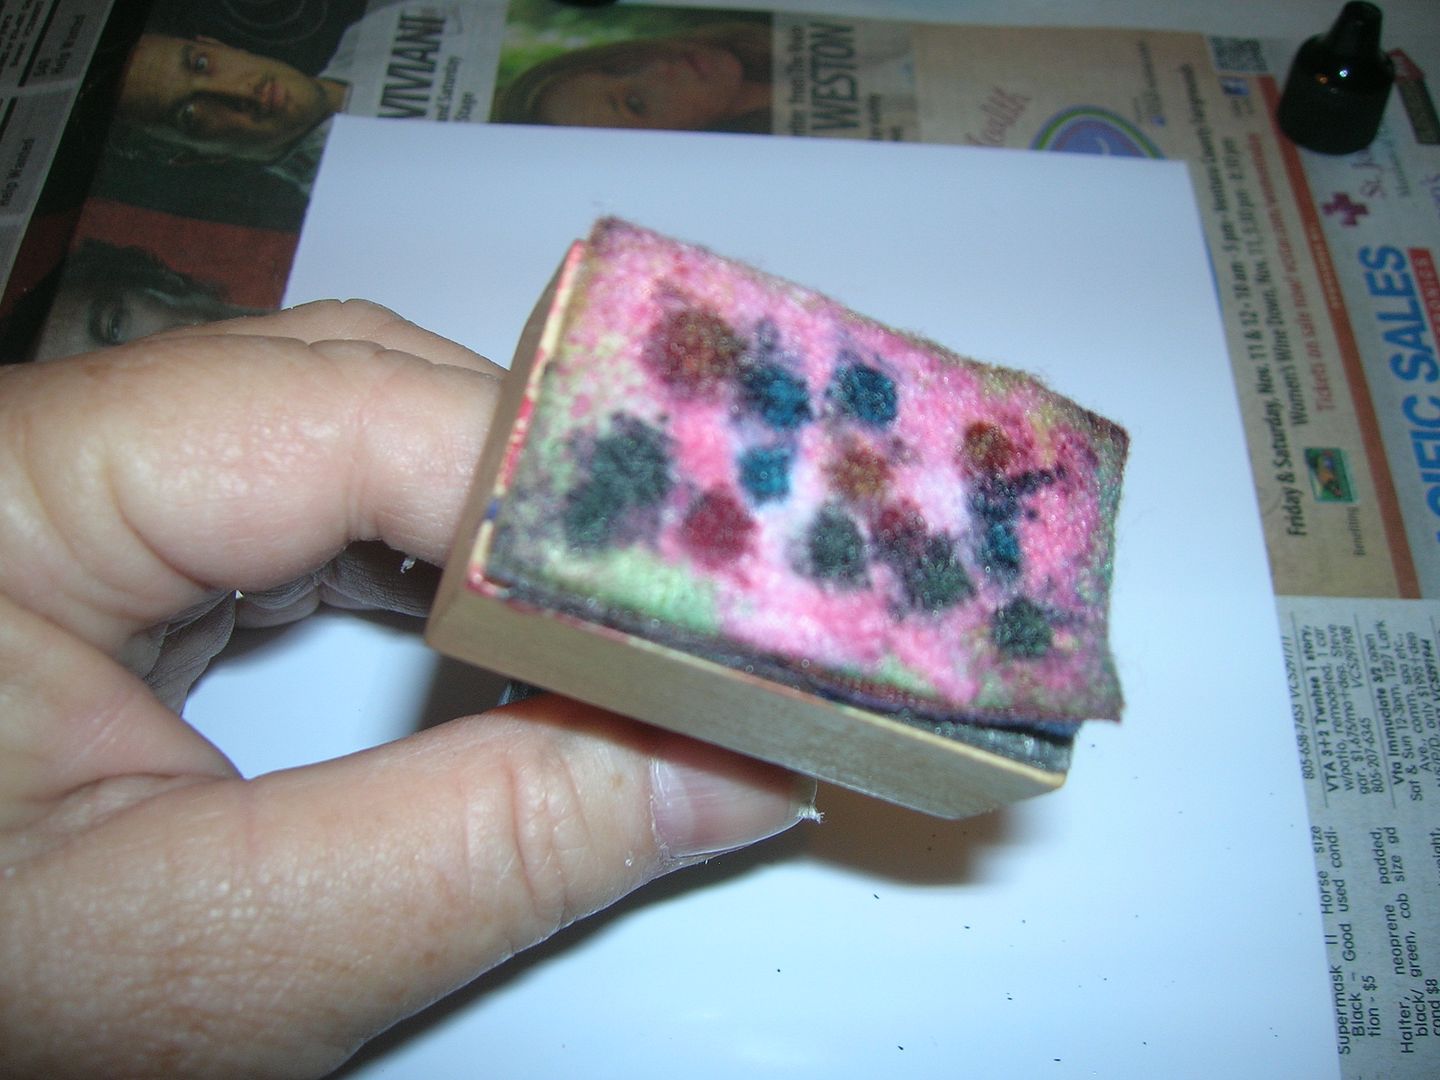
I start out with glossy paper.  If you can't find it at the craft store you can buy packs of glossy card paper at the office stationary stores.  Do not use photo paper. 
 I don't know why just know I have read that several times. 
I then choose a color scheme.  You drip the inks on the pad and add alcohol blending solution and then stamp away.  
  
This is what the first two came out looking like. 
The cuts are from Ornamental Iron page 30 gate 10a cut at 5.75 
and the window on the same page cut at 5. 75.  
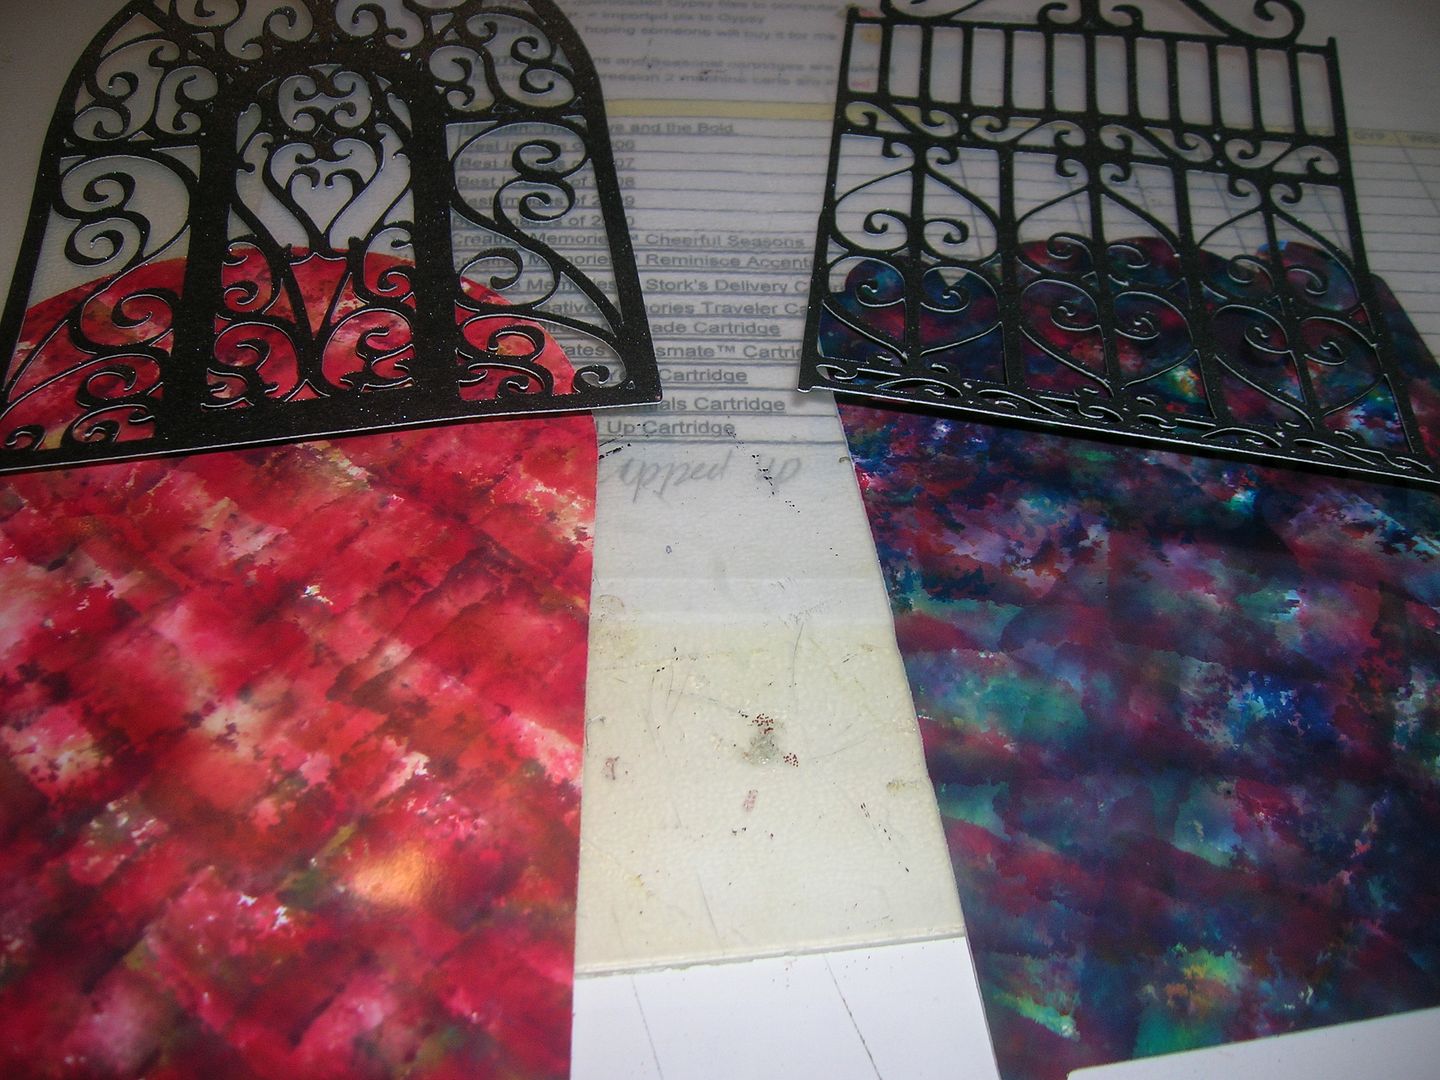
I then decided to make a blue one.  I wanted to show you can use different cuts.   From the first one I decided to cut both shapes so that I would not waste ink on parts I did not need. 
 I highly recommend doing this.  
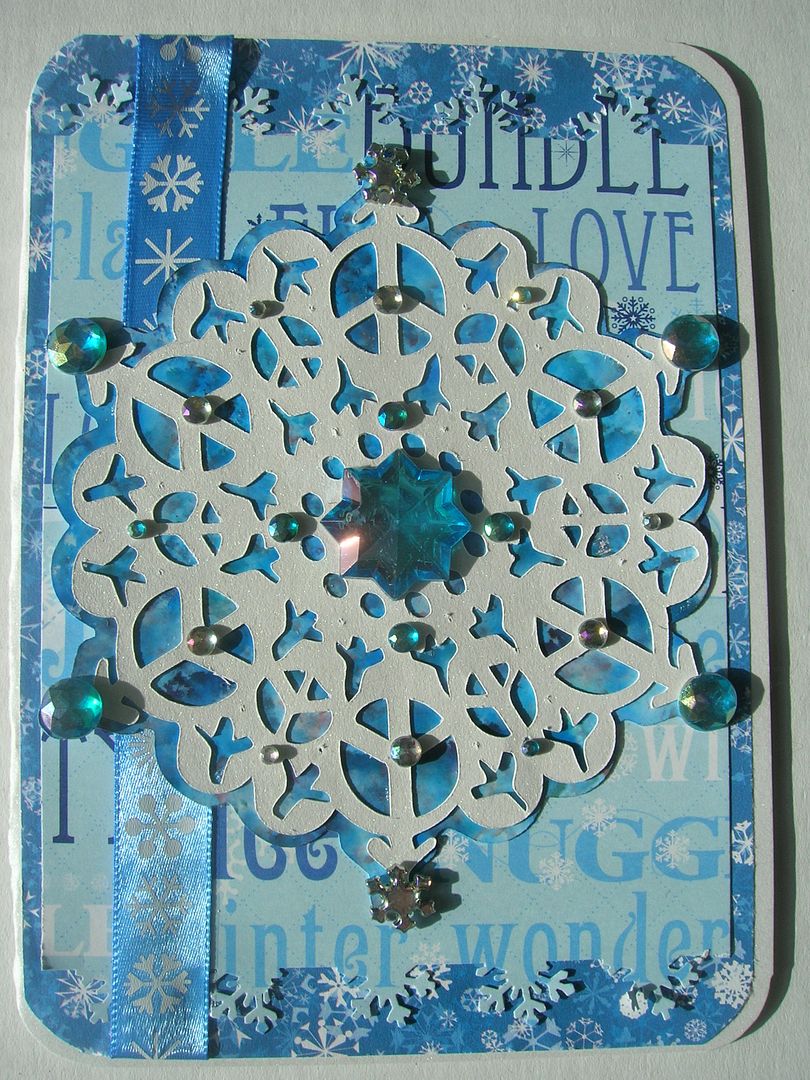
This shape is cut from Winter Lace and is the second snowflake and shadow cut at 4.75 inches.  
Sorry I forgot to take a picture of the blue paper inked but you can see it through the holes. 
I used Sailboat blue and Pearl alcohol inks.
Then it is time to decorate and make your cards.  
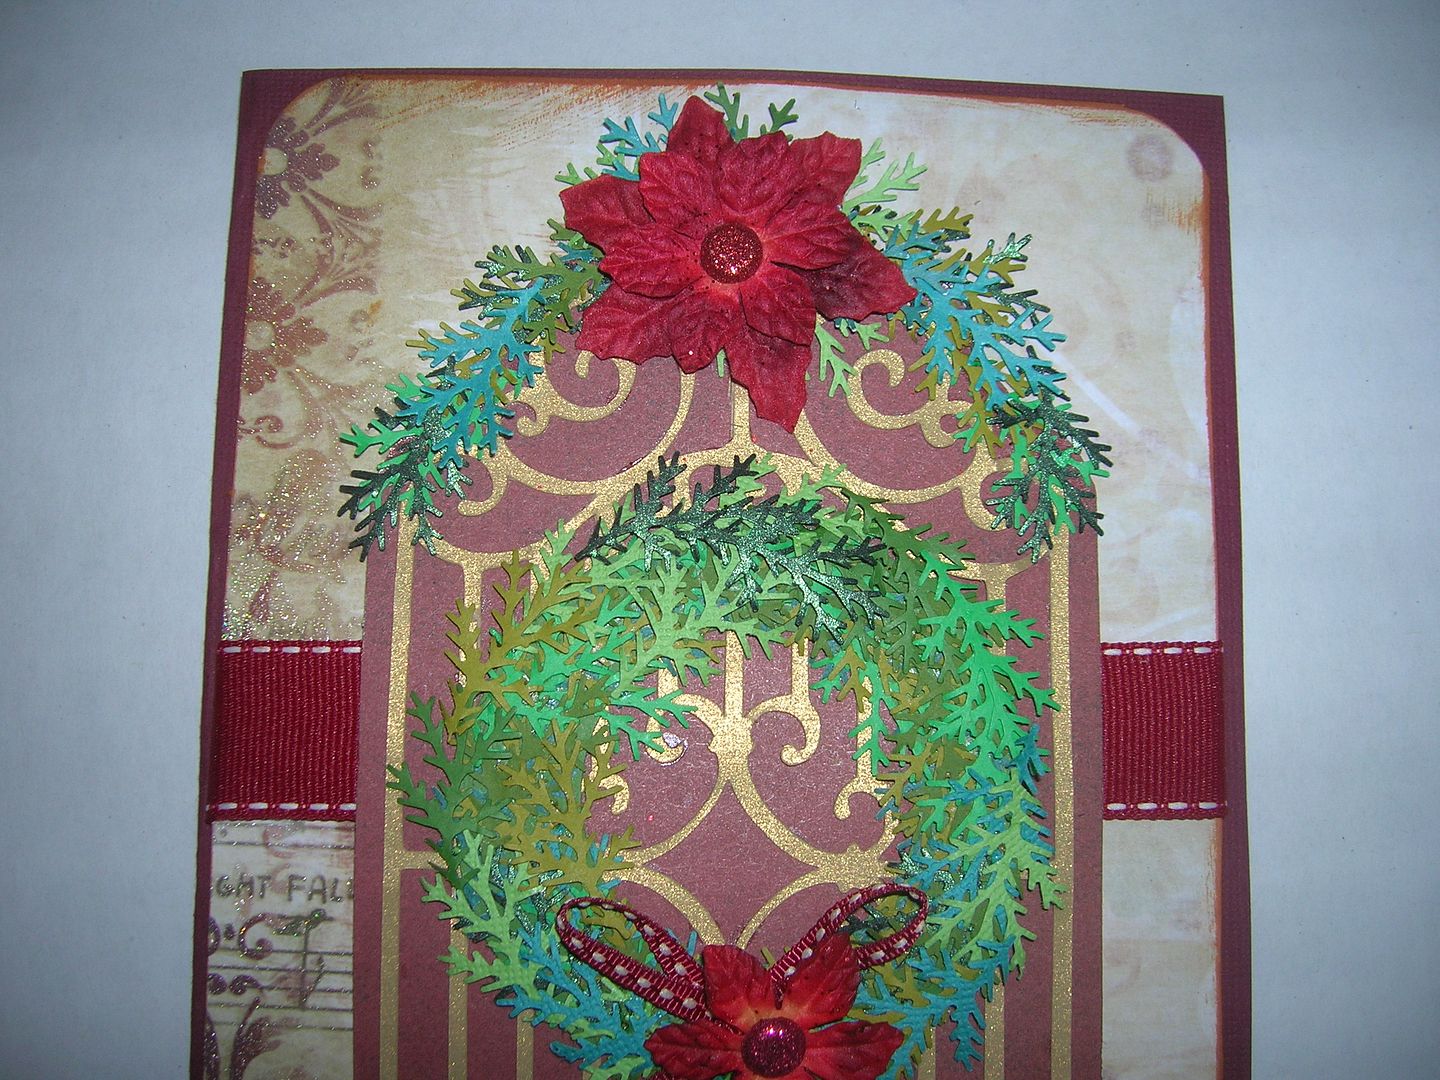
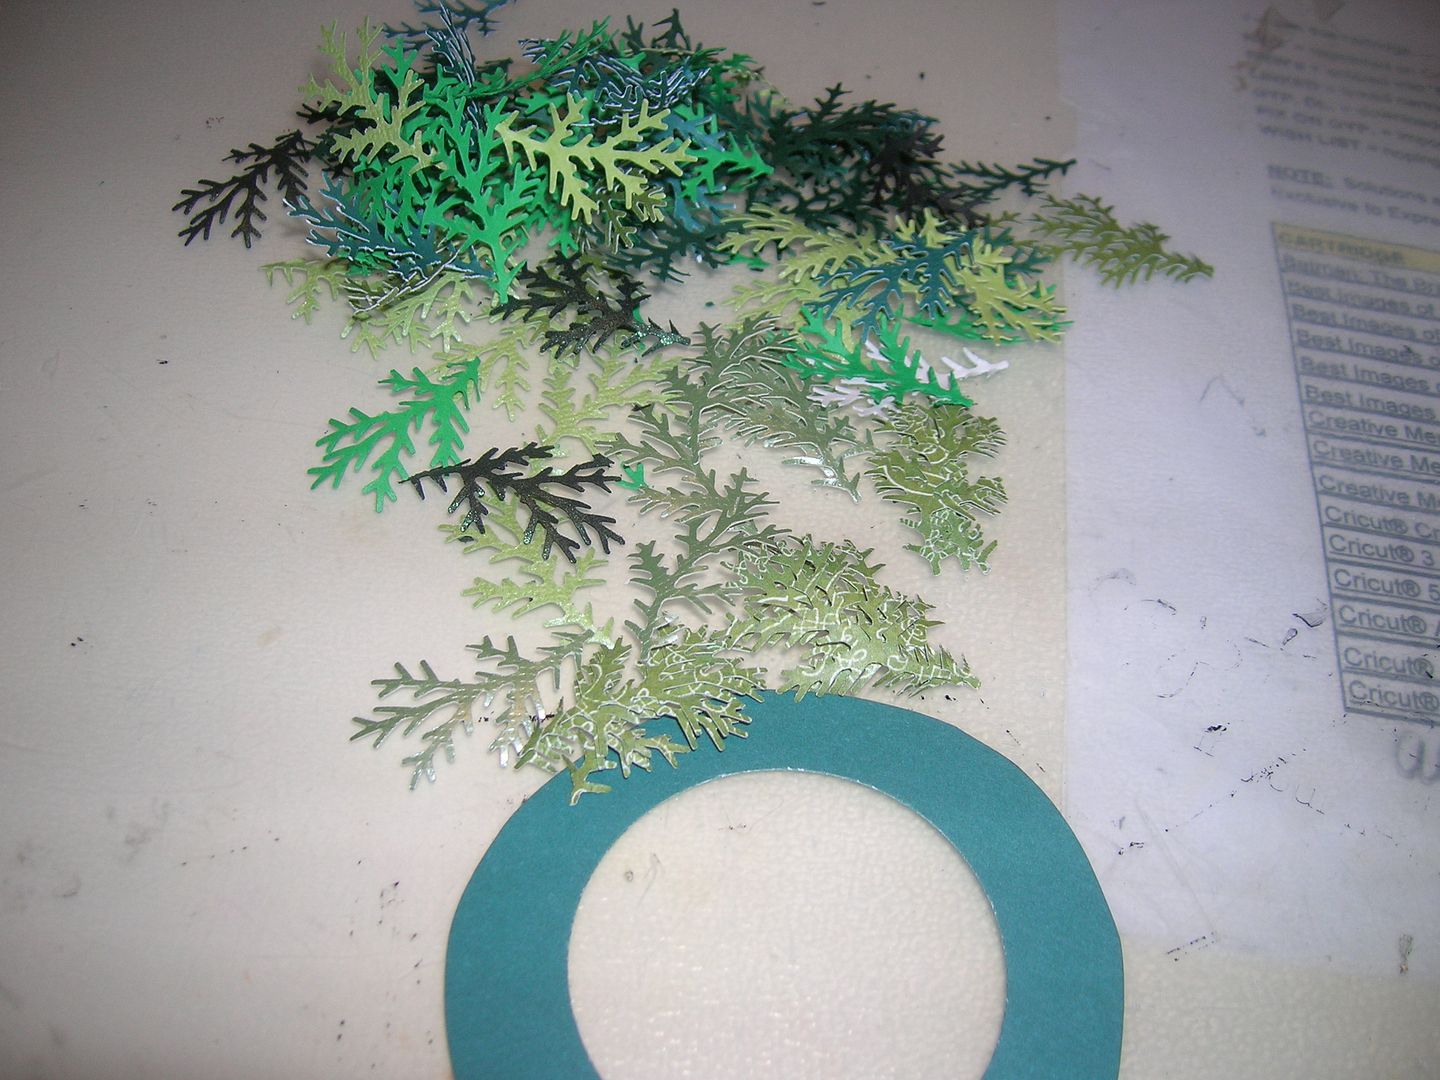
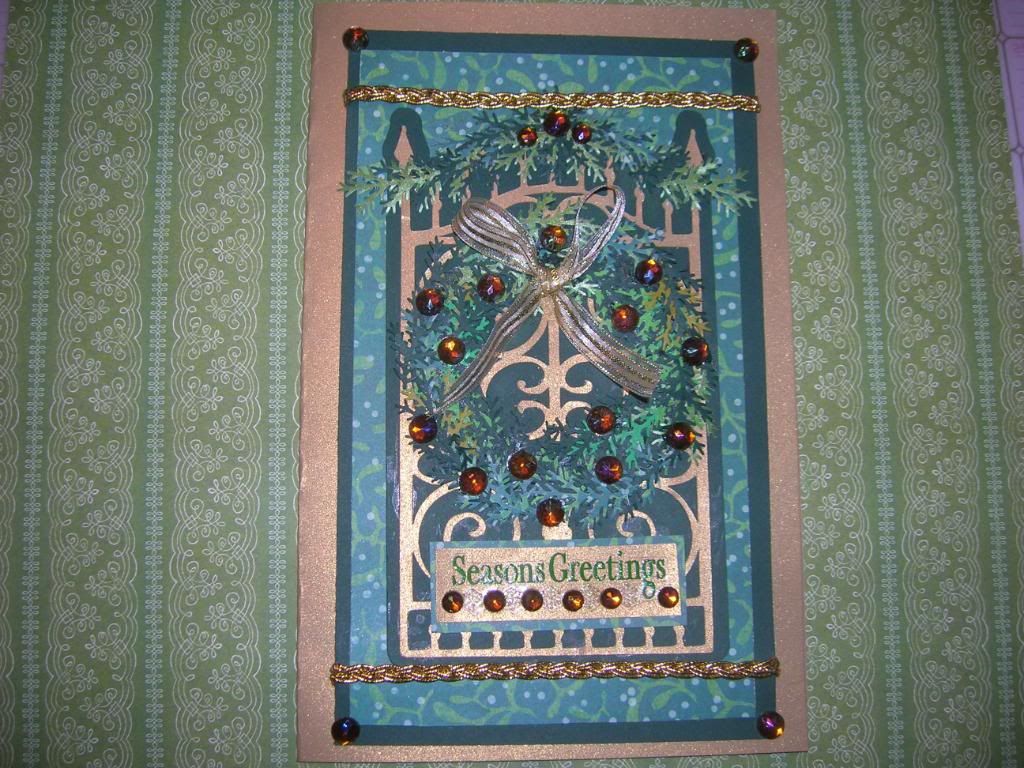
For the first one I did my usual and punched out a pile of branches using my MS branch punch and a wreath shape.  I use a lot of different green color scraps to give the wreath more dimension.  Start gluing around the circle varying the colors and add and add to make dimension and cover the base.  
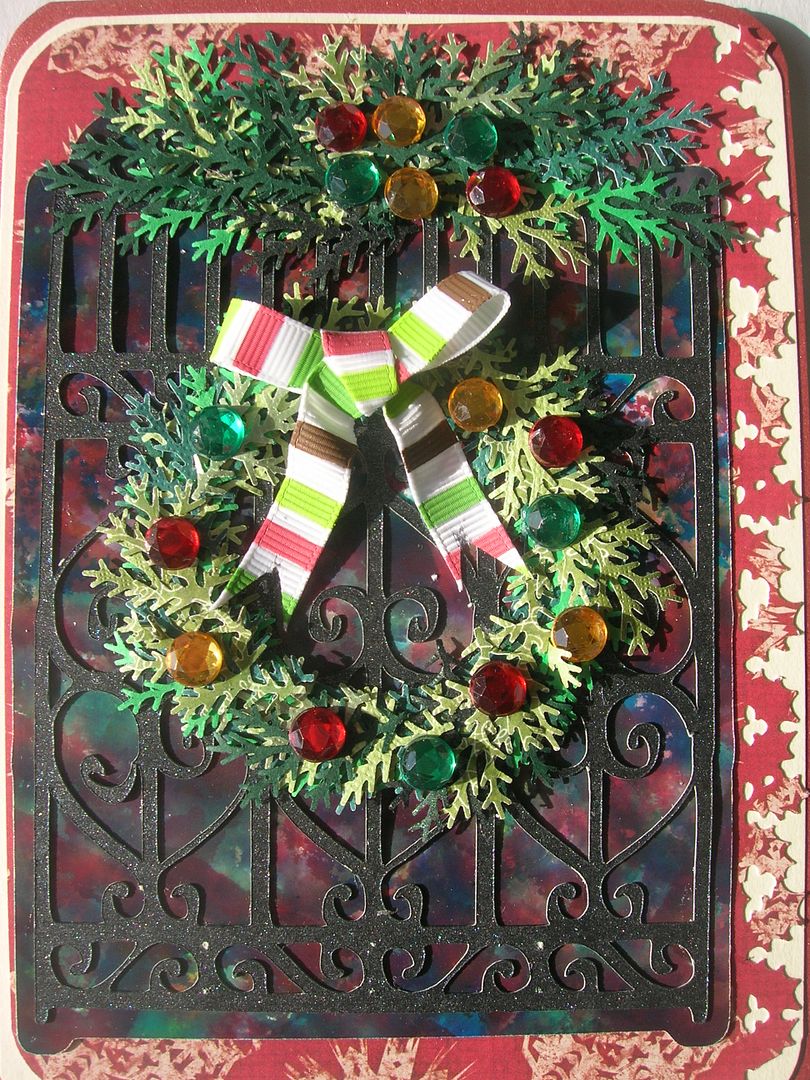
This is the finished card.  All the  cards are 5 x 7.  This one the colors were darker so I used brighter papers and ribbon.  I then added bling and punched the one side and rounded all the corners with my chomper.  I also added a garland at the top with more branch punches.  
Alcohol Inks used- Meadow, Stream, Twilight Purple  and Watermelon
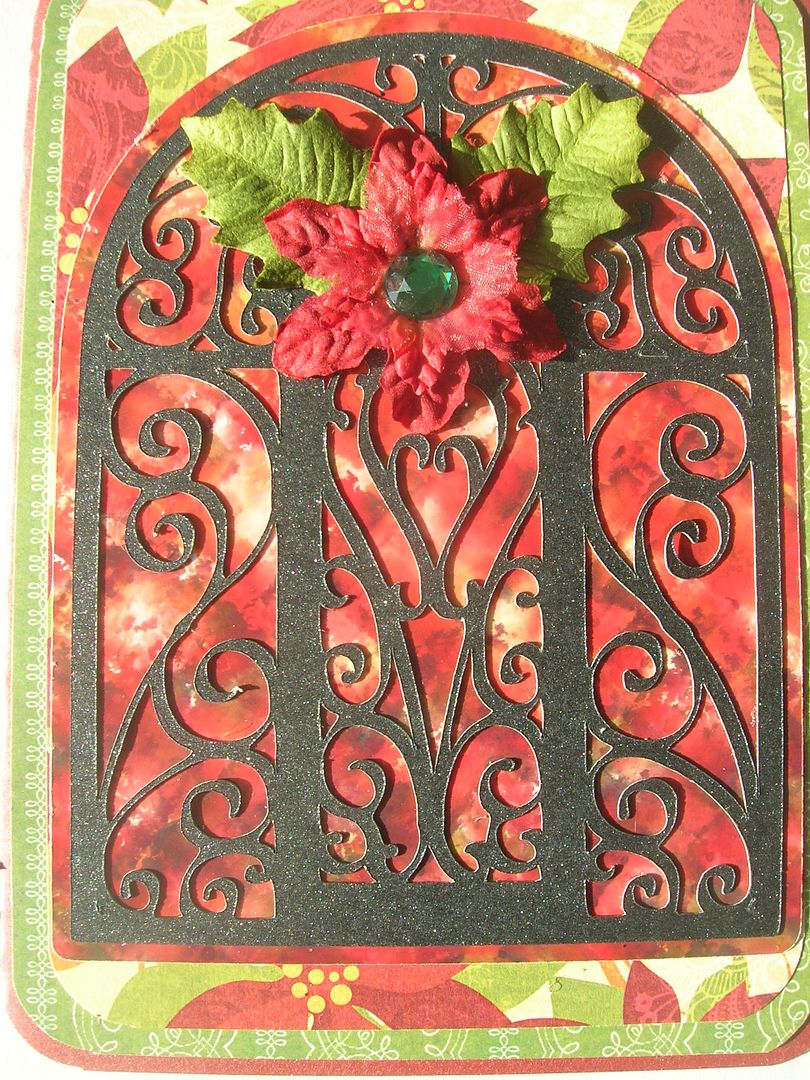
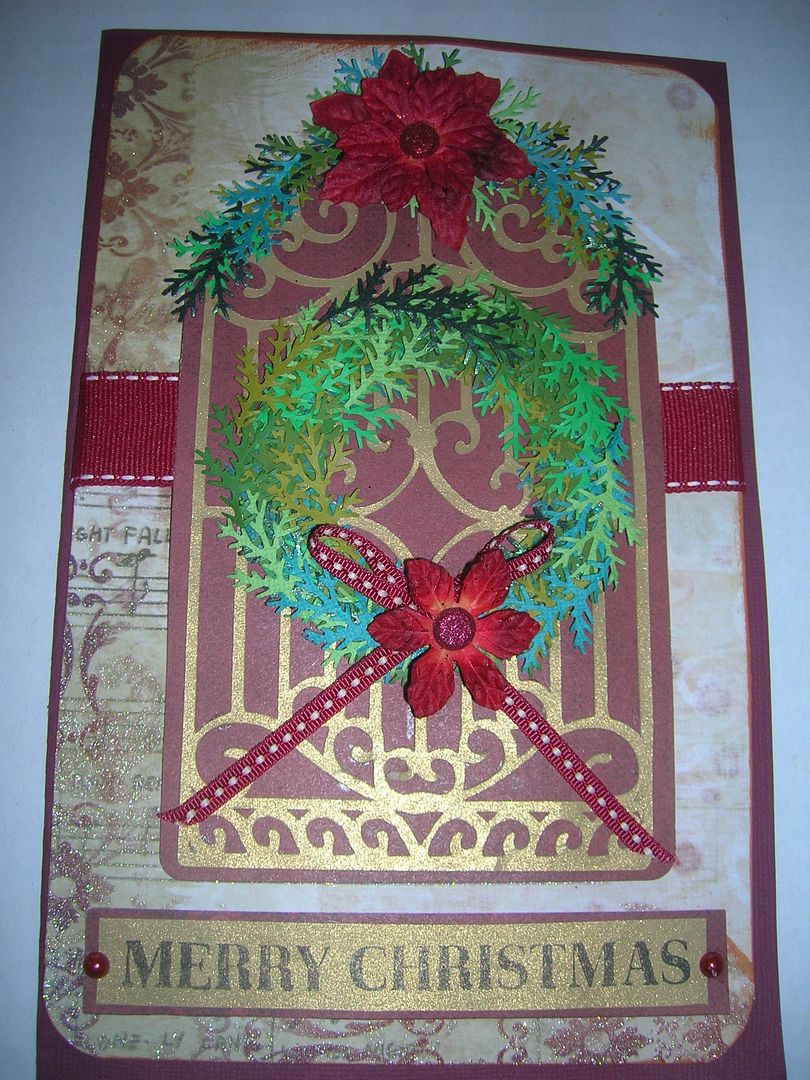
The next card I used Watermelon and this time Citrus alcohol inks to brighten the background.  
I added a Recollection Pointsettia and leaves to match the paper.  

Now if you don't want to use Alcohol Inks here are two others I have made using the same idea but with a background of  scrapbook paper.  You can  click on the links to get the exact directions.  

Thanks for joining me today and please come back all week to SSD
see the card designs the DT comes up with .  I know I can't wait to see them too.  I would love to read your comments too. Happy Craftin! 

Friday, September 30, 2011

Operation Write Home- World Cardmaking Day


Click on Beginning of Hop to reach the linkz tool to see the other cards in the hop.  

I am delighted to participate in the Operation Write Home  World Cardmaking  Day Blog Hop.  The mission of this organization is to support out troops armed forces by s ending blank handmade greeting cards to write home on, as well as cards of gratitude to encourage them.
I have participated with another group Cards for Soldiers that also does the same thing.  This is a great way to share the love with the men and women serving our country.  Plus it is a lot of fun to make different cards and a great way to keep your scrap pile from taking over your craft space.
One reason this is near and dear to my heart is I was a military wife for 7 years.  I know how much the men and women who serve in the Armed Forces and their families give up serving their country.  It is a big sacrifice and we need to be thankful for all they do.

This is my card for today.  It is 5 x 7 card.  I cut the gate and gate shadow at 6 inches from the Cricut cart Ornamental Iron.  I then cut a 3 inch circle from George with a 1 1/2 inch circle  in the center.  To form the wreath and garland I punched 6 different green scraps with the Martha Stewart Branch Punch.   Using different colors makes it look more realistic and dimensional.  I then began gluing the branches around the circle to form the wreath and along the top of the gate to form the garland.  I added ribbon and 2 Pointsettia Primas.  I used a scrap of the same gold paper I used for the gate for my stamp background and added two tiny red glittered brads.  You can also add bling to the wreaths if you want.
Detail pic of wreath and garland.  
I am also entering this in the Cricut Circle Blog Weekly World Cardmaking Day challenge and My Pink Stamper Christmas Card challenge. 
I hope you enjoyed my card.  Would love to have you come by again and check out my blog some more.  I am looking forward to seeing everyones great cards.
Happy Craftin

Sunday, July 10, 2011

Christmas card using Ornamental Iron and MS branch punch

Here is a card I made today for two Christmas Challenges.  I used Ornamental Iron for the gate cut in gold paper with the shadow cut in dark green.  I used gold braiding and some amber bling and gold ribbon.  The wreath and garland are made from the MS branch punch and punched in 5 different colors of green to give it texture.  
Celebrate the Occasion -Christmas in July no red
The Paper Variety - Christmas Theme