Just Kitting Studio Items for Sale

Wednesday, August 31, 2011

New rolling cart, more rods for my punches and a clean organized craft room

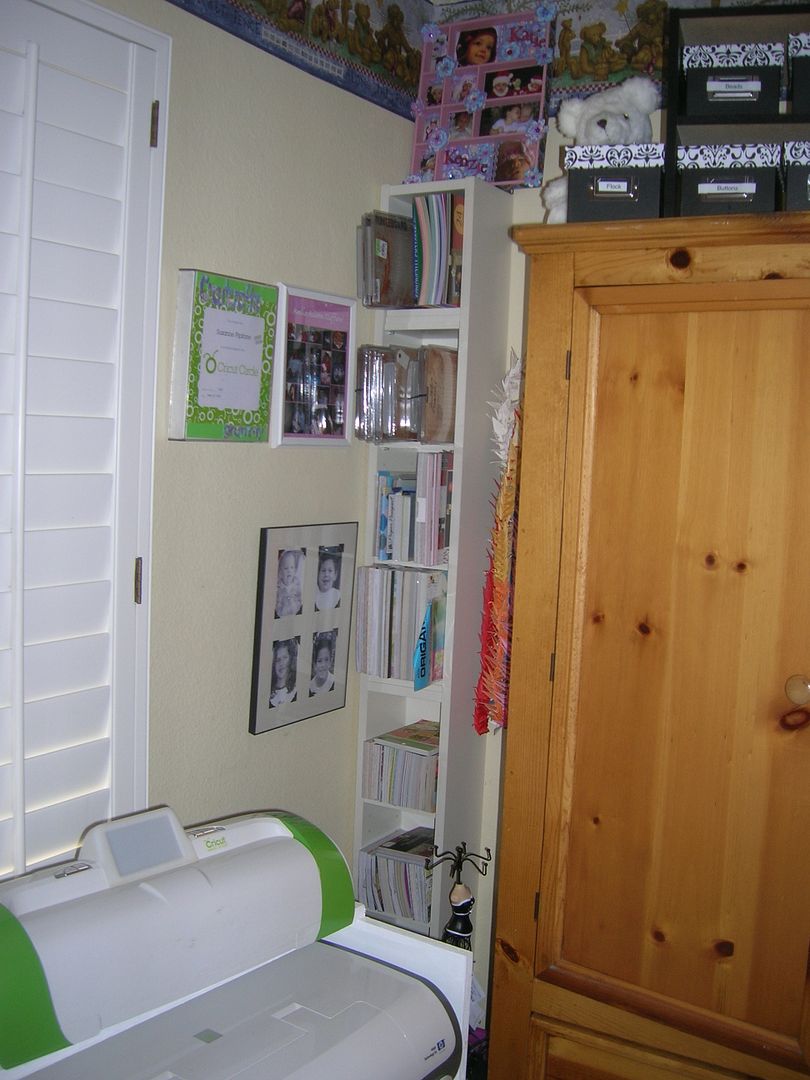
No crafting today as I was busy busy reorganizing my room.  My son in law and daughter came over after work last night and put some more rods up and made my new rolling cart for me.  So I decided to straighten up and reorganize my room again.  So there are a lot of pictures.  We will start at the doorway and move around the room.  The first shelf holds all my magazines, books, Zutter,  Sew Easy, etc. Above that is two ribbon racks which holds ribbon, and flowers.  The red and green containers also hold more ribbon.  To the right is the closet which has more shelves and craft stuff but no pics of that today.  I have to have a porta crib in there for my granddaughter.  I have to place it exactly right or she can grab things from the shelves.  
Next is my 4 x 4 Jet max paper storage.  On top of that is another Jetmax organizer that holds my 8 1/2 x 11 paper.  In the drawers are Imagine ink,  extra glue,  blades,  and mini books I have made are on display. The shelf to the right is my embellishment tubs and boxes, brads,  Embossing  folders, and on the top my Xyron, Cuttlebug and Sizzix Embossing  machines.  
Next is my homage to Martha Stewart on Bygel Rods from Ikea.  I just added 6 long ones on left.  The white board that I design my scrapbook layouts on using small magnets is covering 4 empty short rods that are empty right now.  Might be just enough room for my Fall Holidays and Christmas punches which are in boxes right now.  I have two small white boards for notes about Design Team, Challenges, etc. 
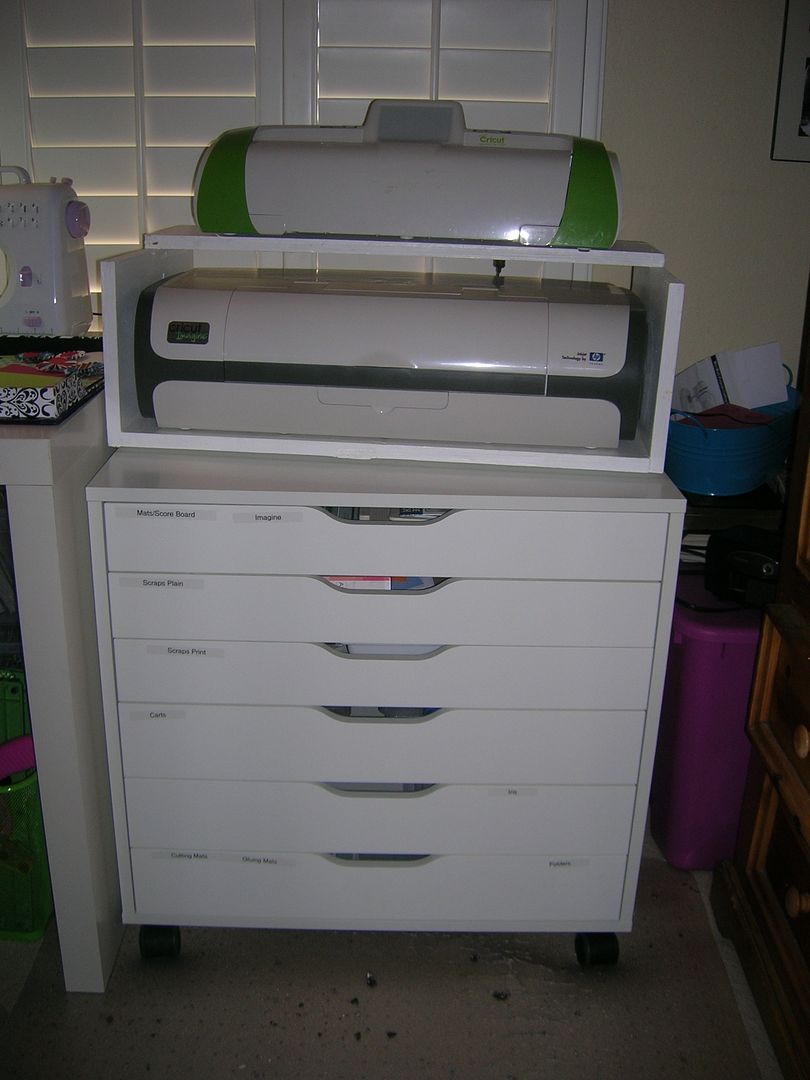
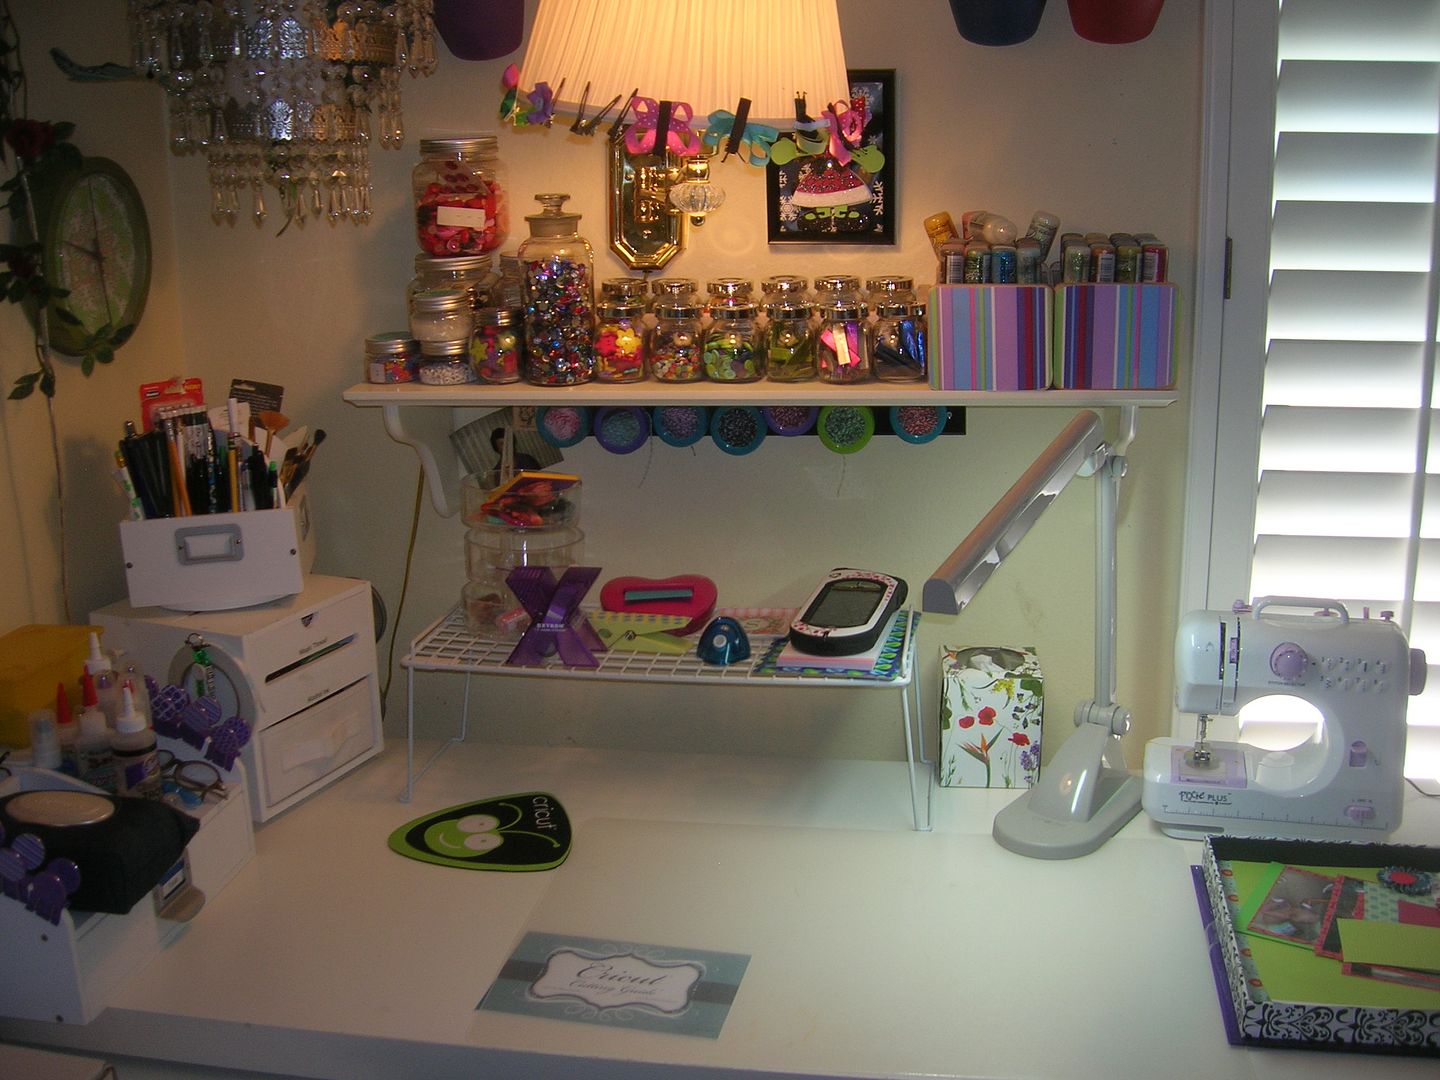
This is my desk and my new rolling cart from Ikea which has 6 pullout shelves.  It is perfect for my shelf that SIL made for E2 and Imagine.  It pulls out and moves easily.  Above my desk are jars of buttons, Stickles, Alcohol ink and tools.  With the cart I have so much more work space and even got out the little mini sewing machine that I got months ago and never had room to use.  
Here is a closeup of my shelf and rolling cart.  
In the drawers I have pattern scrap paper in one, plain scraps in another, carts in boxes (ala Okieladybug), mats and project I am working on in top, and two empties for now.  
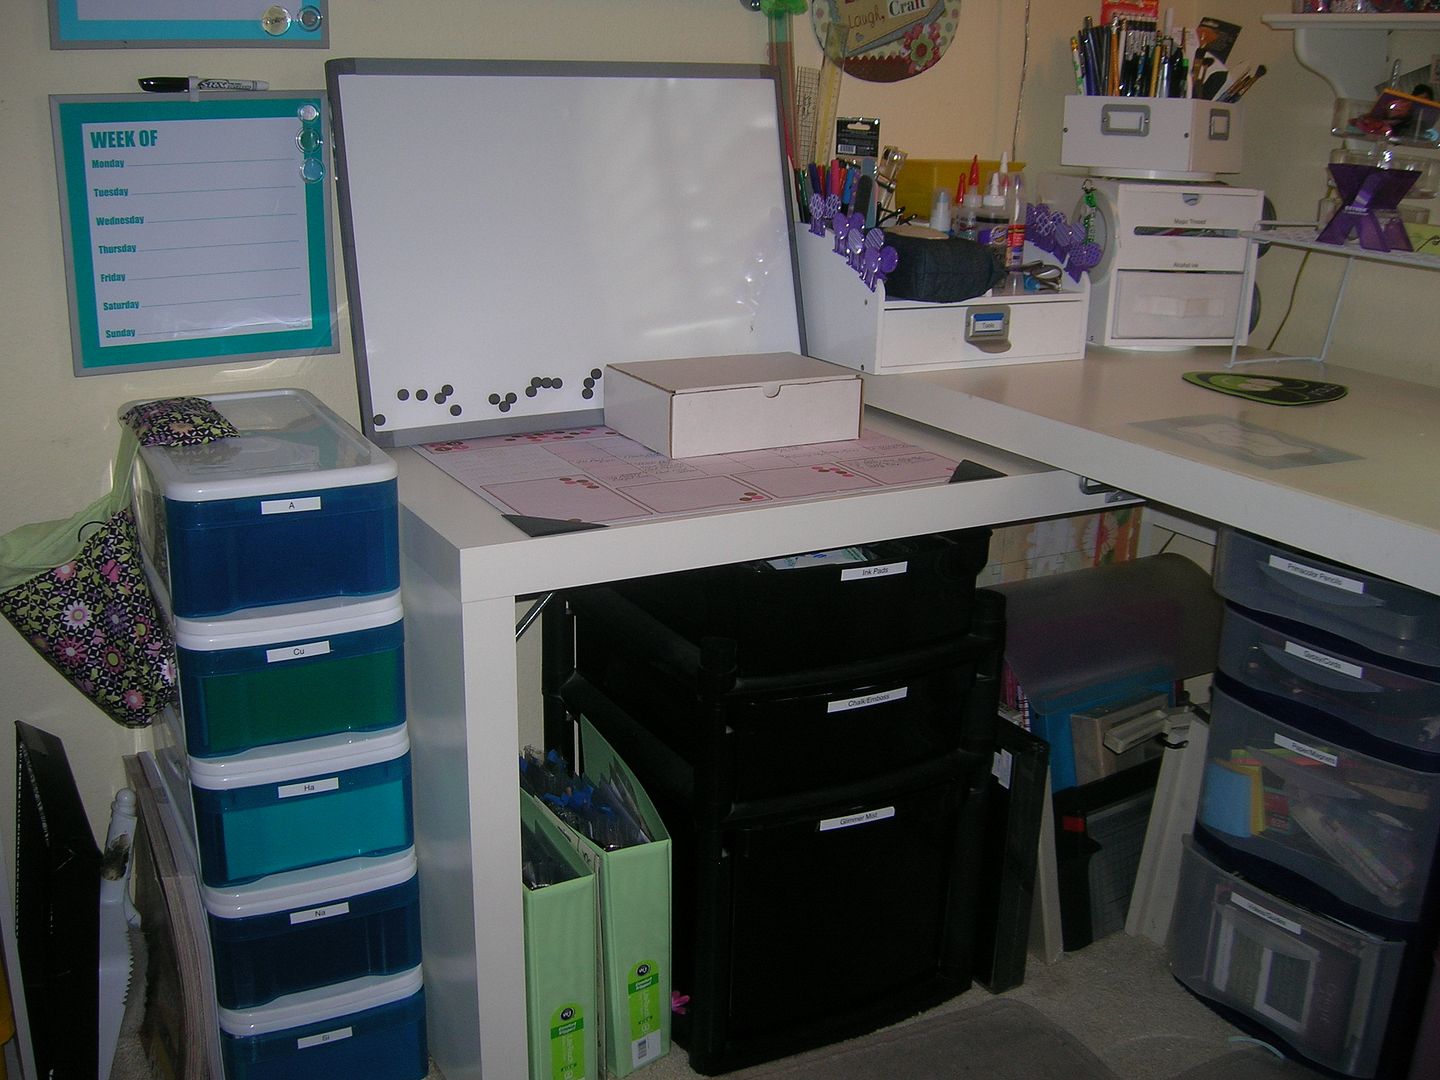
Here is a close up of my desk.  There is a clear mat on large desk to protect it and a calendar on side desk to write on.  Below the shelf with buttons you can just see my magnet containers from $1 section of Target with various colors of twine in them.  
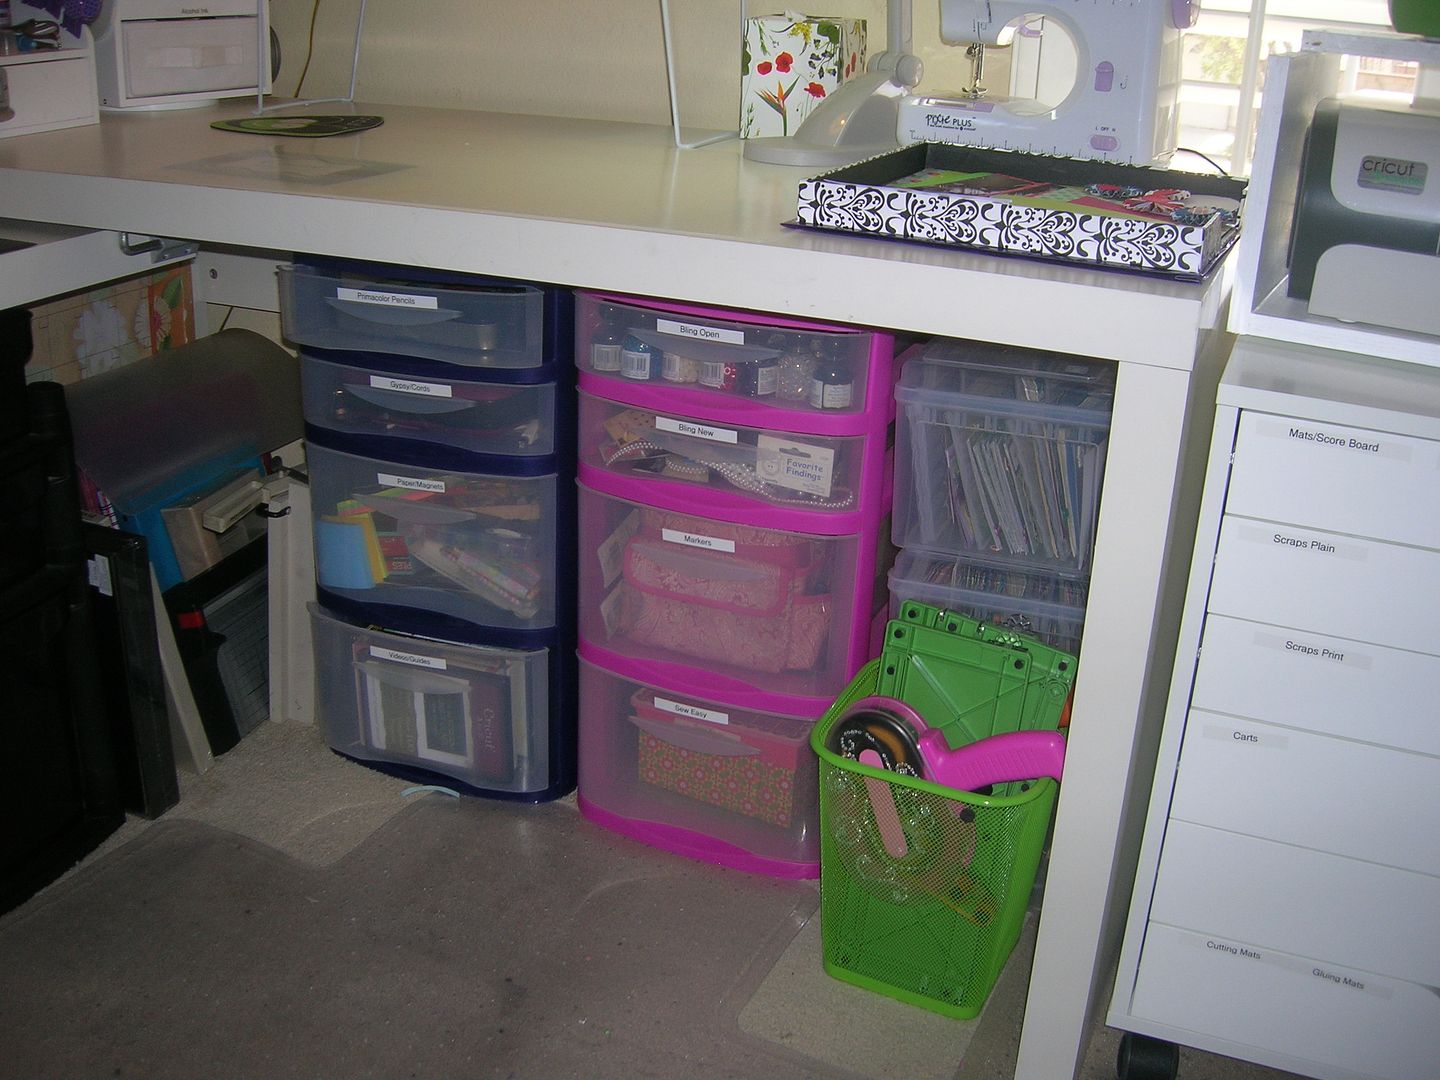
Underneath is binders of stamps, drawers of Glimmer Mist, stamp pads, paints, chalks, Gypsy stuff, markers, larger paper cutters, Prismacolor pencils, sticky notes, directions and craft DVD's.  
Far right under desk is boxes I store completed cards in, basket for small cutter and ATG guns.  
Right of desk is another Ikea shelf with smaller pads of paper and Tim Holtz chipboard.  Next is the cabinet TV is in and other craft supplies.  
Next to that is the large computer cabinet and then my rolling stamp cart which is all wooden stamps.  Someday I plan to take them off the wood blocks but for now they are fine.  We are back to the door and that completes the tour of my craft room.  

Tuesday, August 30, 2011

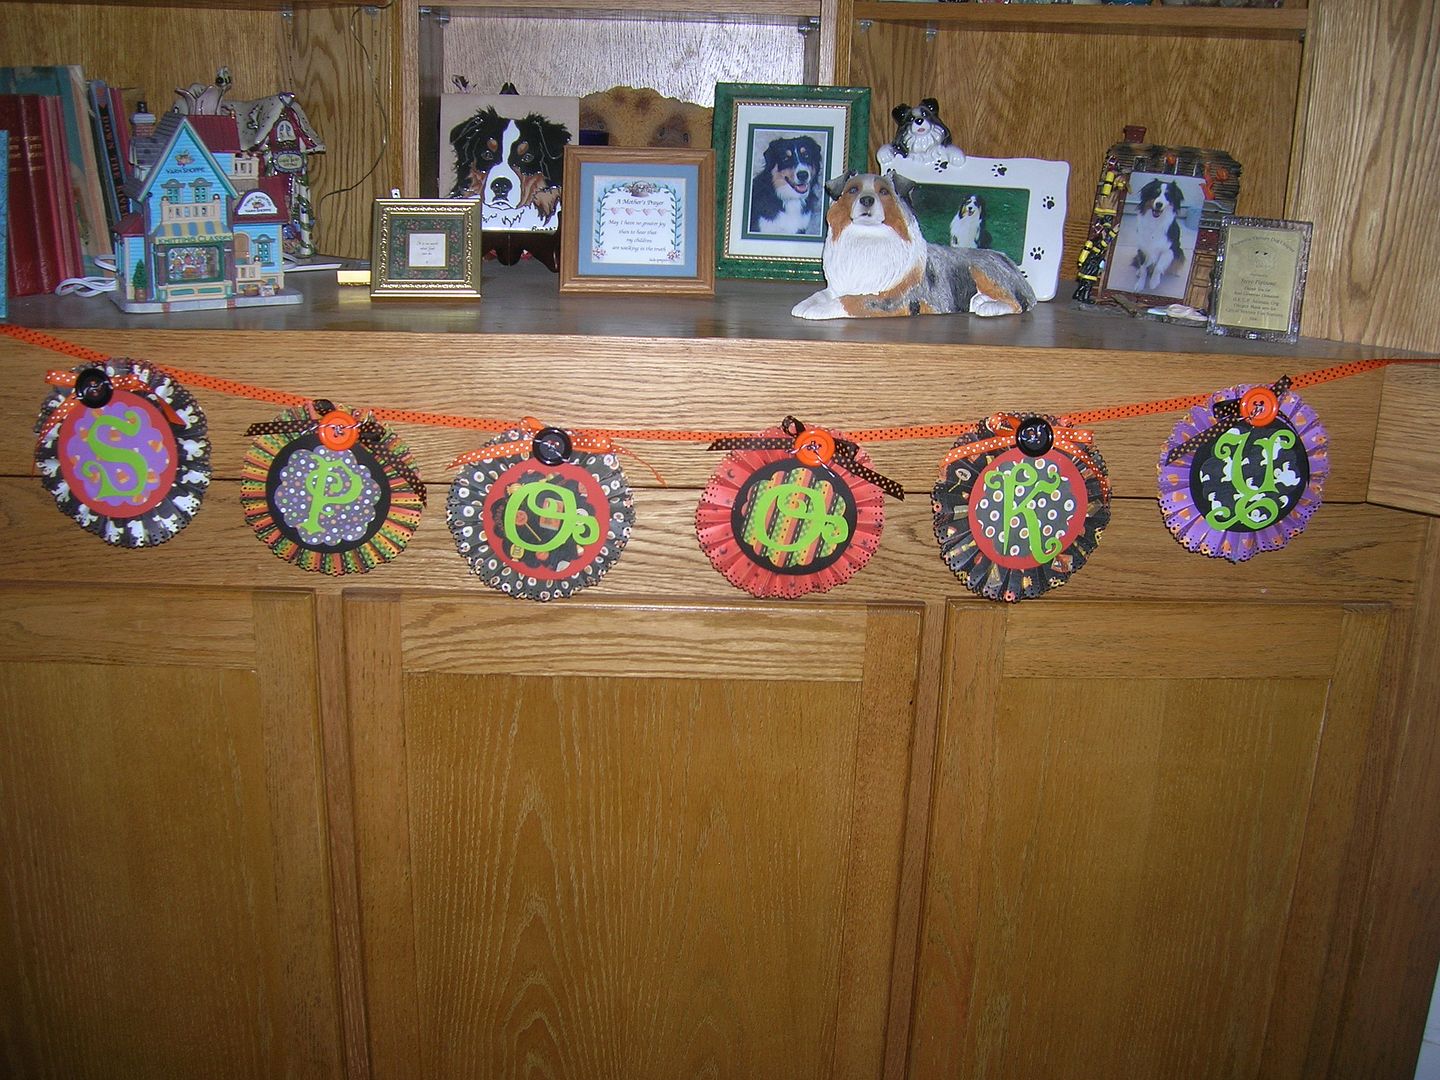
Spooky Halloween Rosette Banner

The challenge this week at Sweet Sassy Diva is to make a Halloween Banner. Now is a great time to start on Halloween so you can get all your home decorating ready for October. All week the Design Team will be sharing their Halloween Banners so this should give you lots of idea to get started.  
 Here is a picture of my finished banner hanging up.  
    
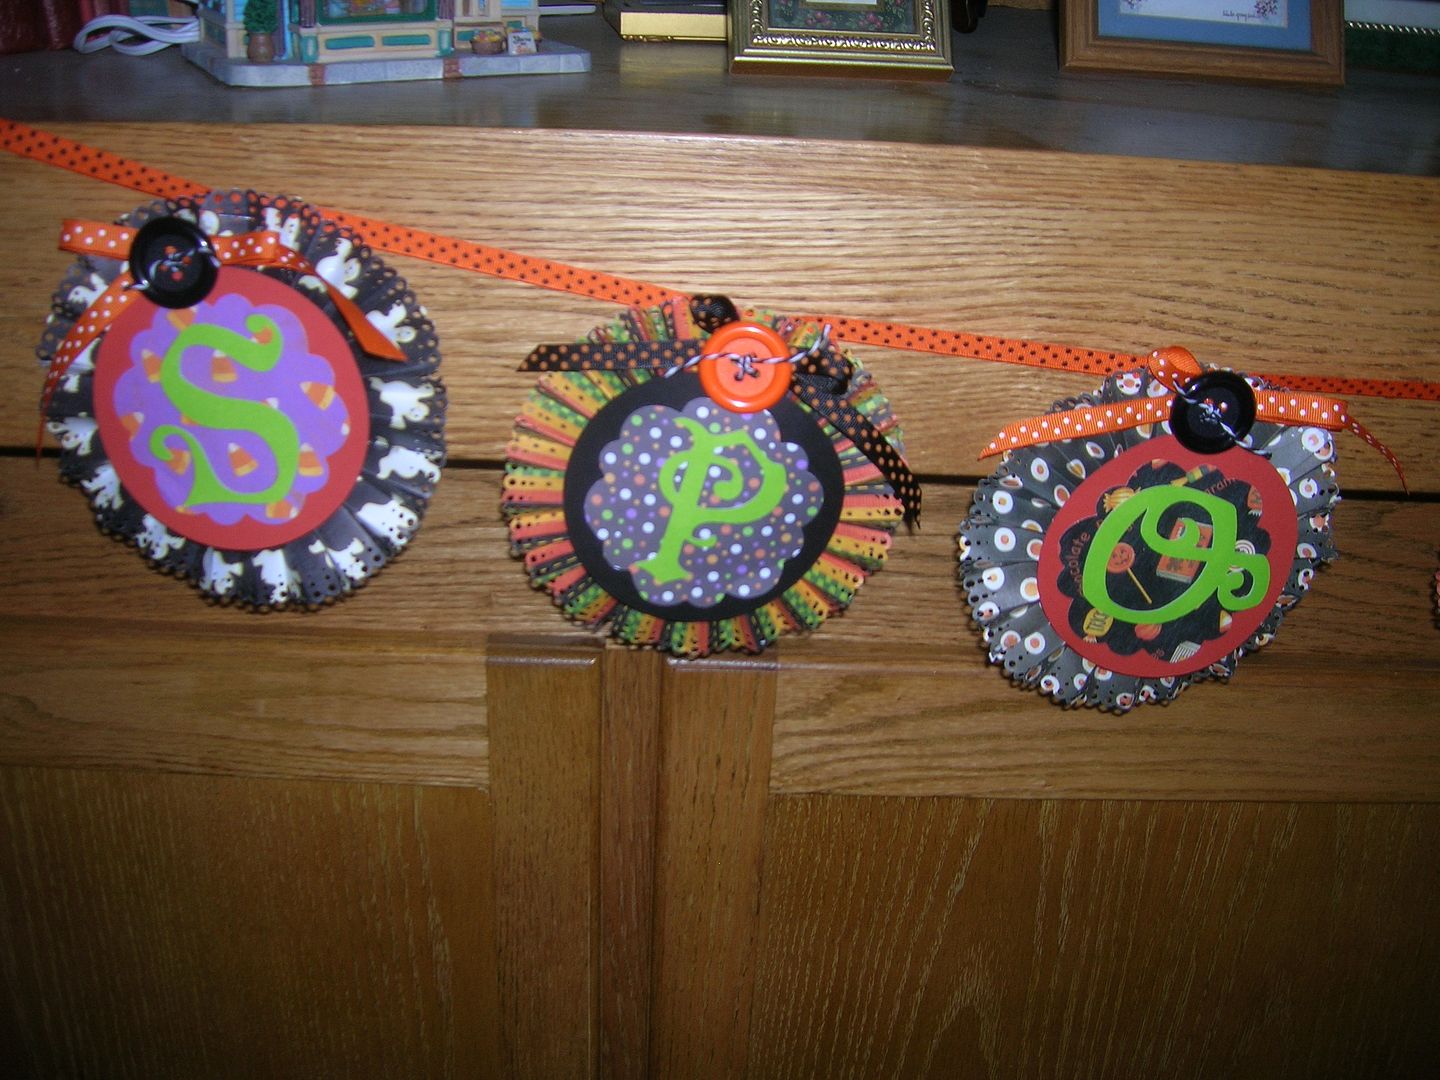
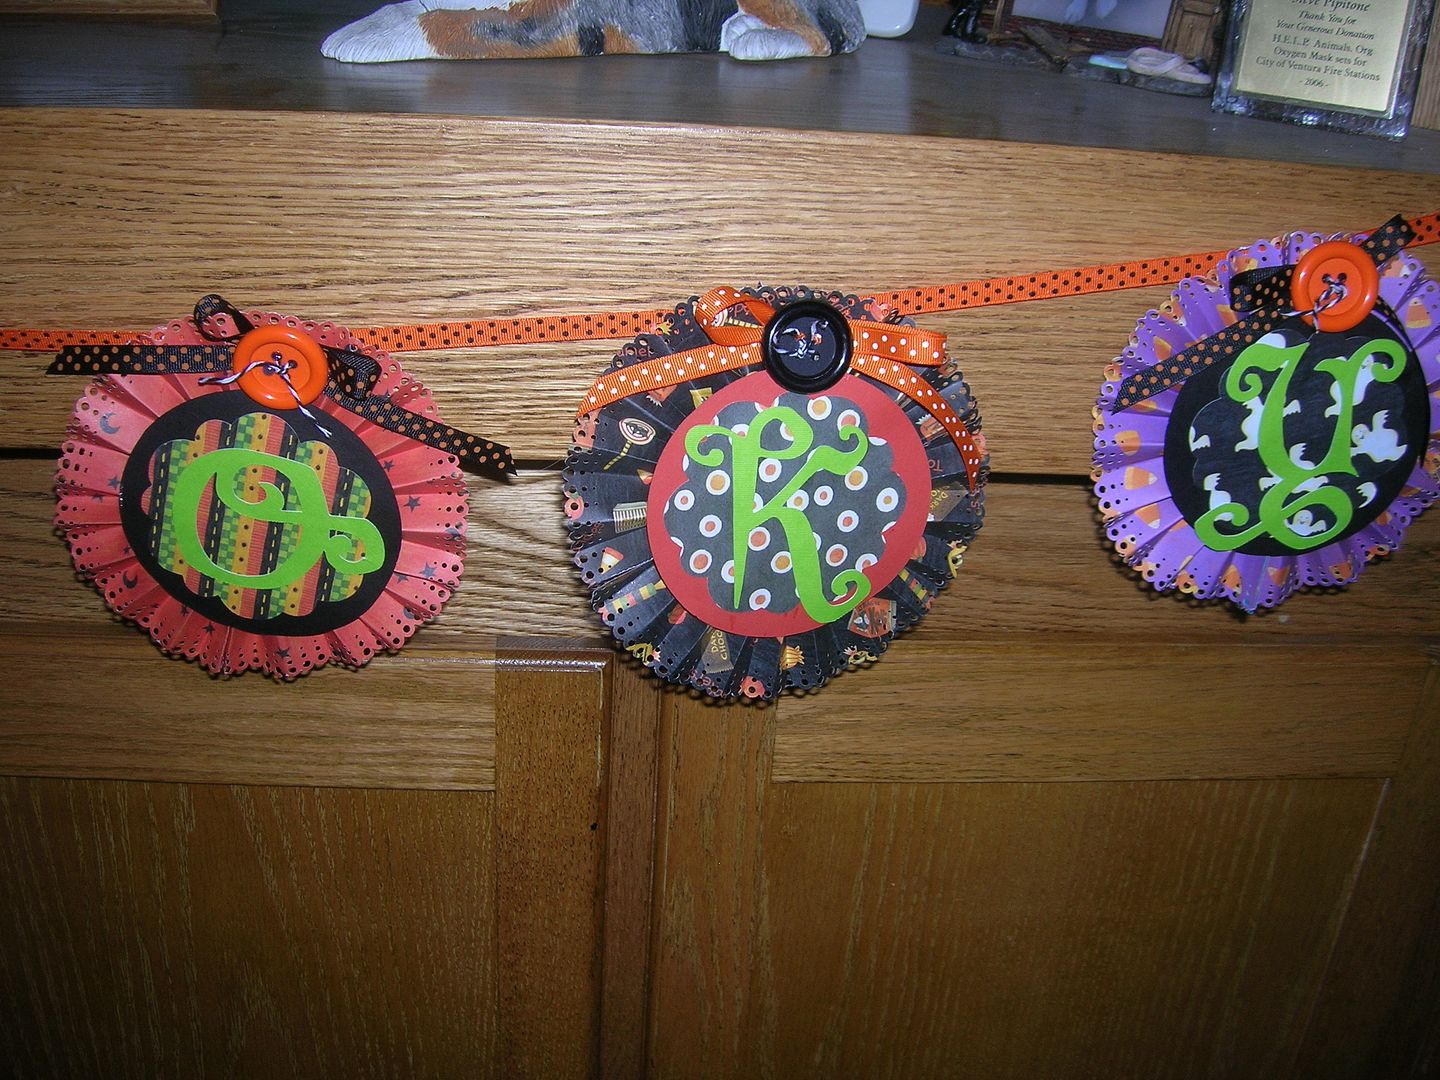
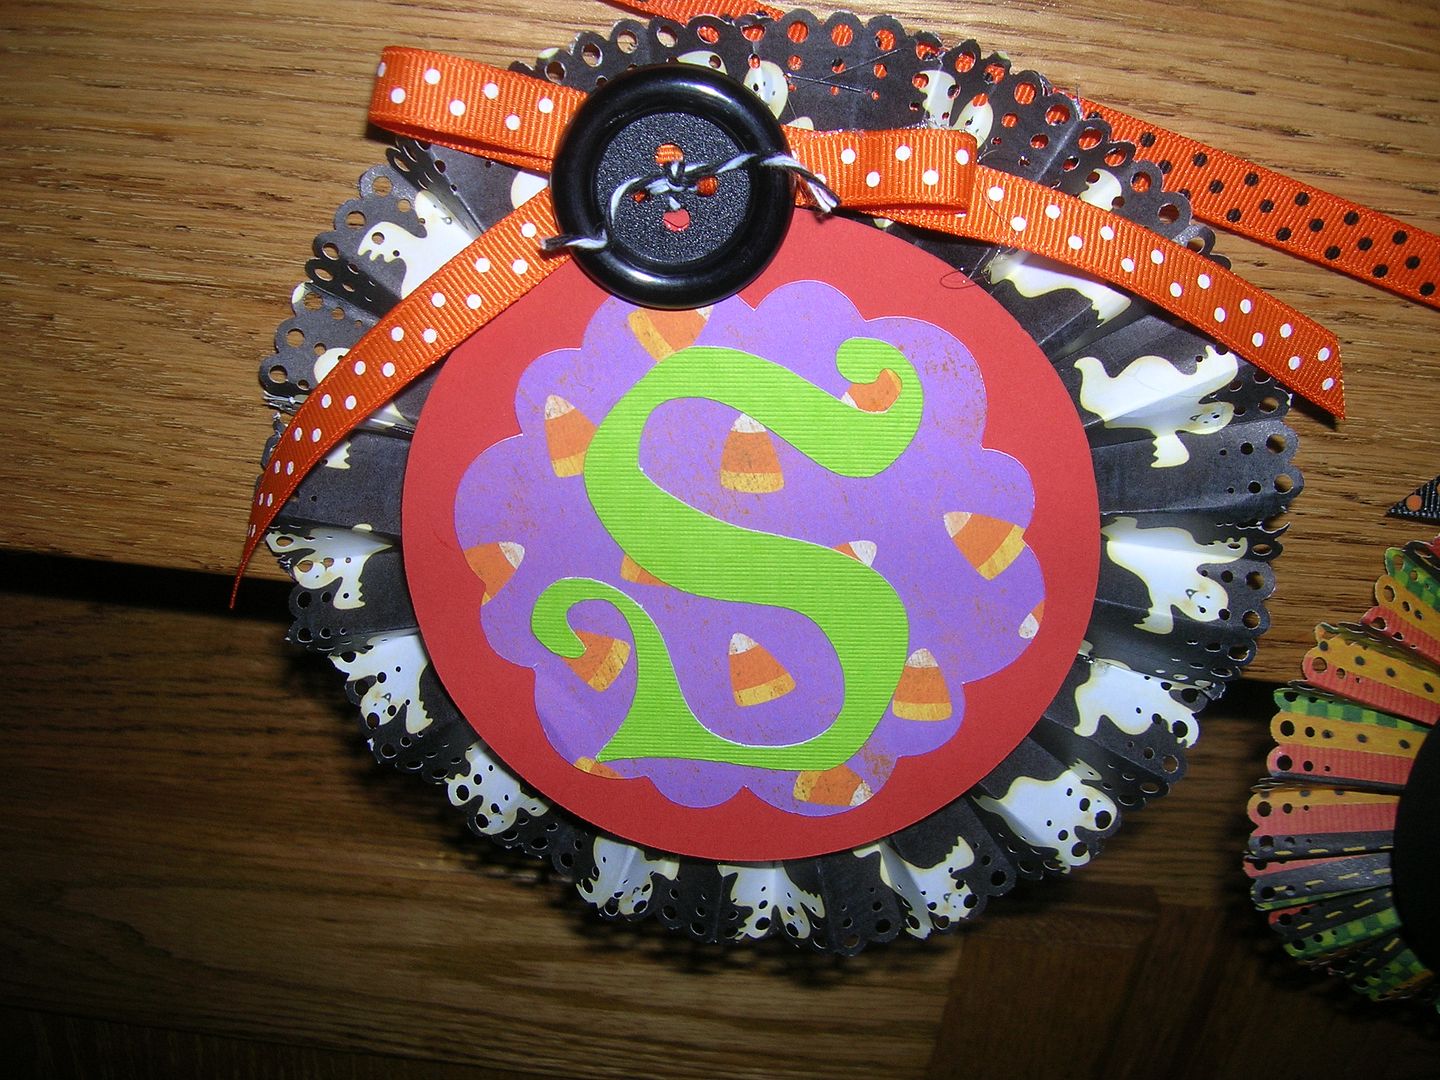
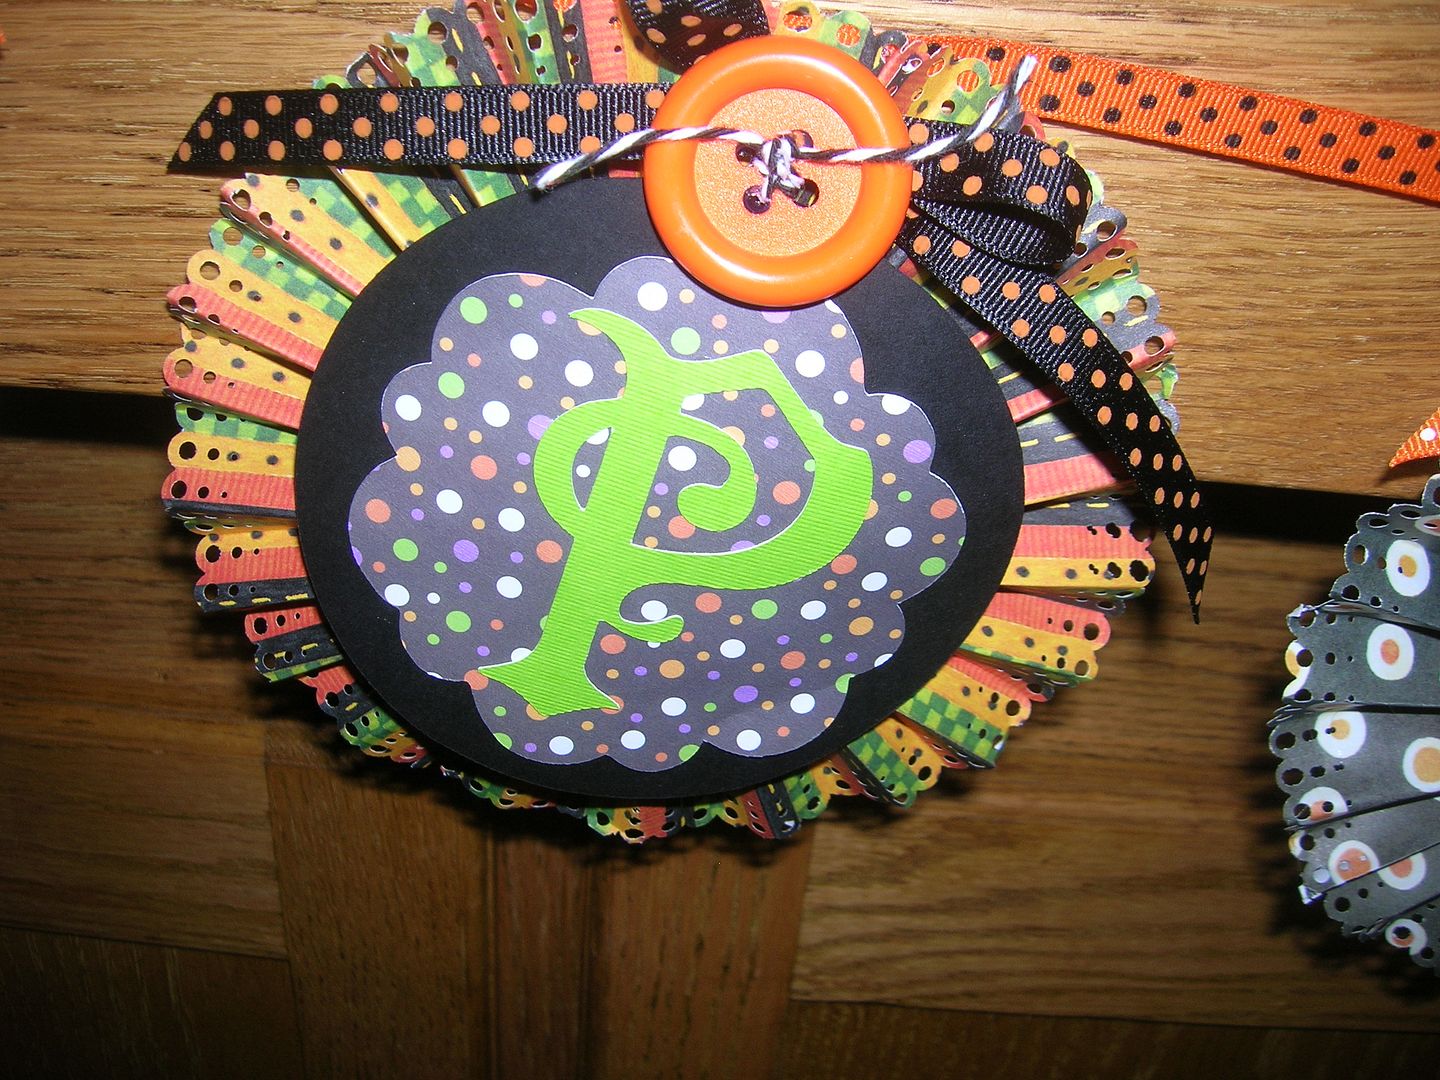
Here are some closeups.  
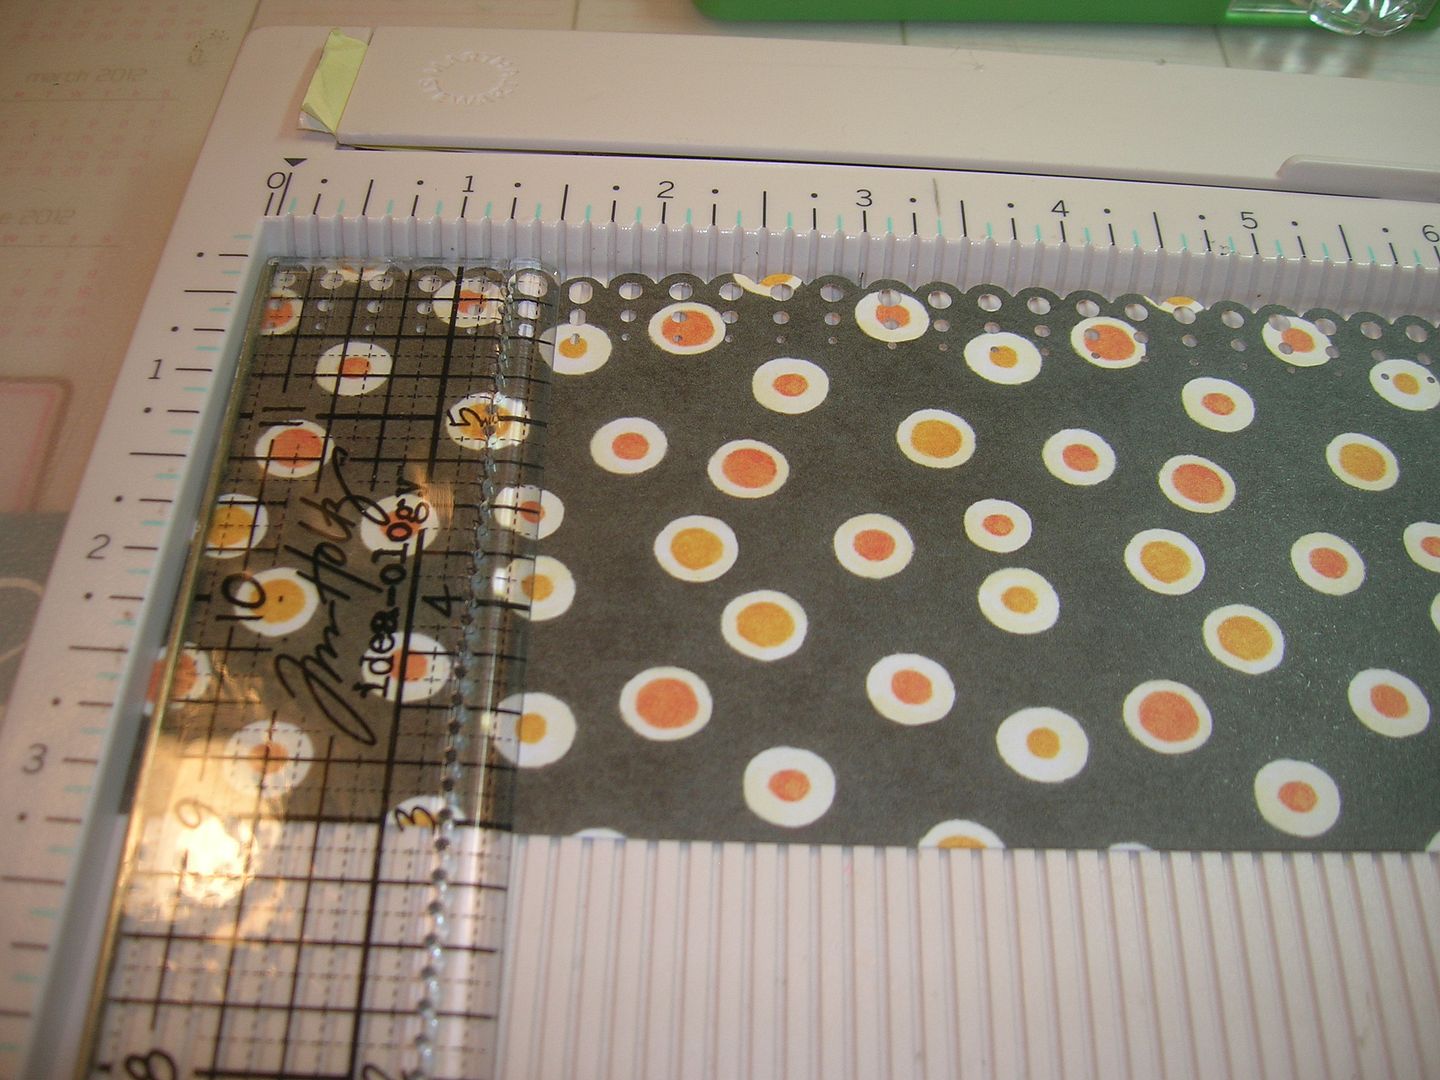
To make the banner I started out with two 3 inch x 12 inch strips of paper.  I chose 6 different prints since there were 6 letters in Spooky.  Smaller prints or stripes work the best.  I then took a MS Punch and punched down the edge on one 12 " side.   I will tell you a secret if you do mess up on one side you can do the other side and use the messed up side in the center.  
Next I score using the punch as a guide.  So for this one I scored after two valleys in the cuts  which is about 1/2 an inch.  
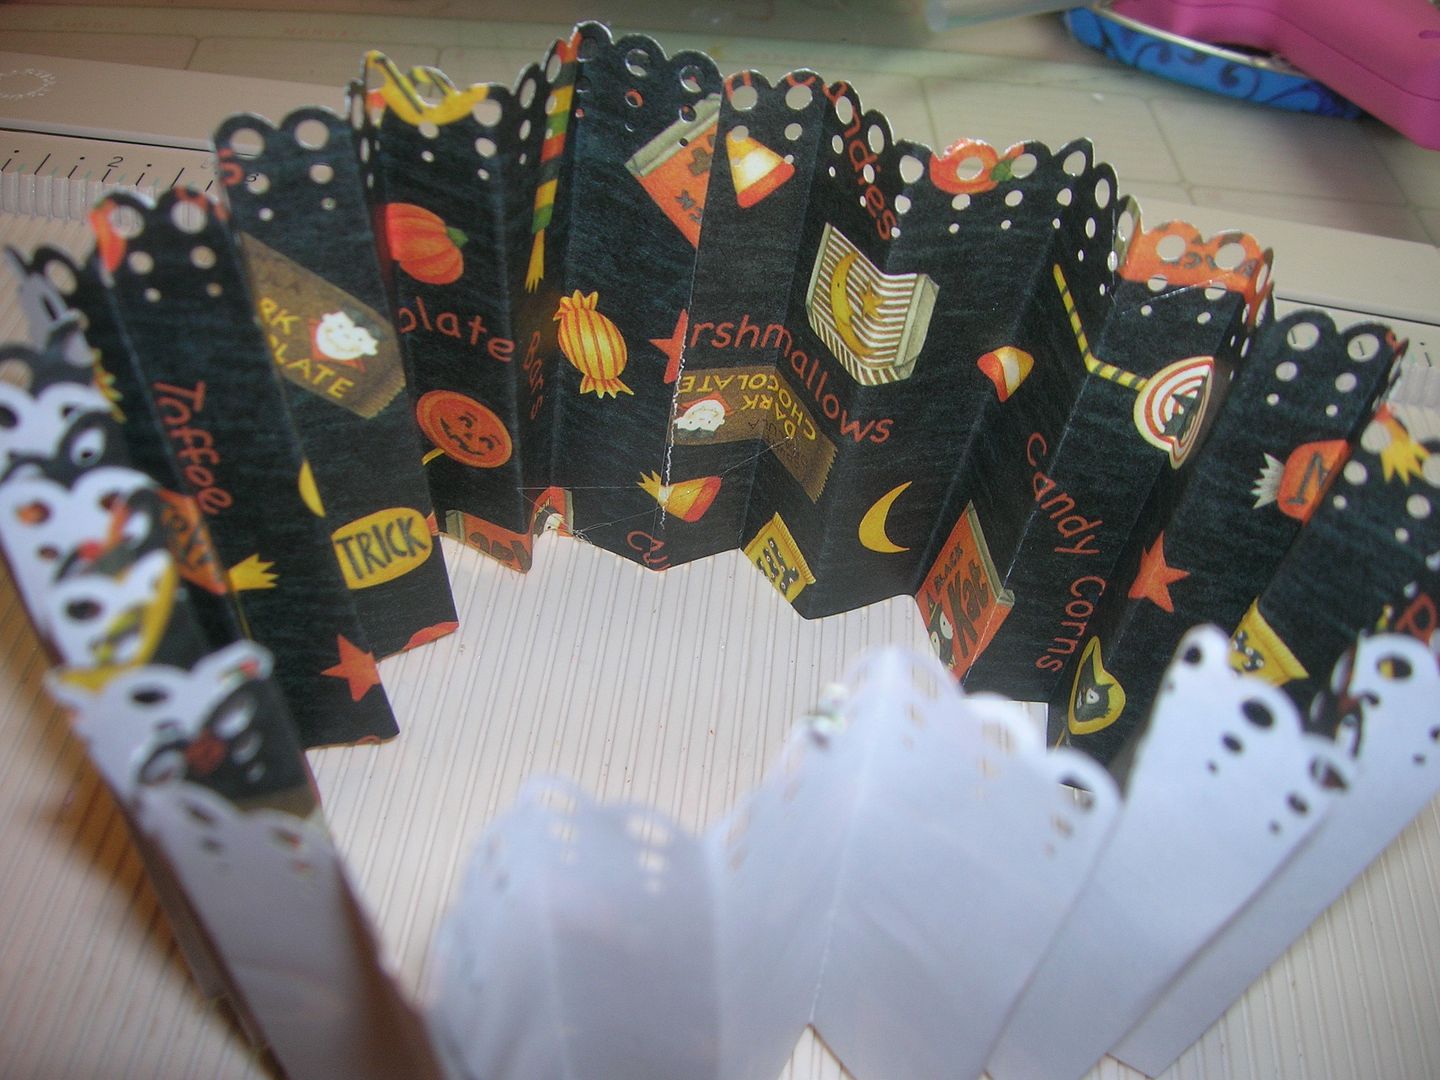
I then accordian fold the paper and glue the ends together with hot glue.  
Cut two circles with a punch or Cricut.  Push the circle of paper down and glue a circle to the top and a circle to the bottom to hold in place.  
I then cut orange and black circles from George at 4 1/2 inches and scalloped circles from Lacy Labels at 3 1/2 inches from leftover rosette paper.   I added some ribbon and large buttons I had in my stash which I threaded with twine.  The letters were cut from Happy Hauntings at 3 inches in Cricut green so they would stand out.  

Thanks for looking and hope you like my "Spooky" Banner.  Please stop by my blogspot to see what else I have been up to.  Also make sure you come back to SweetSassy Diva everyday this week to enjoy the designers great Halloween banner projects.  Happy craftin everyone!

Four Double Page Layouts for challenges

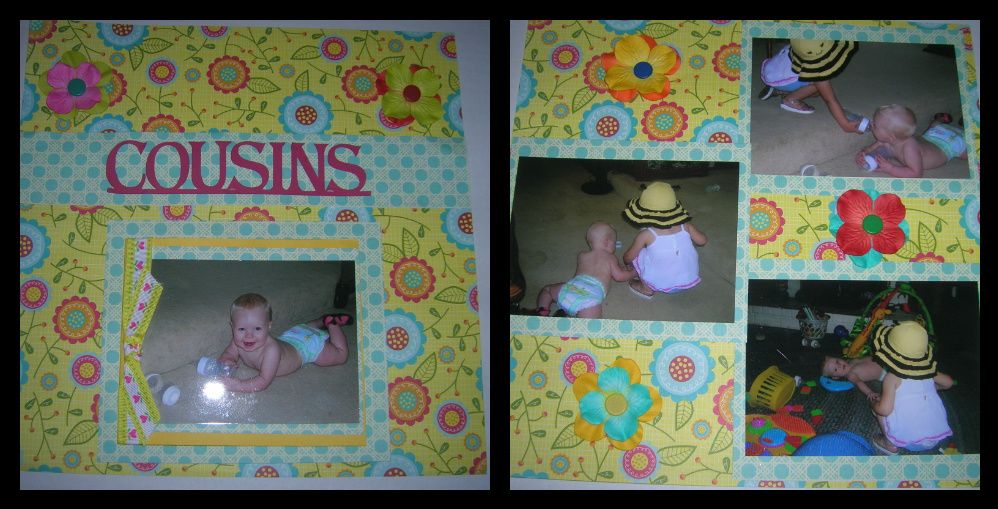
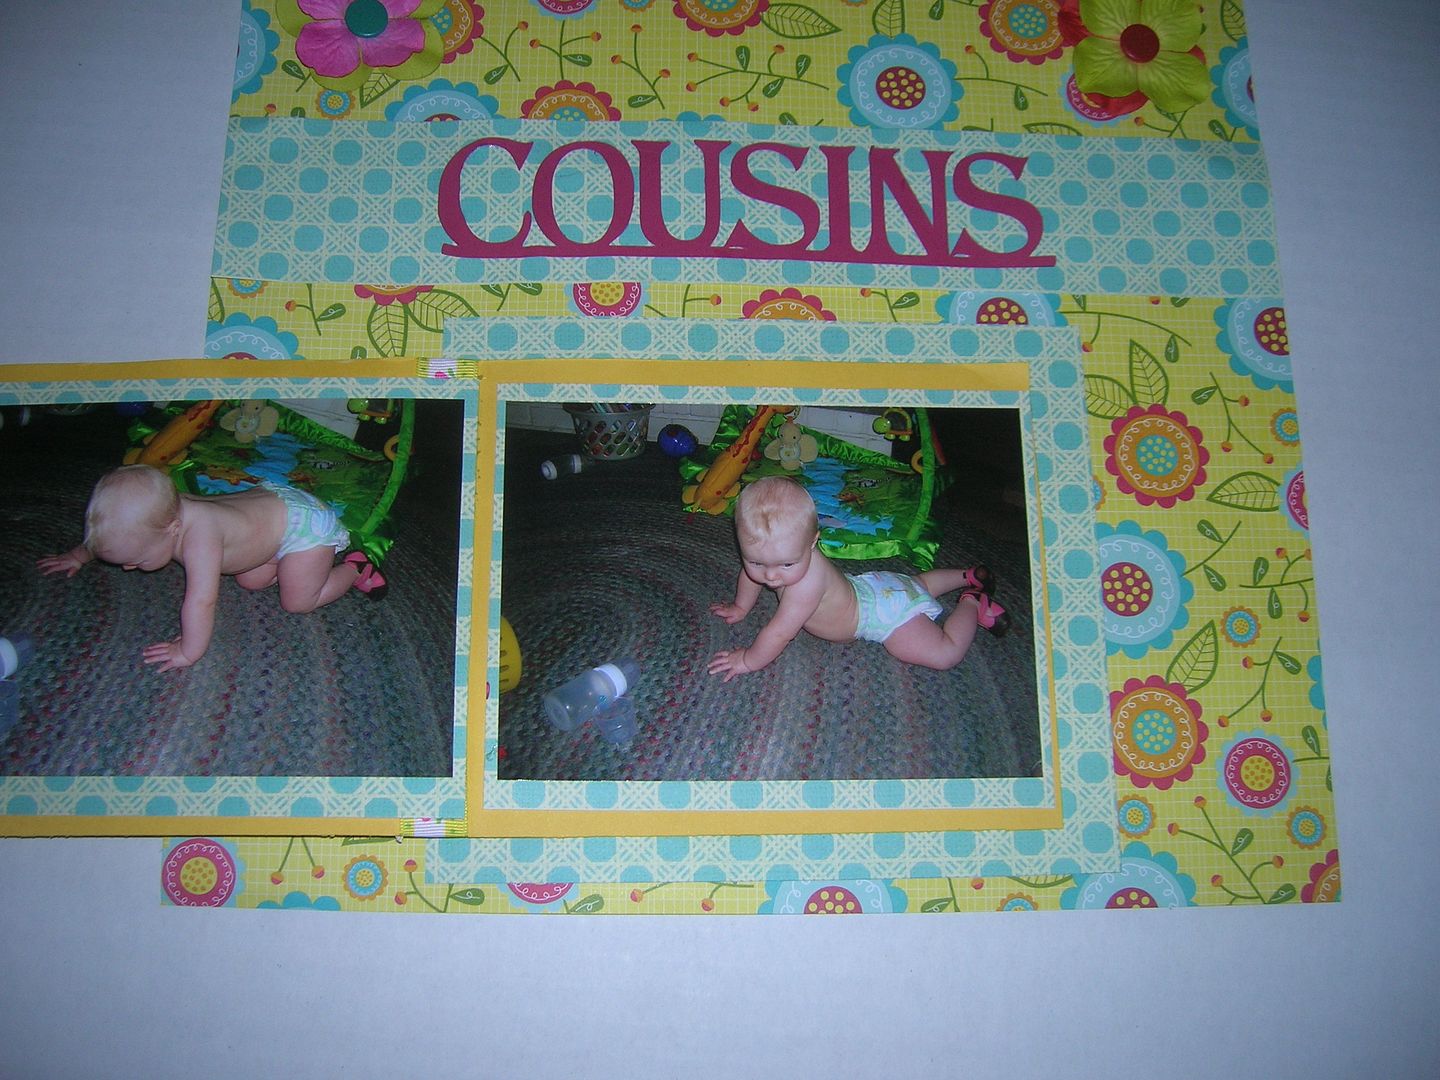
Cranking out a bunch of layouts and entering them in challenges.  The first is for LastingMemories which was to have something hidden or a secret.  On the left page of my layout I made a mini book that opens to show two more pictures.  Paper is from DCWV Flower Power.  Title "Cousins" from Heritage.  
 
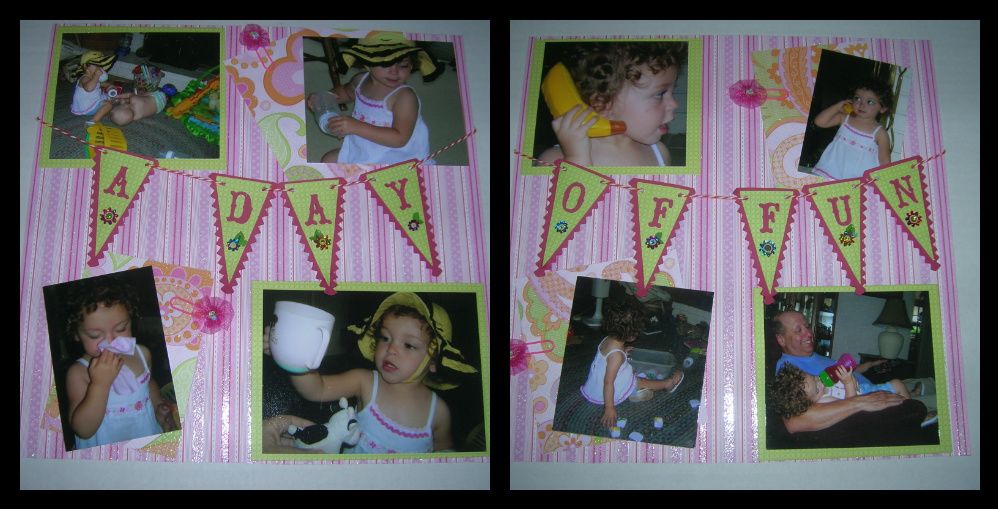
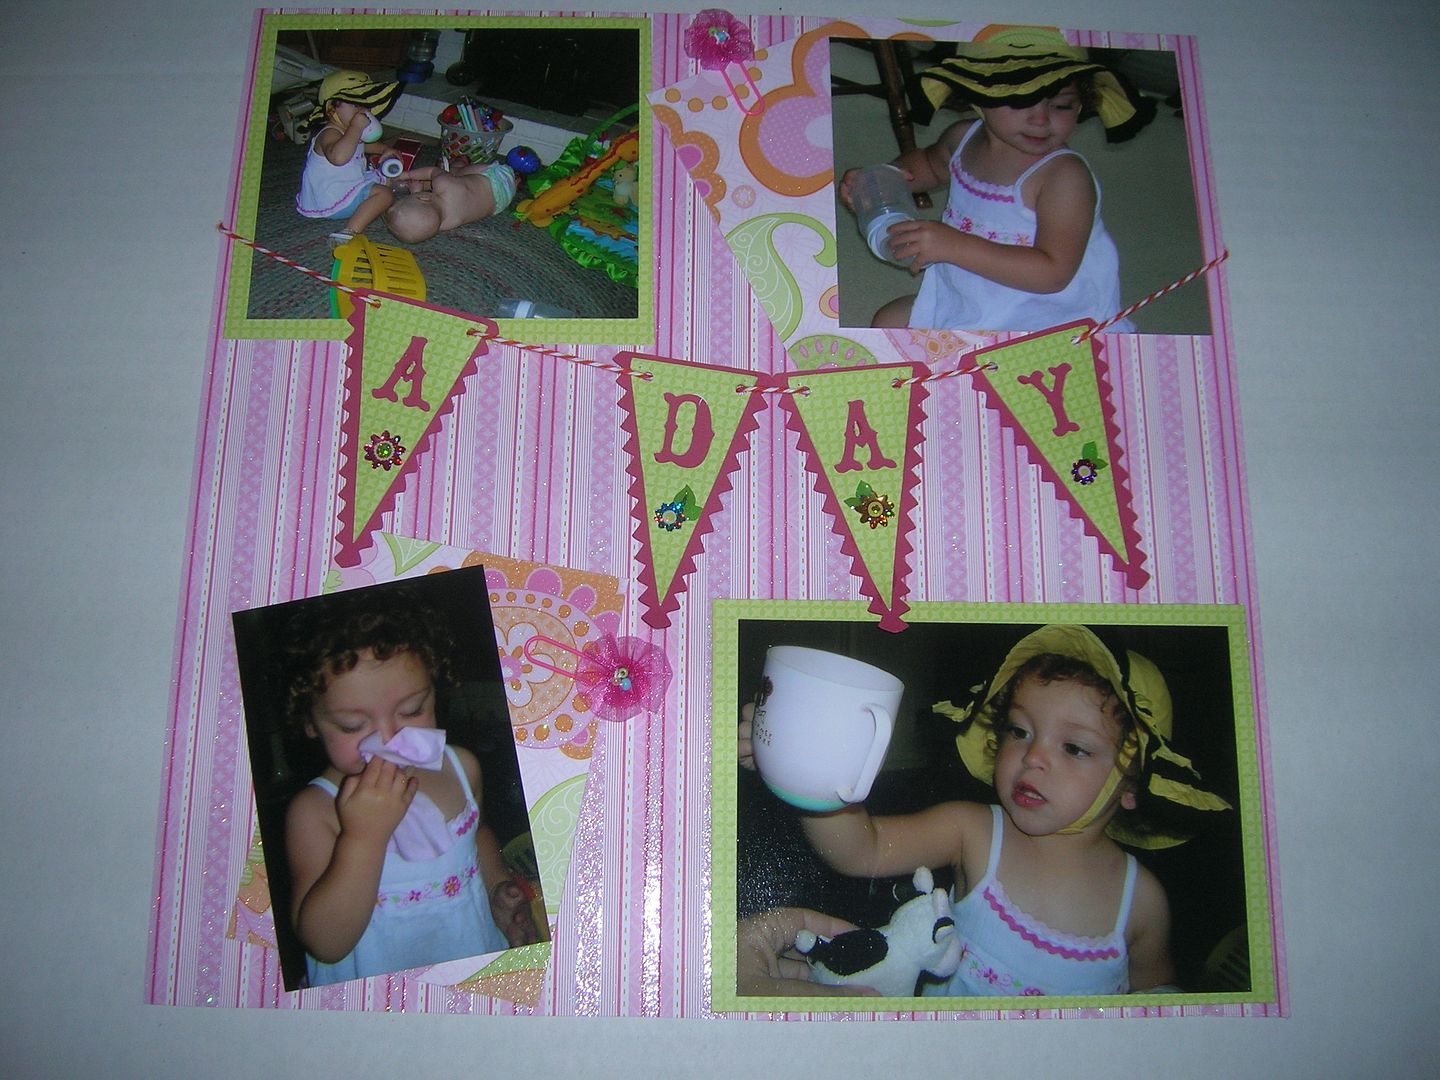
The second layout is for Blog Quick Quotes- Use a Banner.  I used Country Life for the Banner and the DCWV stack Baby Girl.   
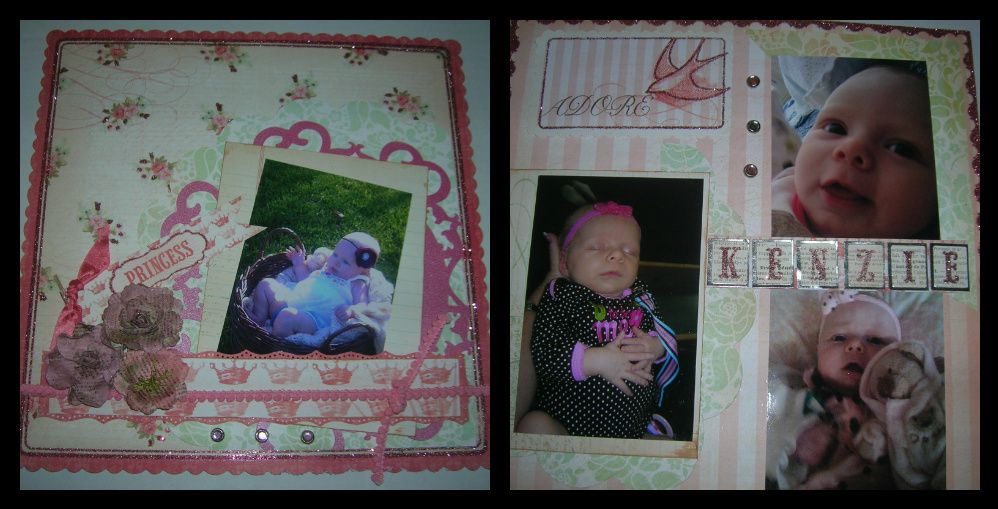
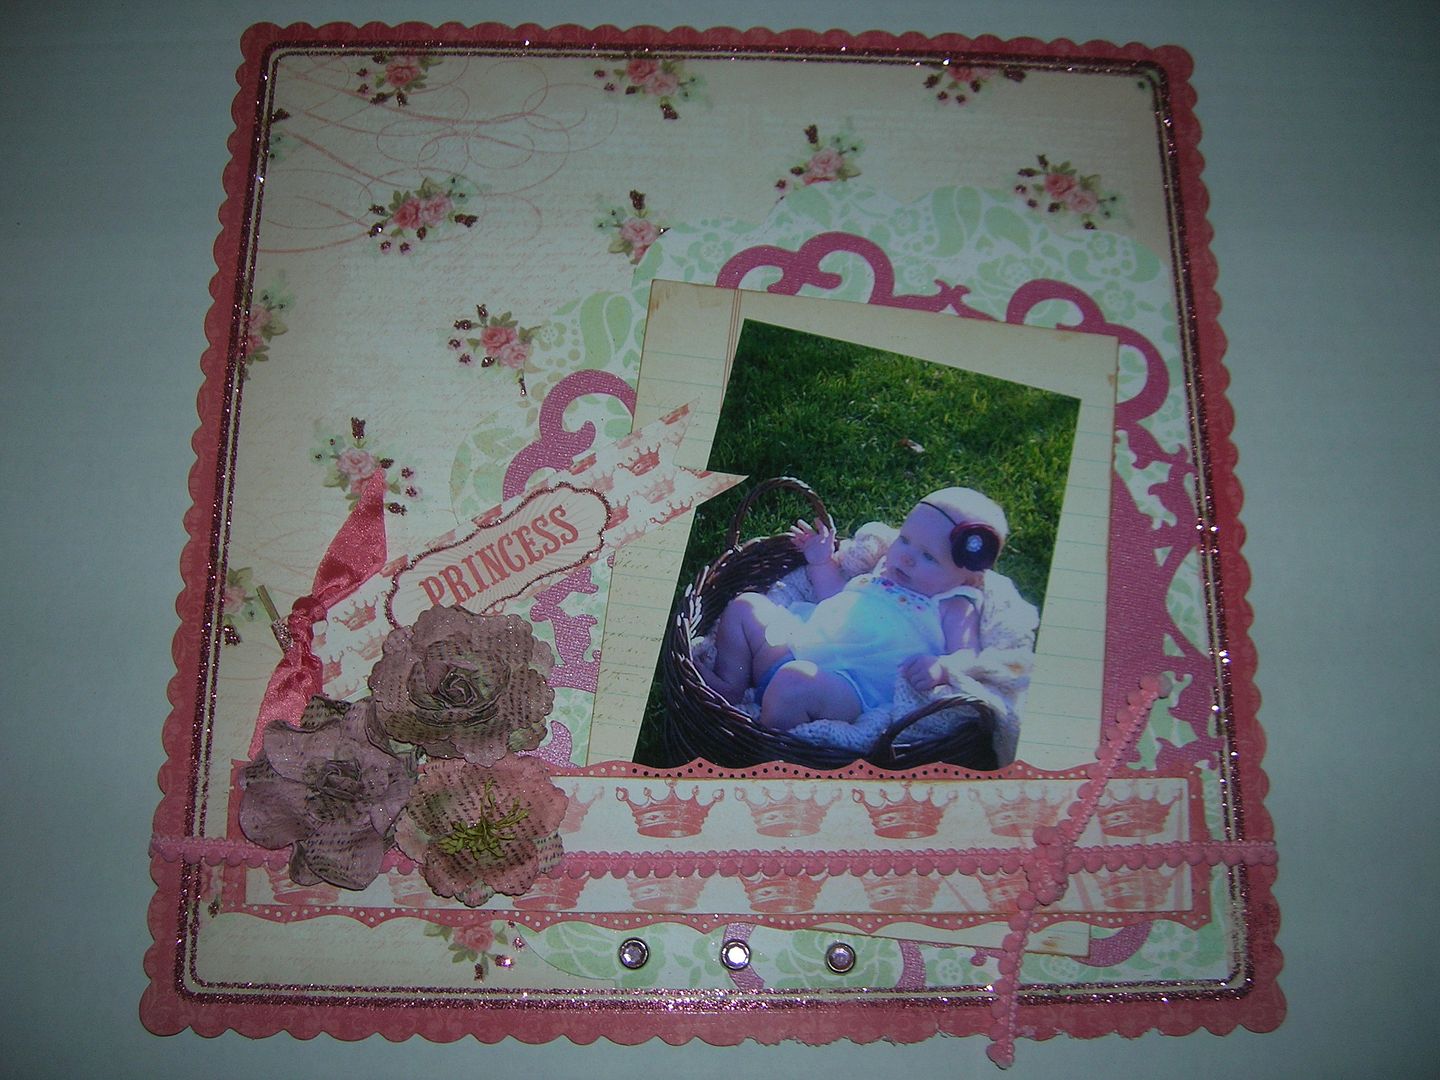
Frosted Design sketch ( I followed the sketch on the left side of the layout)  The flowers were Primas that I sprayed with Vintage Pink Glimmer MIst.  The paper is Lost and Found from My Mind's Eye.  The heart  border circle is from Sophie and the Scalloped Circle from Lacey Labels.  
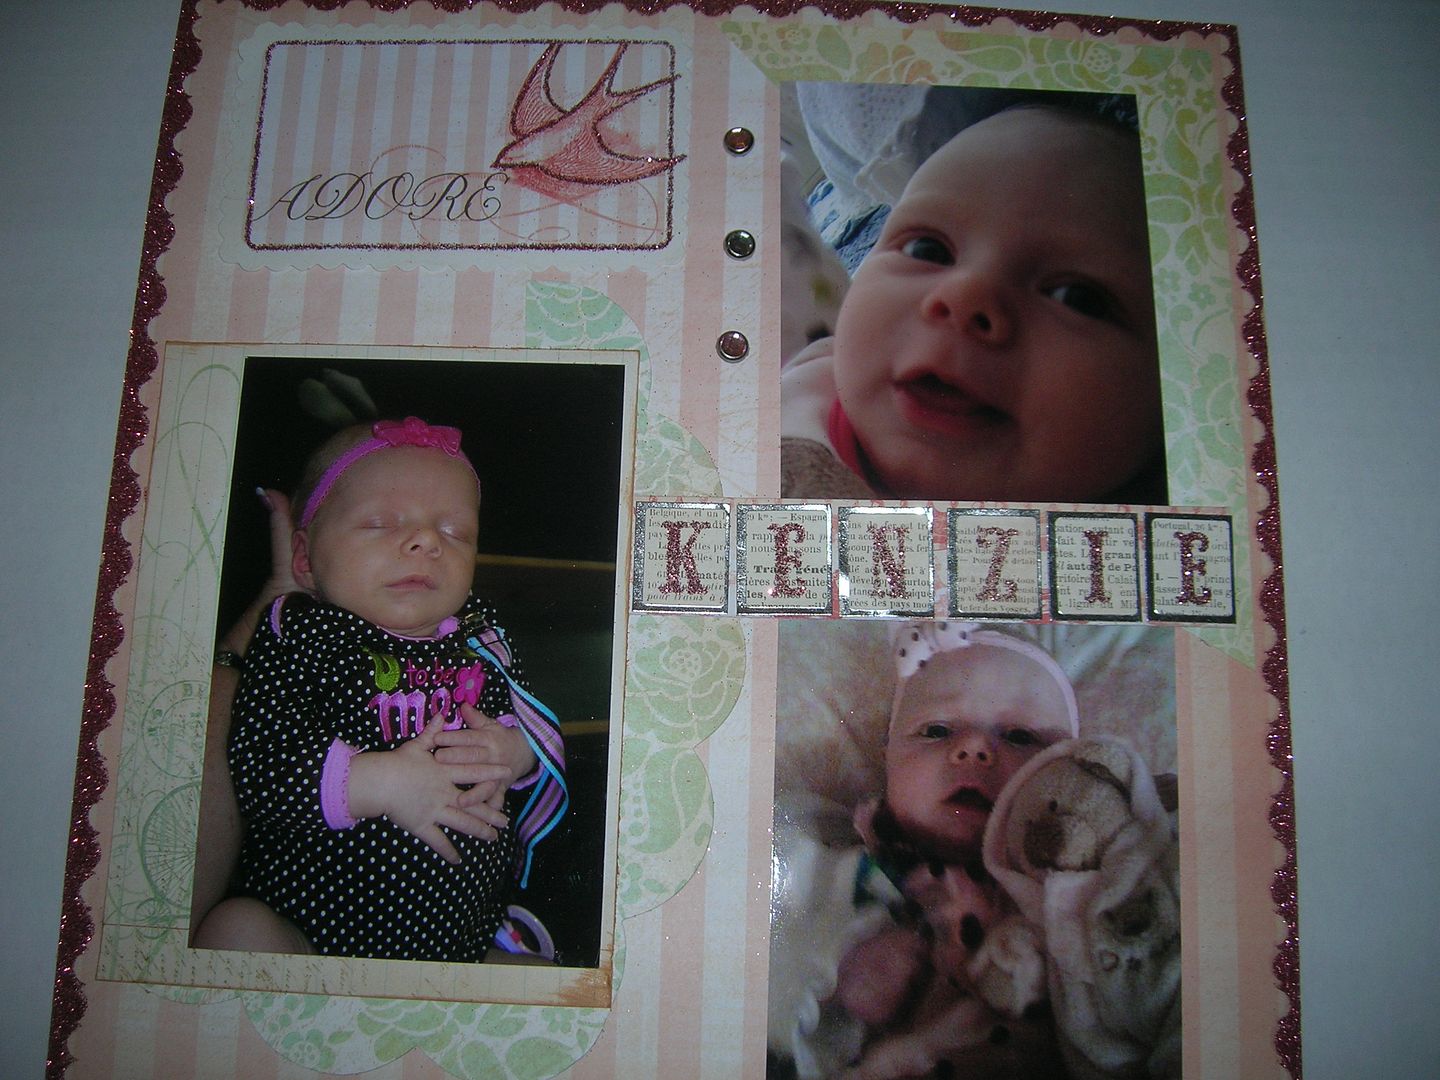
The right side of the layout is for Frosted Design school challenge  -use notebook paper, book pages, or ledger paper on your card, layout or project.   I used lined notebook paper under the picture on the left and the picture under adore on the right.  I inked both pieces with Tim Holtz ink to age them. 


This layout I used paper from DCWV Whimsical Stack and no Cricut.  

Monday, August 29, 2011

FCCB Challenge Touch of yellow August 29

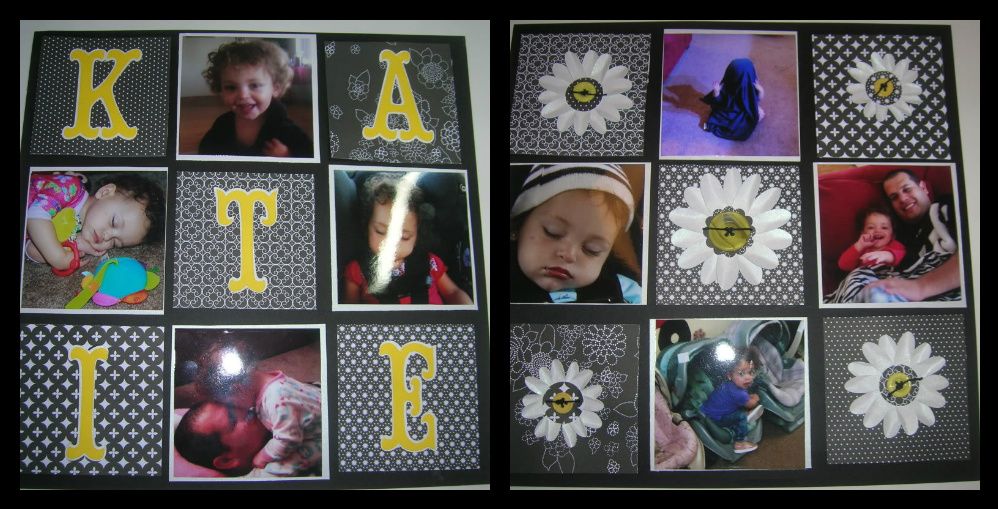
Hello everyone it is time for this weeks  Fantabulous Cricut Challenge.  The challenge this week is called "Splash of Color"- Use yellow.  I am not a big yellow person  but to me nothing makes yellow "pop" like black and white.  I have been trying to make a dent in the huge pile of pictures of my two granddaughters and now that has expanded to 3.  I had a bunch of odds and ends pictures that I wanted to do something with.  I usually do two page layouts.  The first page is 3 1/2 " squares with black or white 3 3/4 " frames.  The lettering spells Katie and is Storybook cut at 3 " and using the shadow.  
On the second page the squares are the same size.  I then cut out the daisy from Mother's Day Bouquet.
I cut 1 at 3 ", 2 at  2 1/2". and 2 at 2 ".  I then pinched each petal towards the center of the petal.  The centers are contrasting black and white circles and yellow buttons sewn with Wonder Thread.  
Hope you have fun with this challenge at FCCB this week.  I can't wait to see your projects using a splash of yellow.  Please come by and visit my blog whenever you can.  Also come back each day to see what all is going on daily at FCCB.

Sunday, August 28, 2011

Pool Baby Chillin layout

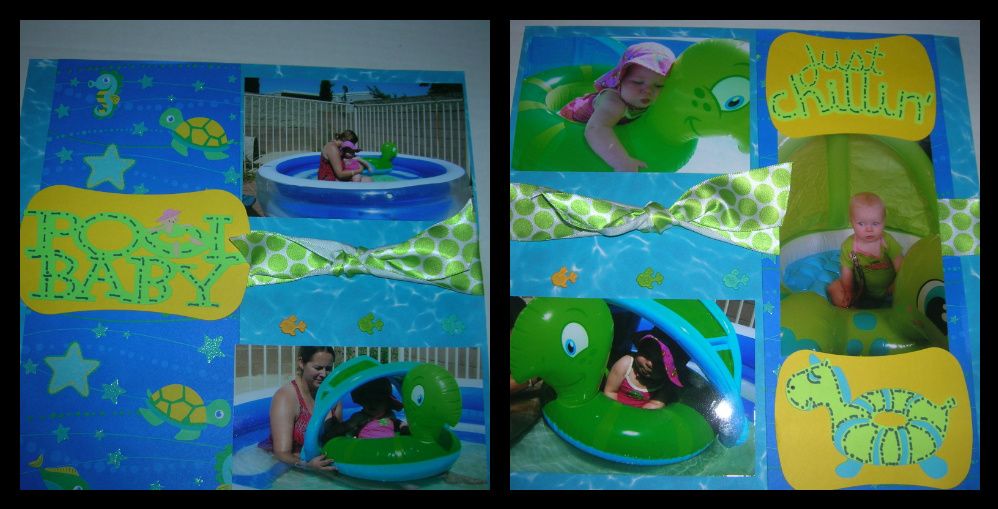
I got one layout done today before I left to go to visit my other two granddaughters for the weekend.  I used the Cricut Cartridge Pack Your Bags.  I am entering this is the Amanda's Crafts and More challenge which was to Make a Splash (a water themed layout.) The Cricut 360 challenge which is "Relax" (My granddaughter is definitely relaxed). Also the Cooking It Up With Katie use something wet, brads and a border.  I used a wide sea animal border on each side.  

I added a pink hat on title.  
Closeup of fish brads I used.  

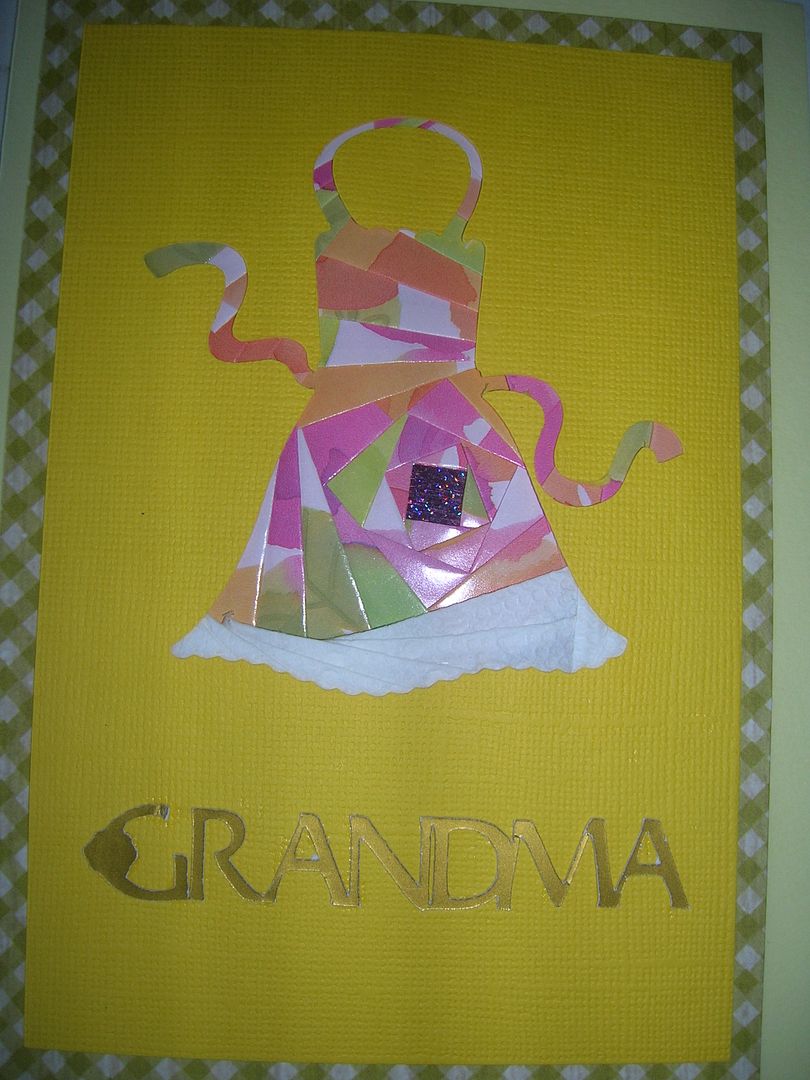
Iris folding class at LSS- Apron and moustache

I took my second Iris Folding class at my local scrapbook store last weekend.  The two cards we made are for Grandparents day in September.  I am really enjoying taking these classes.  Many of the patterns the teacher uses are from Cricut so that makes it really handy.  Like this Apron is From My Kitchen. The fun things is the supplies are minimal so you can put your scissors, tape, paper pieces and template in a bag and take it with you.  Here is the link to the Christmas Cards I made at my first class.  I  have  ordered several books with patterns and directions.  There are also sites and patterns online.  
 

Friday, August 26, 2011

My first two Imagine layouts

I decided to try my new Imagine out for two layouts I wanted to make.  I used the Imagine cart Enjoy the Seasons for both.  They went together so quickly. I cut each design together and not in layers.  The background paper for both is paper in my stash.  I wrote on the two banners with a brown Sharpie.  
Added two cuts from Enjoy the Seasons and some cute butterfly glitter buttons.  Then ribbon on the side.  

Thursday, August 25, 2011

My first Thursday tutorial for FCCB and a BUNCH of layouts

Today is my first day doing the Thursday Tutorial at Fantabulous Cricut Challenge Blog.  This week the challenge at FCCB is Birthday Bash or making your own birthday card.  Come join us for a new challenge every Monday,  So with keeping with the them of Birthdays you will find several great birthday ideas.  First of all a link to a trifold birthday card tutorial by Shes a Sassy Lady.  Also you will find two links on how to make a tealight birthday candle.  Please stop by and check out these amazing projects.

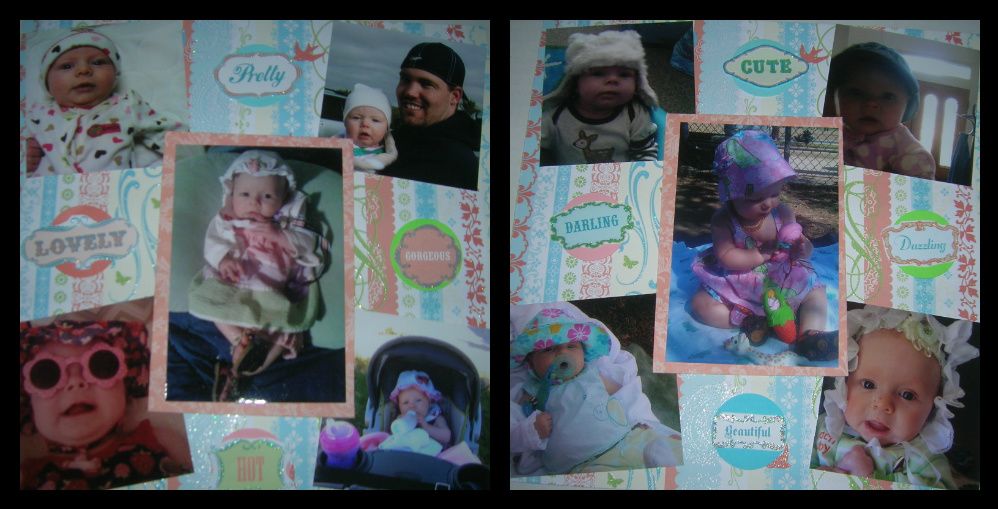
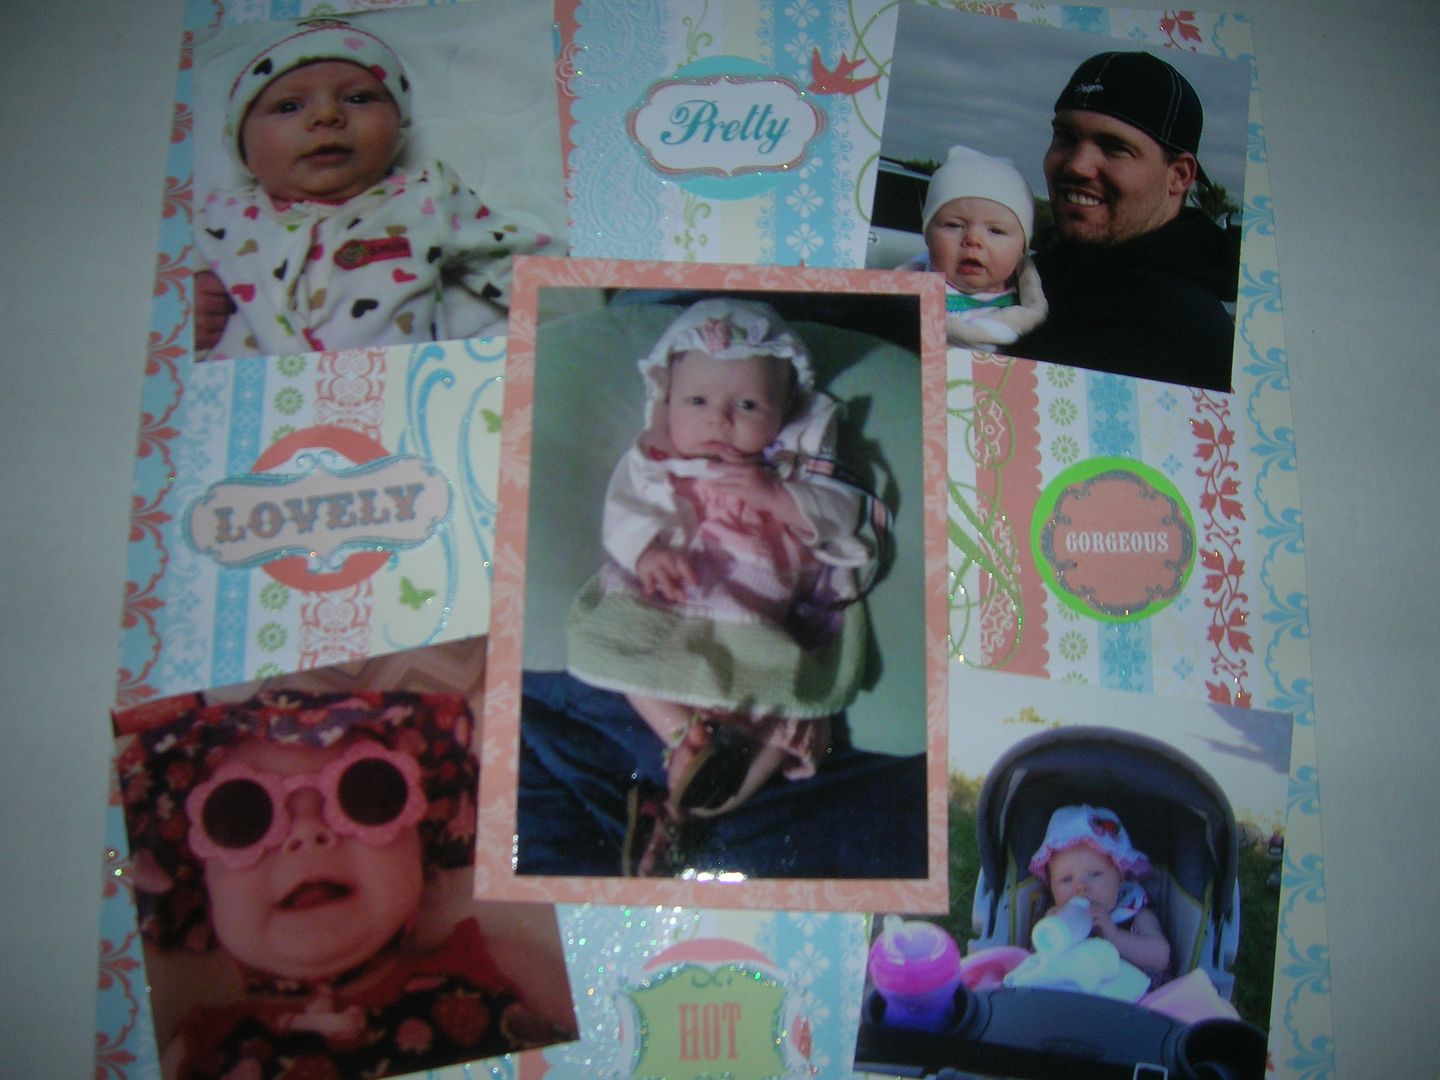
Also I wanted to share a bunch of  layouts that I completed this week.  They are all rather simple as I am trying to make a dent in my picture pile.  For a lot of them I used the paper designs and added titles using my Cricut and a few other cuts as needed.
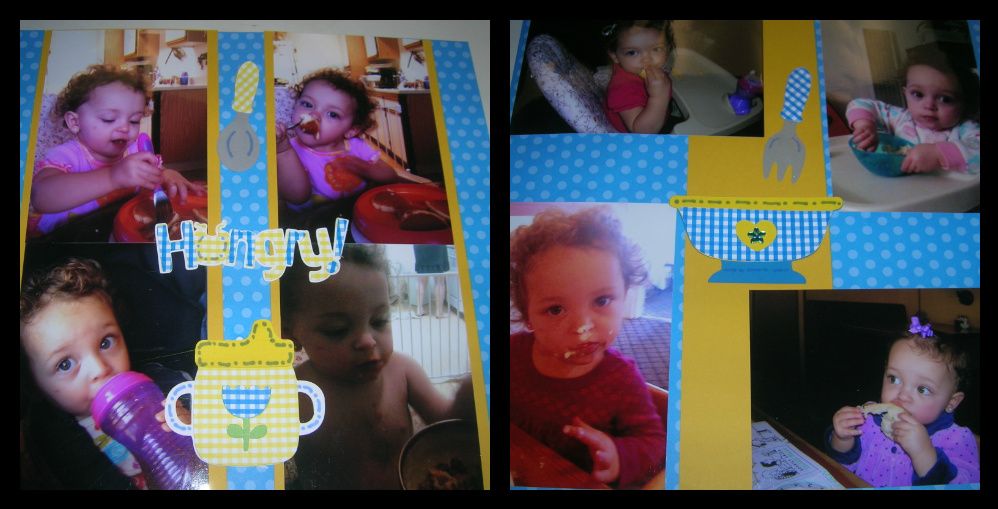
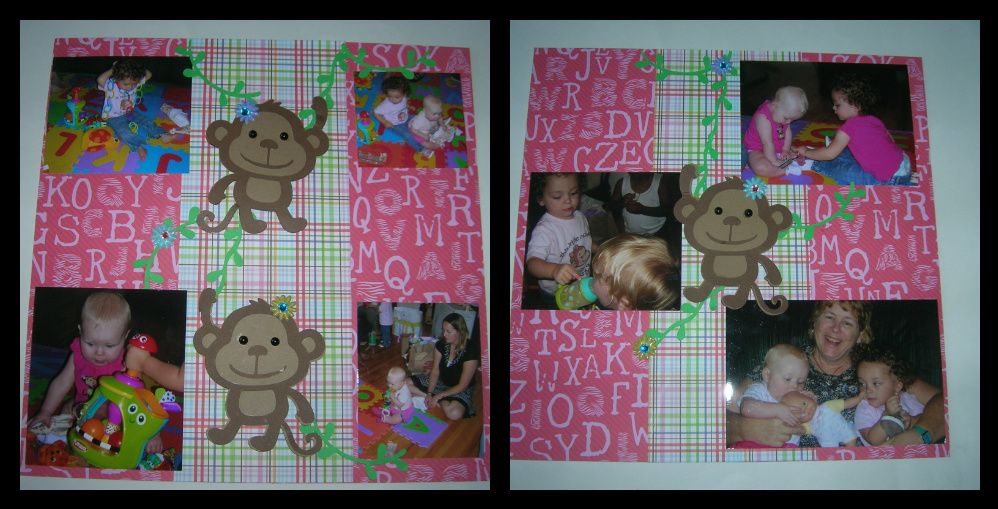
  For this one I used Baby Steps.

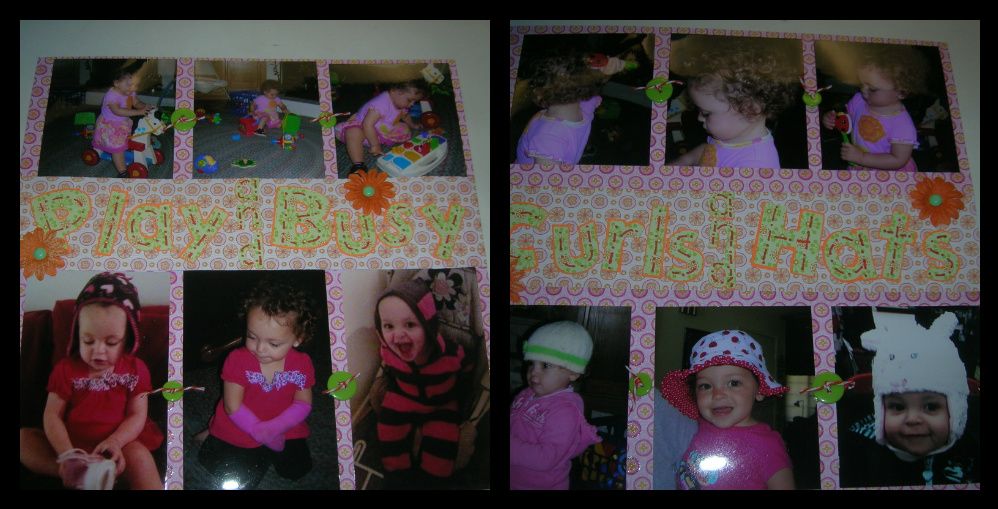
I used Mickey font for some misc pictures.  It says Play and Busy, Curls and Hats.

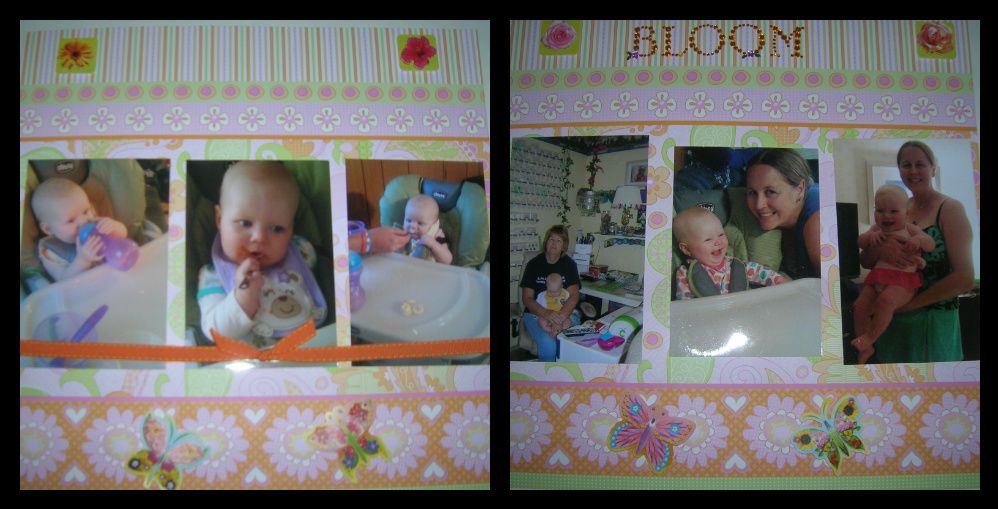
The Bloom title and flower and butterfly embellishments are from Michael's $1 bin.  The paper is DCWV new Baby Girl Stack.
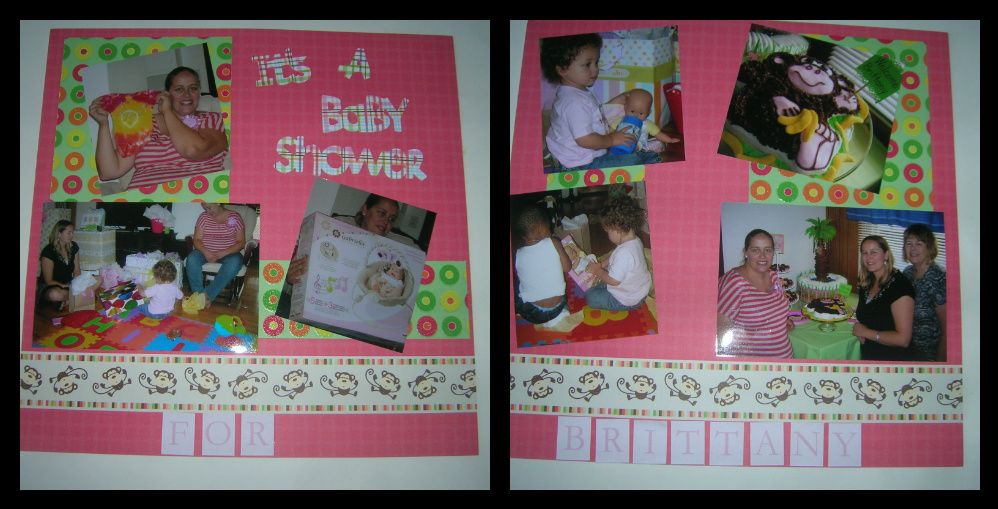
Baby shower using Create a Critter Monkey
Second Baby Shower used paper from Zoo Stack.  Title Its A Baby Shower from New Arrival.  
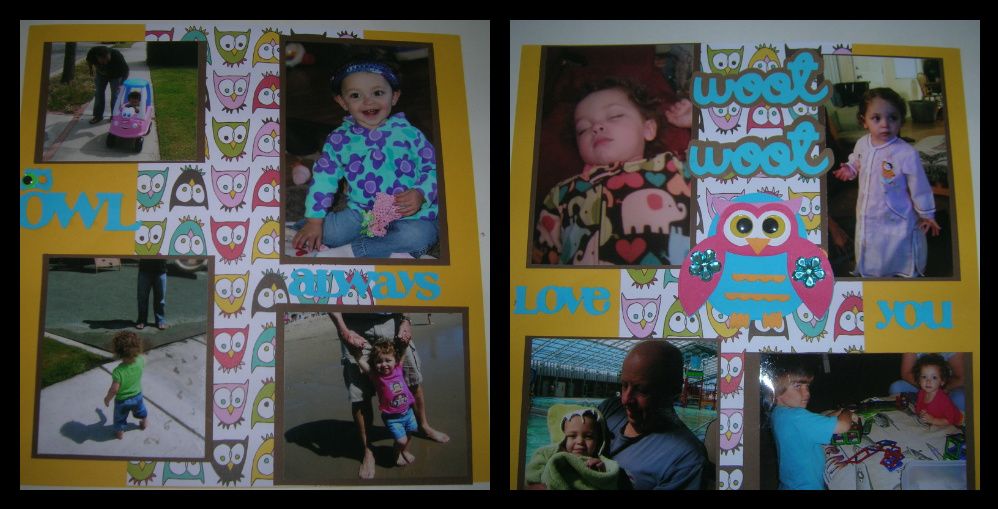
Large owl from Paisley and Owl Always Love You title from Straight from the Nest.

Wednesday, August 24, 2011

Elephant Birthday Card for Challenges

Made this card today for several challenges and to increase my card stash.  Used Wild Card to make the Round shaped card for the Celebrate the Occasion challenge.  Then I used Birthday Bash to cut out the elephant for the Cricut Cardz Challenge which is to use a Jungle animal to make a kid card. Finally the cake is also from Birthday Bash and is for the More than Favors challenge which was to use a birthday cake.  The paper is cordinations cardstock and the pattern paper is  from the new DCWV Baby Girl Stack and was scraps from a layout I just finished.  I added pearls, google eyes, ribbon and three tiny buttons.